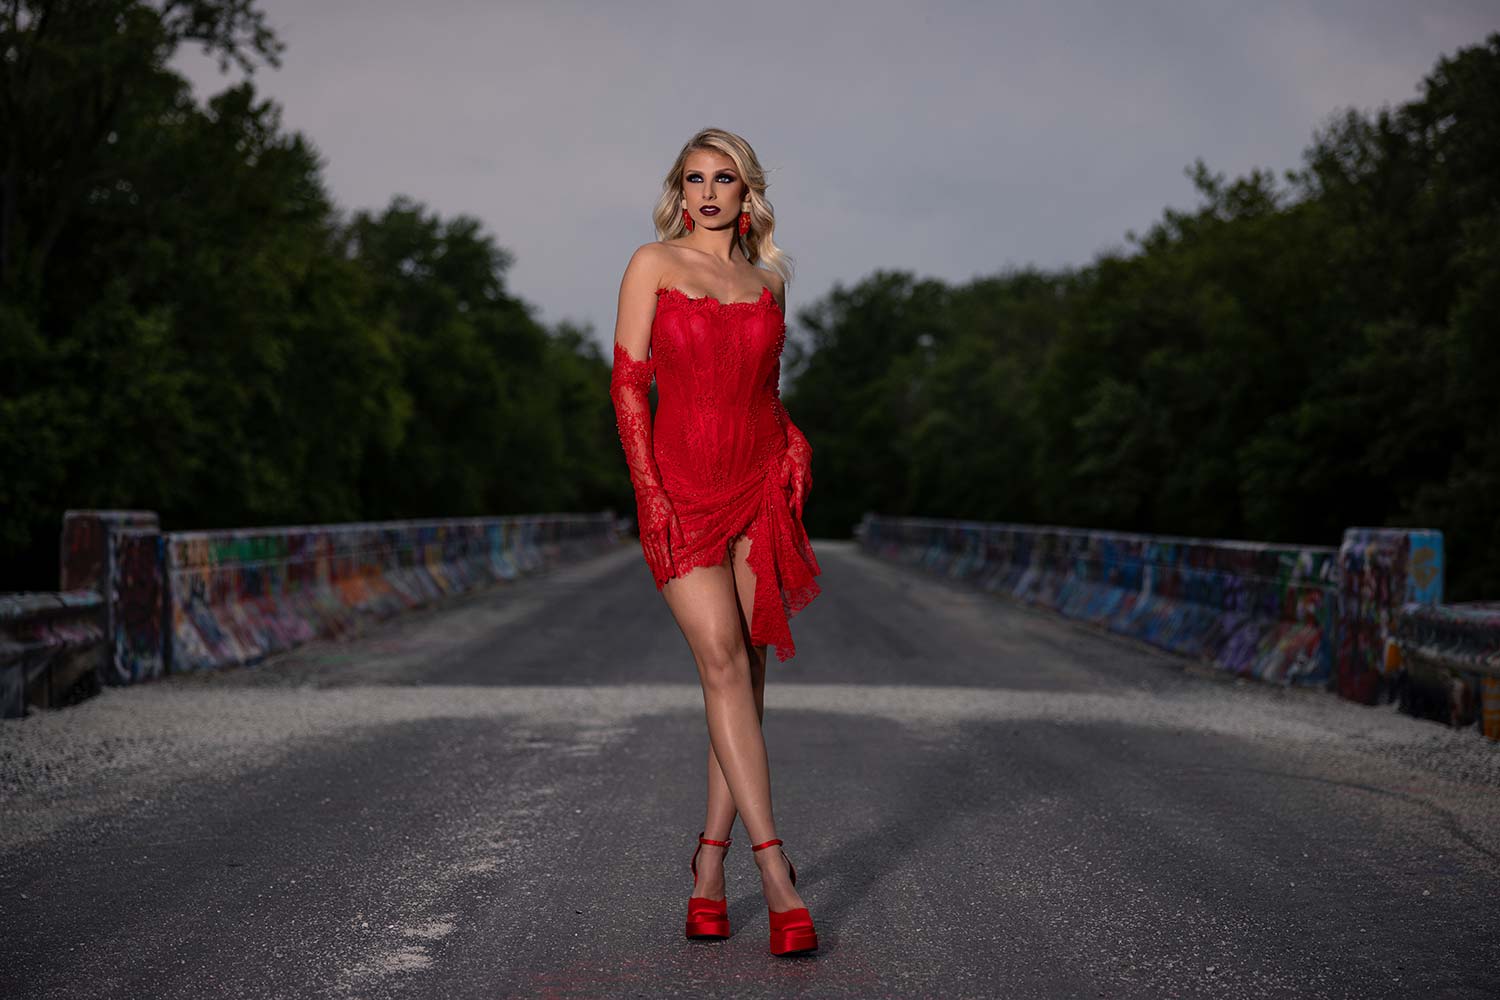
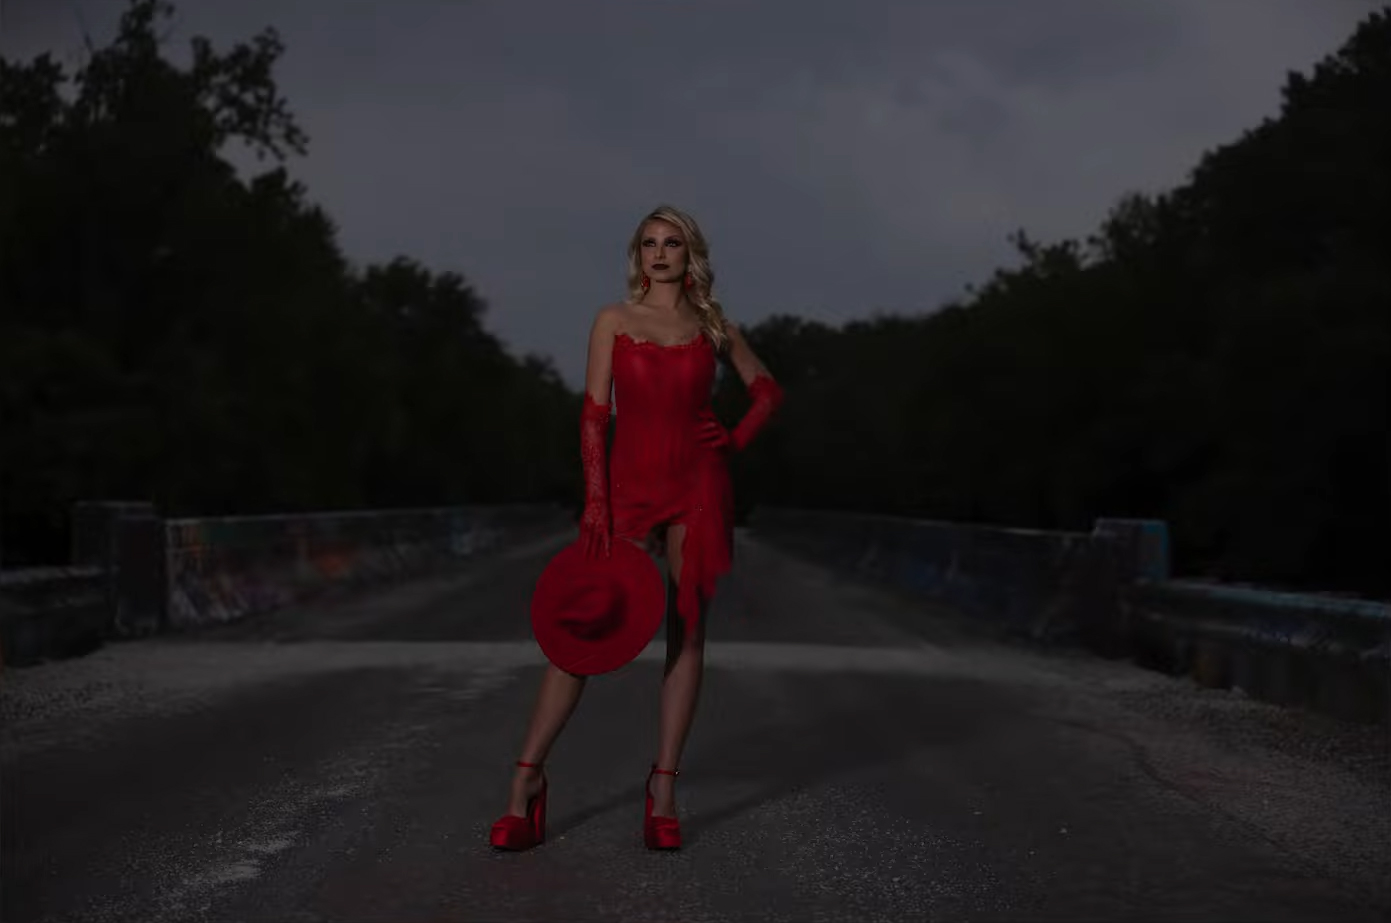
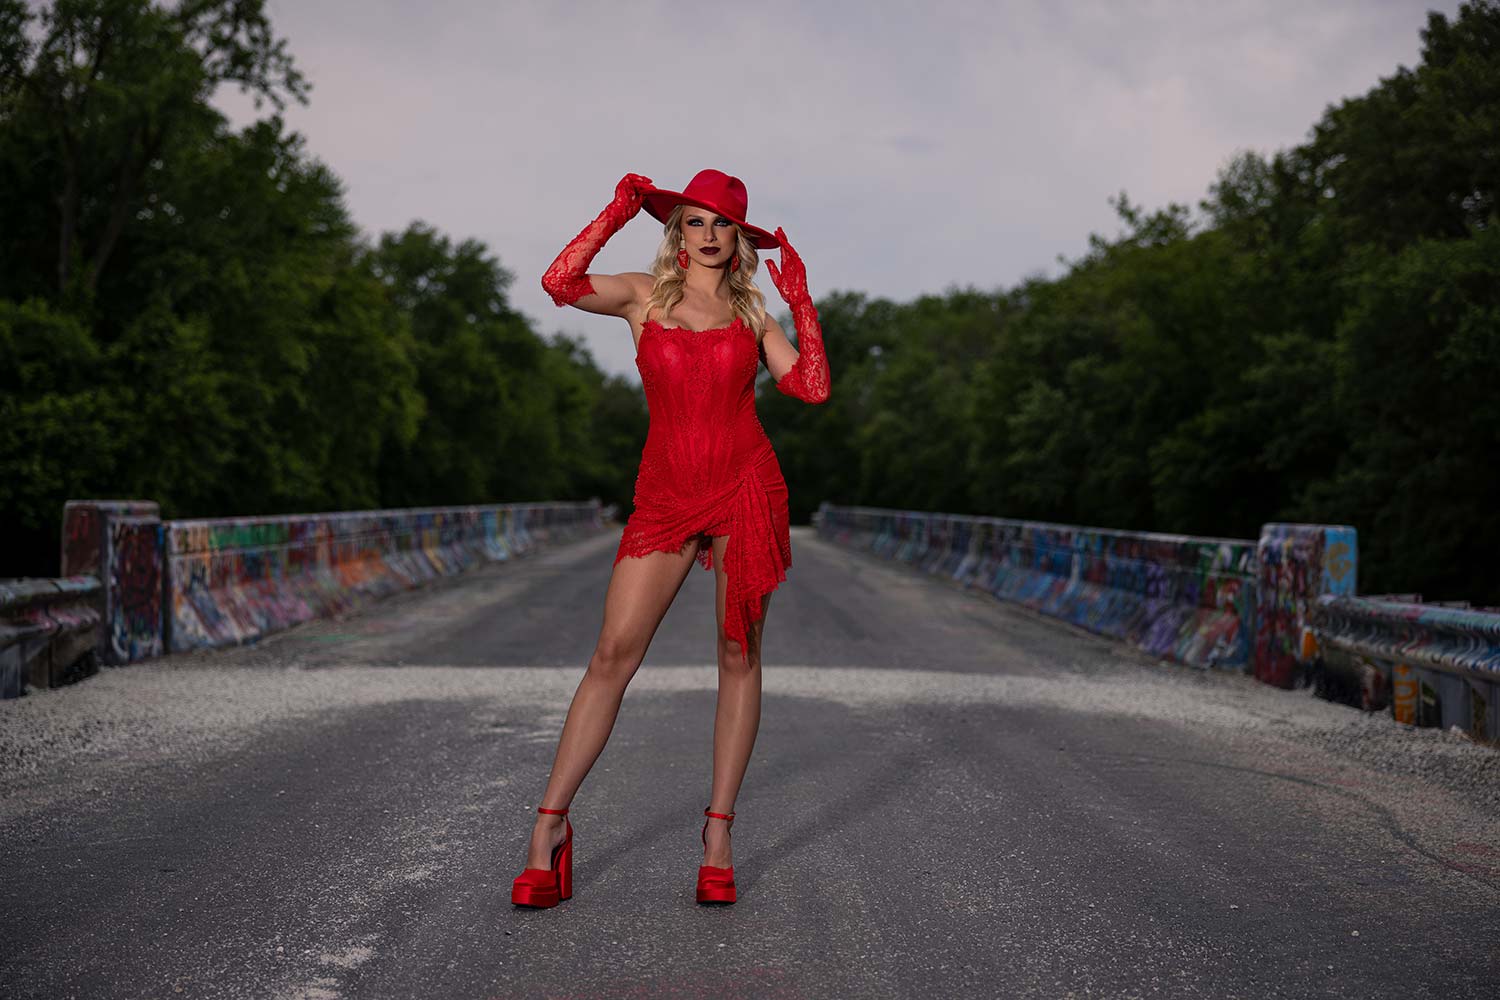
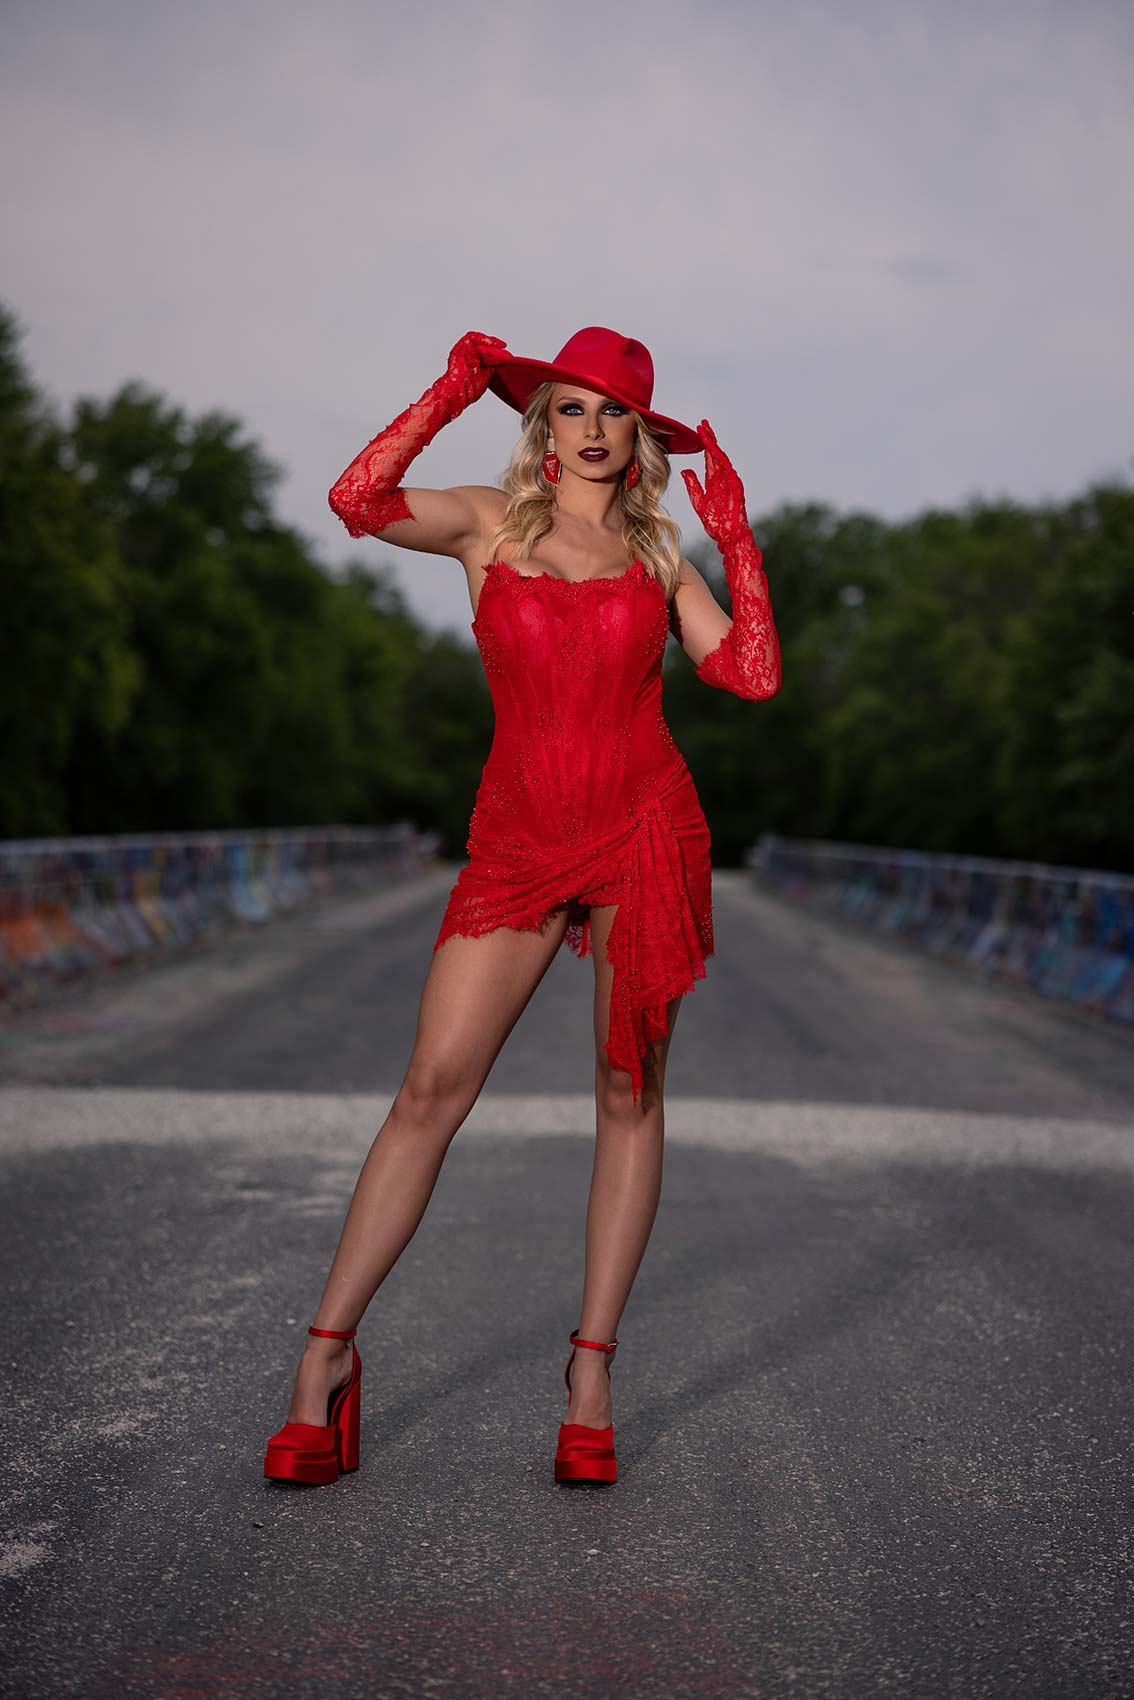
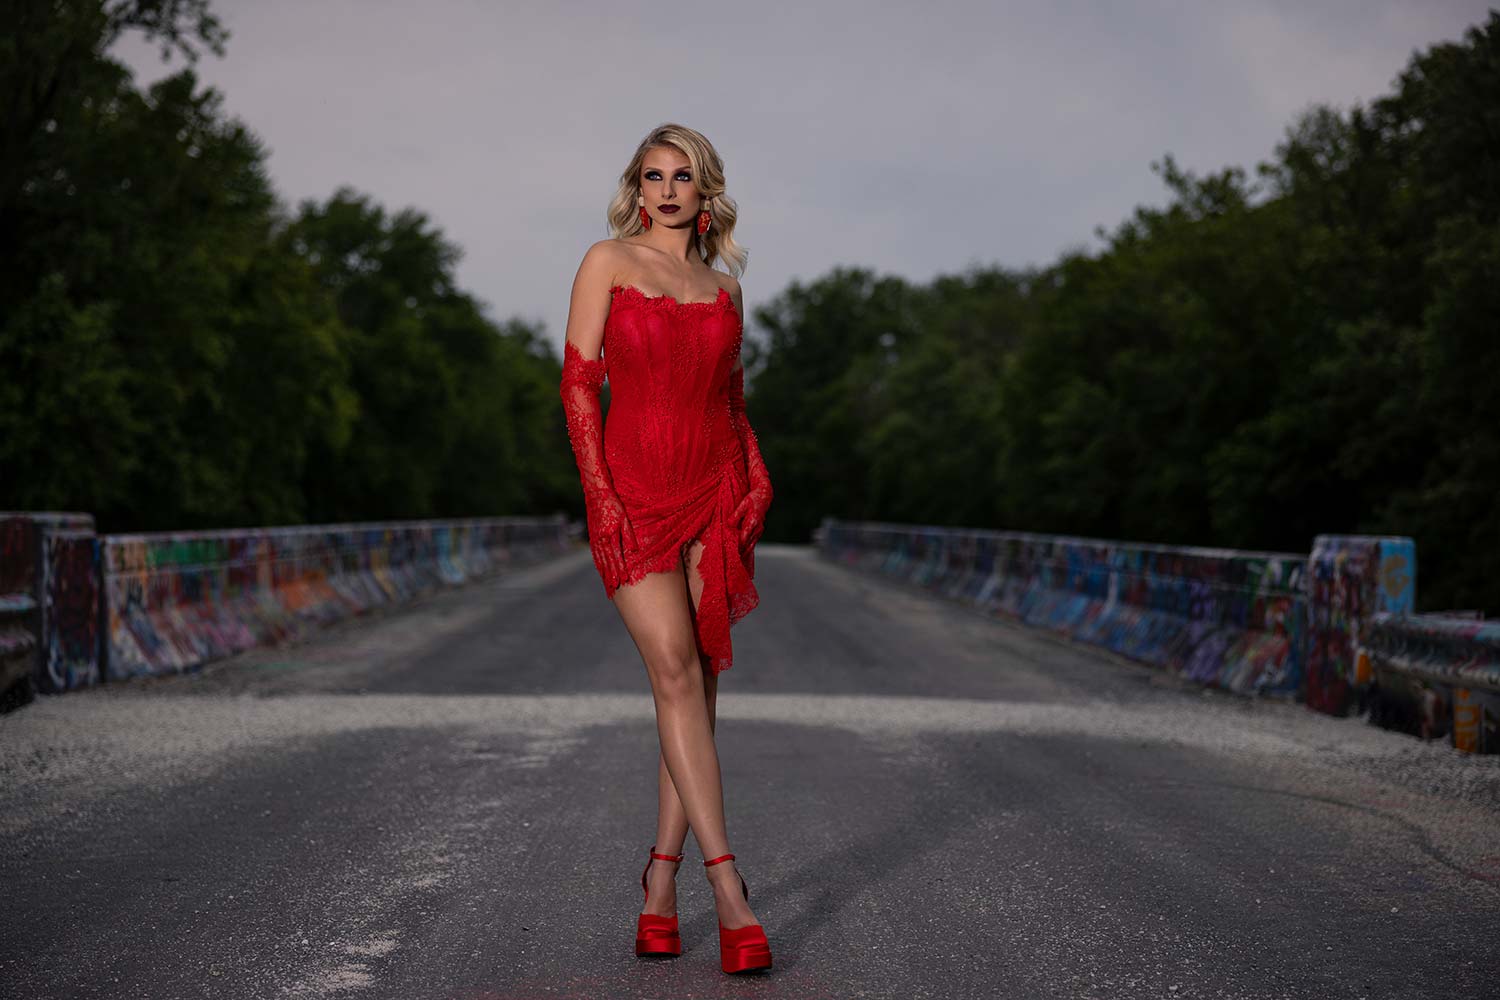
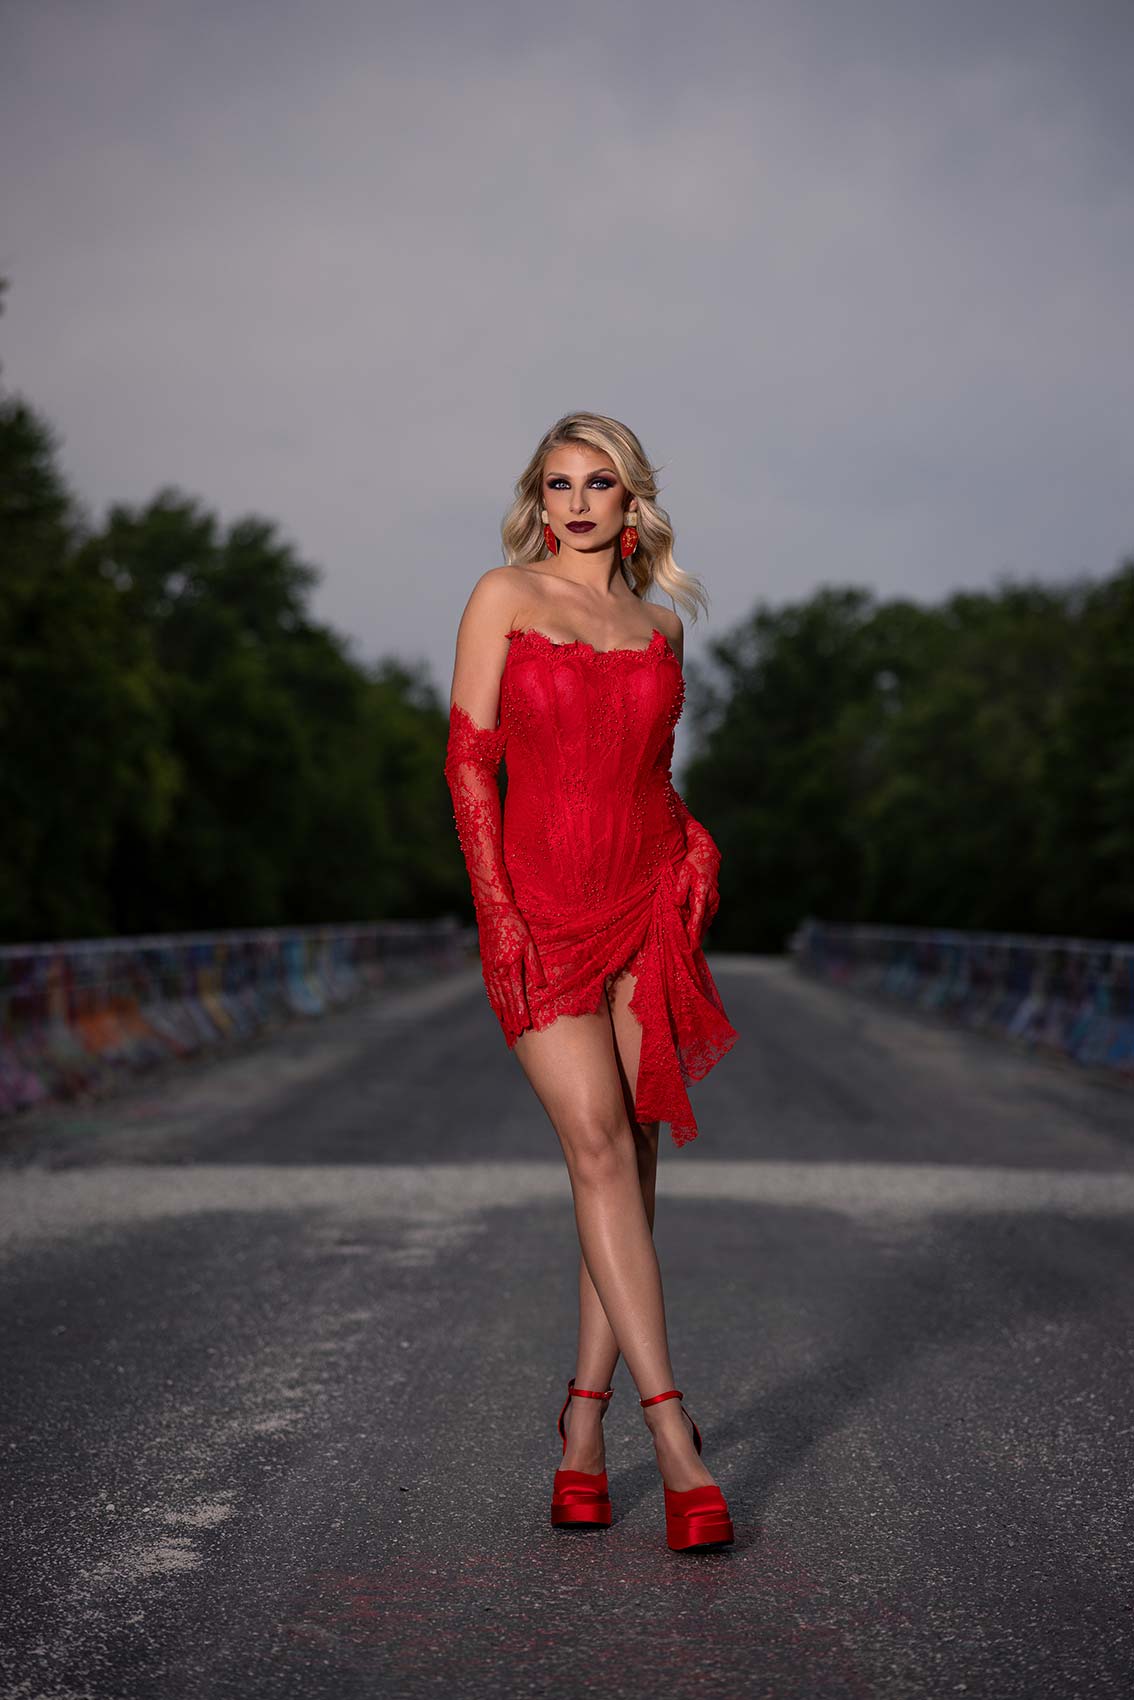
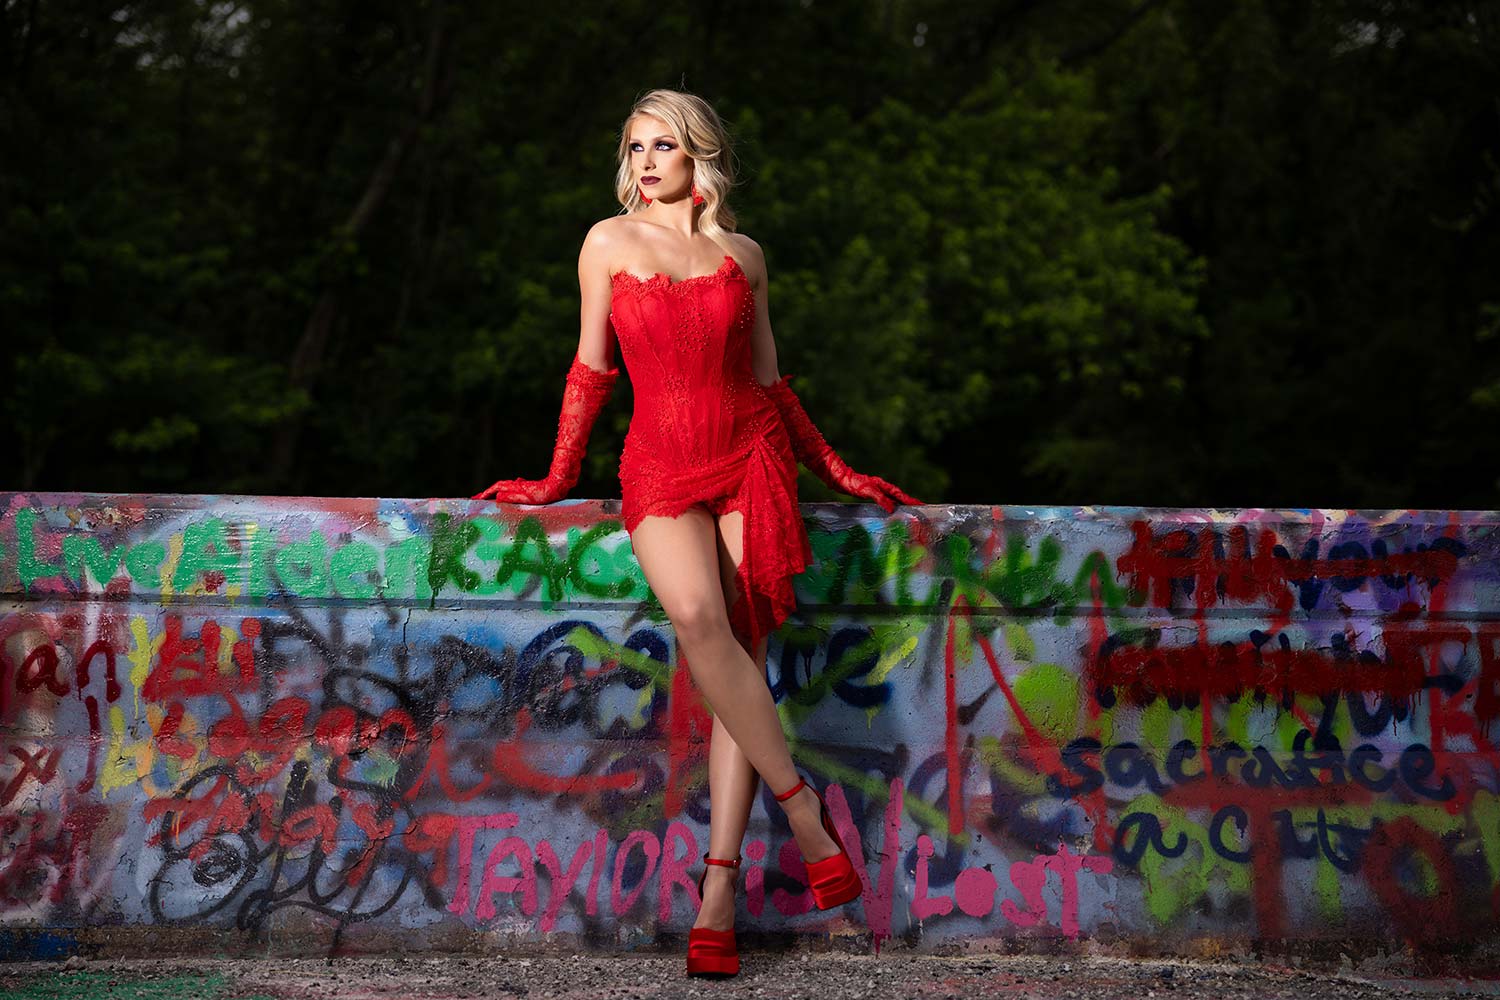
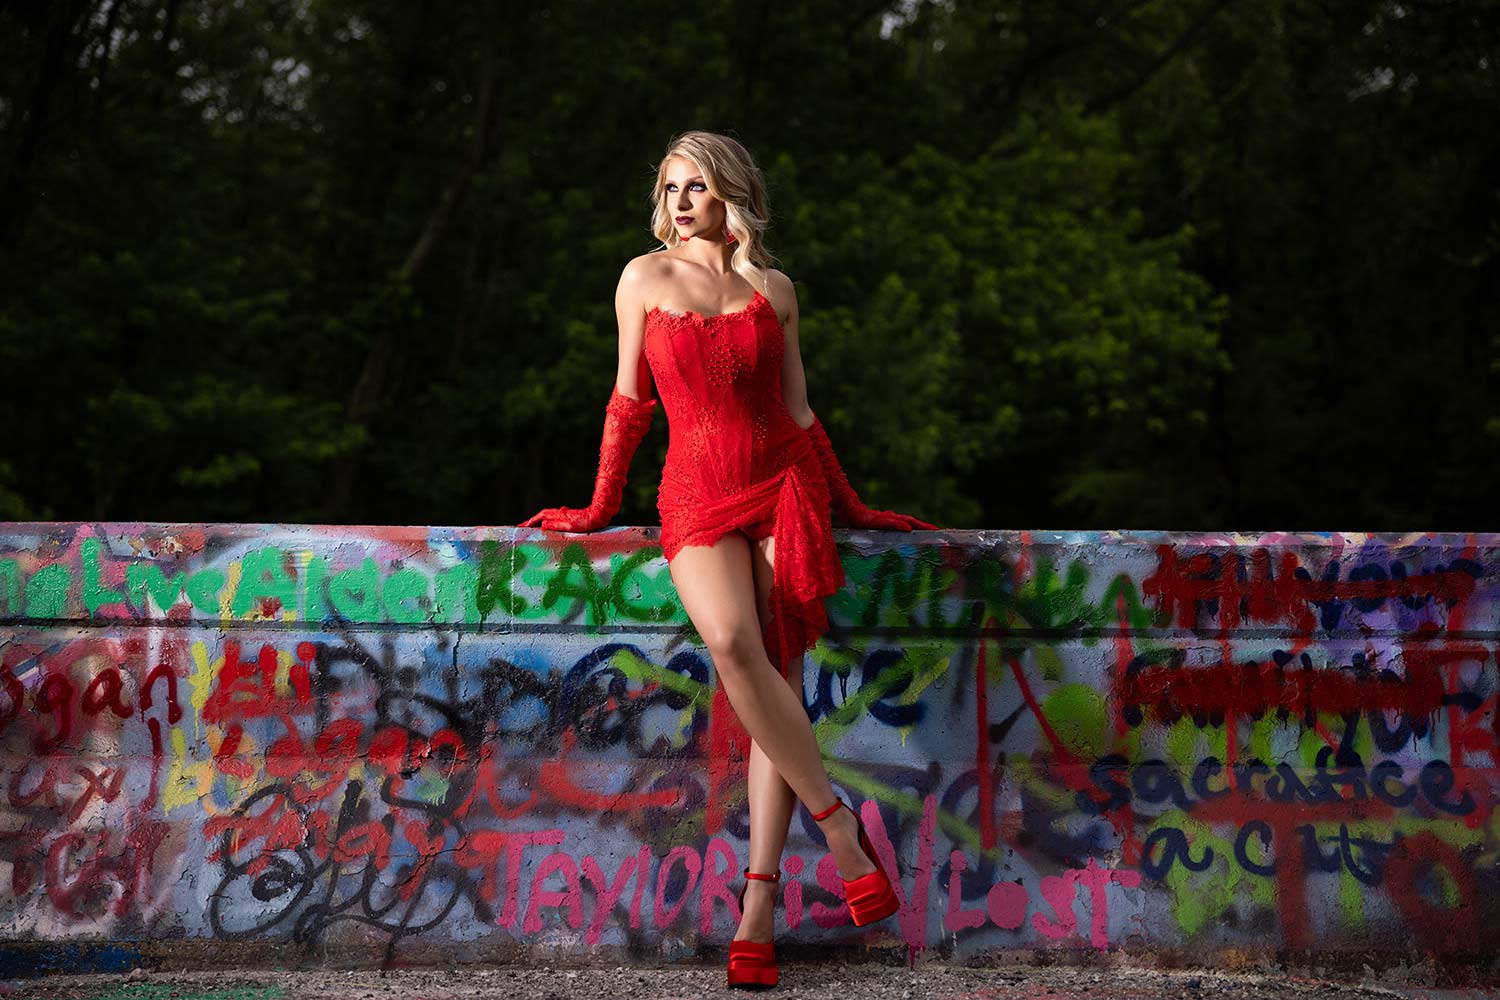
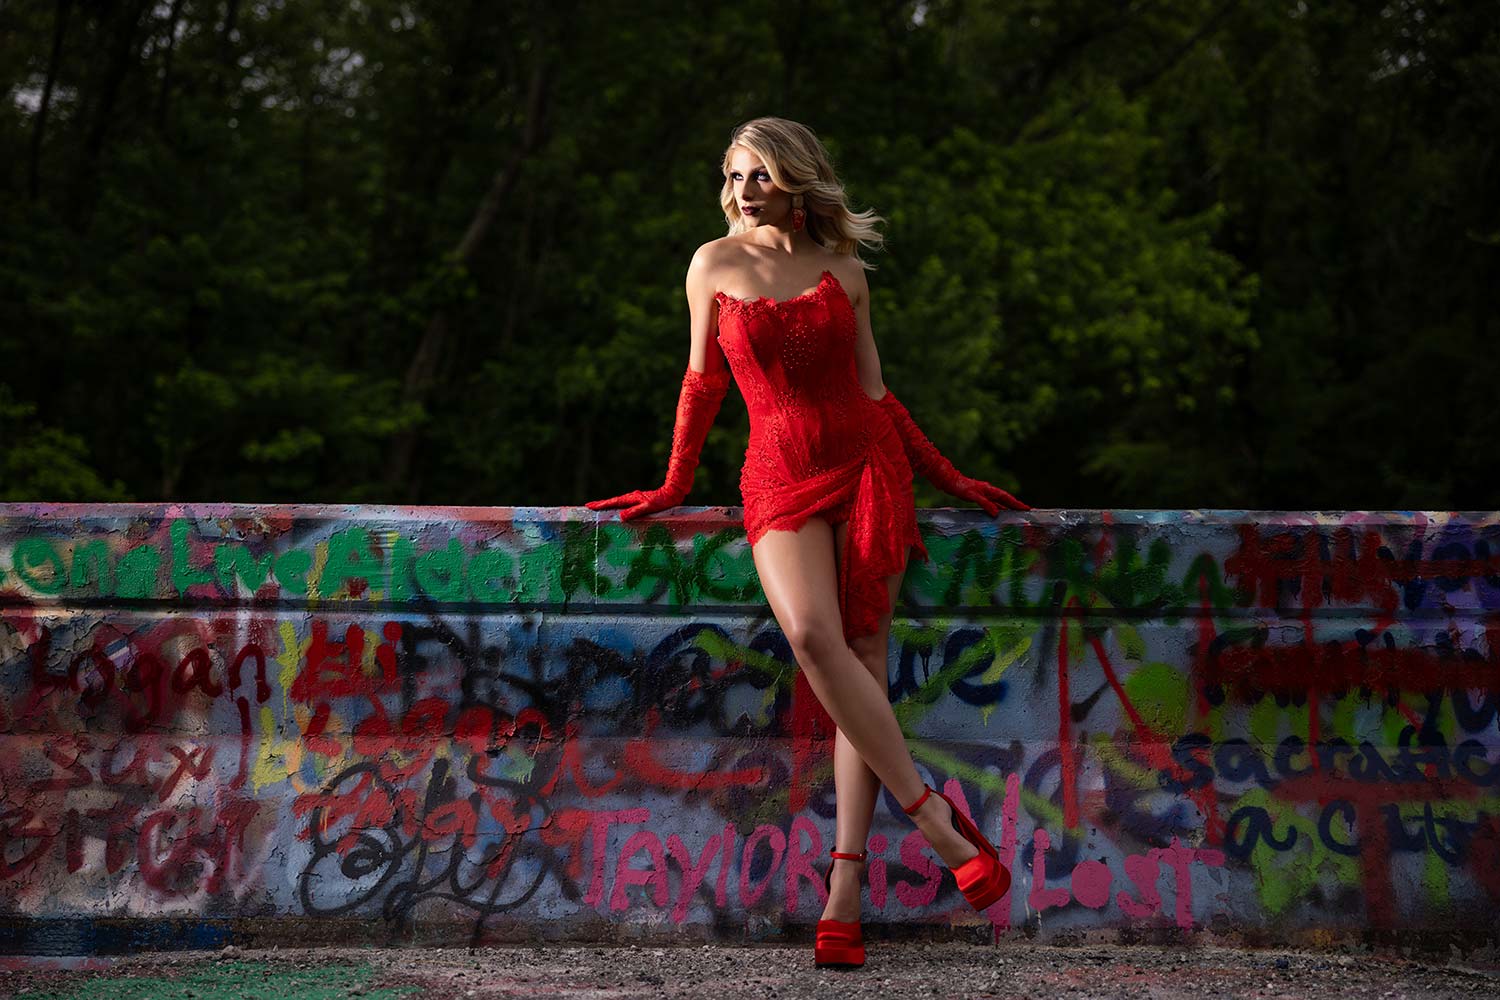
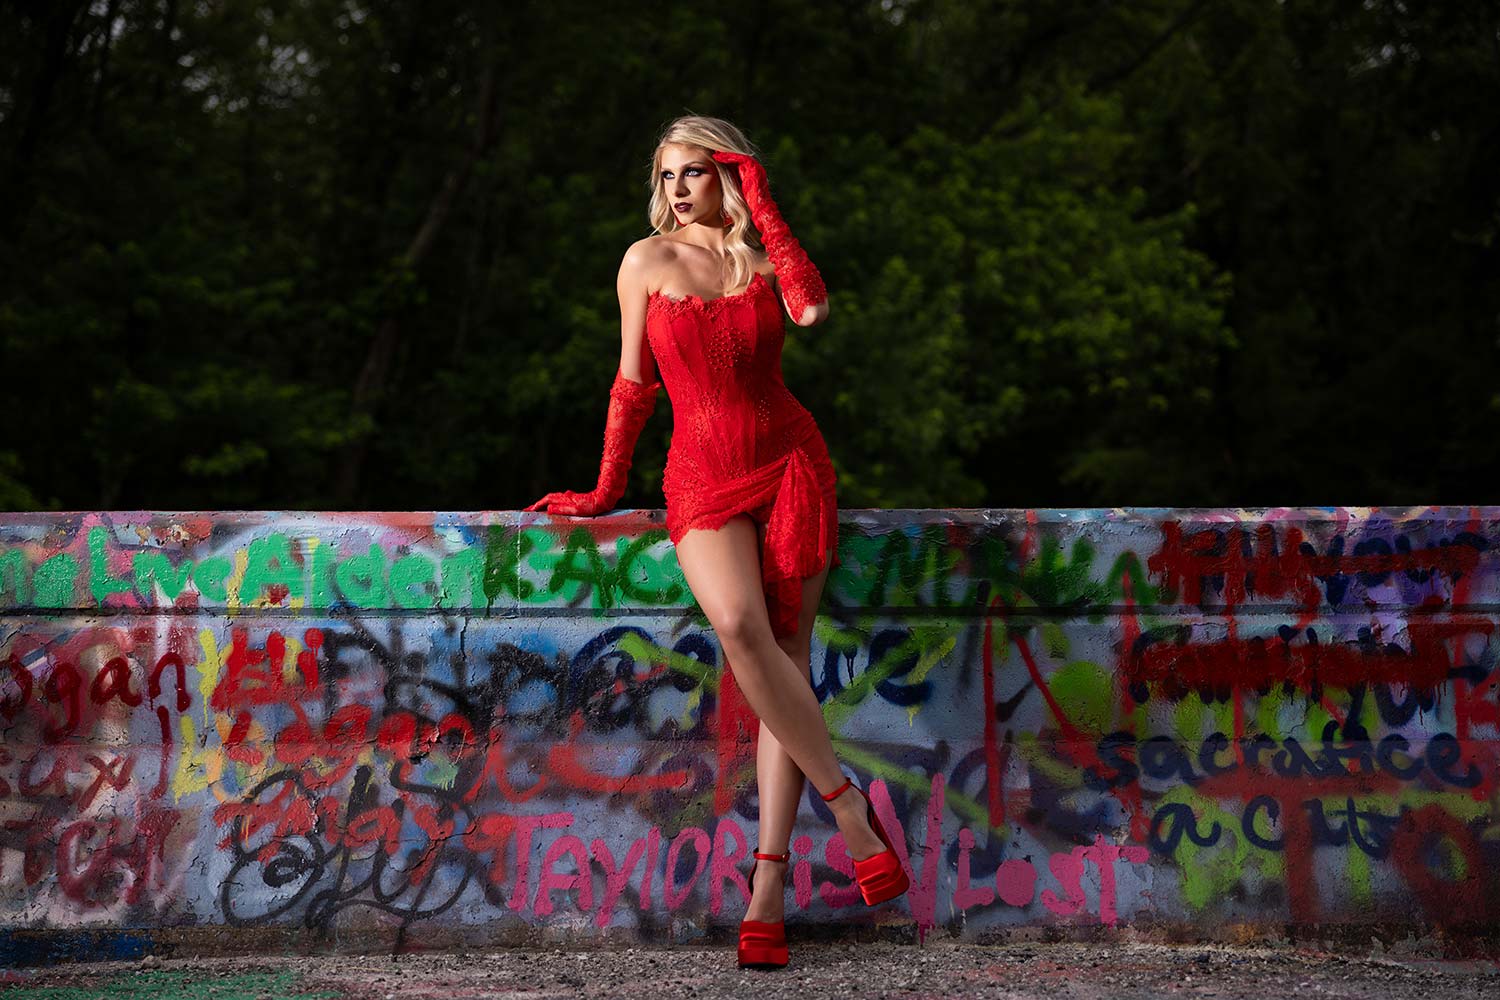
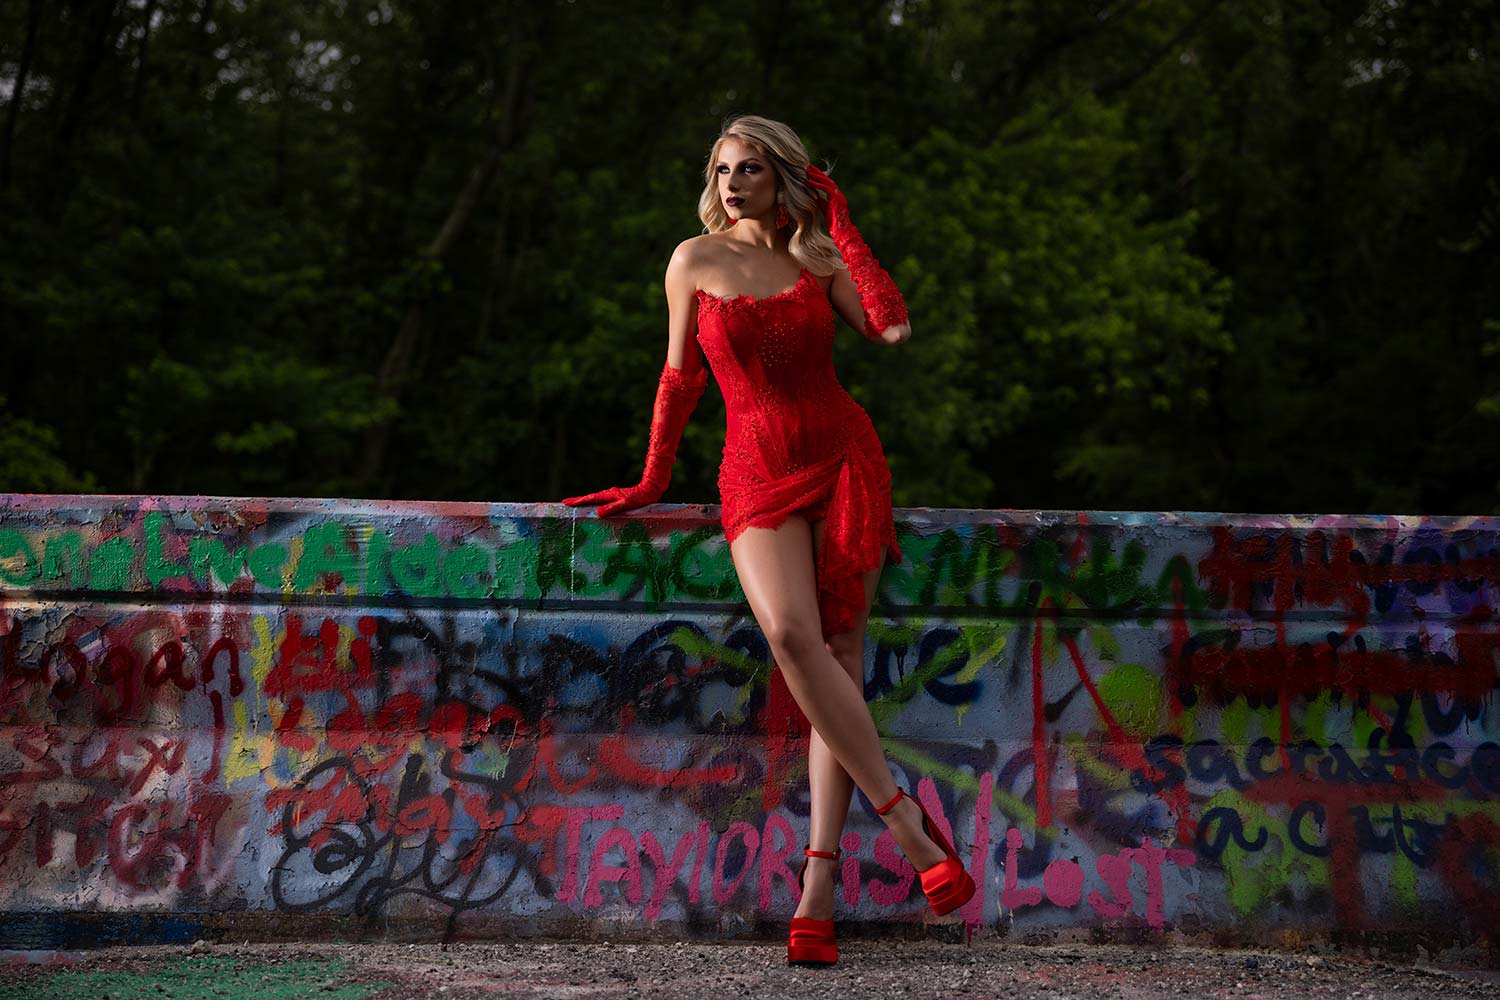

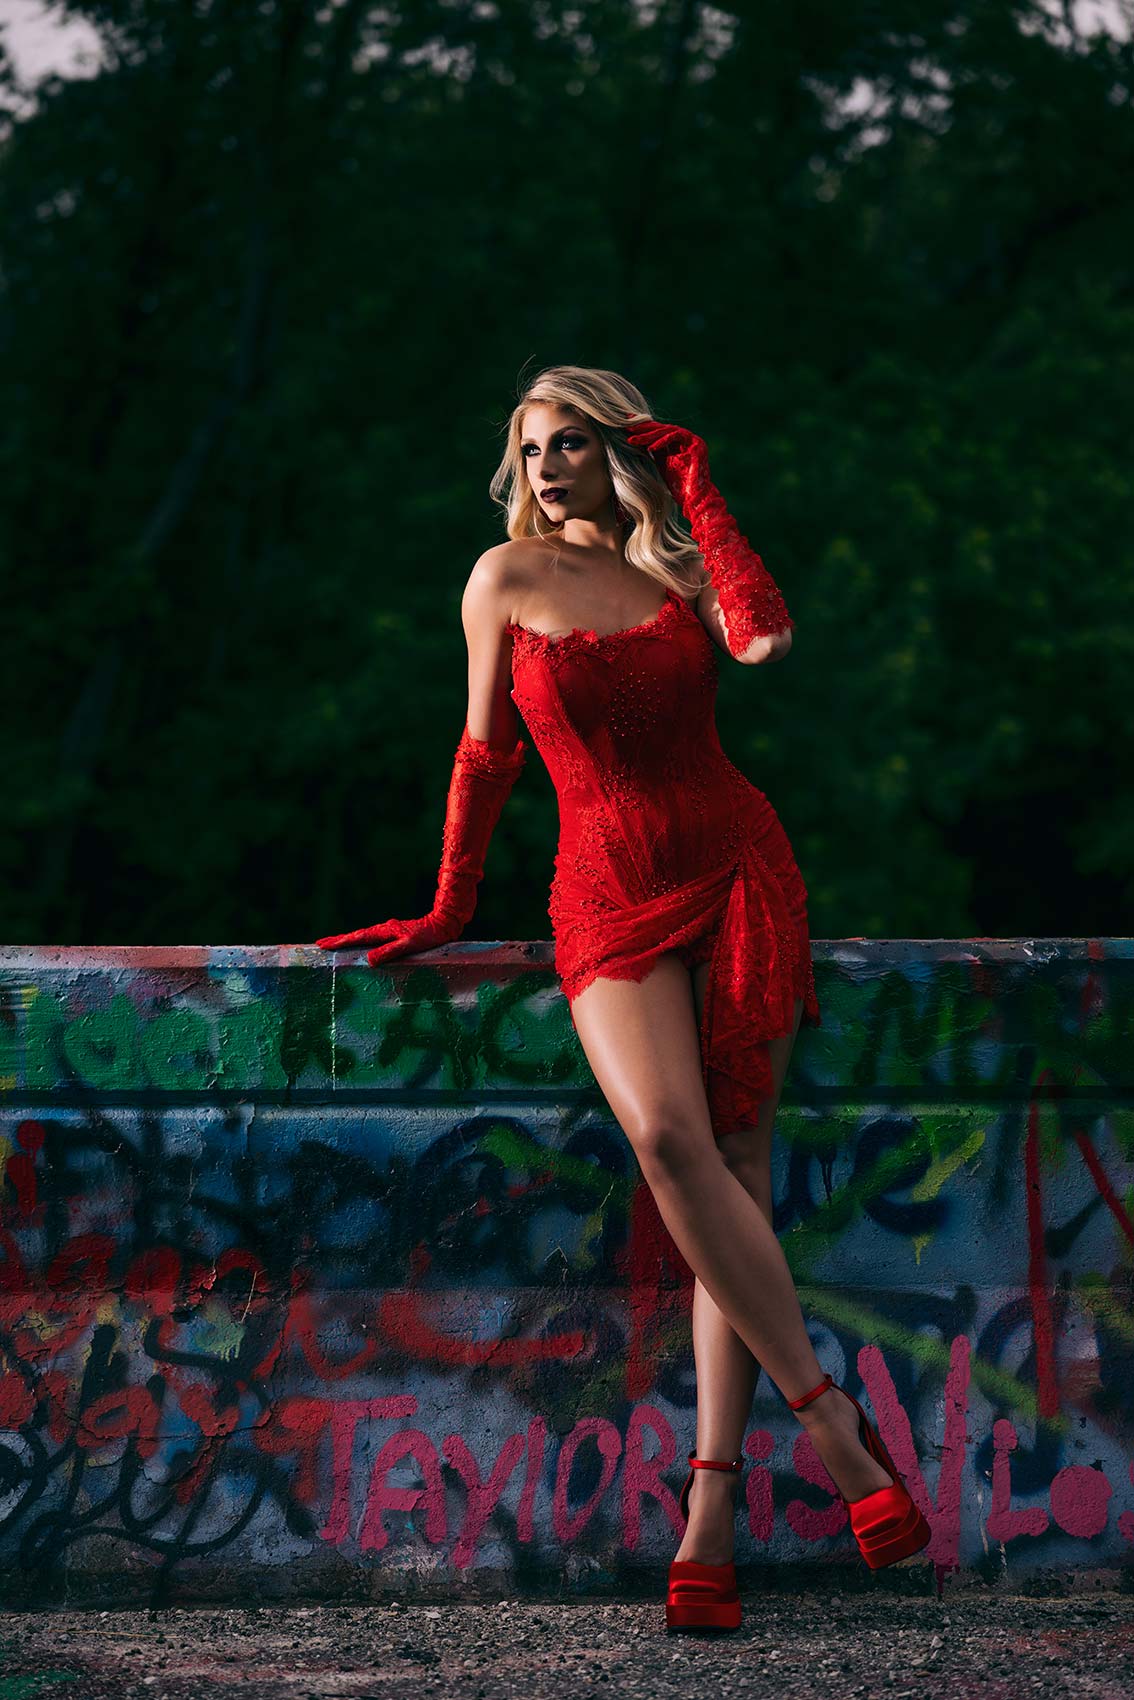
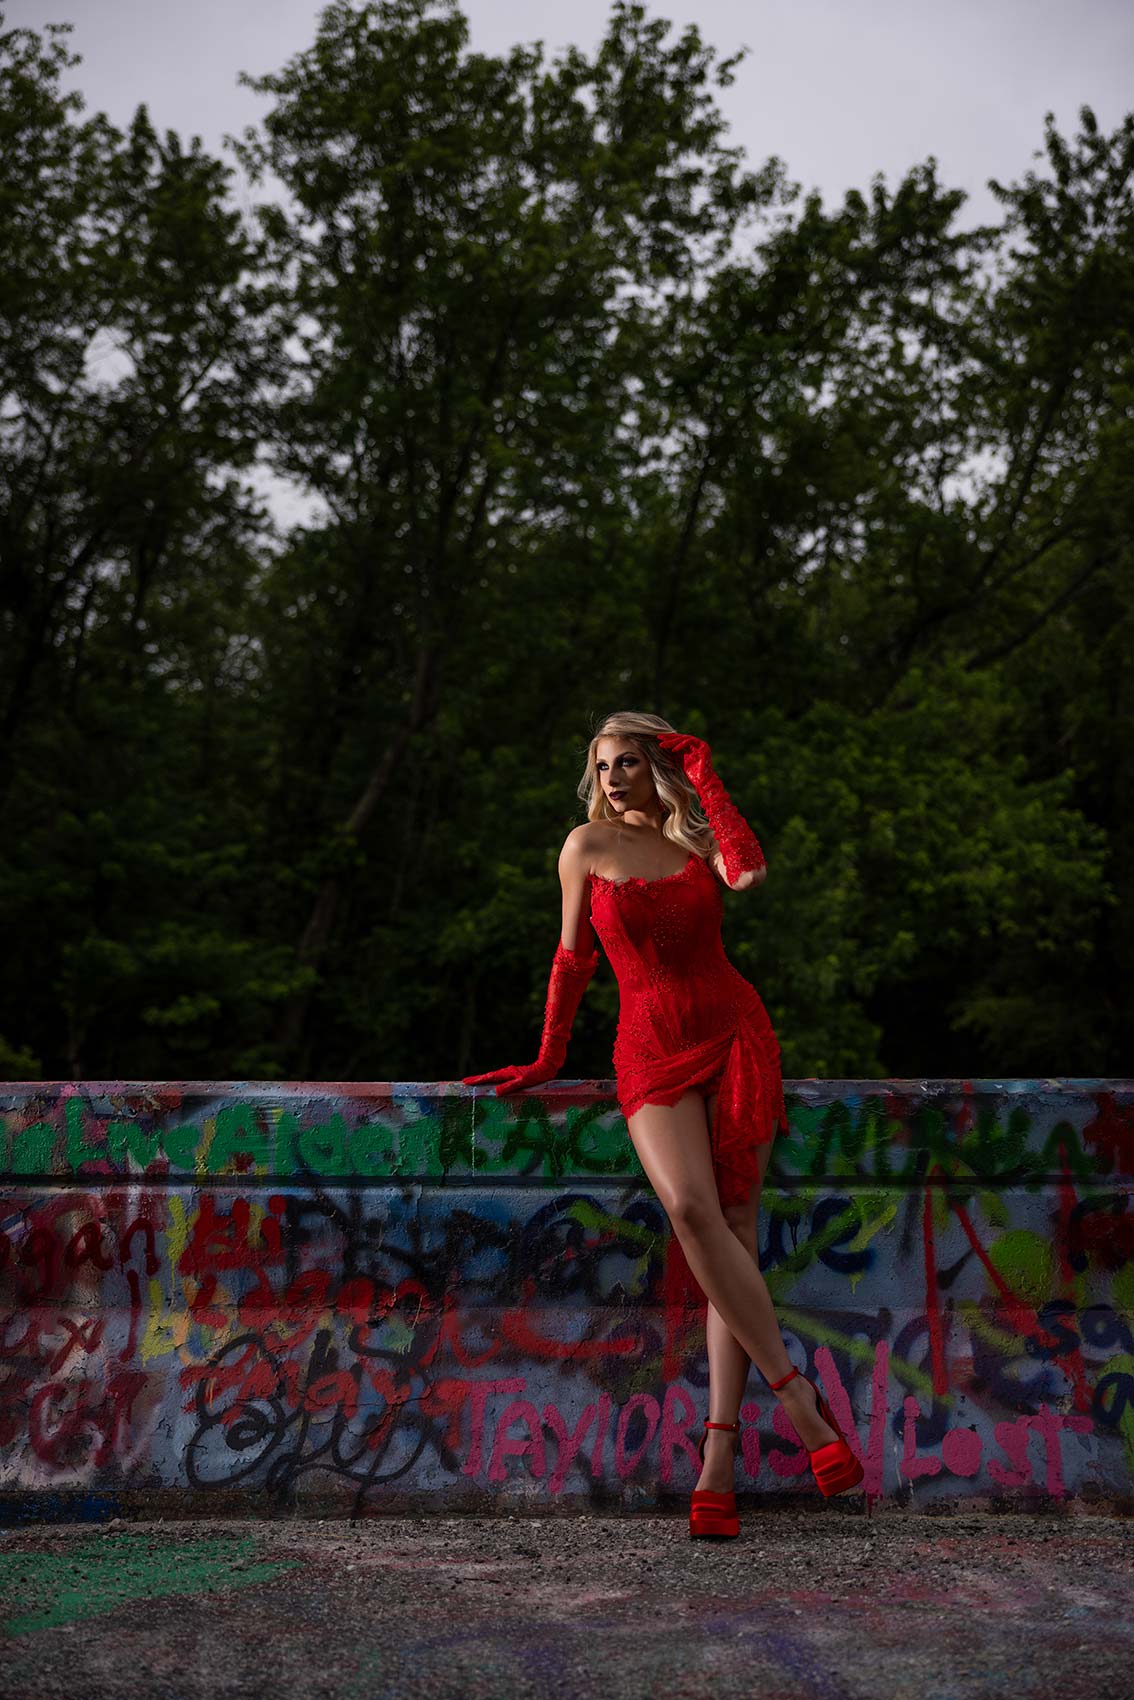
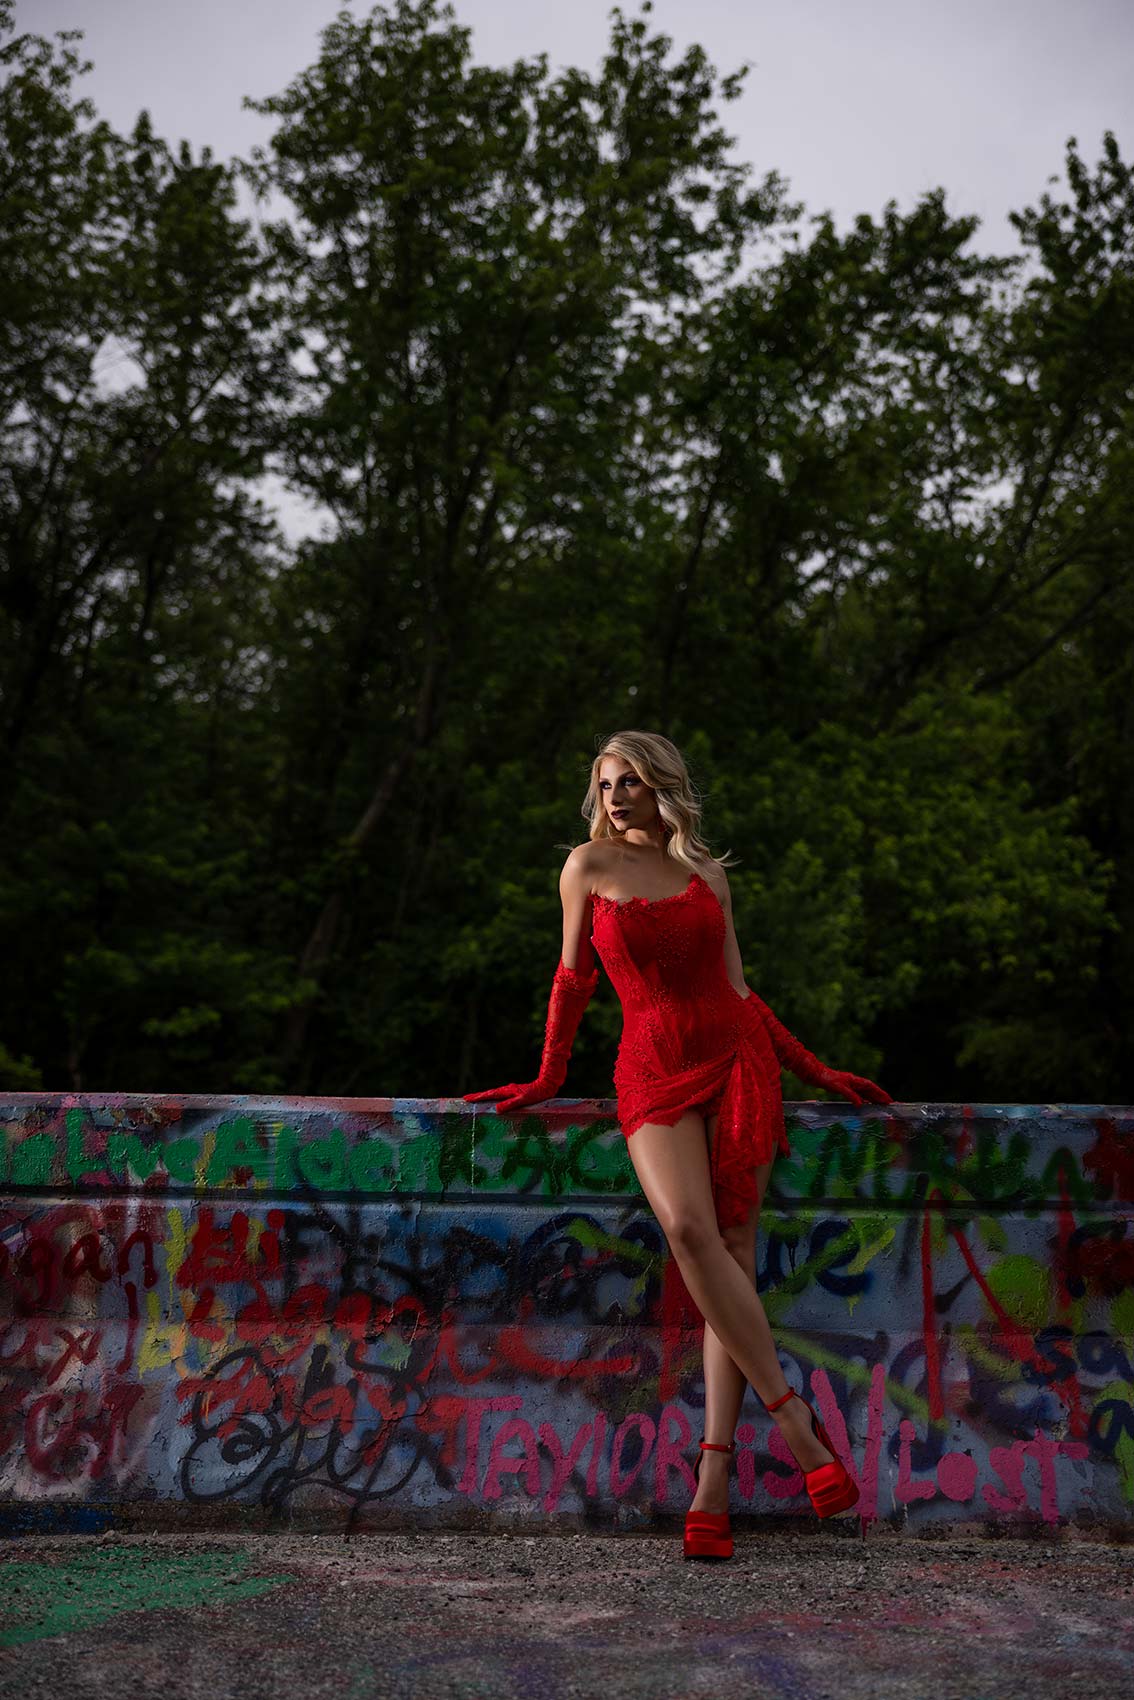
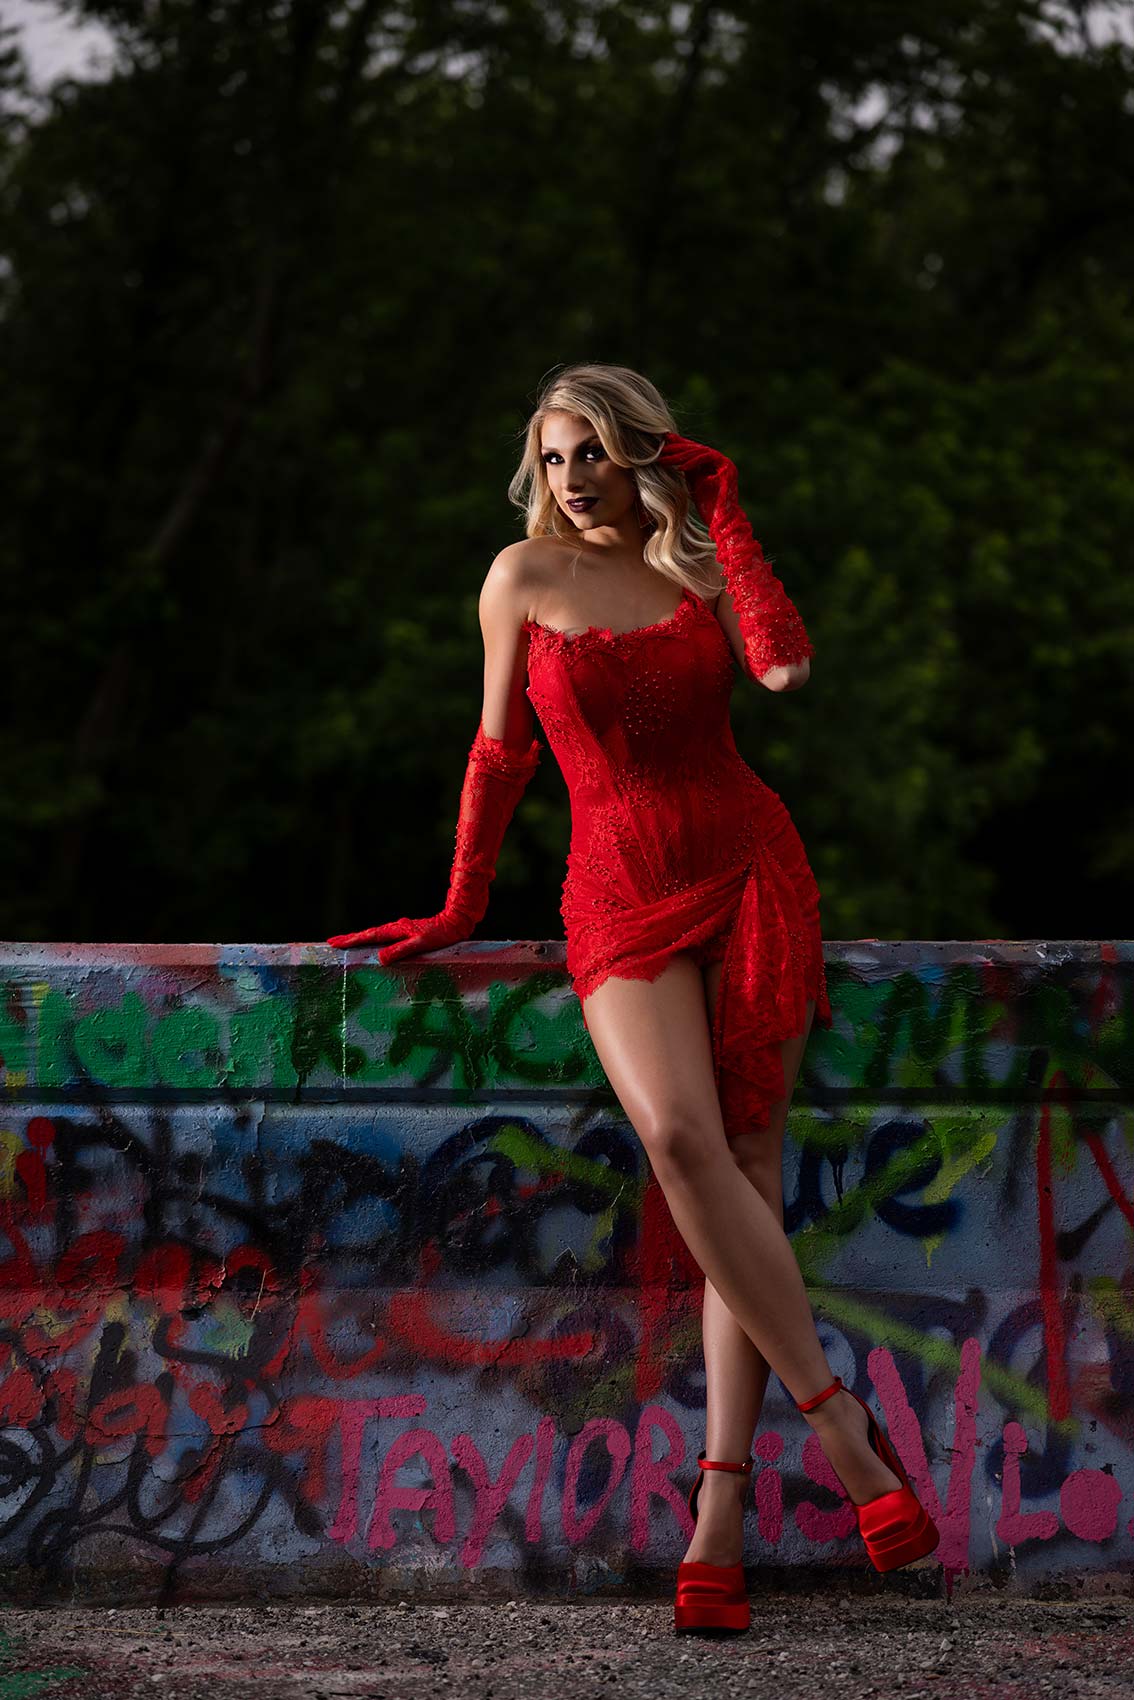
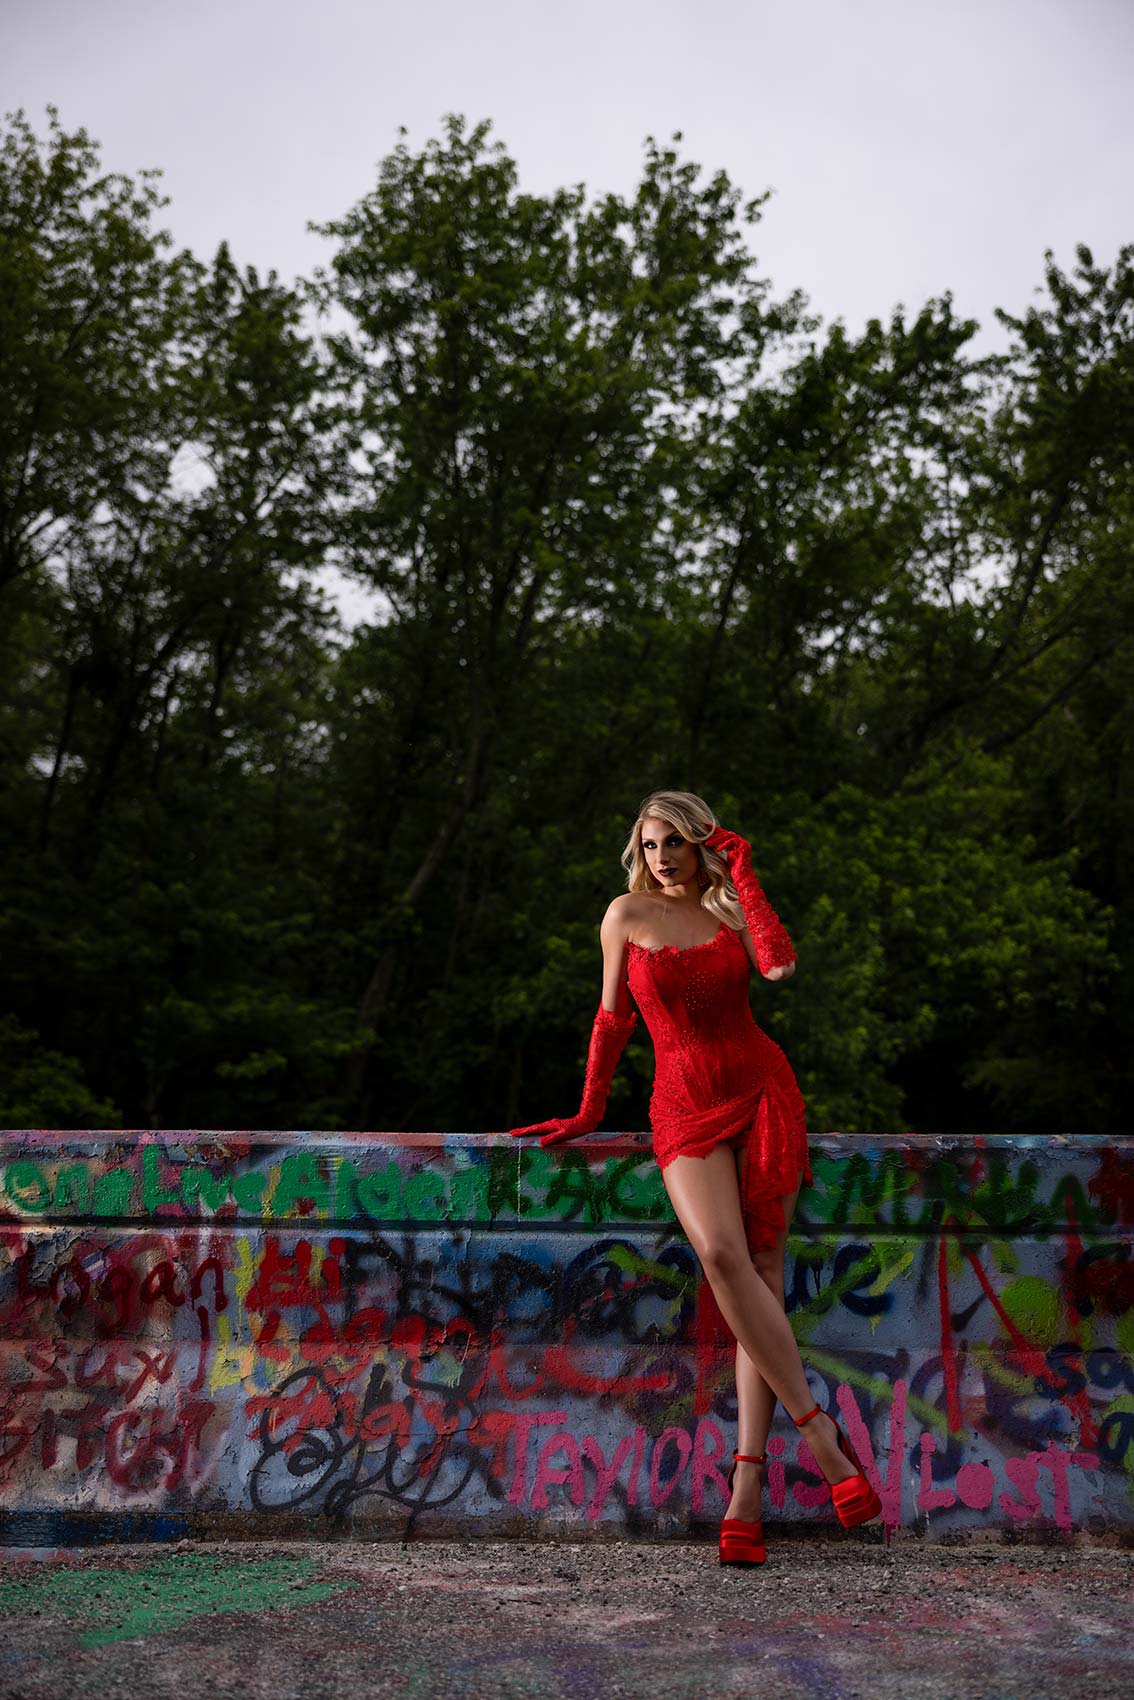
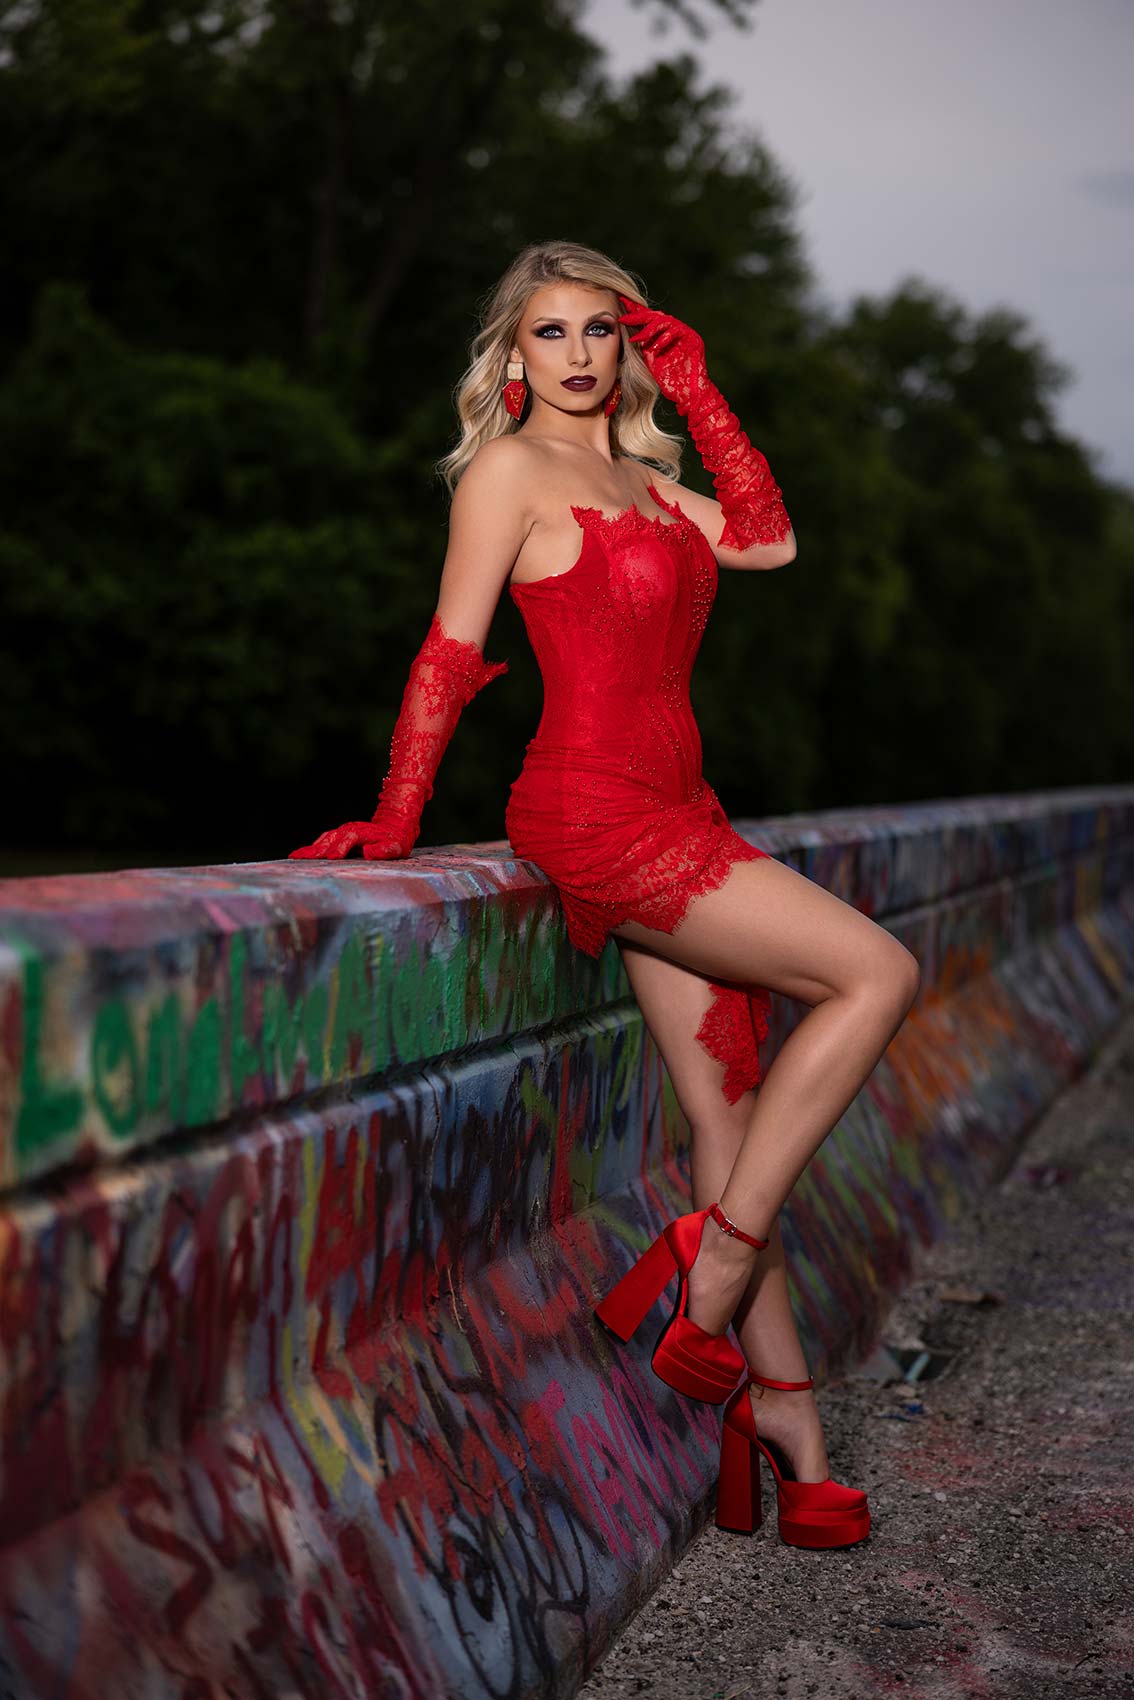
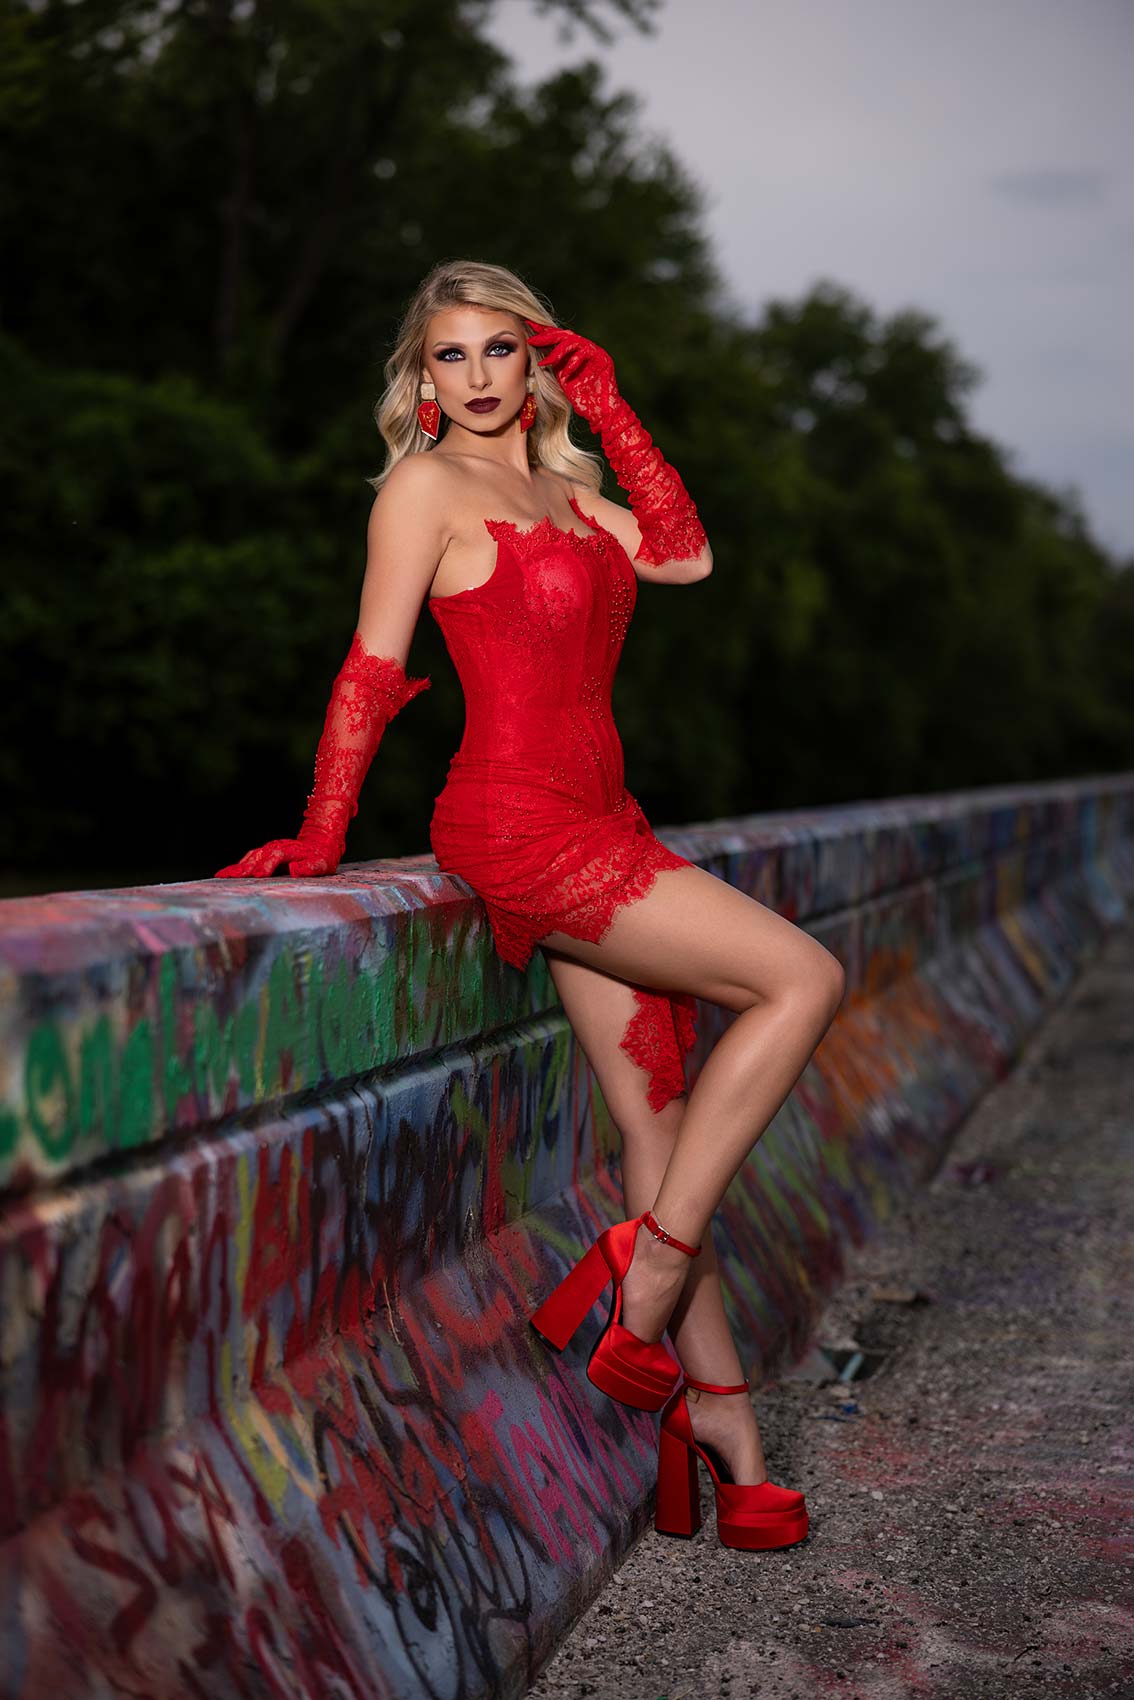
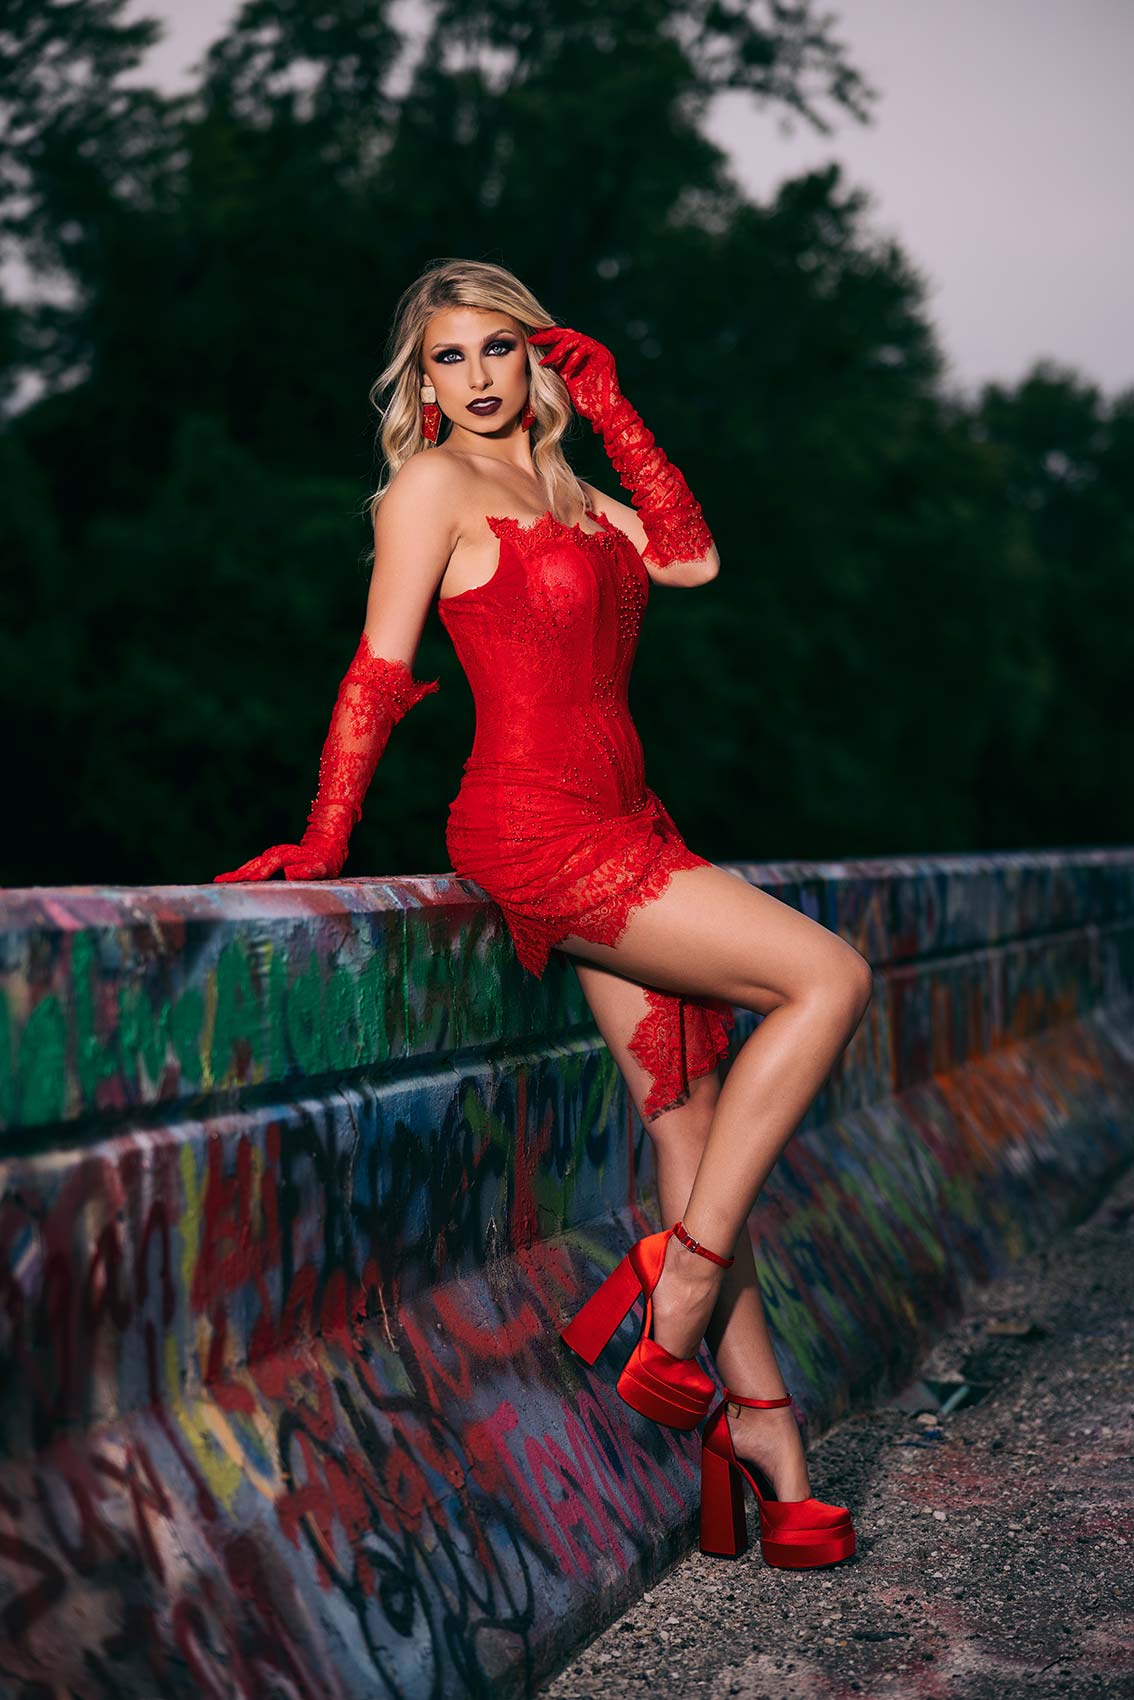
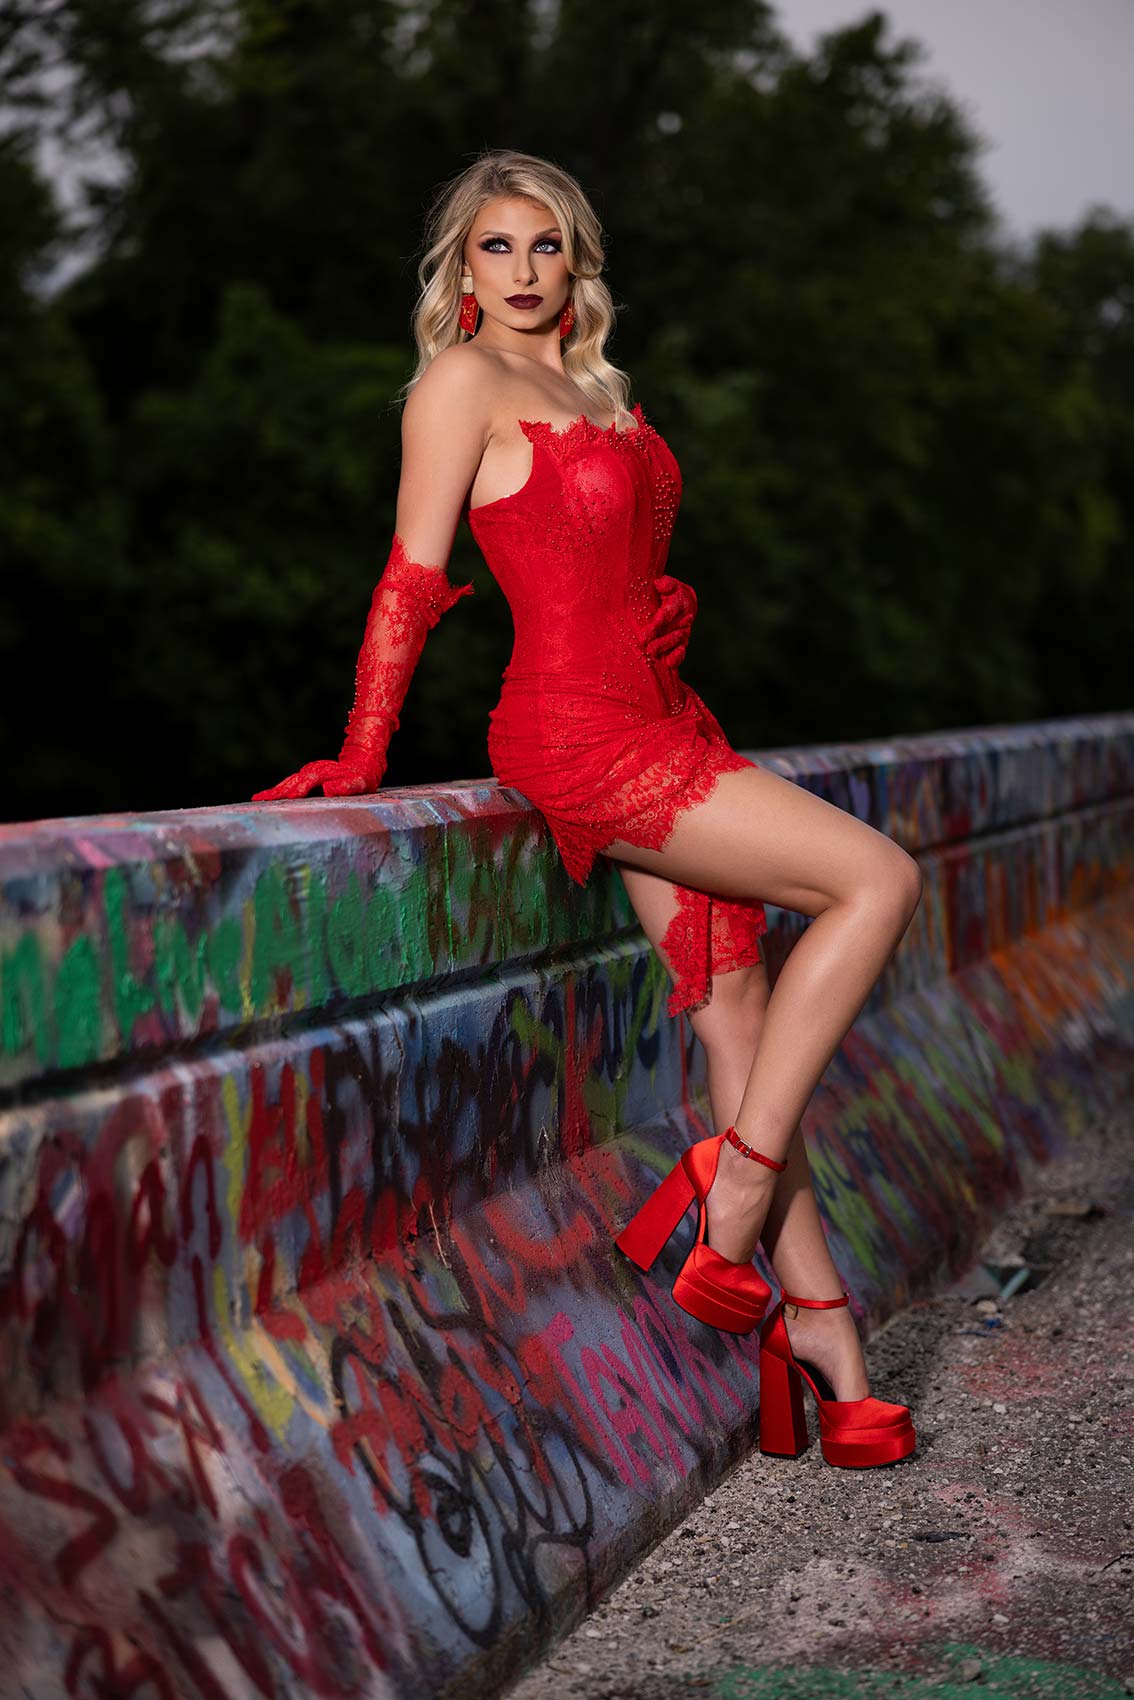

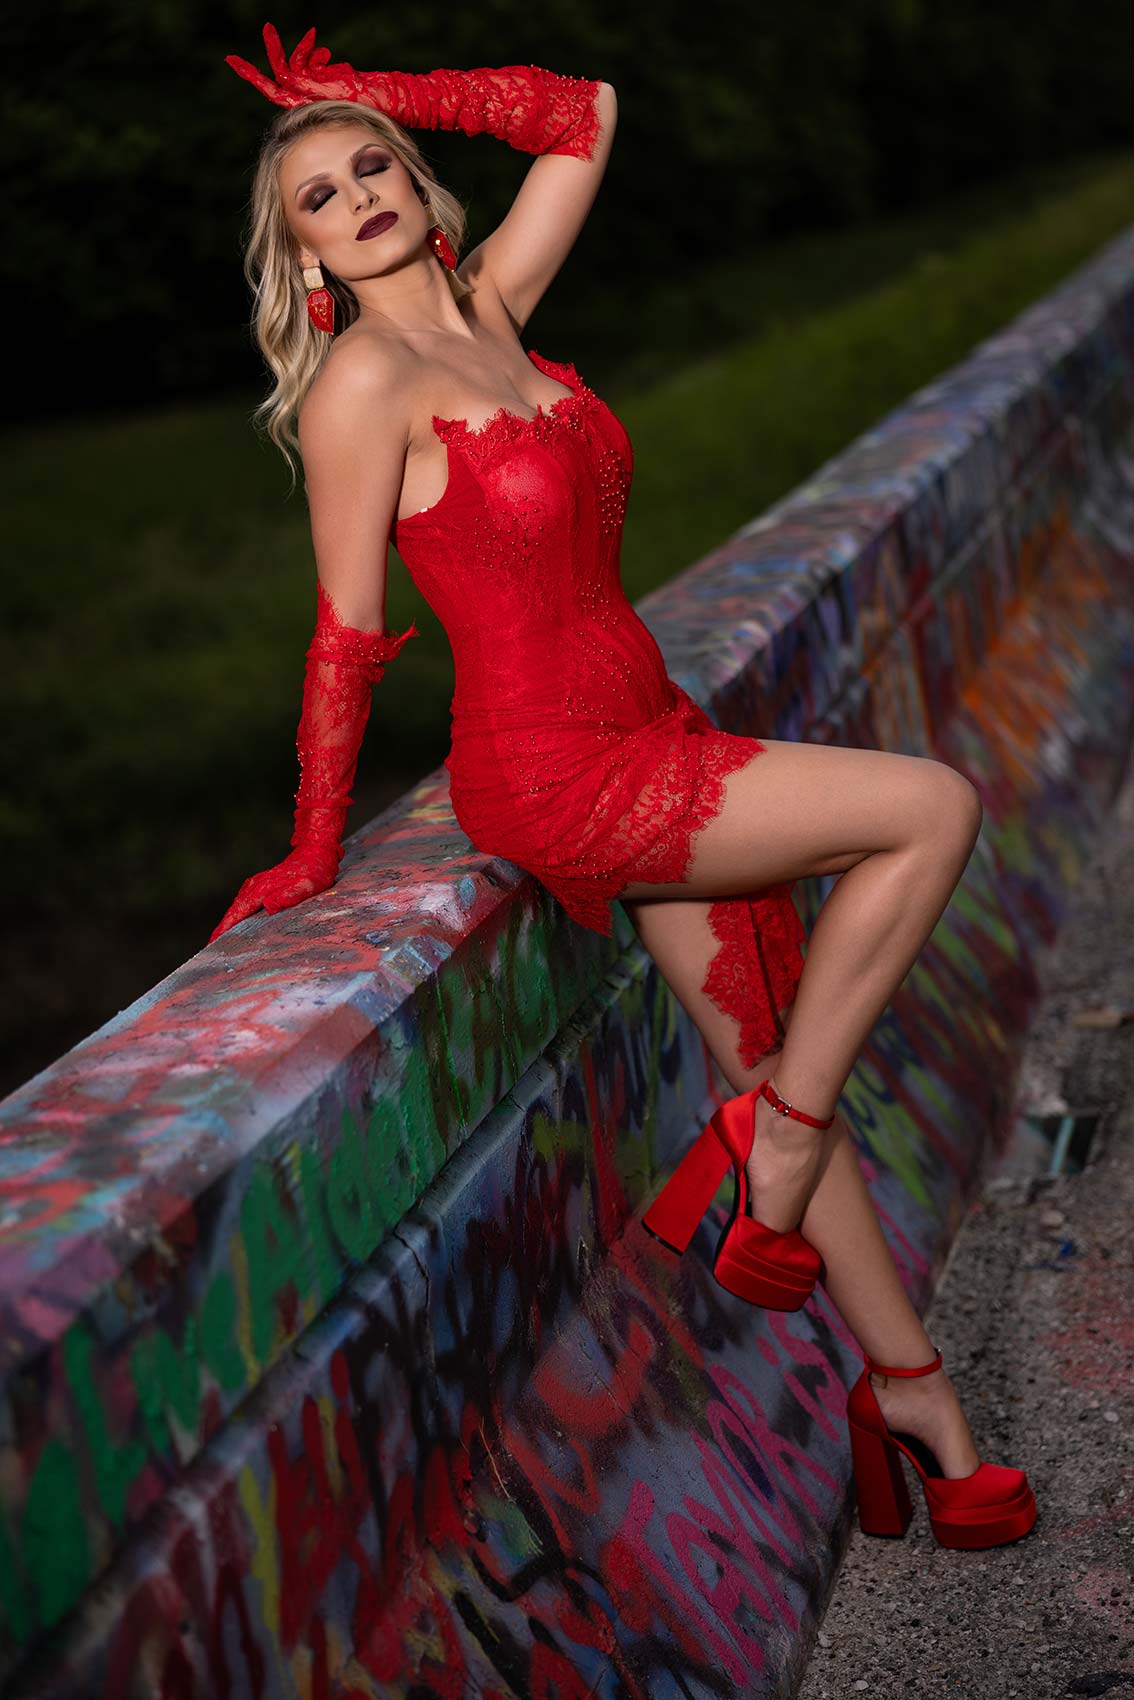
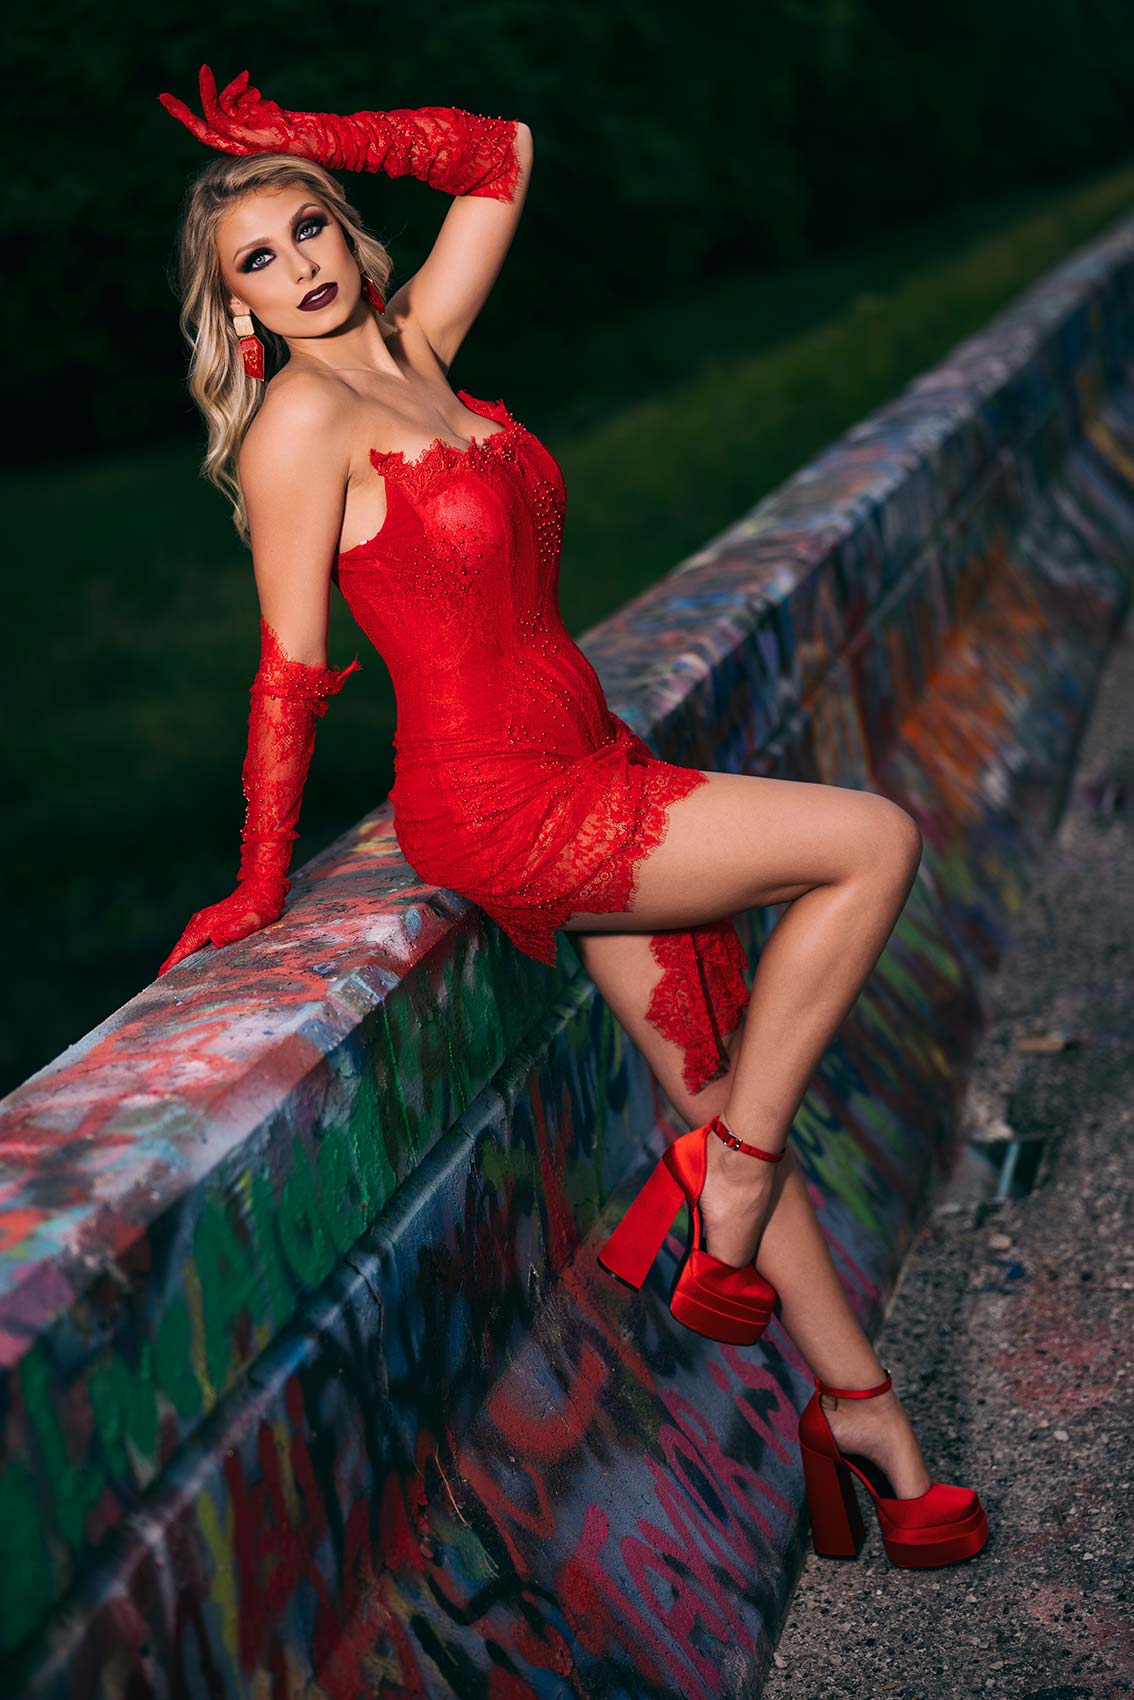

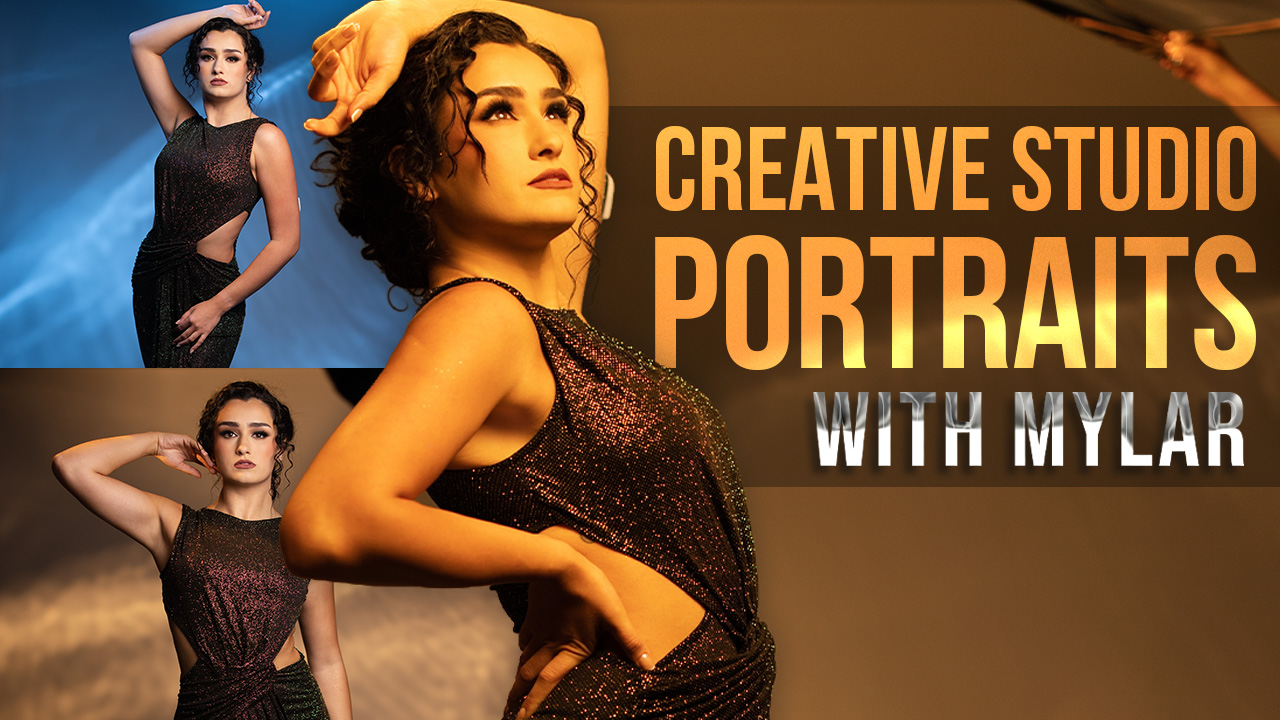
Learn how to master lighting techniques for stunning creative portraits using simple materials like Mylar. This guide shows you how to use color temperature and movement to get professional studio results on a budget.
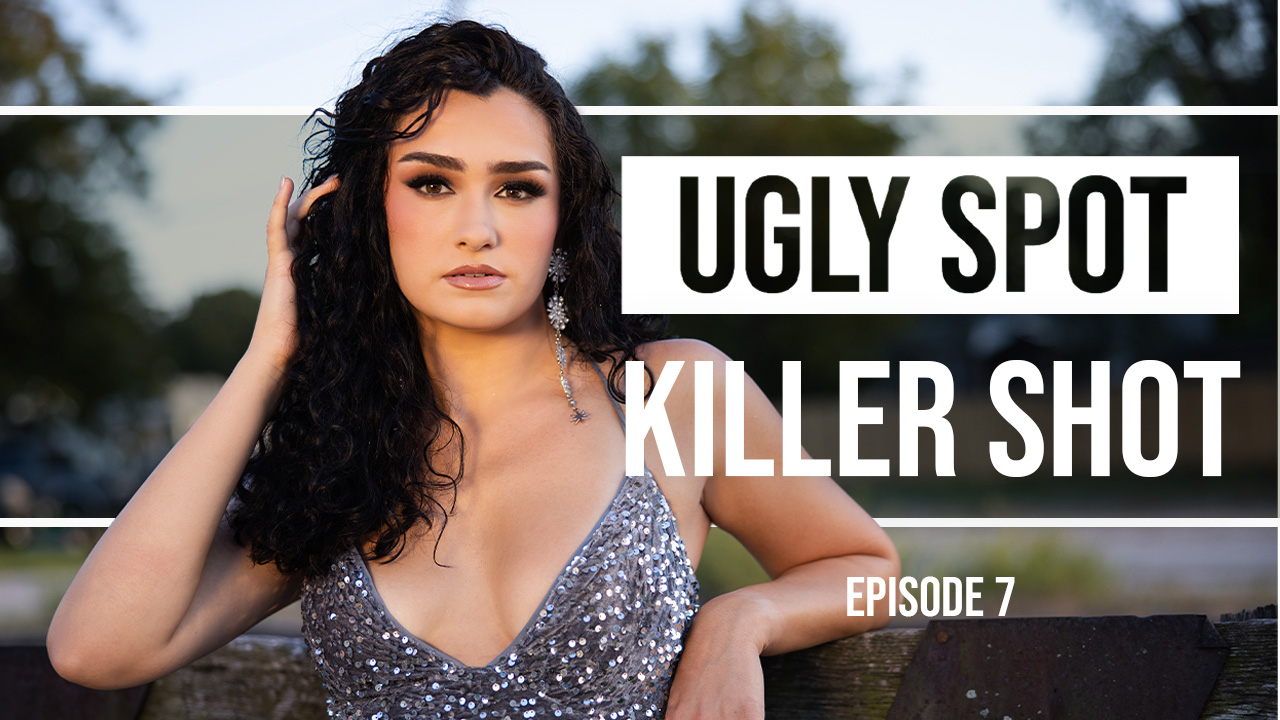
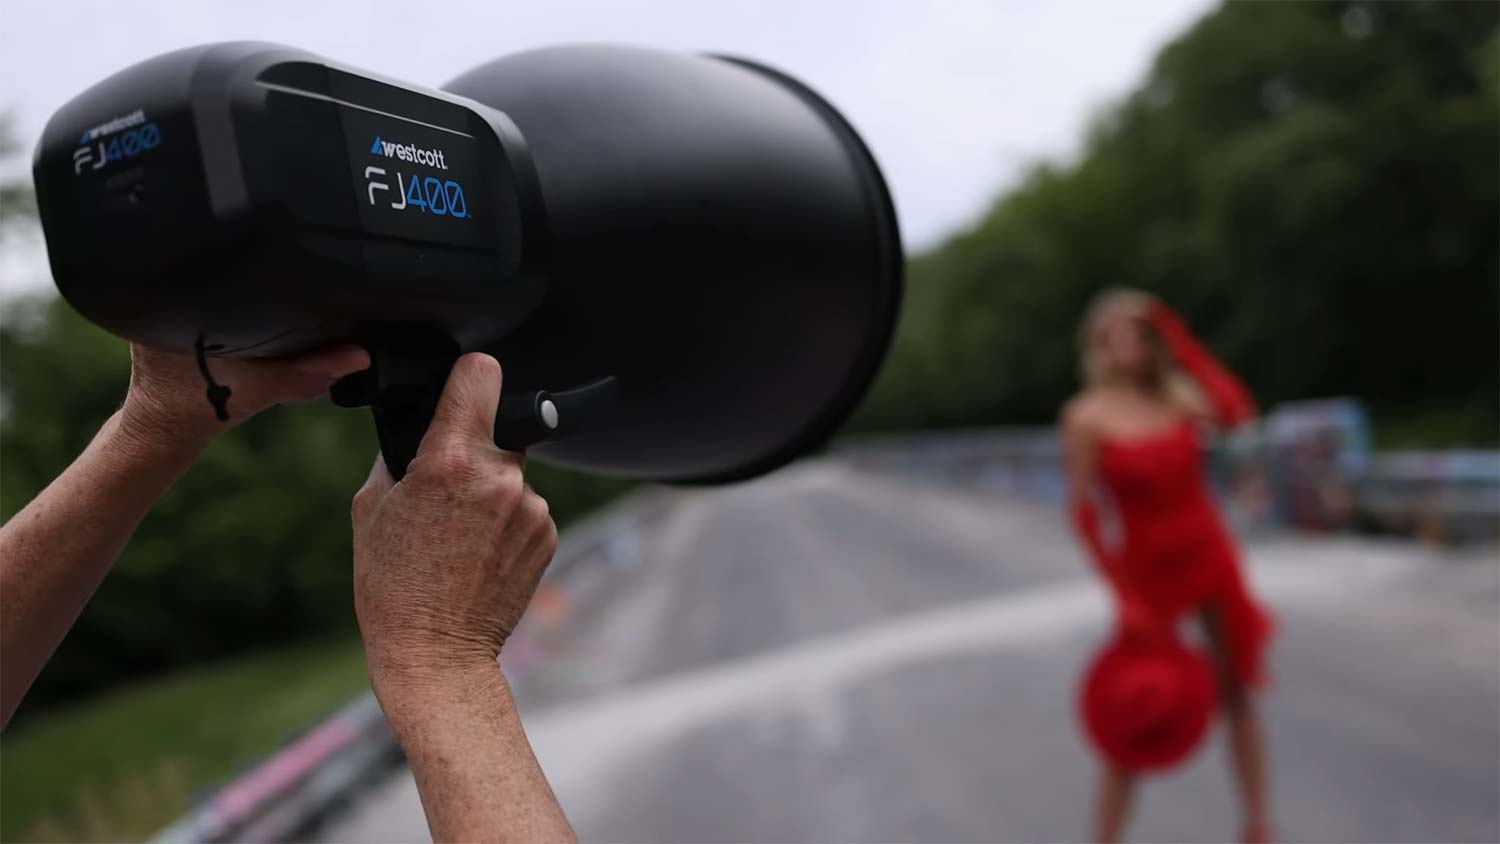
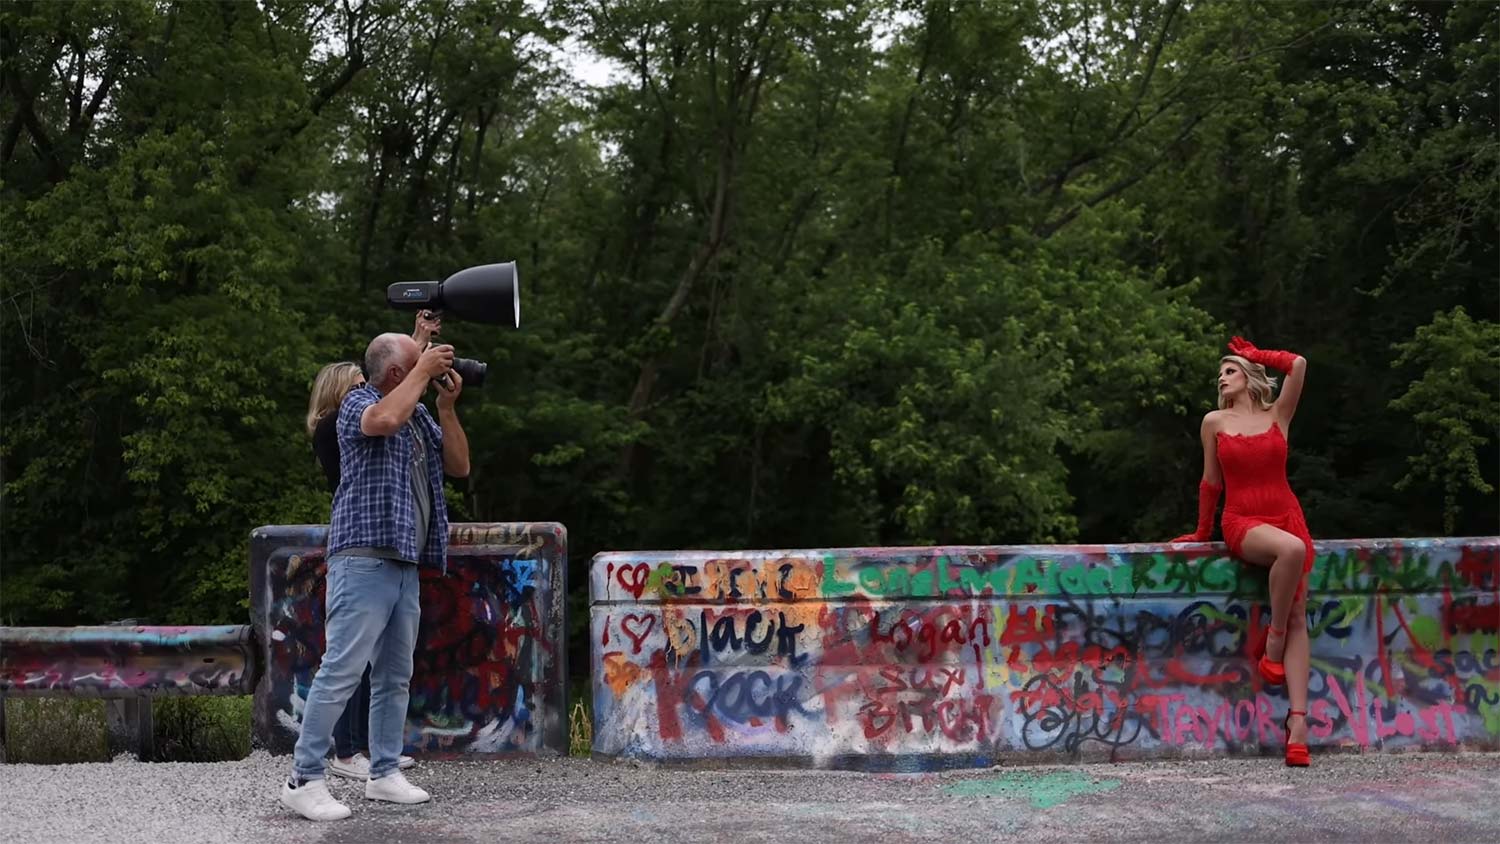
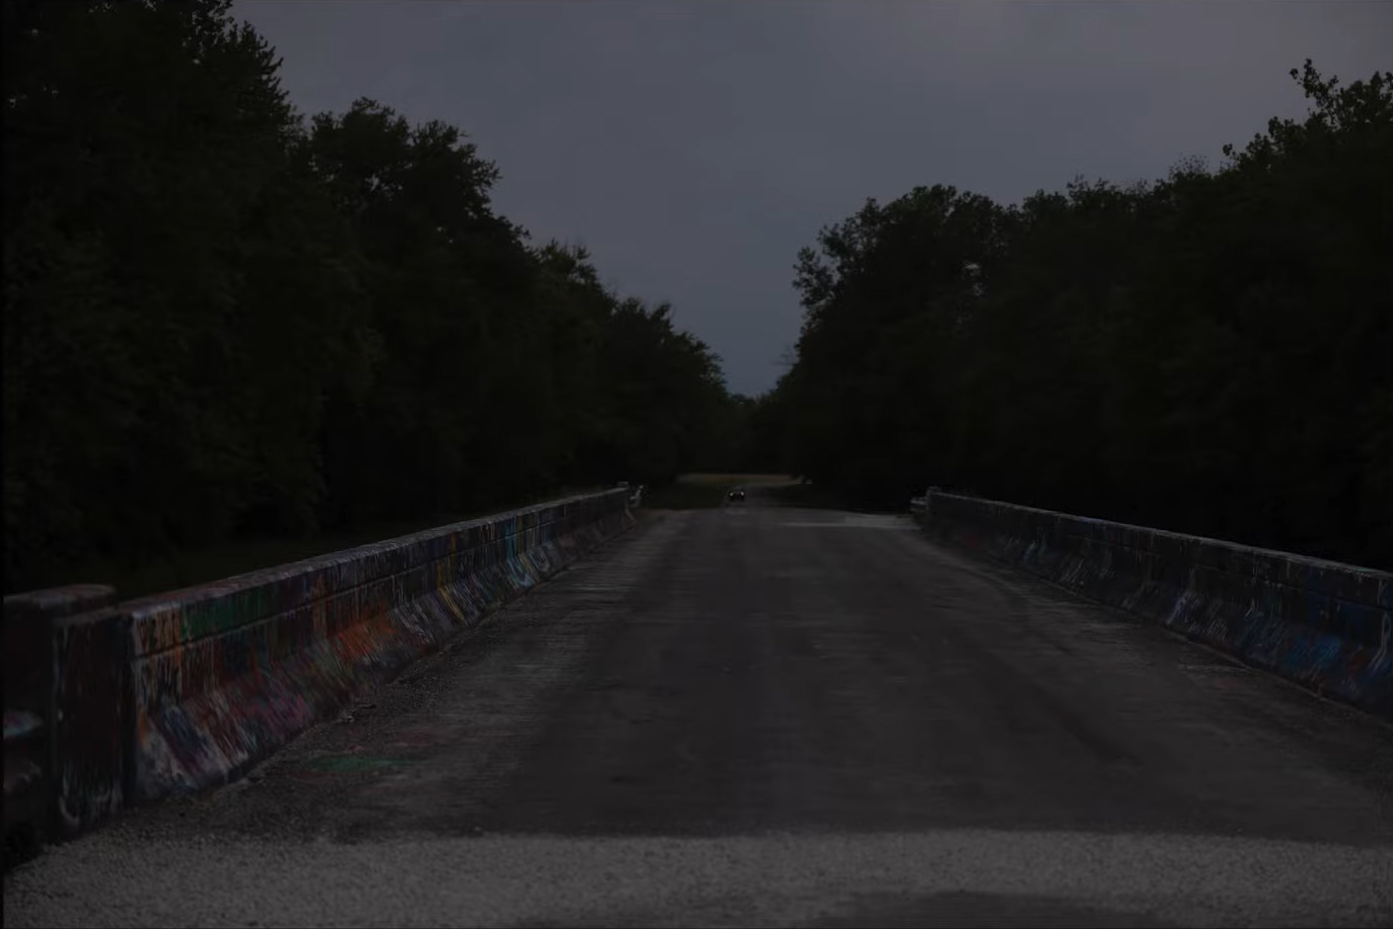
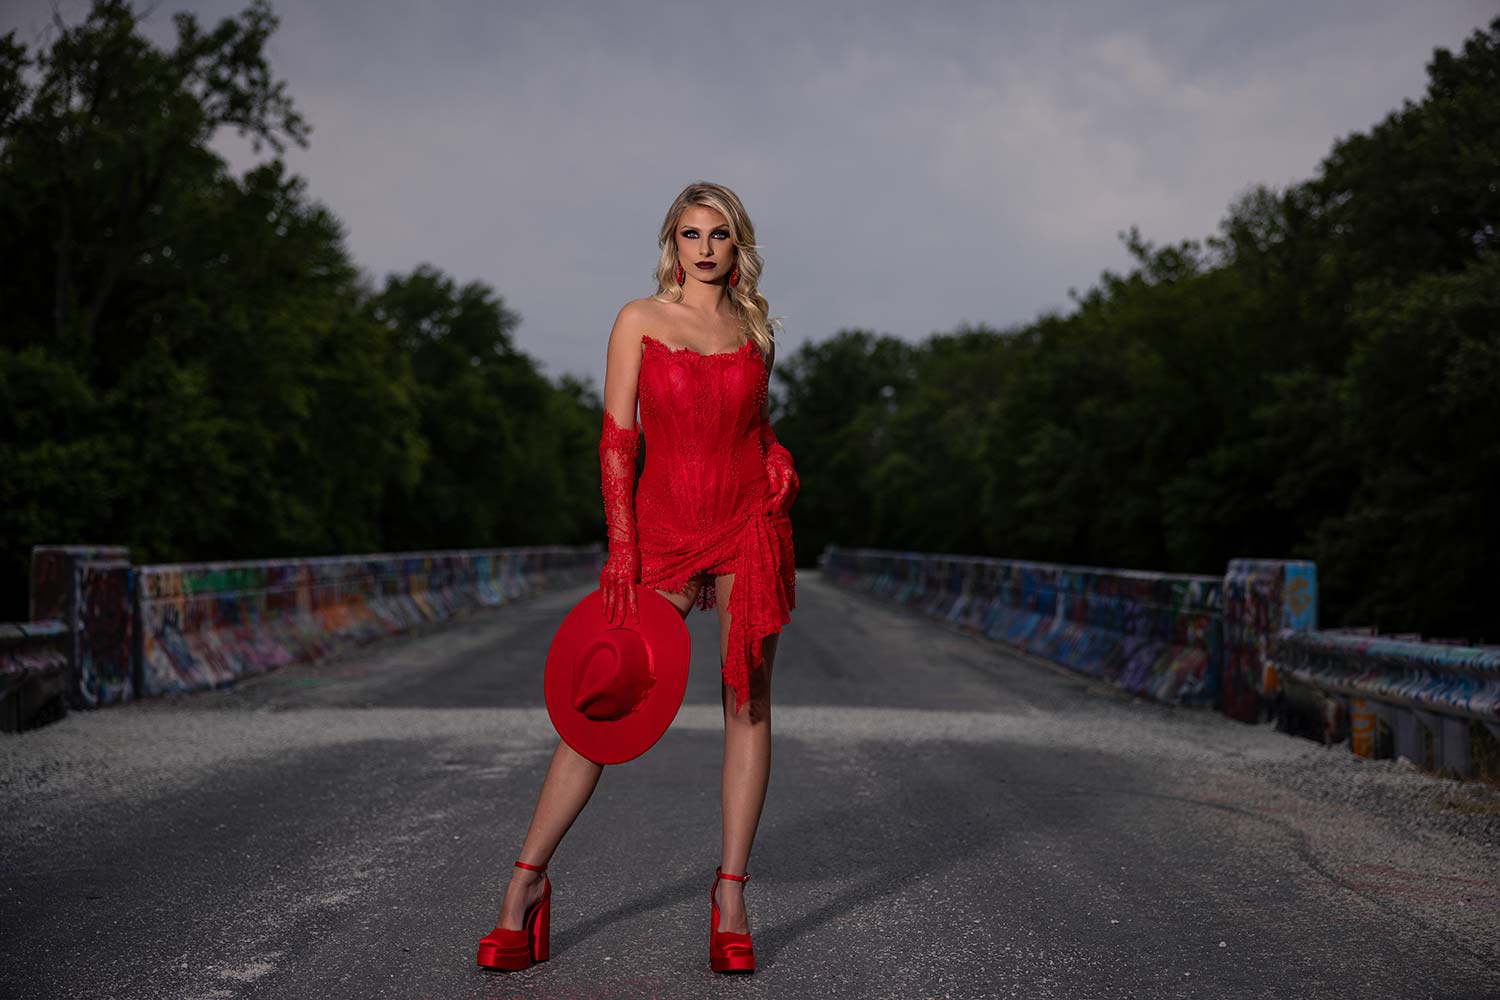
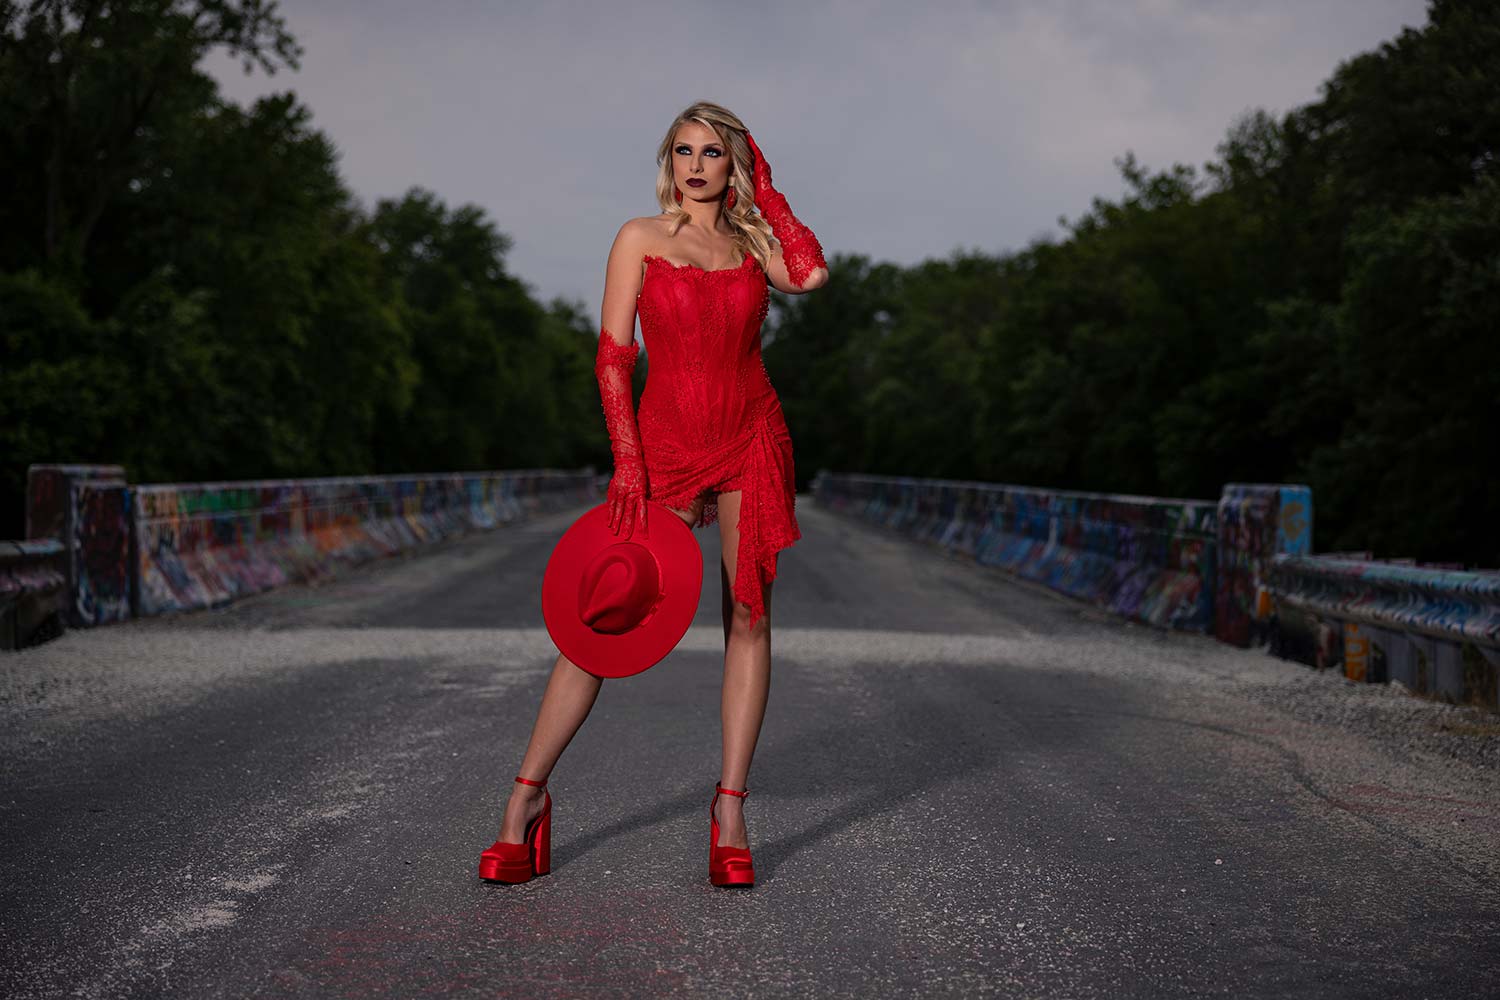
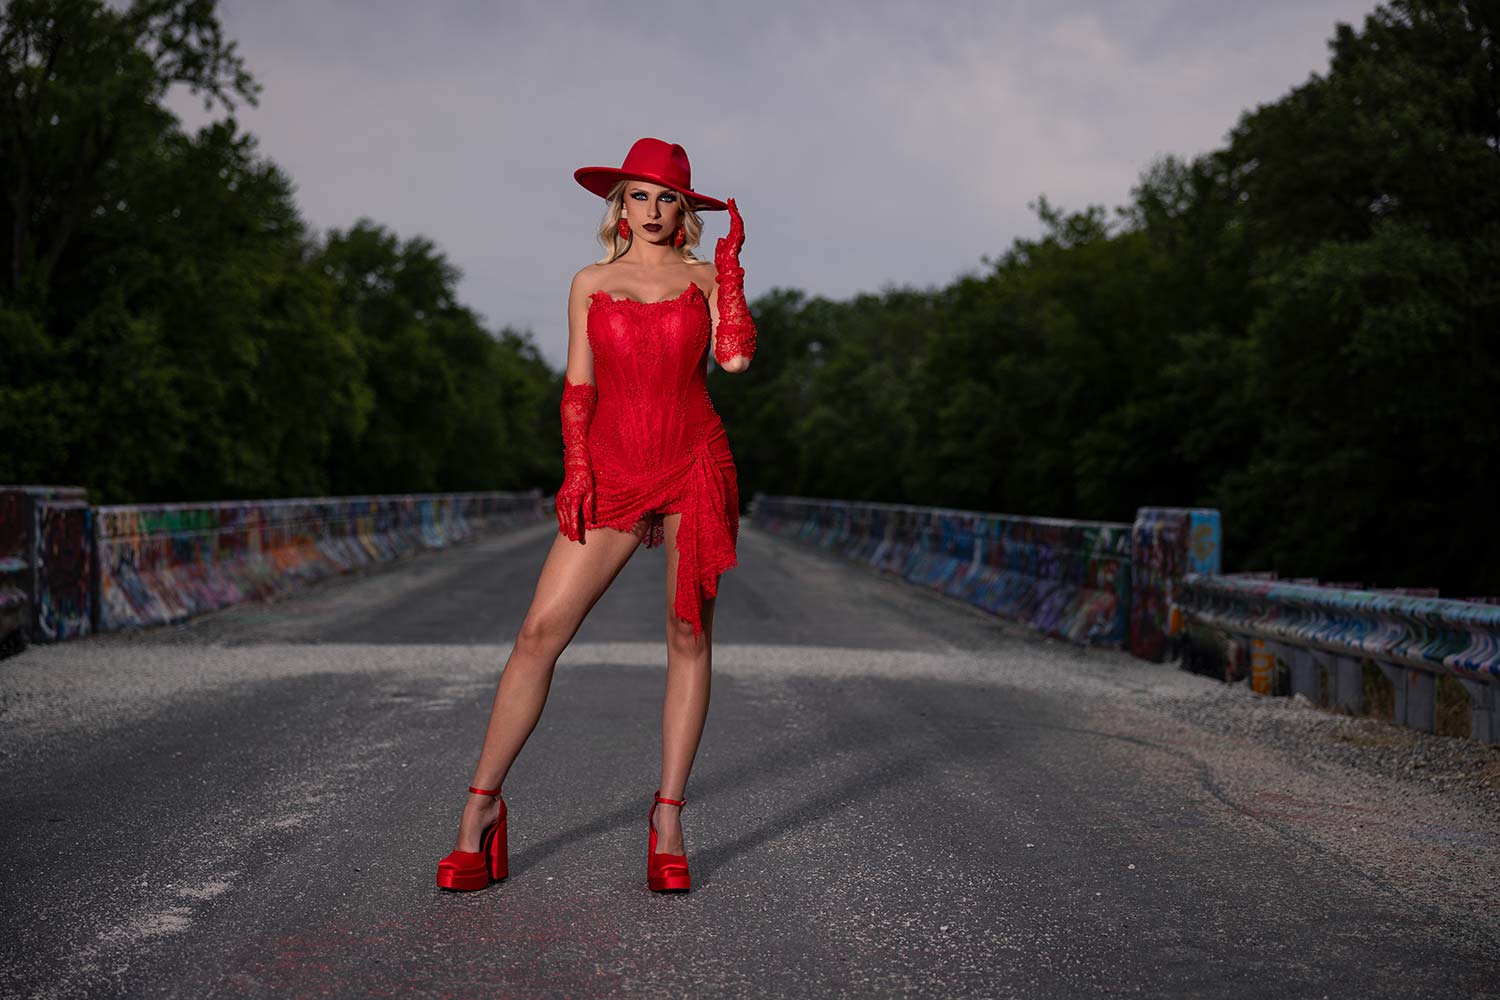
Create stunning on-location portrait photography using these reflector tips to control harsh light, soften shadows, and capture professional-quality portraits anywhere.
