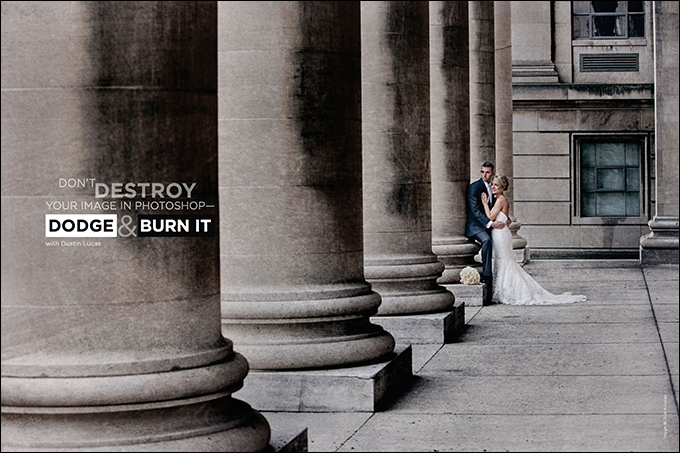
Don’t Destroy Your Image in Photoshop—Dodge and Burn It! with Dustin Lucas
Whether you cut your teeth in the analog film days or started with a DSLR, you have probably heard the term dodge and burn. I know what you are thinking: This is a dated technique, and Photoshop is way more capable of filling shadows and reducing highlights. Yes and no. Adobe Camera Raw and Lightroom have great options for recovering these shadowy or bright tones, but selectively editing with layers is a huge advantage when working nondestructively.
It’s a simple concept: Edit your image without changing the original. Similar to the way Raw files are used in ACR and Lightroom, there is a sidecar metadata file created to save the changes. The Raw image is untouched and left as shot. For new Photoshop users, layers are your new best friend.
Now let’s open an image and get working.
Dodge & Burn Tool
After opening an image, you are ready to begin dodging and burning specific areas. Simply strike the “O” key and the dodge tool is in hand. Hold Shift and strike the “O” key to toggle the Burn tool as well. Hotkeys are a huge time saver. To get started, we need to choose which tones we want to affect by clicking the Range options and selecting Shadows, Midtones or Highlights. The term exposure relates to the intensity of the effect. It works similarly to the opacity setting of an adjustment layer. (1)
When painting this effect, it’s best to stay between 0 and 15. Remember with a Wacom tablet, this effect increases the longer you tap and drag the cursor over an area repeatedly. With a mouse, you have to click multiple times, which can be annoying. Keep in mind that we are manipulating the background layer. (2) This means we are destroying the original image. We need to build separate dodge and burn layers.
Start by creating a new layer. Hold Shift, Command and the “N” key. Name it “Dodge.” Change the blending mode to Overlay and check the box Fill with Overlay-neutral color (50% gray). (3) You can follow these same steps for your burn layer. You are now ready to nondestructively dodge and burn. Simply grab the tool according to which layer you have selected and start painting right on the image. If you decide that the effect is too heavy, lower the layer opacity. (4)
This technique is a little slow for my taste, having to toggle between two layers, two adjustment tools, three ranges of tones, exposure values 0 to 100, etc. Also, there isn’t a way to selectively fix your painted areas like you can with layer masks. This is a 50% gray filled layer, not as easy as toggling white and black as your foreground color to add or remove the effect.
Blending Mode Technique
Using blending modes can add some interesting effects to your images. We’ve previously used Overlay, which is considered a contrast mode. Other modes that affect brightness include Screen and Multiply. Changing the blend mode to Screen makes your image brighter and Multiply darkens. These two modes offer excellent ways to create dodge and burn layers. (5ab)
Start by duplicating your background layer two times, and name them “Dodge” and “Burn.” For your Dodge layer, change the blending mode to Screen to brighten the image. Next, hold Option or Alt and click on the Layer Mask button at the bottom of the layers palette. This turns off the effect for now. Select the Burn layer and change the blending mode to Multiply. You will notice that your image immediately gets darker. Hold Option or Alt and click the Layer Mask button to hide the effect.
Now you are ready to grab the Brush tool with white as your foreground color and paint on the effect. Make sure you have selected the layer mask, and lower your opacity to make sure everything blends well. (6) Soft brush edges are a must when you dodge and burn. Be aware of haloing around your subject. (7) We want to draw viewers to the subject, not force them to get stuck on the mistakes. It’s all about those little details.
Using Curves
You can do so much to an image using the Curves adjustment tool: brighten, darken, dull whites, flatten blacks, add contrast or white balance, etc. This is a great way to build your dodge and burn layers as well. Create a curves layer adjustment and drag the line upward for your dodging effect. (8) Again, hold Option or Alt and click the layer mask button. Do the same thing for the burn layer, but drag the curves line downward. (9)
The advantage of using curves as opposed to a 50% gray layer set to opacity, or duplicating image layers set to Screen or Multiply, is that you can fully adjust the tonal settings. On my burn layers, I tend to drag the white point down to dull the whites in the image. (10) This acts as a highlight recovery when I am burning down distracting hotspots. (11) When I need to dodge any clipped blacks in an image, I lift the black point so the area blends better with the surrounding tones. These areas are hard to recover with just brightening shadows, which is why I lift the black point. (12) That means I don’t have to dodge as much.
High Pass Filter
This filter is widely used when editing in Photoshop. It is more commonly associated with sharpening for output purposes. By contrast, it’s the blurring effect for frequency separation. For a quick dodge and burn effect that acts like an interesting contrast boost, start by holding Option or Alt, Command and the “J” key to duplicate your background layer. Desaturate your image by holding Shift, Command and the “U” key. Change the blending mode to Soft Light for a subtle effect or Vivid Light for more intensity. (13)
Now we are ready to apply the High Pass filter. From the menu bar, choose Filter < Other < High Pass. Let’s determine what the radius needs to be. As we increase the radius, the image begins to appear again; the typical range is 70 to 200. You can always select higher because we can lower the layer opacity if it’s too high. (14) Now create a layer mask. Hold Option or Alt and click the layer mask button in the layers palette. Also, if we select Soft Light as the blending mode, we can duplicate these High Pass layers and alter the opacities as well. This is a great technique to subtly build your image. (15)
The Results
As you see, there are many ways to attack dodging and burning. The simplest workflow is to create a blank layer with 50% gray checked and the blending mode set to Overlay. You can simply paint and toggle between white (which dodges) and black (which burns). This can be added to a basic retouch action set, and run on a batch of images when opening in Photoshop. Always work on separate layers and do not destroy your image.


