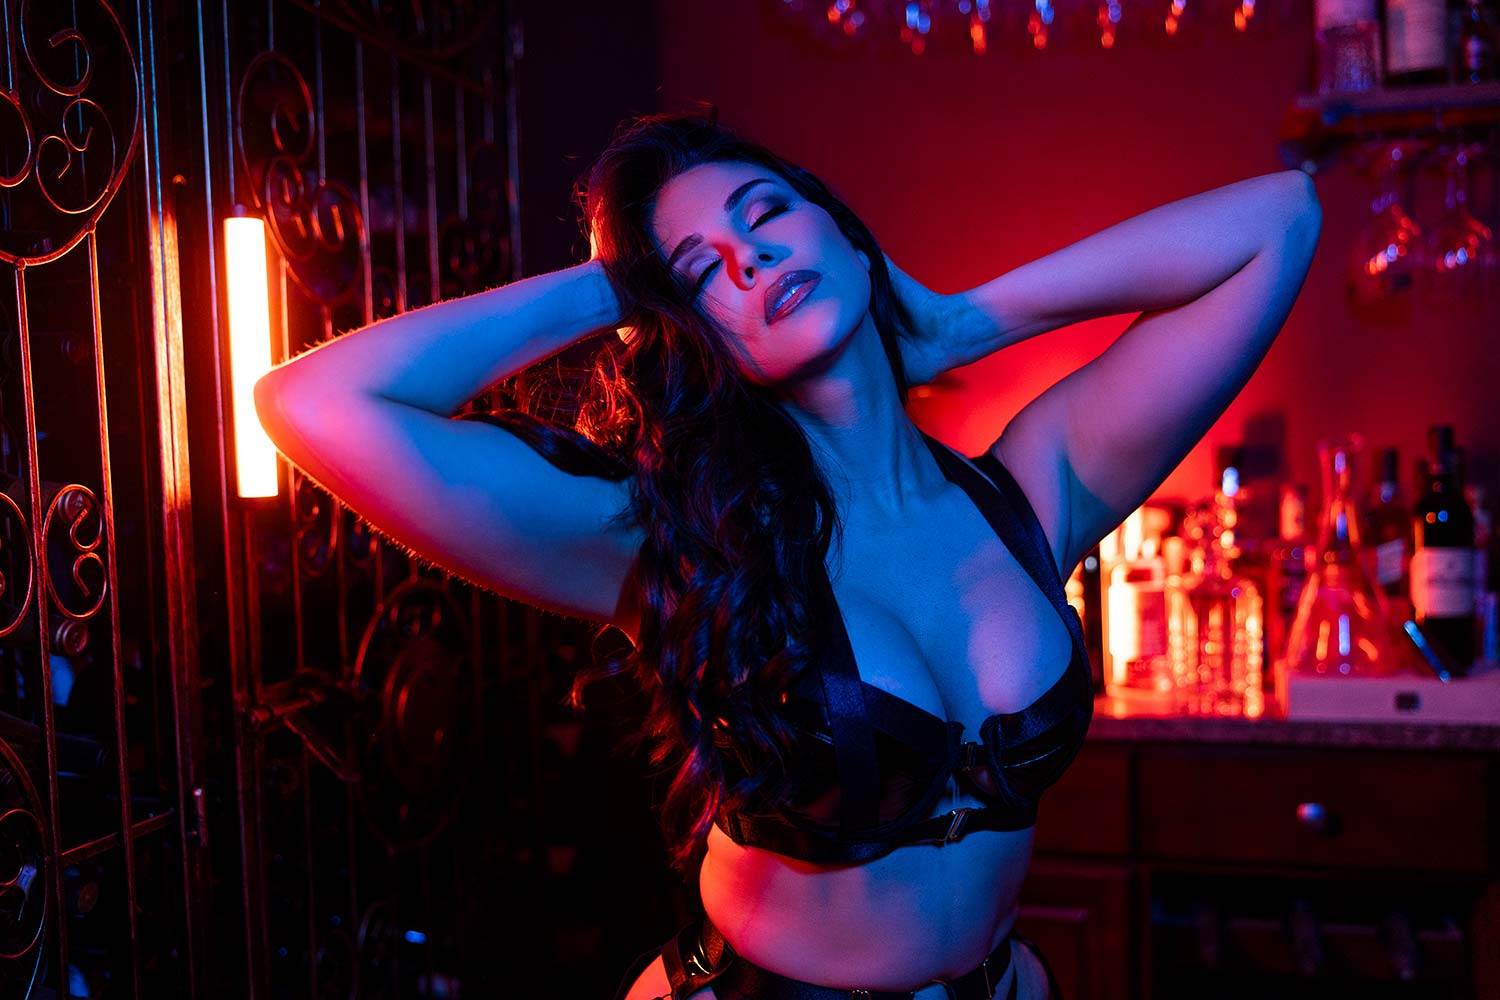
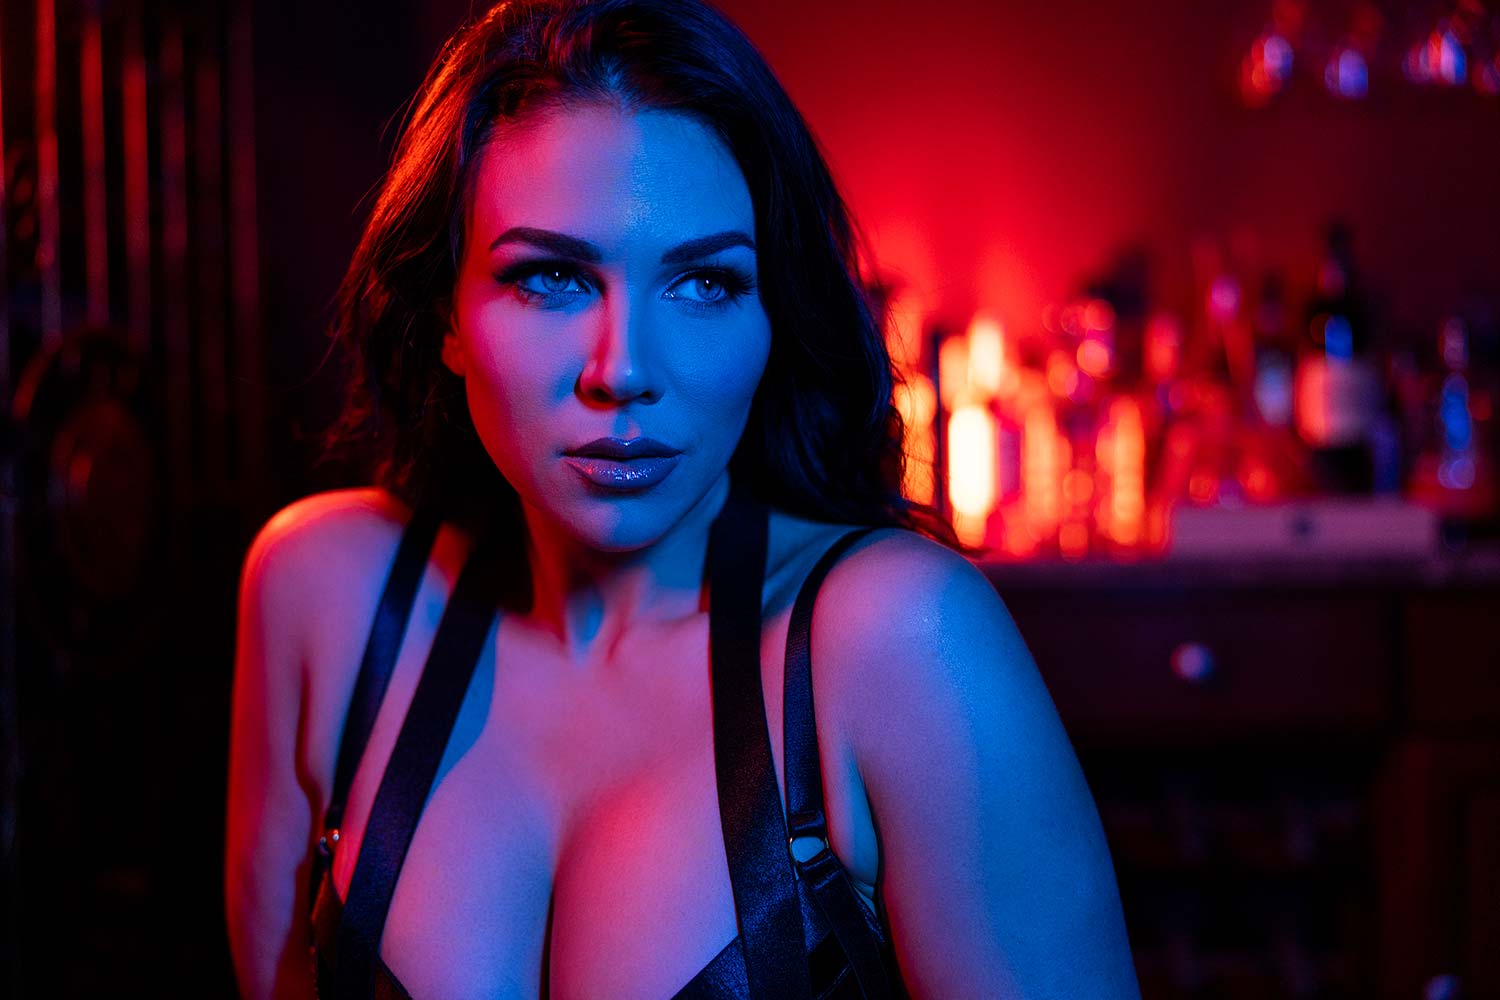
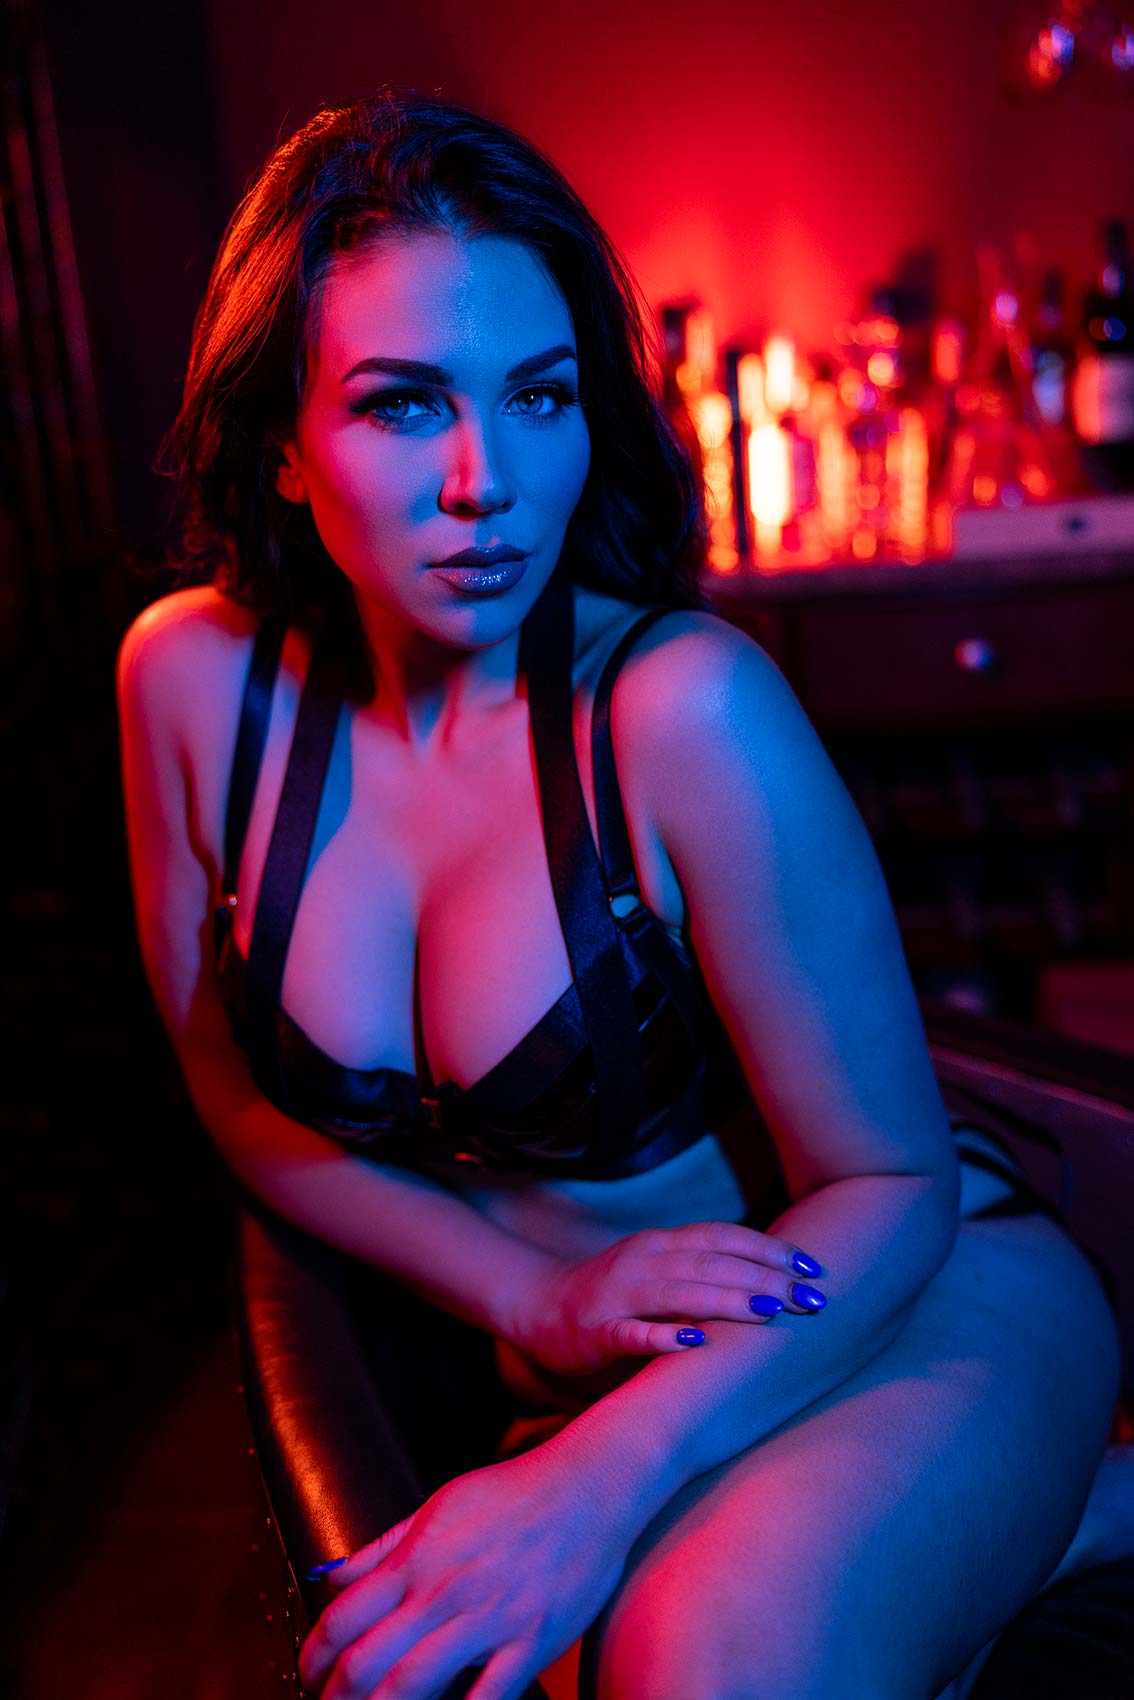
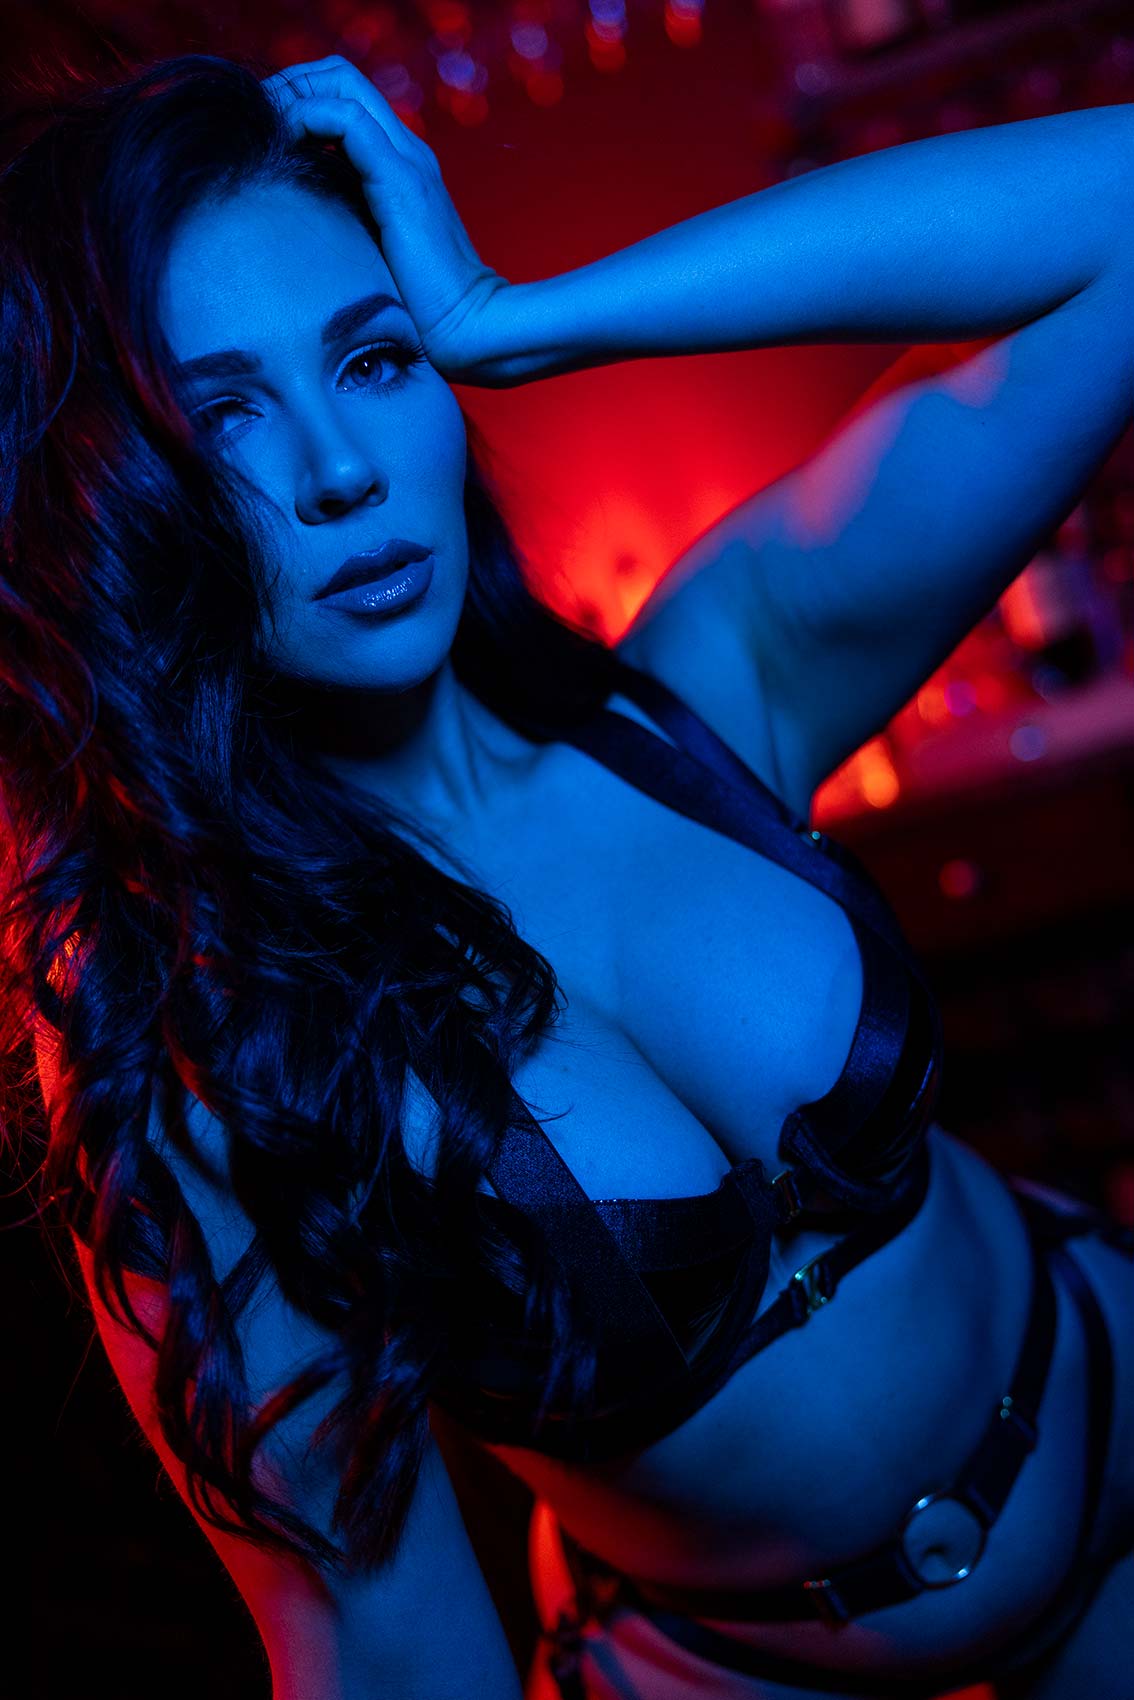
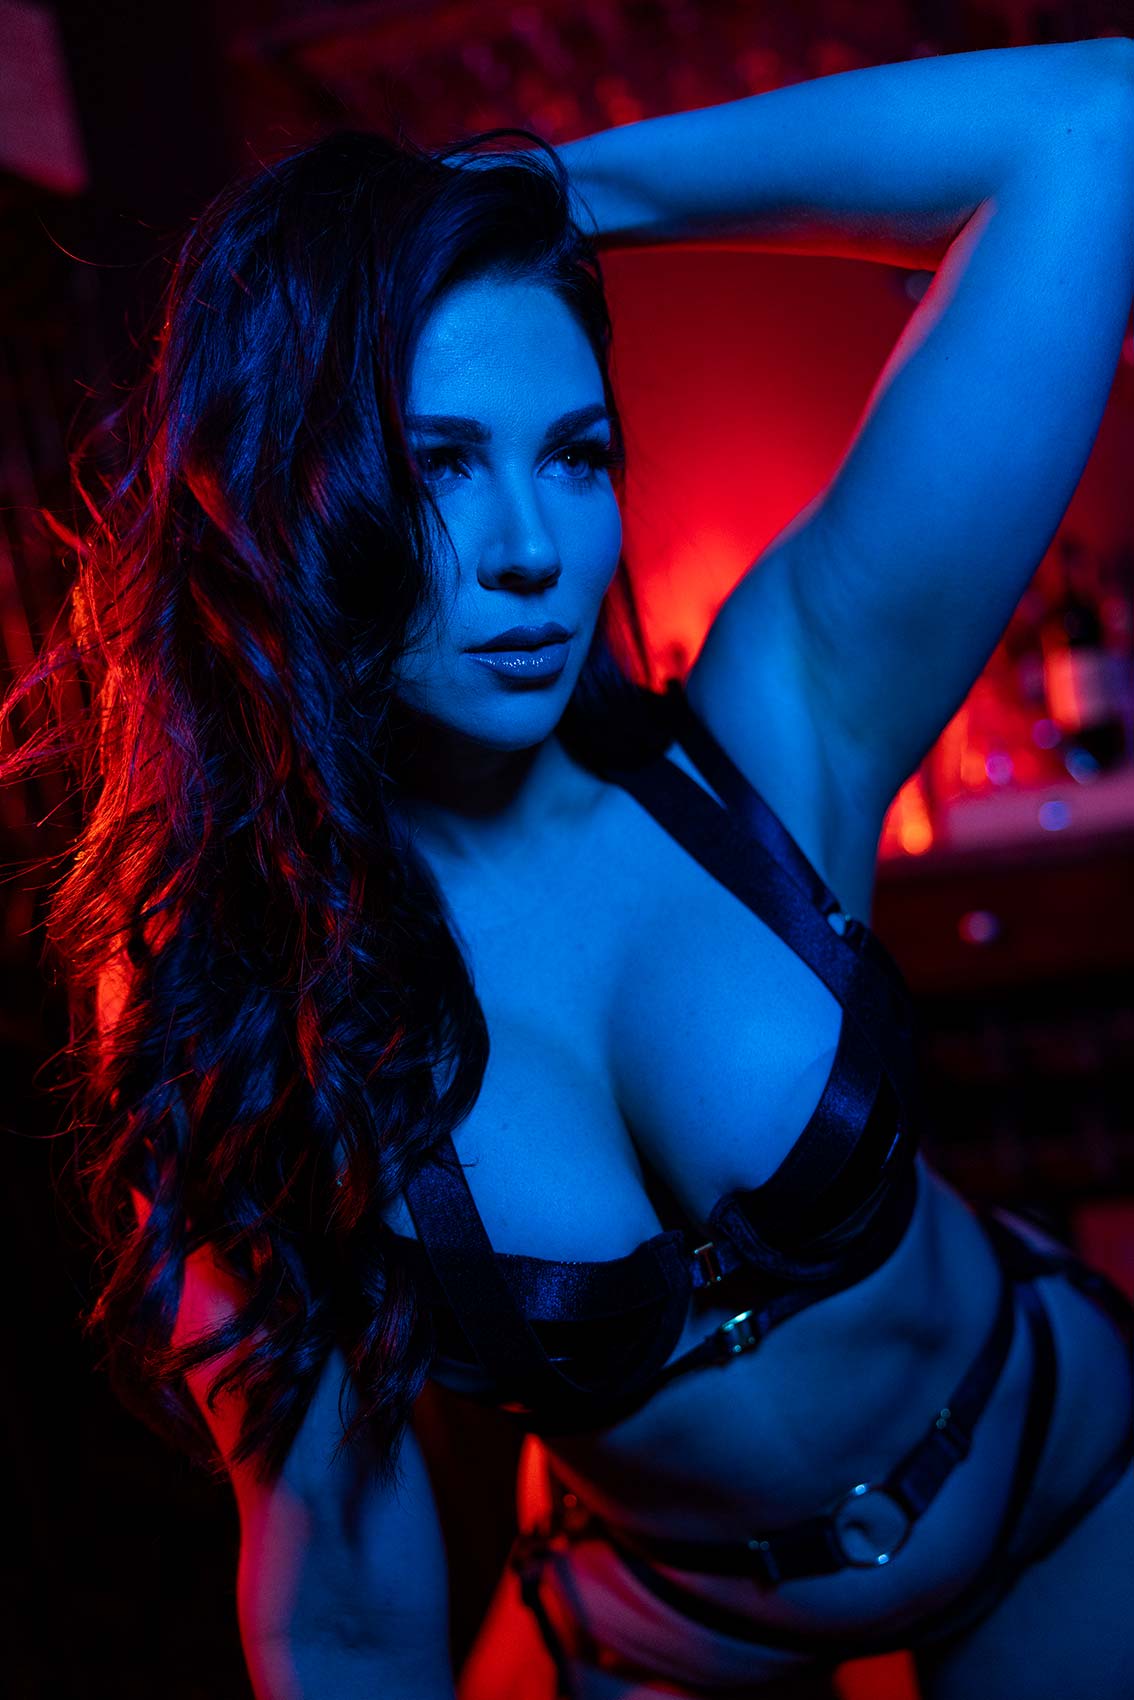
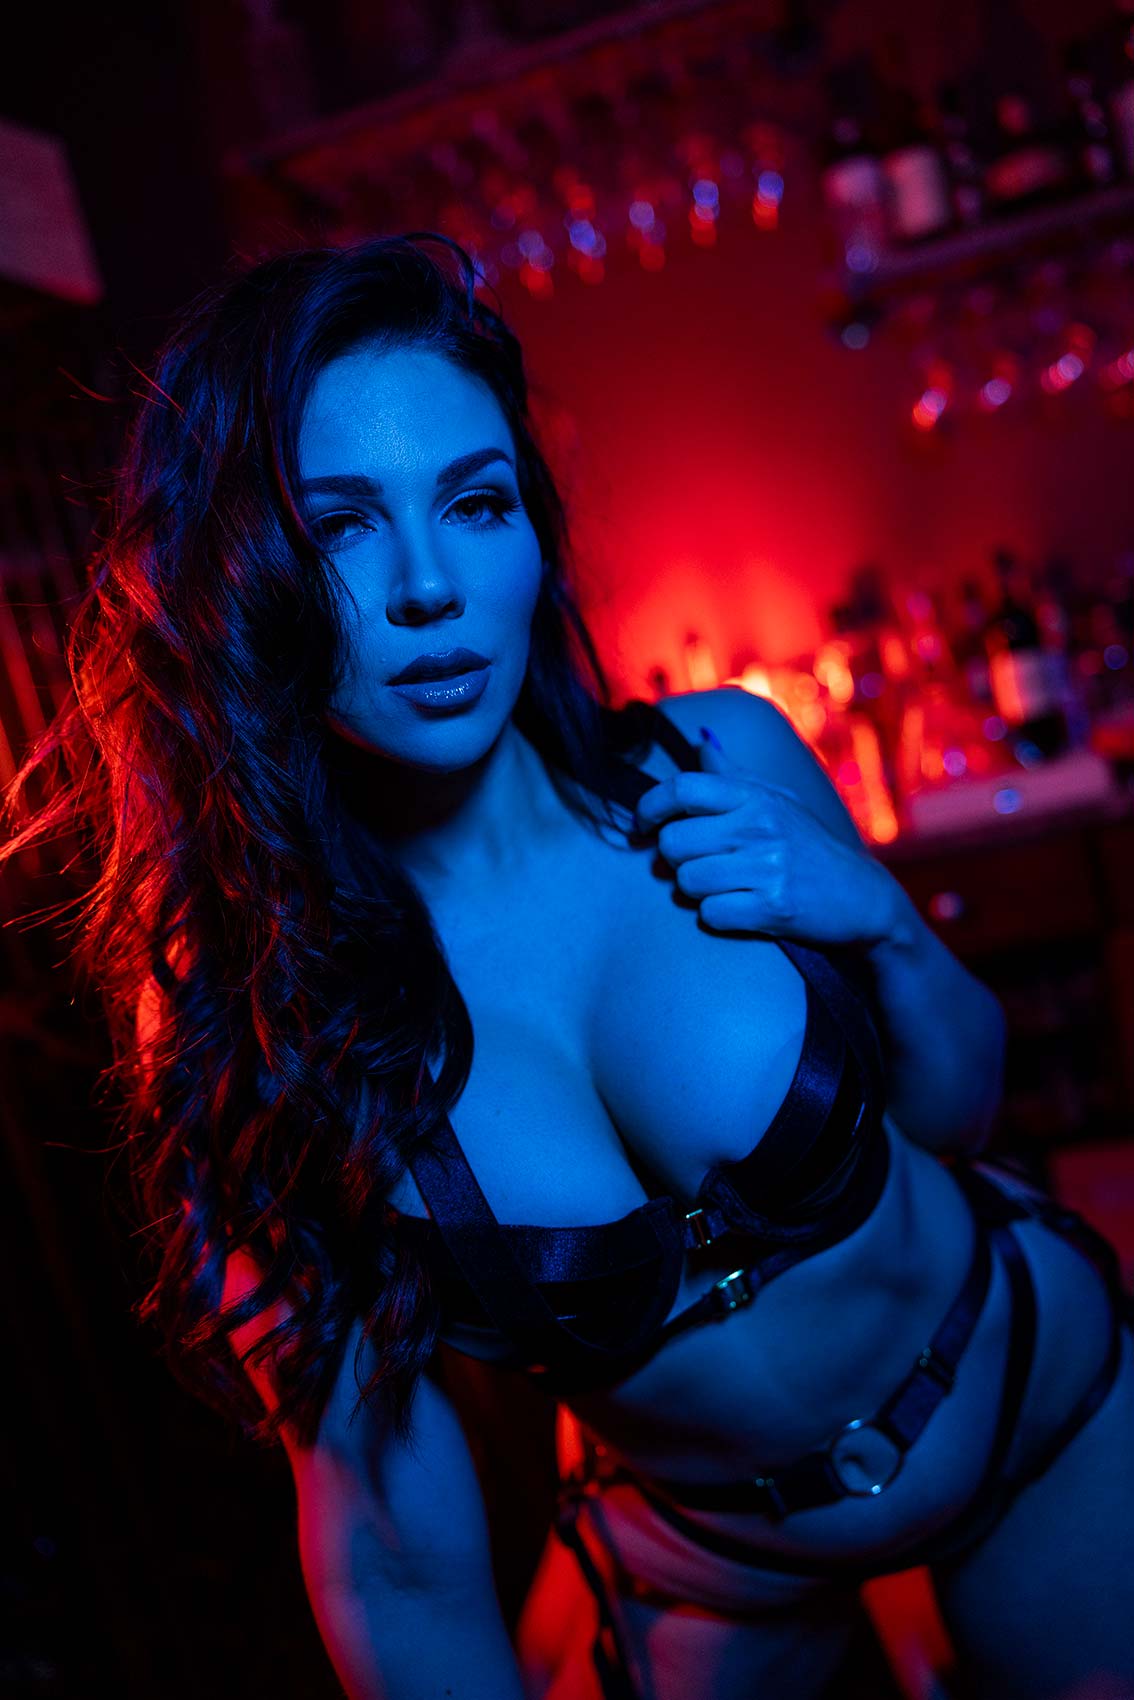
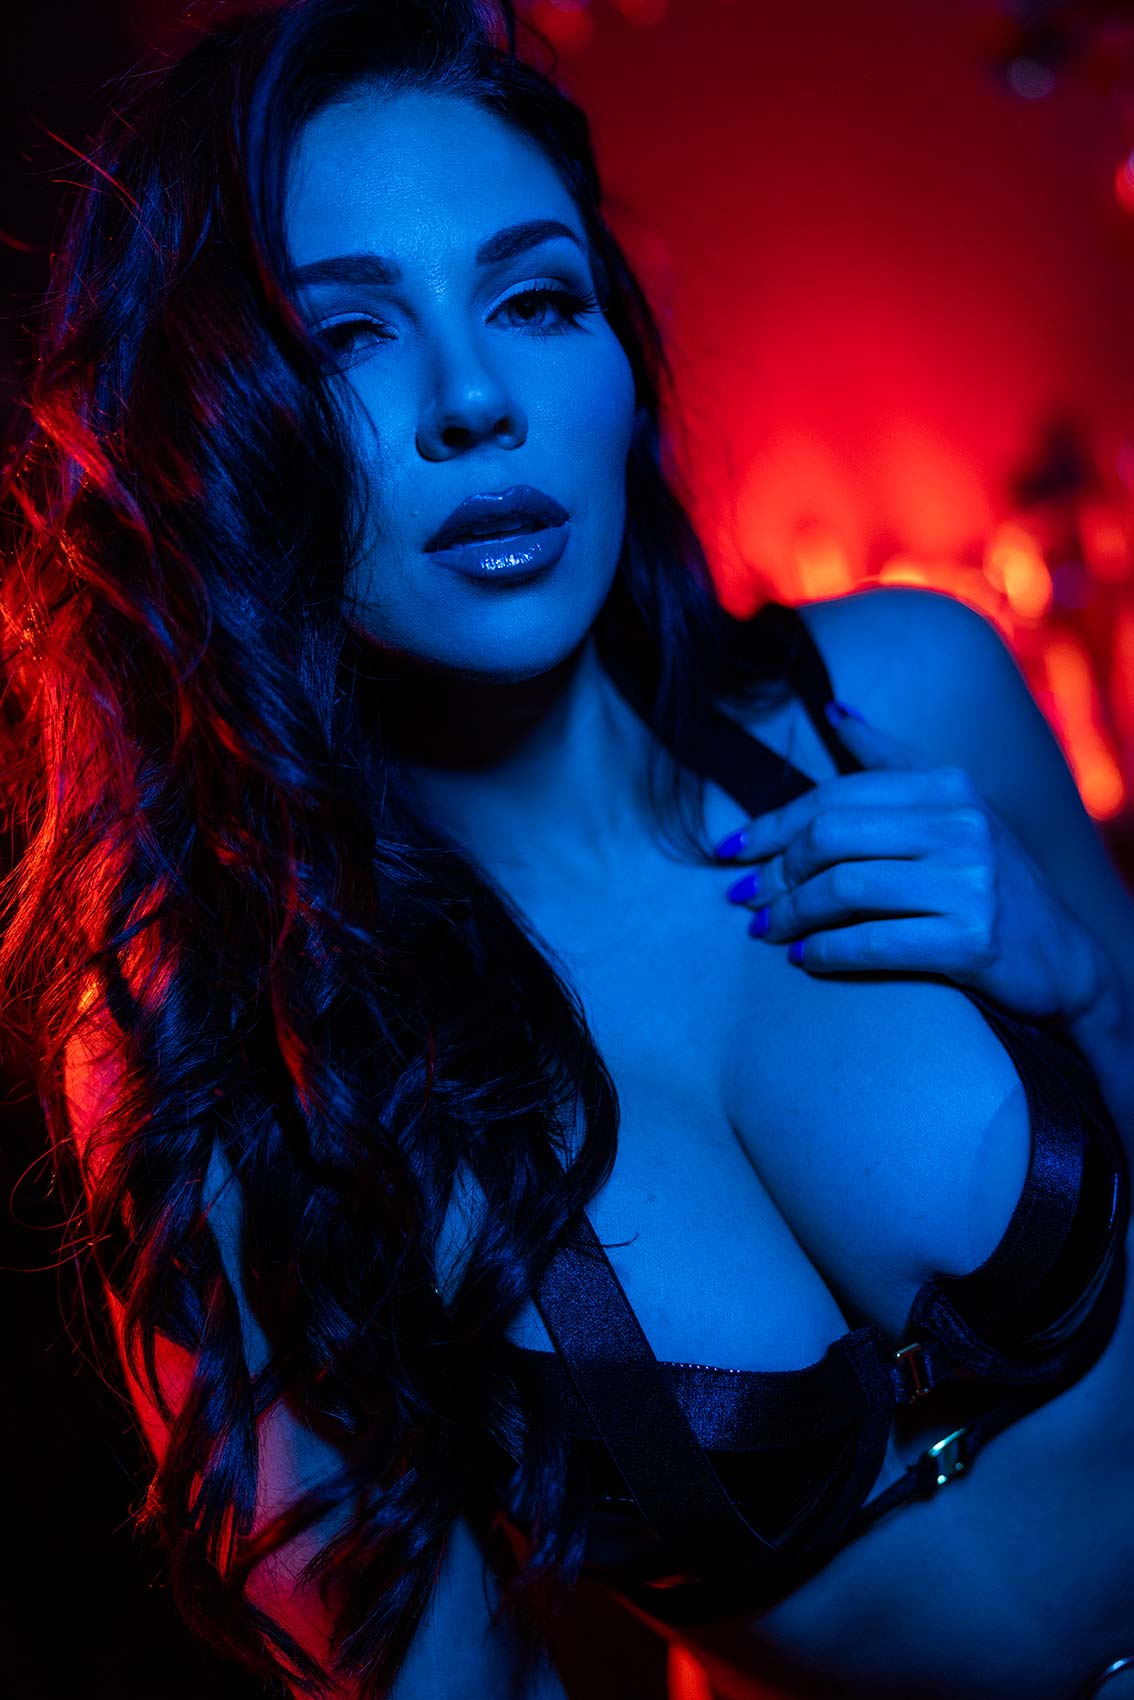
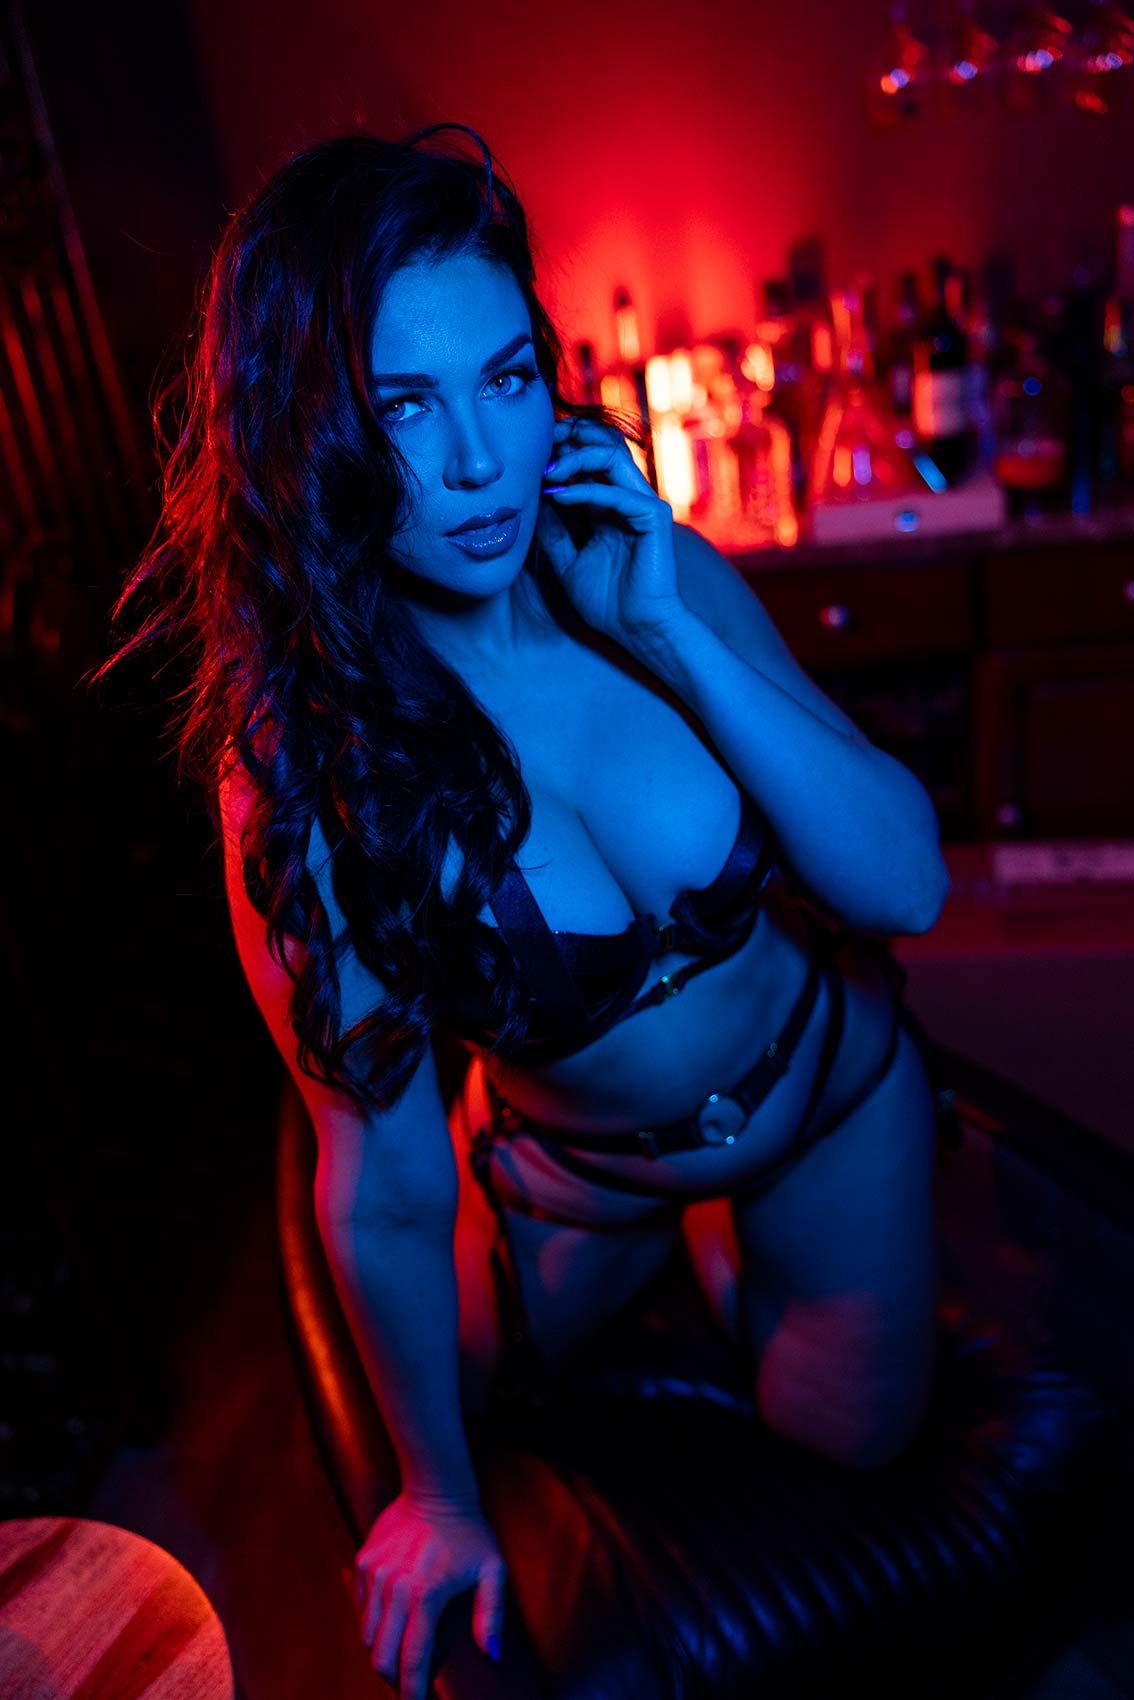
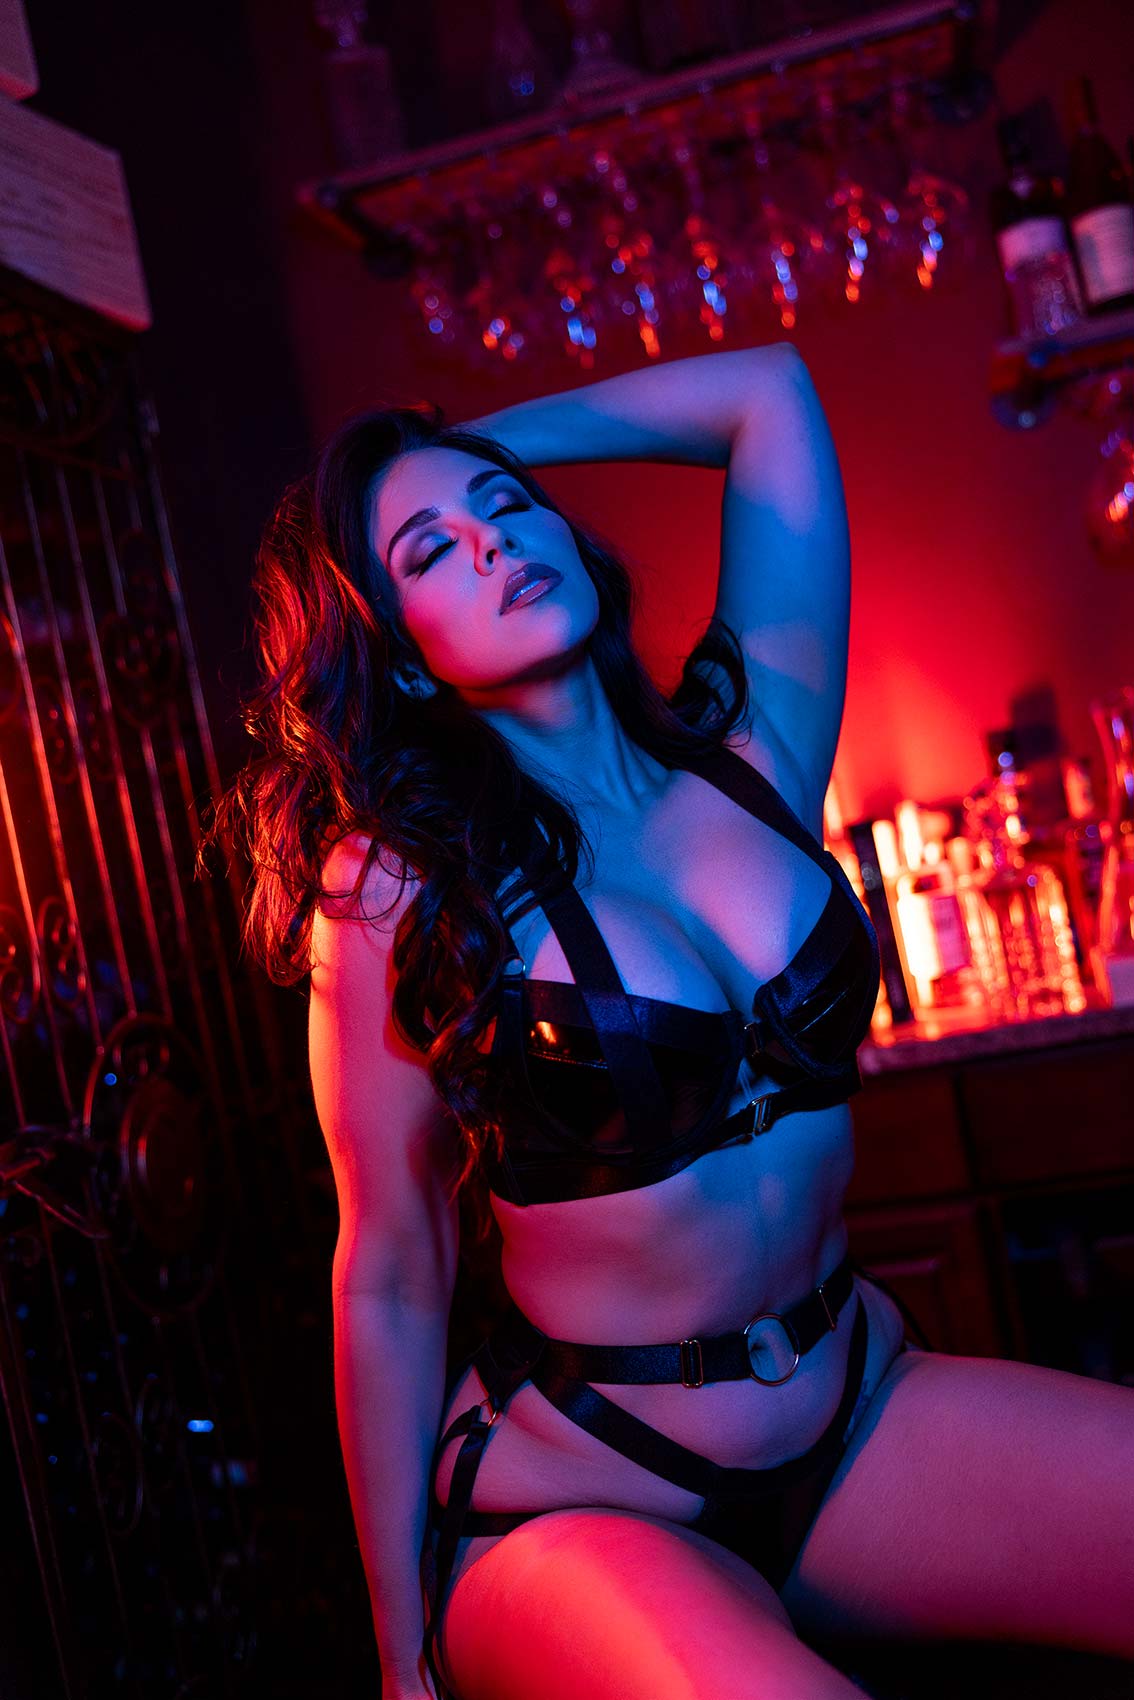
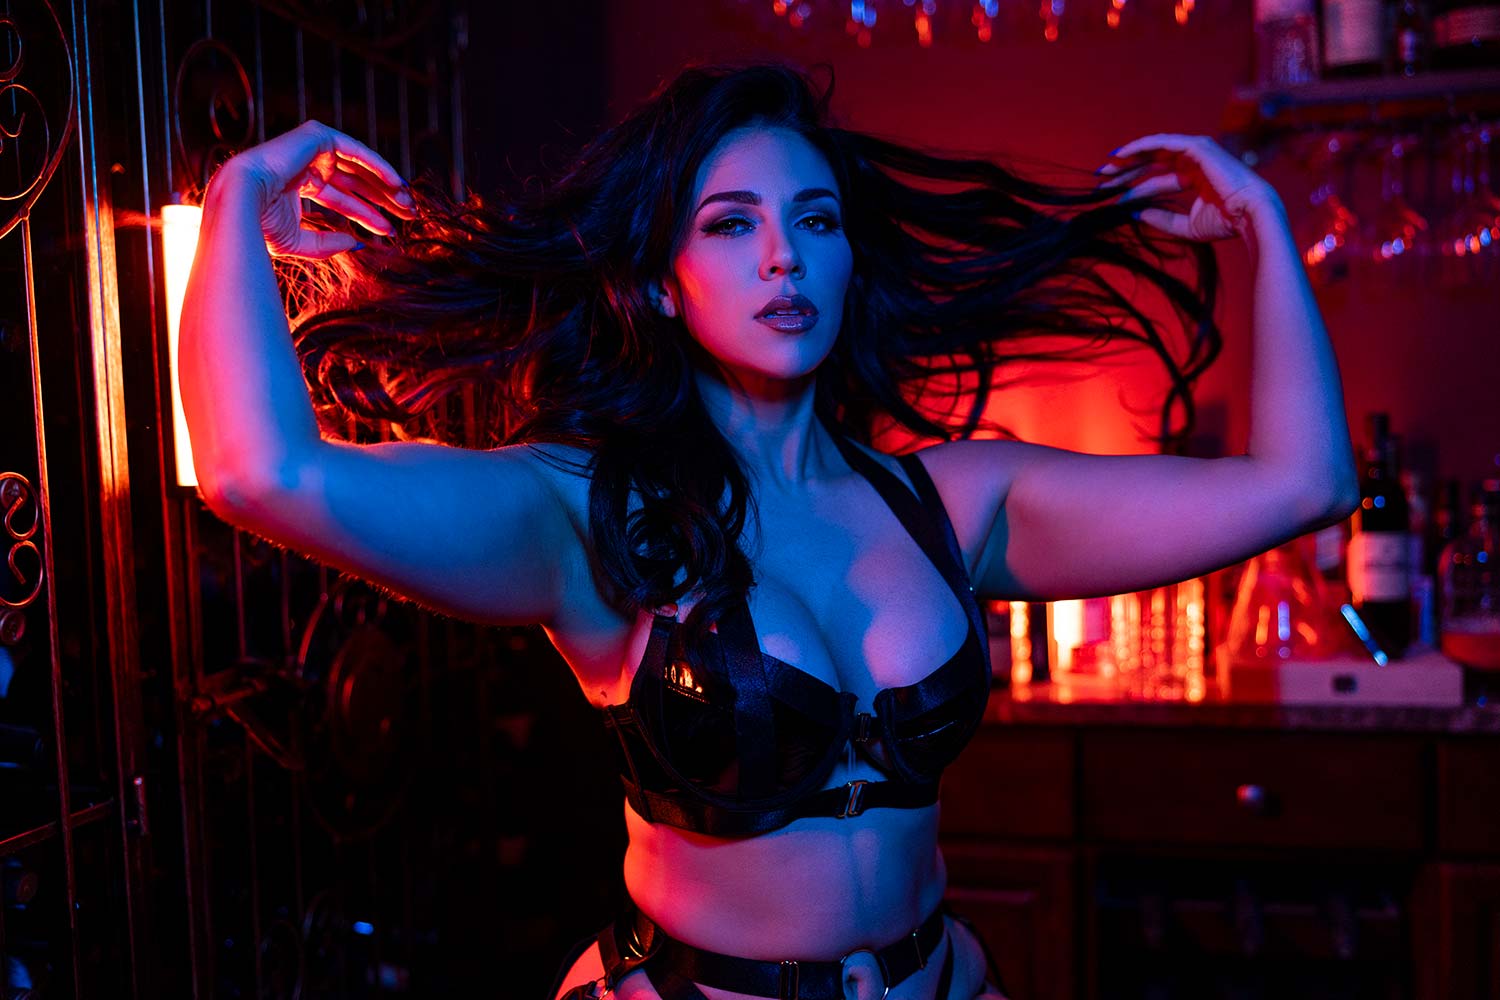
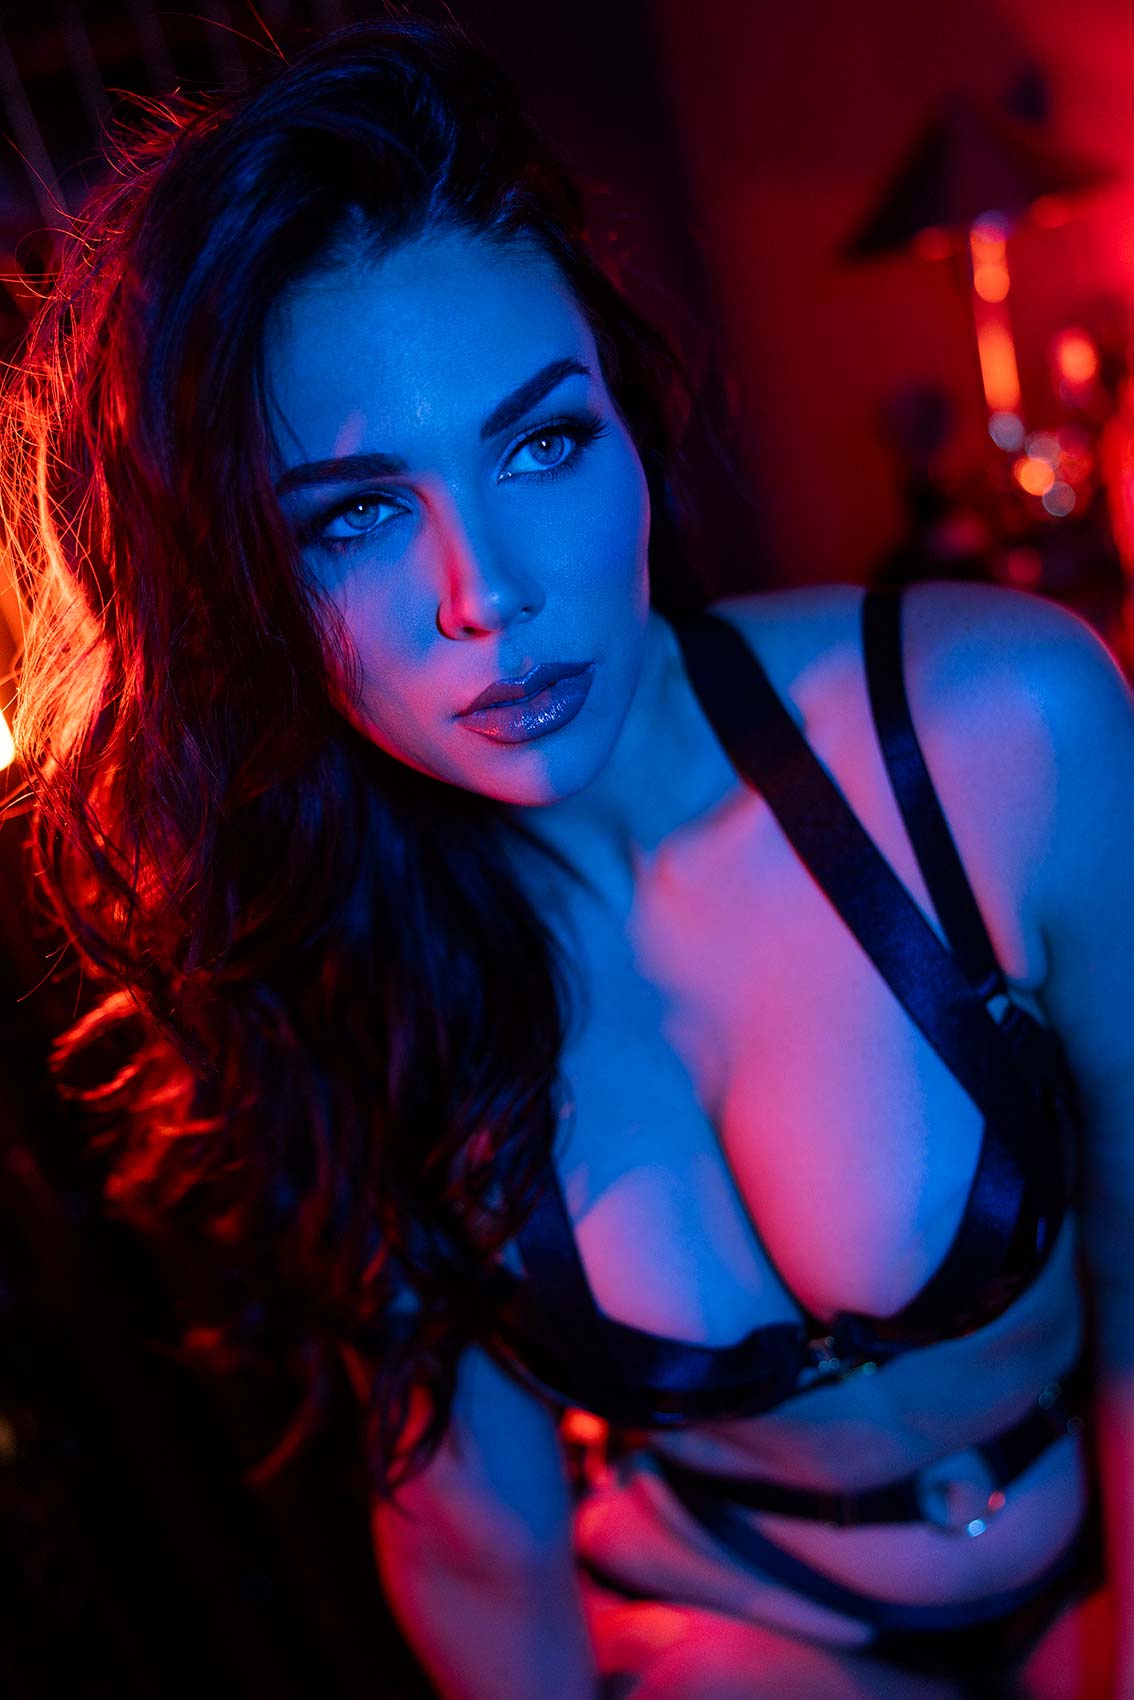
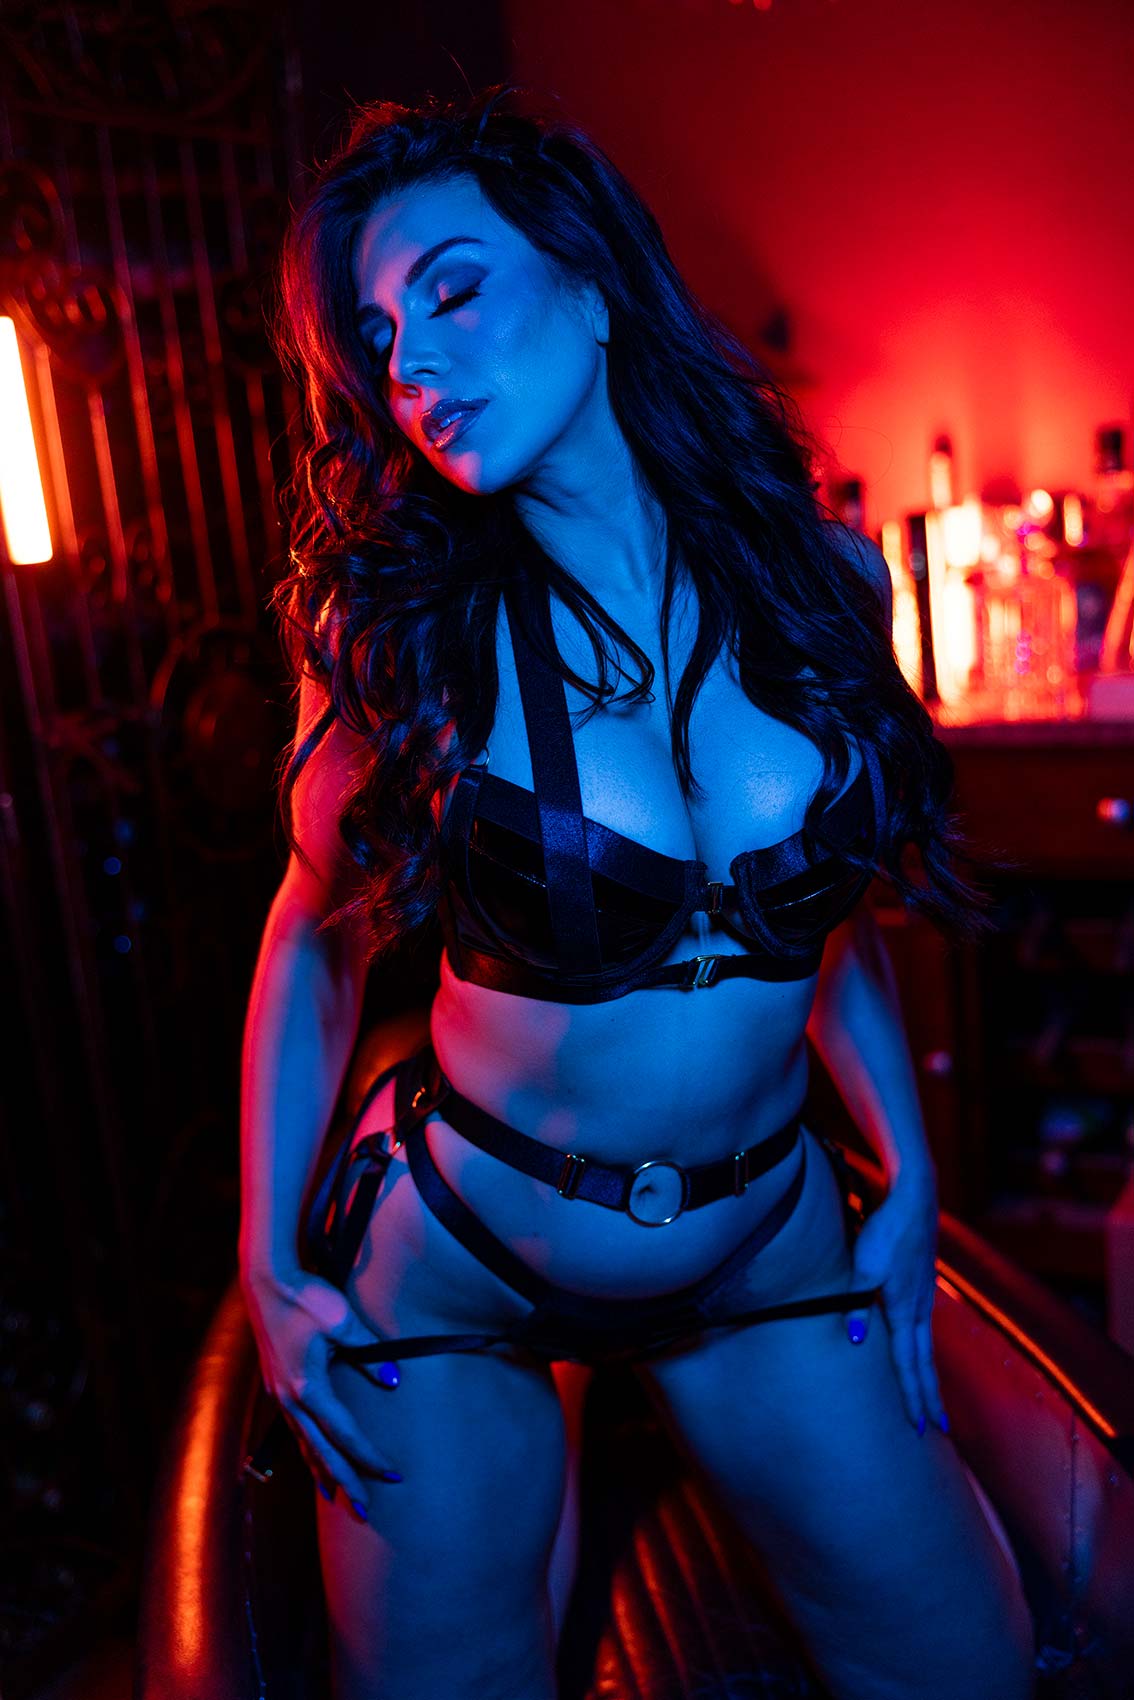
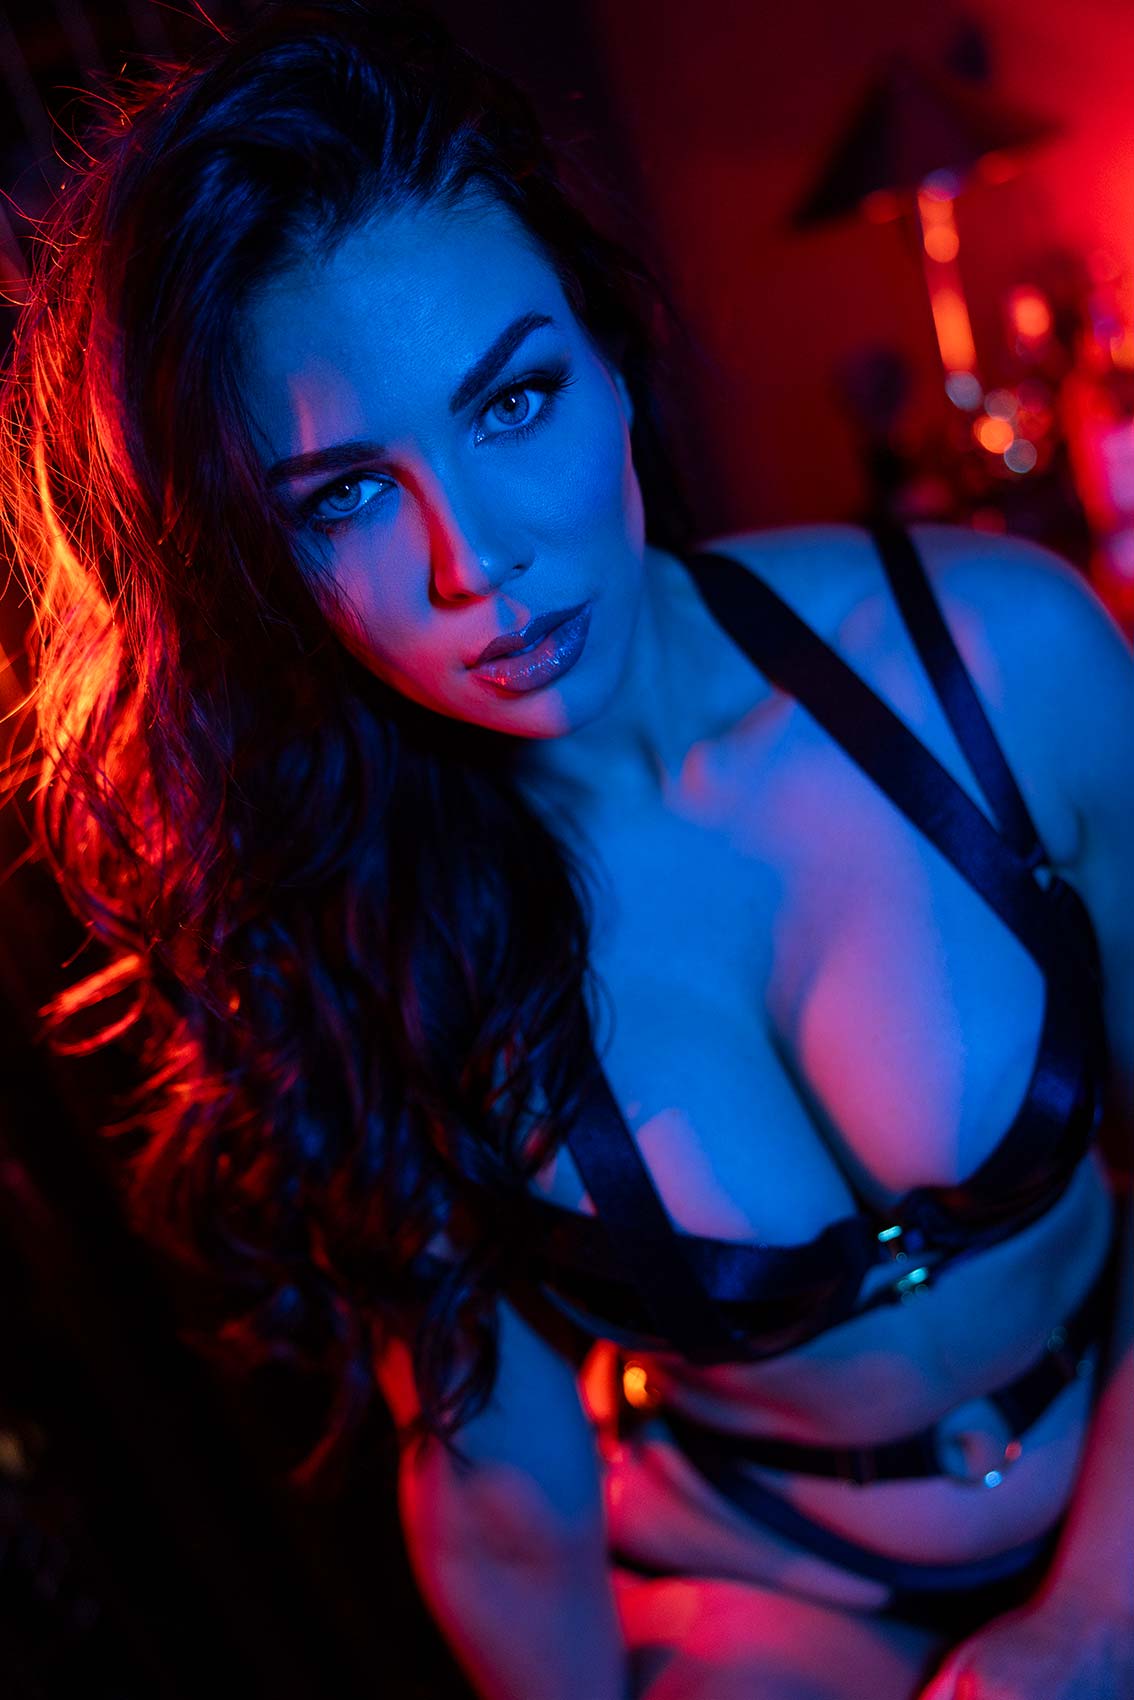
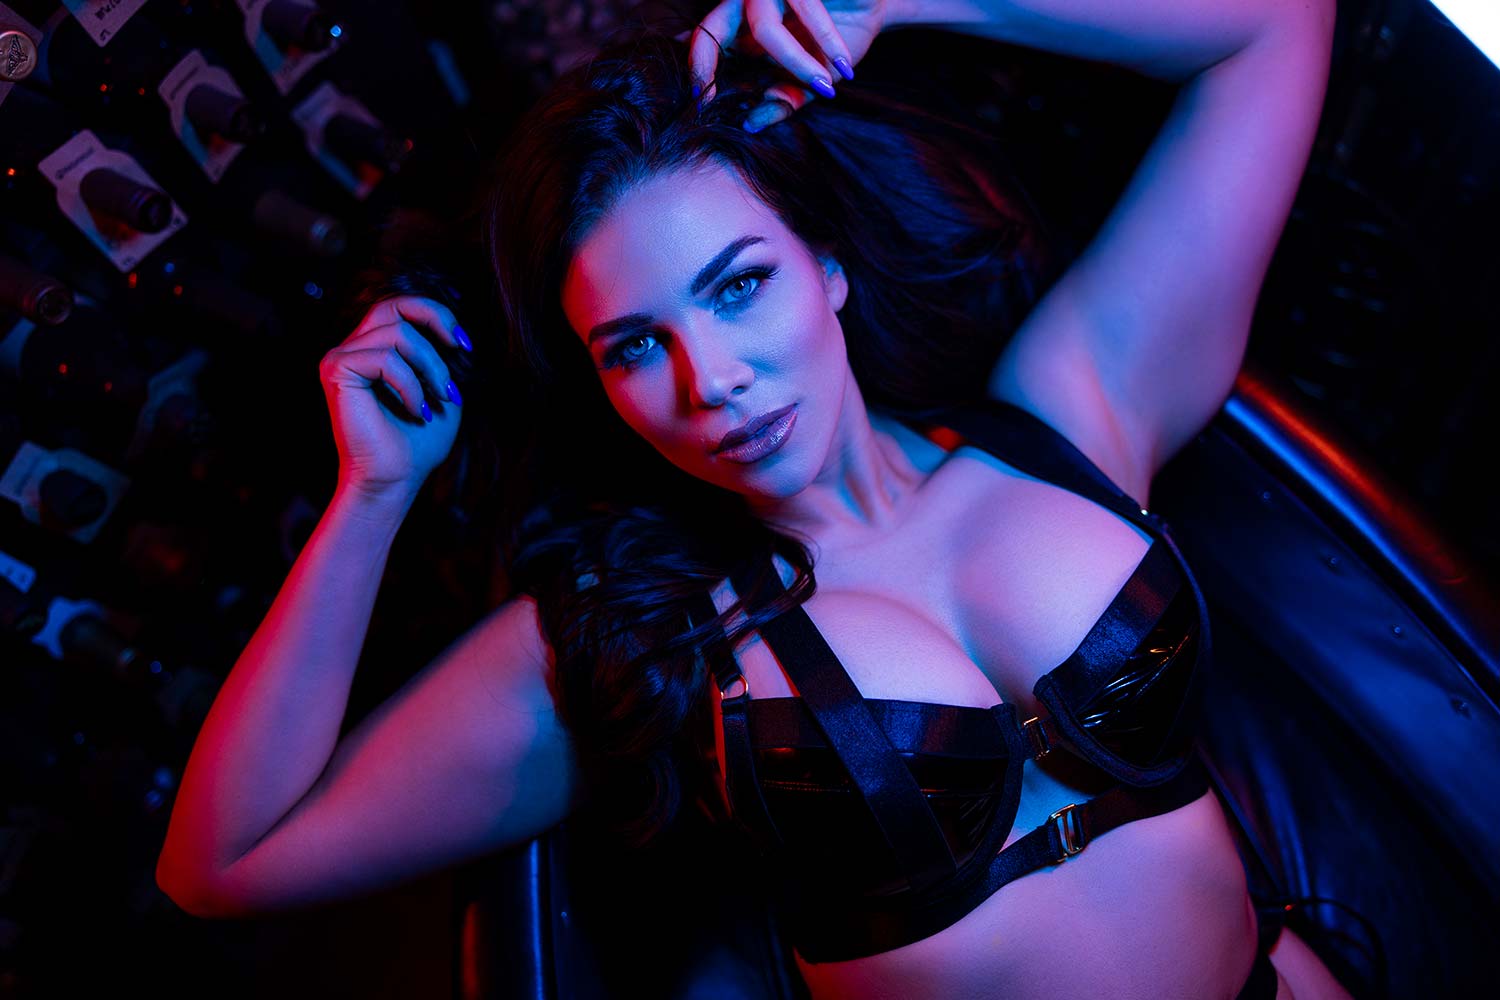
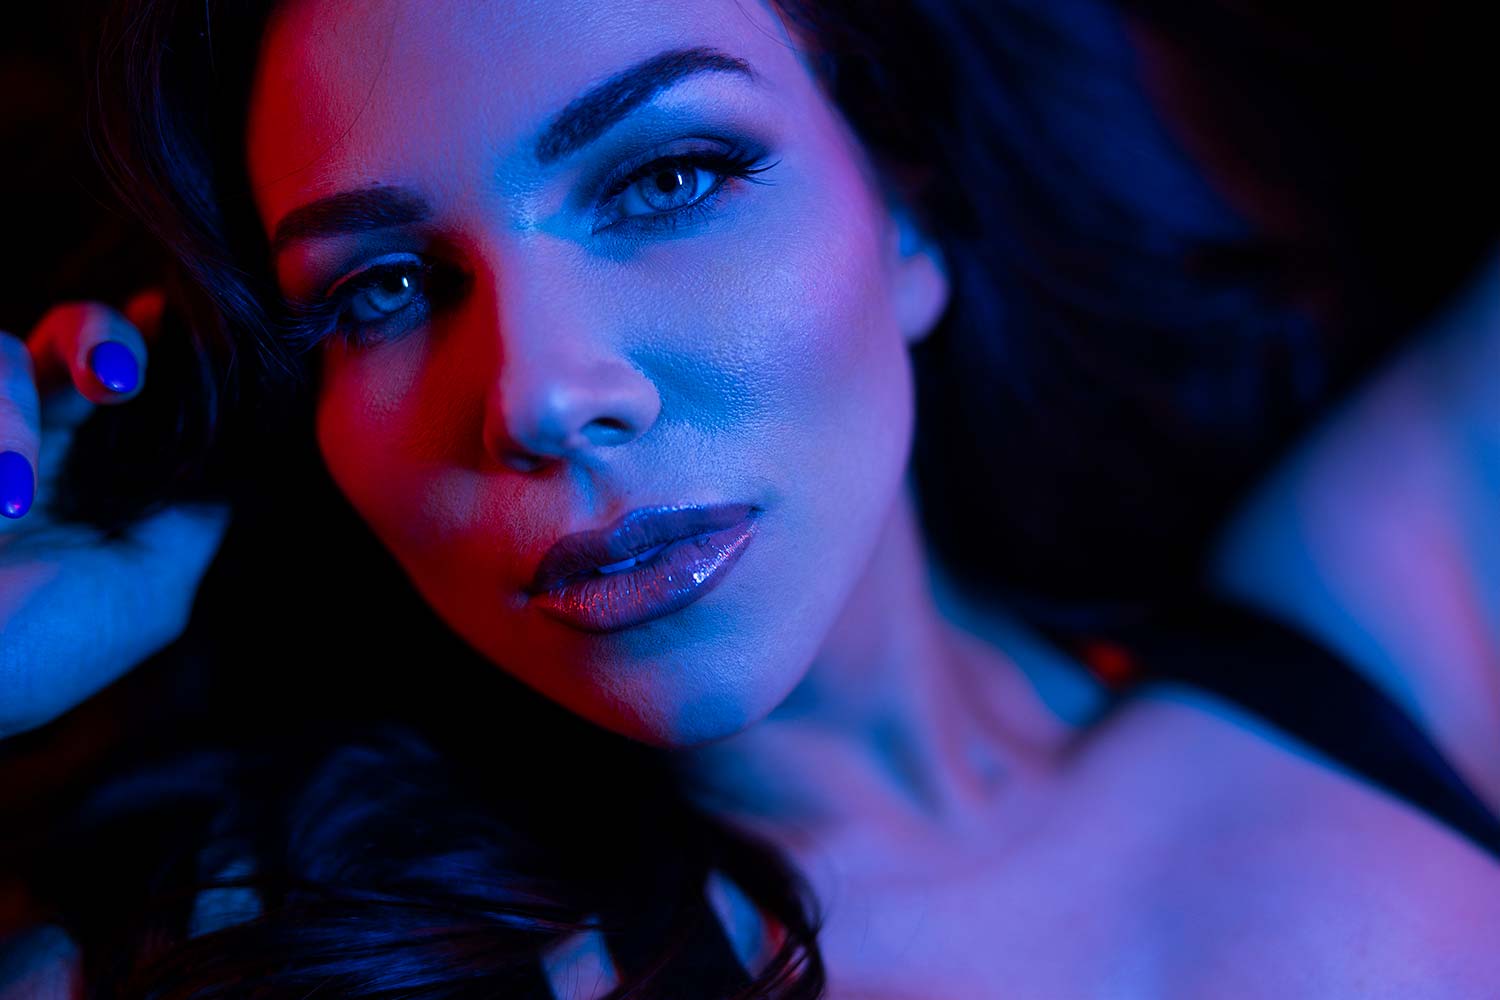
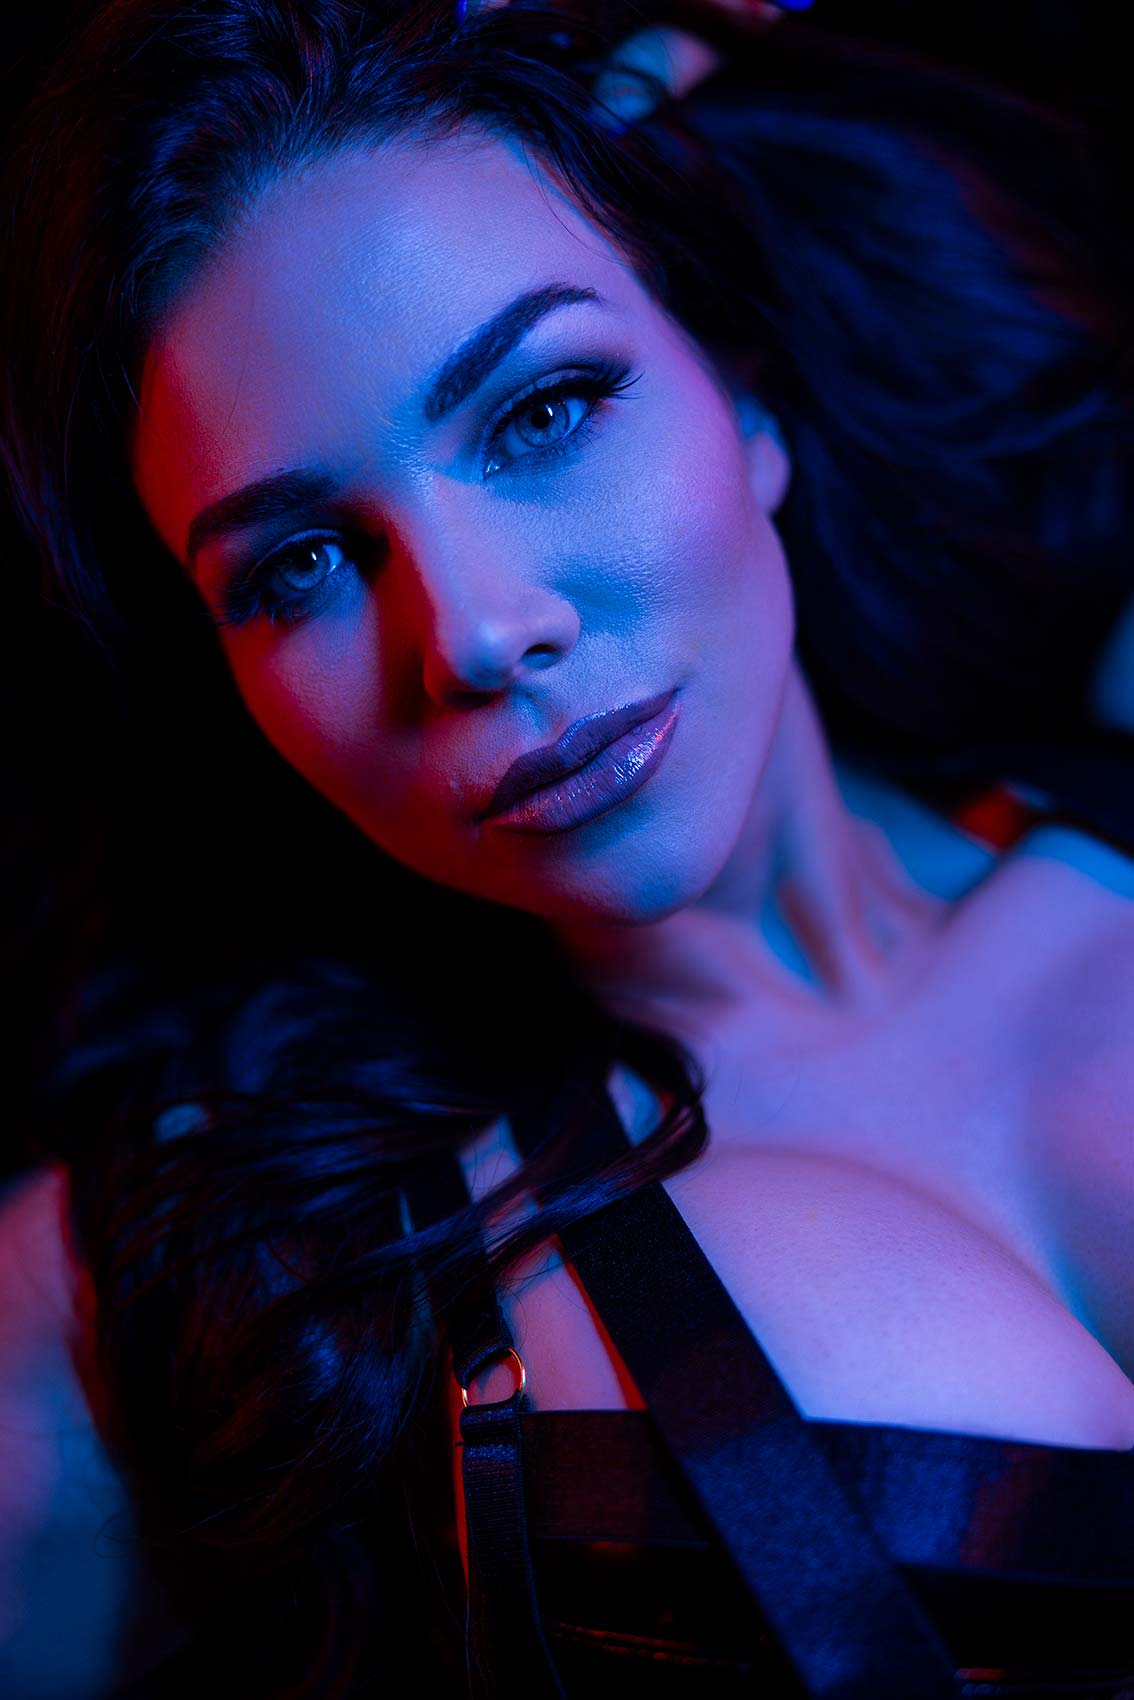
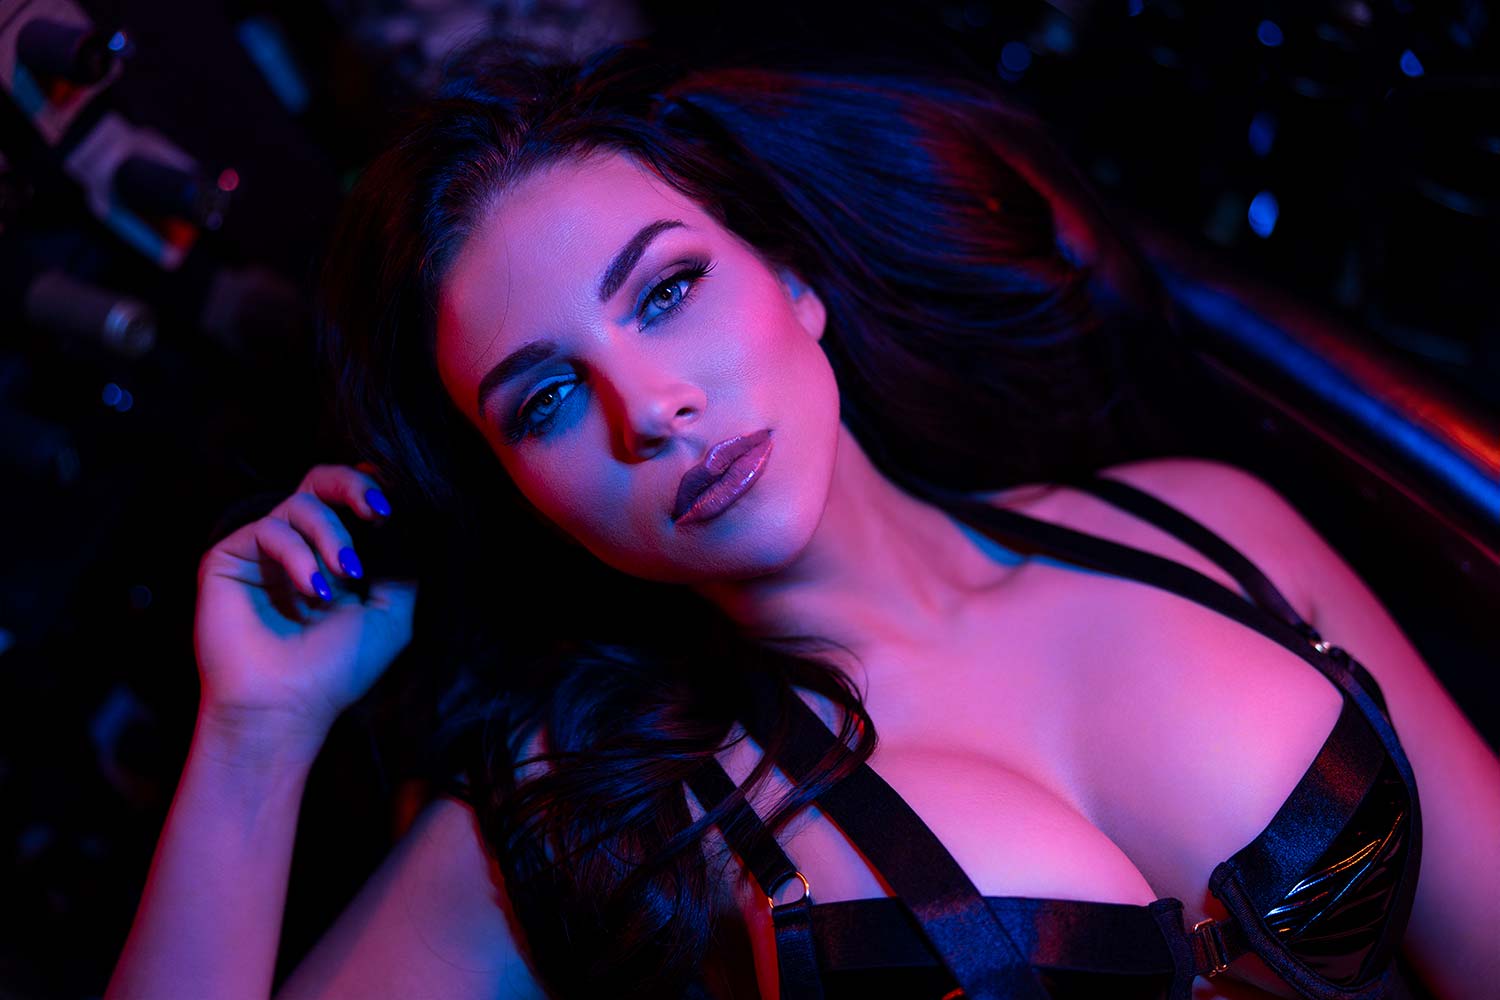
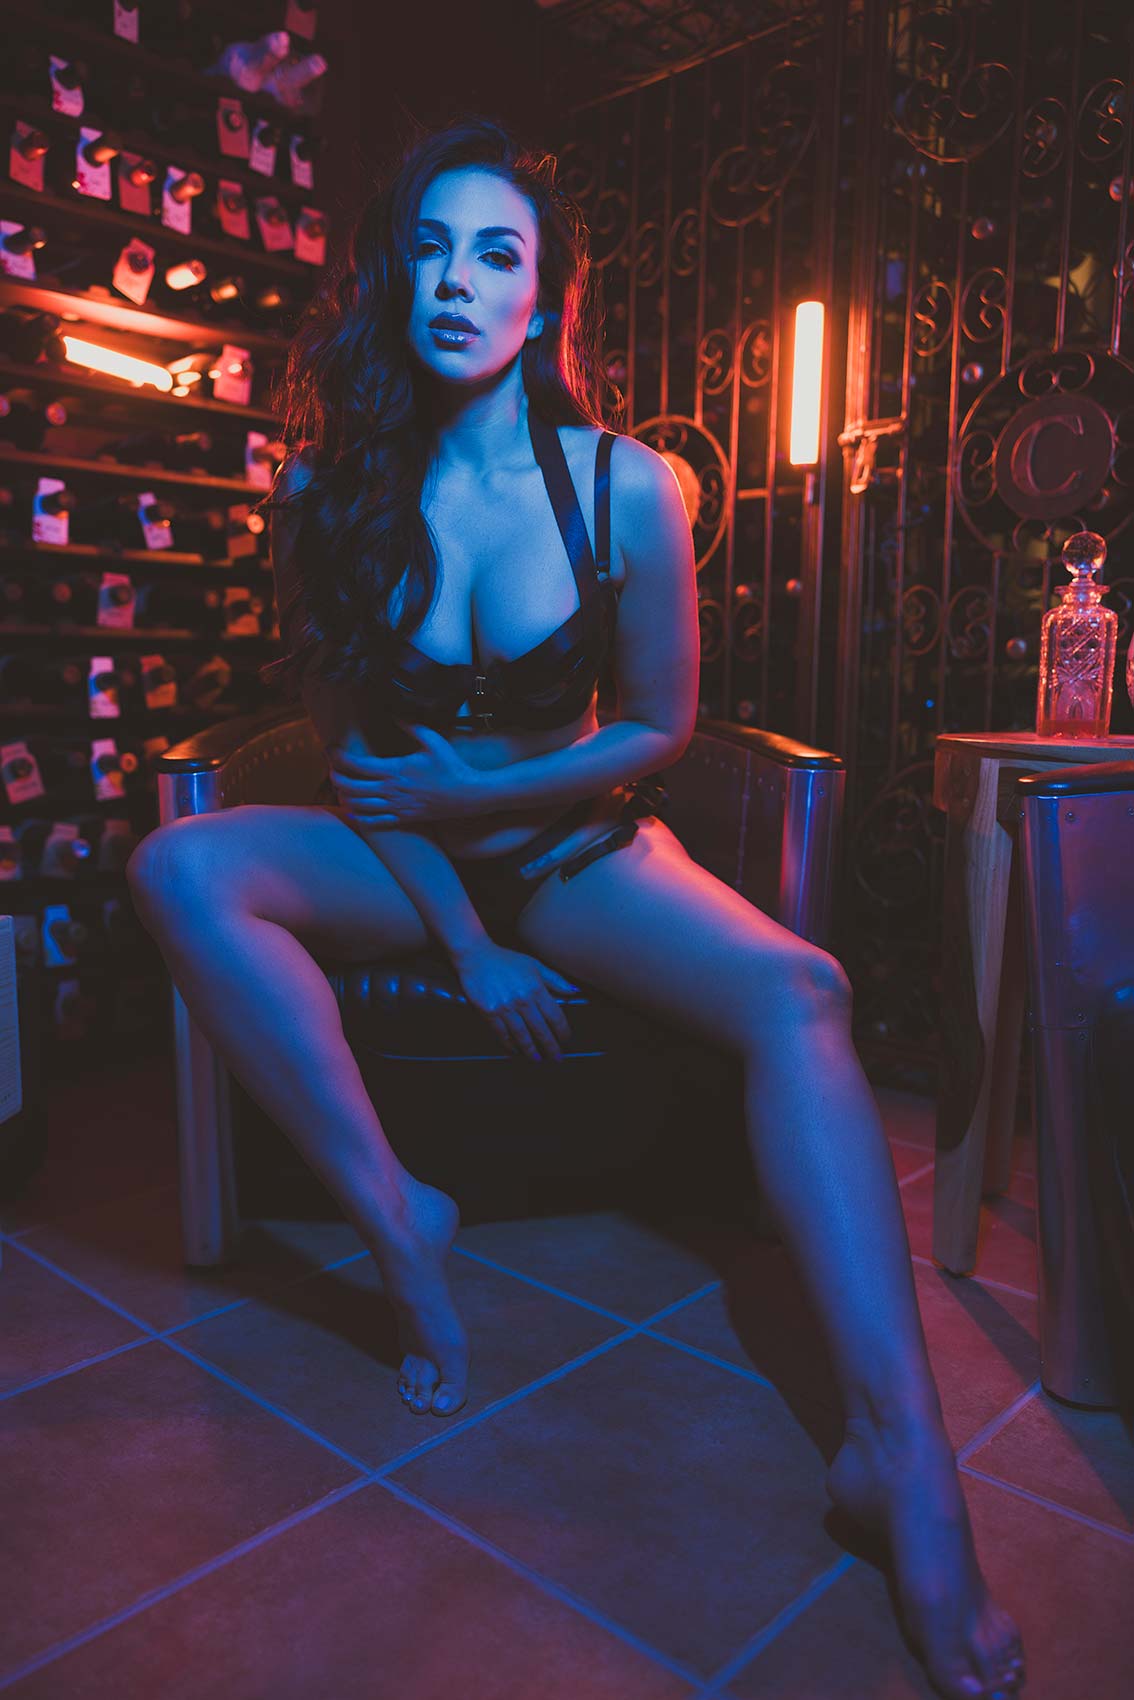
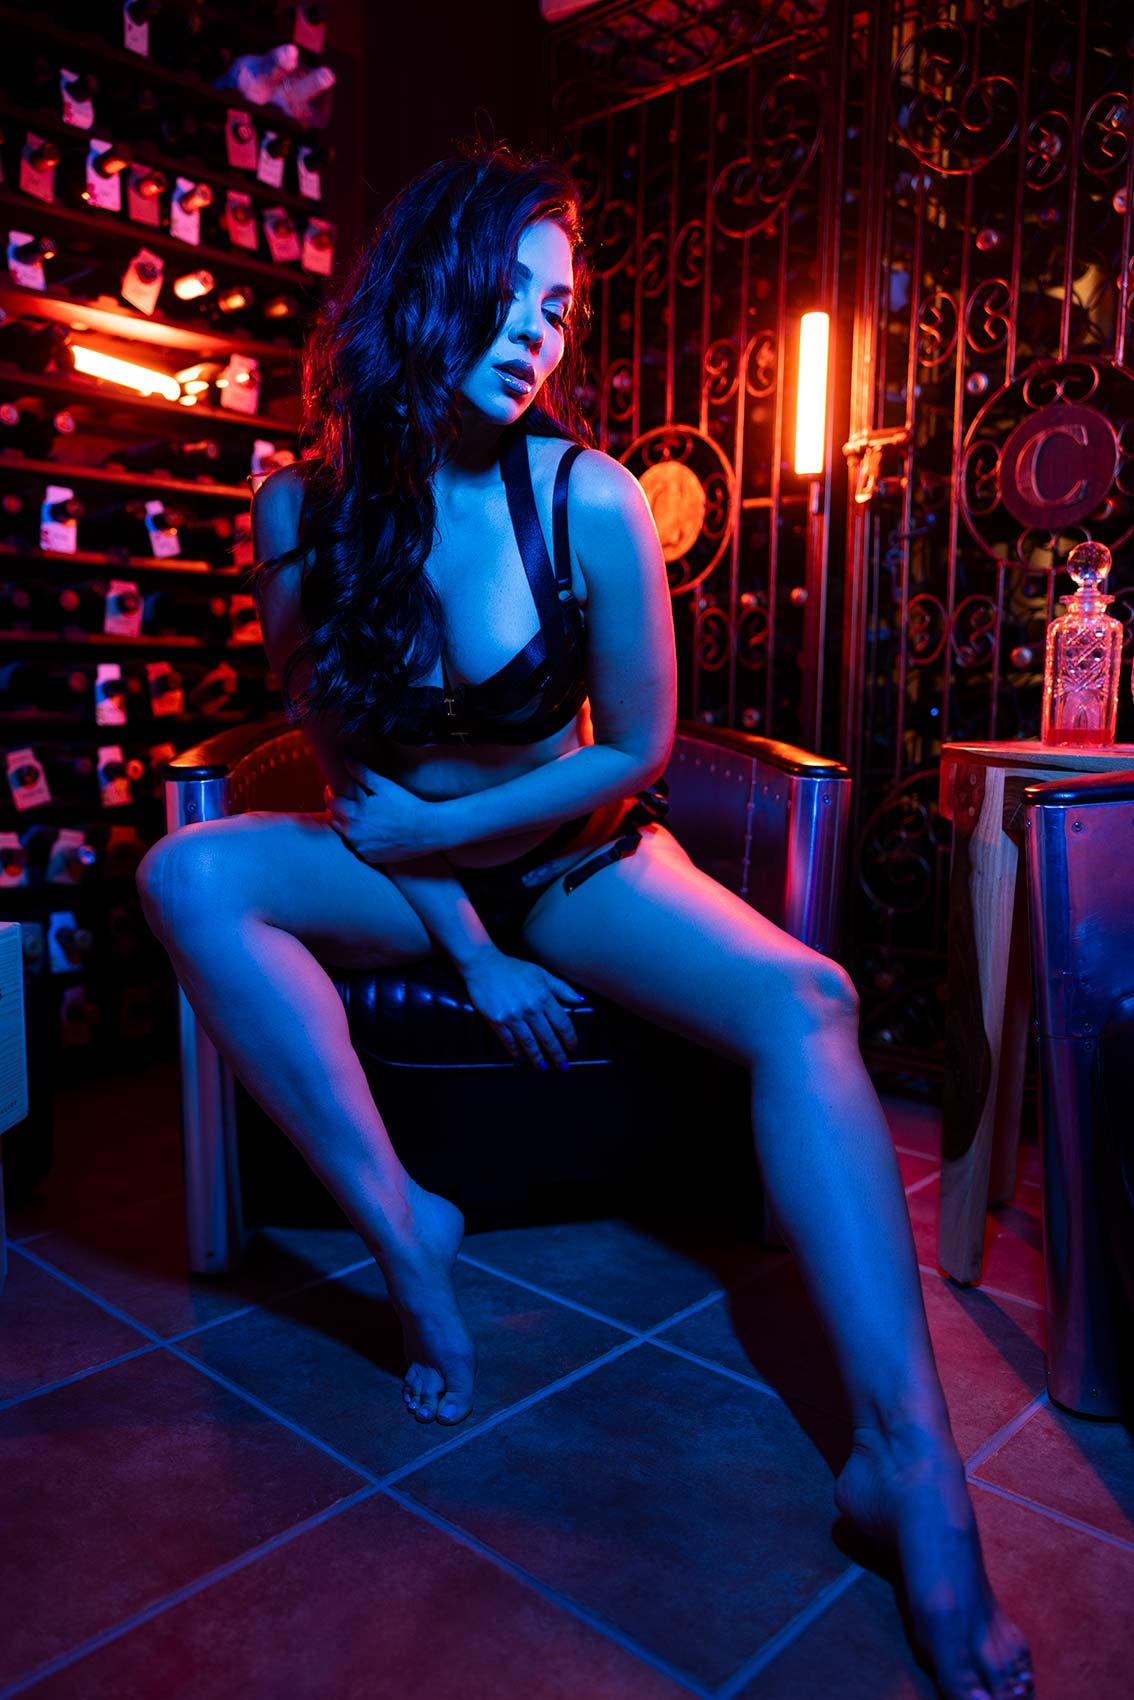
Are you ready for some dark and dramatic boudoir portraits? In this video, Sal and his team create dark and dramatic boudoir portraits that take boudoir beyond the bedroom and into more captivating environments. Lighting is crucial to creating the mood and in this lighting tutorial video we are using continuous light from Nanlite. We are using the Nanlite 10” PavoTube II 6C. These lights are incredibly powerful and so versatile.
Equipment Used:
Camera: Canon EOS R5
Lens: Canon RF 28-70mm F2 L USM
Light: Nanlite PavoTube II 6C
Team:
Photographer: Sal Cincotta
Model: Lauren Middleton
Hair & Makeup: Brandi Patton, ReFine Beauty
What’s up everyone? Welcome back to the channel. My name is Sal Cincotta. It’s time to take your boudoir out of the bedroom. Look, every time I make a video like this, all my boudoir photographers want to tell me what the definition of boudoir is. I got news for you – I don’t care.
If you want to elevate your work for clients, you’ve got to take it out of the bedroom, out of the hotel room, and start shooting in more environmental settings. And for the record, every time I show these pictures, my clients want similar images of themselves. That’s the point—do something unique. There are plenty of ways to do this. I’ll post a link here to one of our other videos where we did a rooftop shoot for a unique location. You can use places like Peerspace, Airbnbs, and other places where you have unique access.
We’re in our wine room today, using it for the shoot. What’s really cool is we’re using the Nanlite PavoTube II 6C.
These things are under a hundred bucks, and the best part is they’re magnetic. You can place them in various locations to transform any space. Sure, we could turn on the overhead light or bring in some strobes and continuous lights to illuminate the whole area, but that’s not what we want. We want to control the lighting, make it moodier, and give the space a unique look and feel. So, let’s get to it.
We’re using four PavoTubes here—three are set to orange, and one to teal. We went with a more blue tone to achieve that blue and orange look and feel. Also, on camera, we have a Canon R5 with the 28-70 f/2 lens.
All right, look, I’m not sure if this is what you’re supposed to do, but she had a stray hair caught in her eyelashes and face. So, I did what anyone would do in that situation—I yanked it.
Anyway, I hope you guys enjoyed the video. As you can see, you can transform any space with these lights. Be sure to check out nanliteus.com—amazing products, cost-effective, and the results speak for themselves. We’ll see you in the next video.

