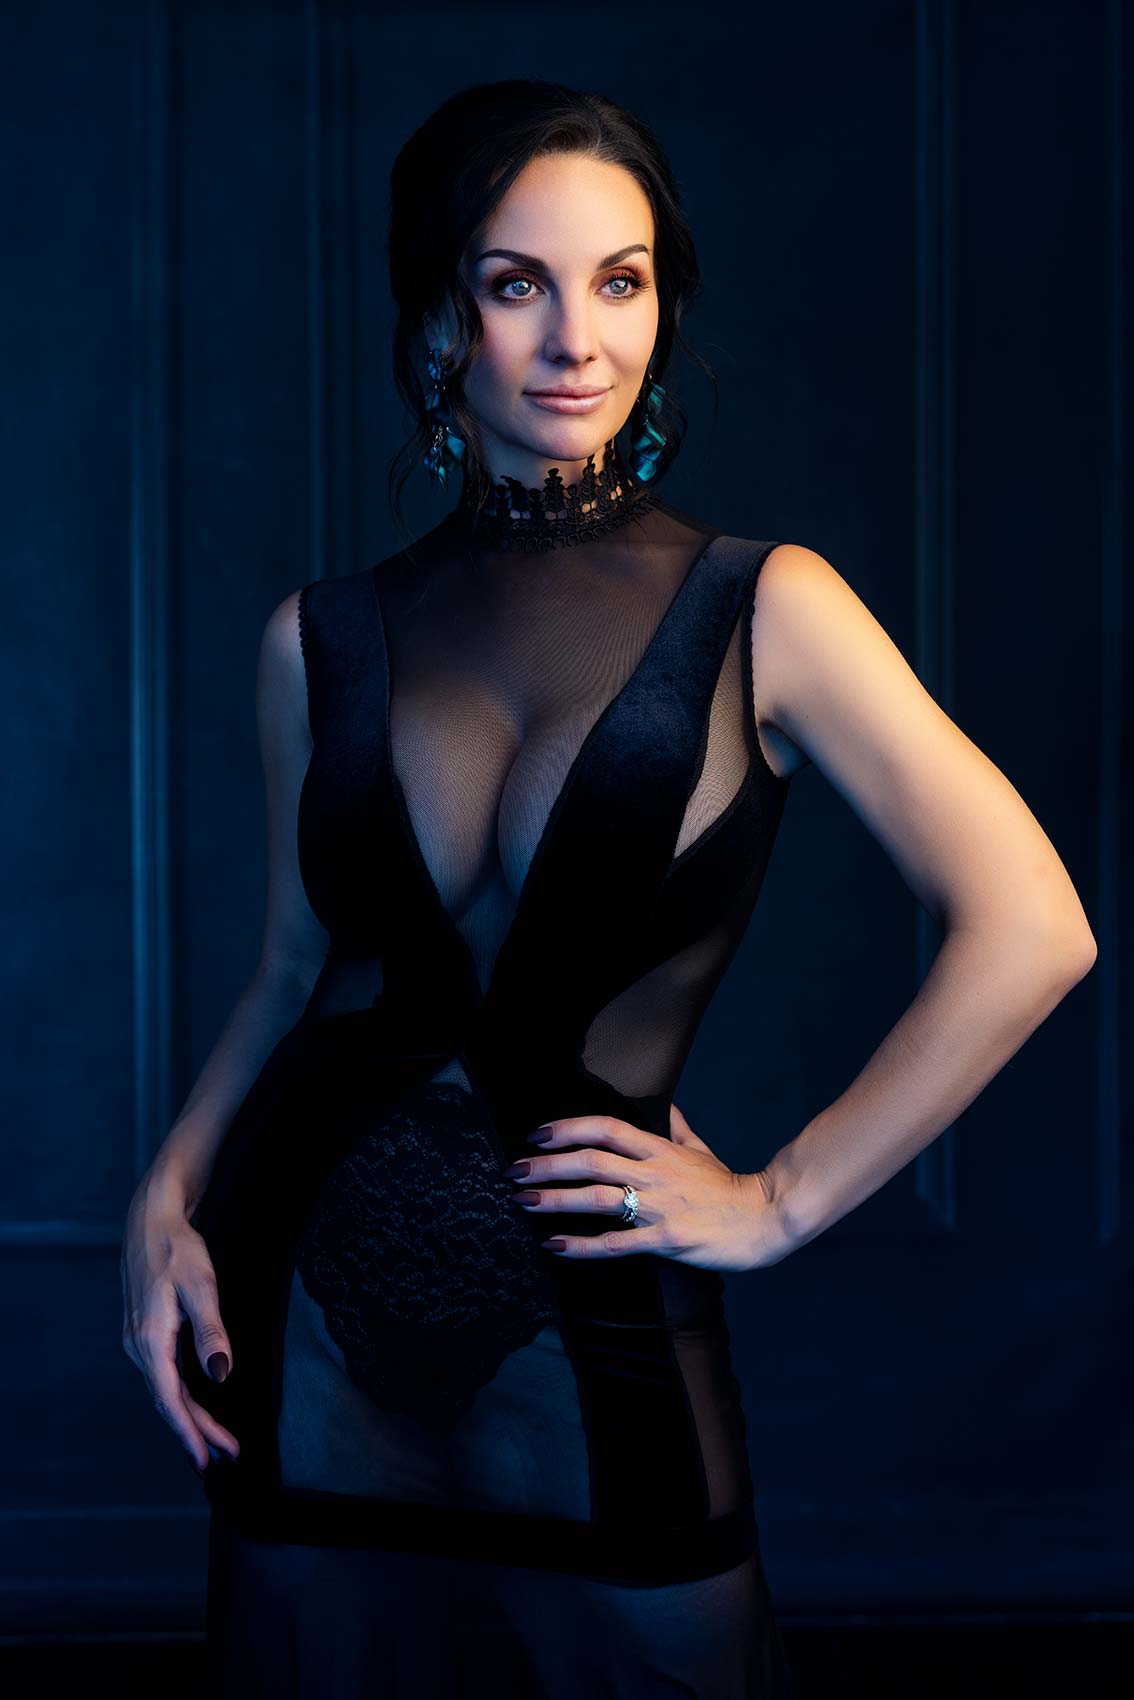
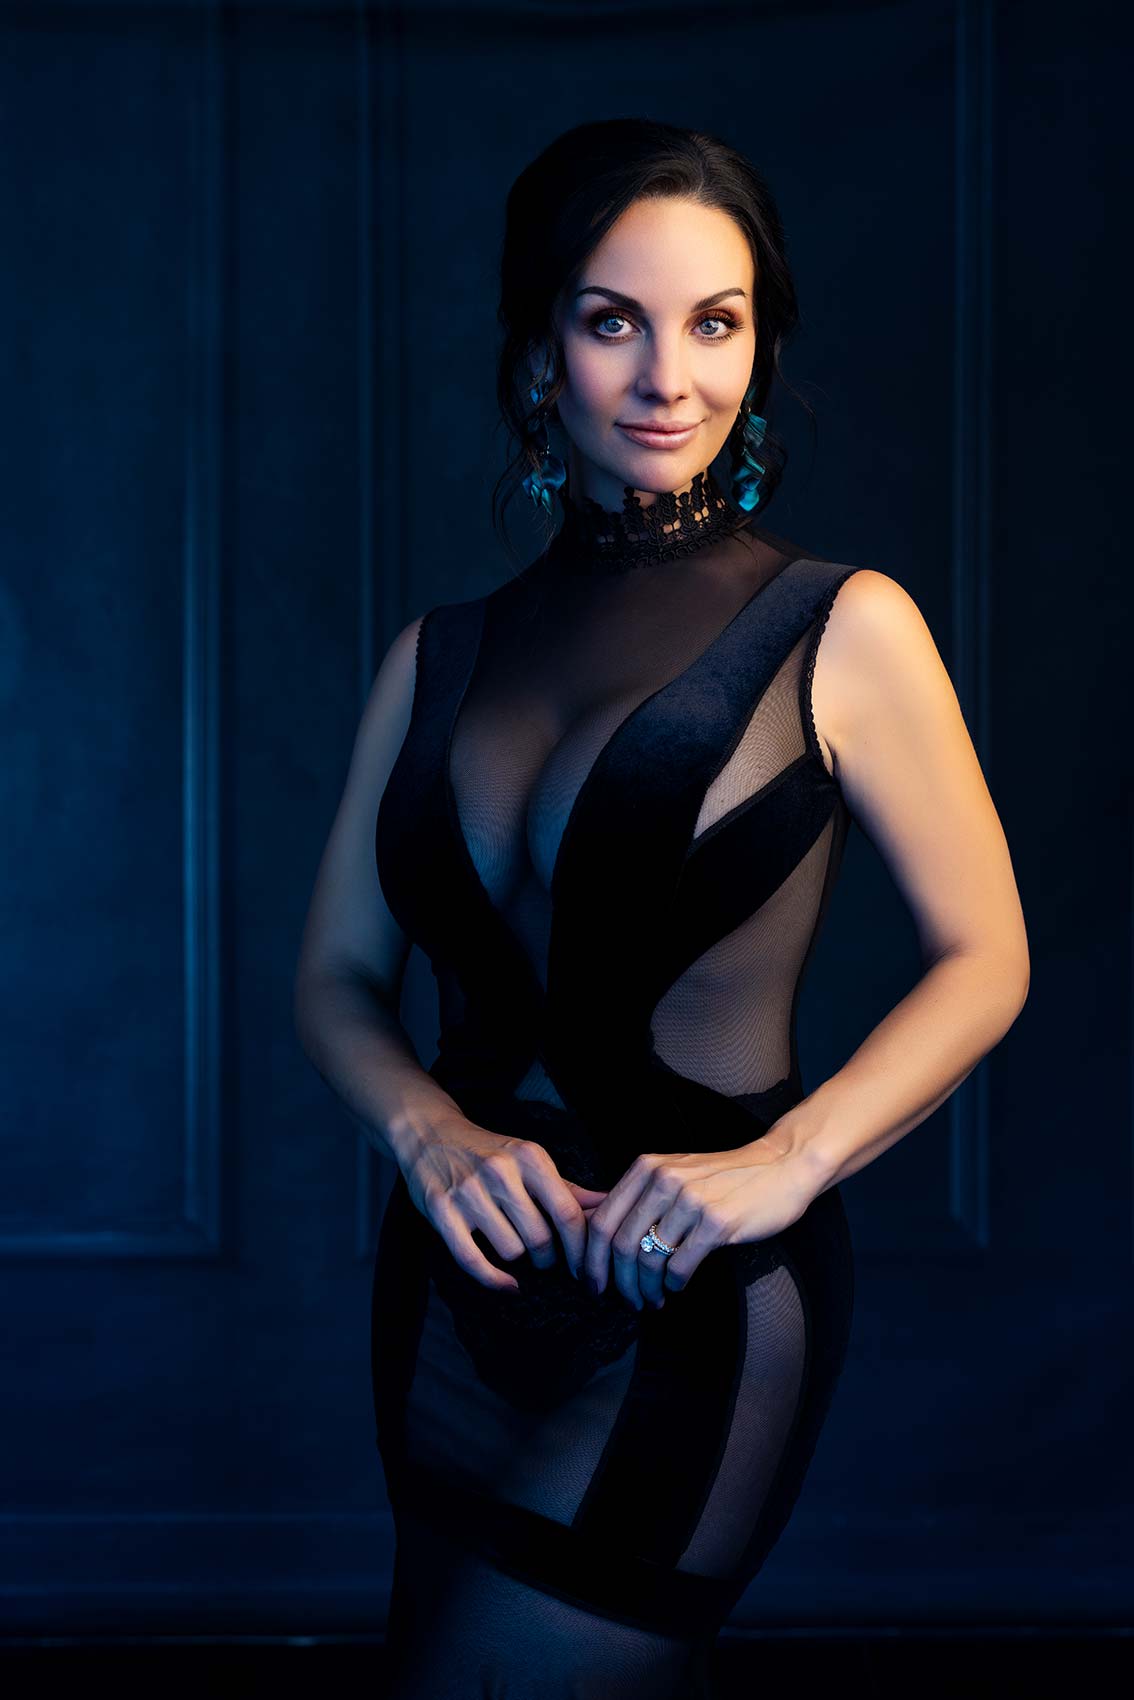
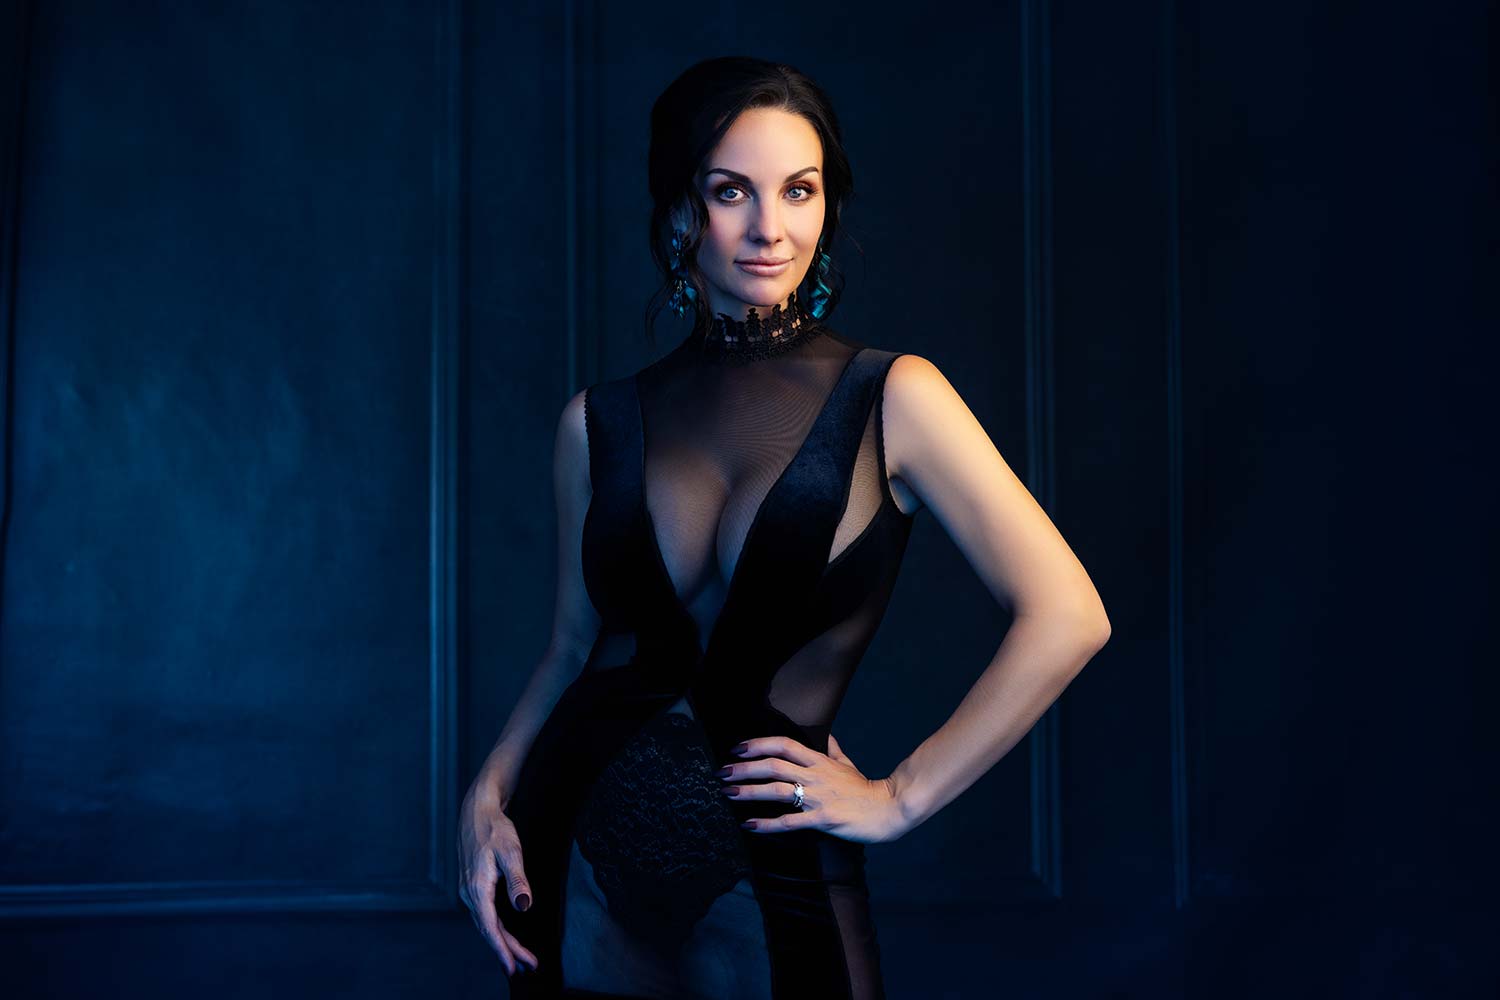
We delve into the fascinating world of portrait photography and explore how to elevate your images using studio strobes and gels. This quick and easy technique will change the way you approach lighting in your studio.
Equipment Used:
Camera: Canon EOS R5
Lens: Canon RF 50mm F1.2 Lens
Light: Westcott fj400 Strobe, Westcott FJ-X3 M.
Modifier: CTO gel, Westcott Rapid Box Switch Octa-L
Team:
Photographer: Sal Cincotta
Model: Alissa Cincotta
Today we are going to create some creative studio portraits of my wife using gels. And we’re going to use a one-light setup, but I want to create something that’s a little bit more moody, kind of directional, if you will. So what are we using for this? Let’s take a look.
I am using the Westcott FJ 400 for this, and we are using the Switch Octa-L. So I want a large light source, and what you’re going to see here is we are using the inner baffling to diffuse the light. I’m going to stick this CTO gel sheet inside the softbox, on top of the strobe head.
On your camera, you’re going to set your white balance to 3200. Because at 3,200, everything is going to be blue in the scene. And that’s exactly what I’m looking to do with this image. I want her skin tones to be correct, but then I want the rest of the scene to be blue. So I want warm skin tones, warm highlights, cool shadows.
Sure, you can do this in Photoshop, you can create this look in a multitude of ways, but why not do it the right way in camera?
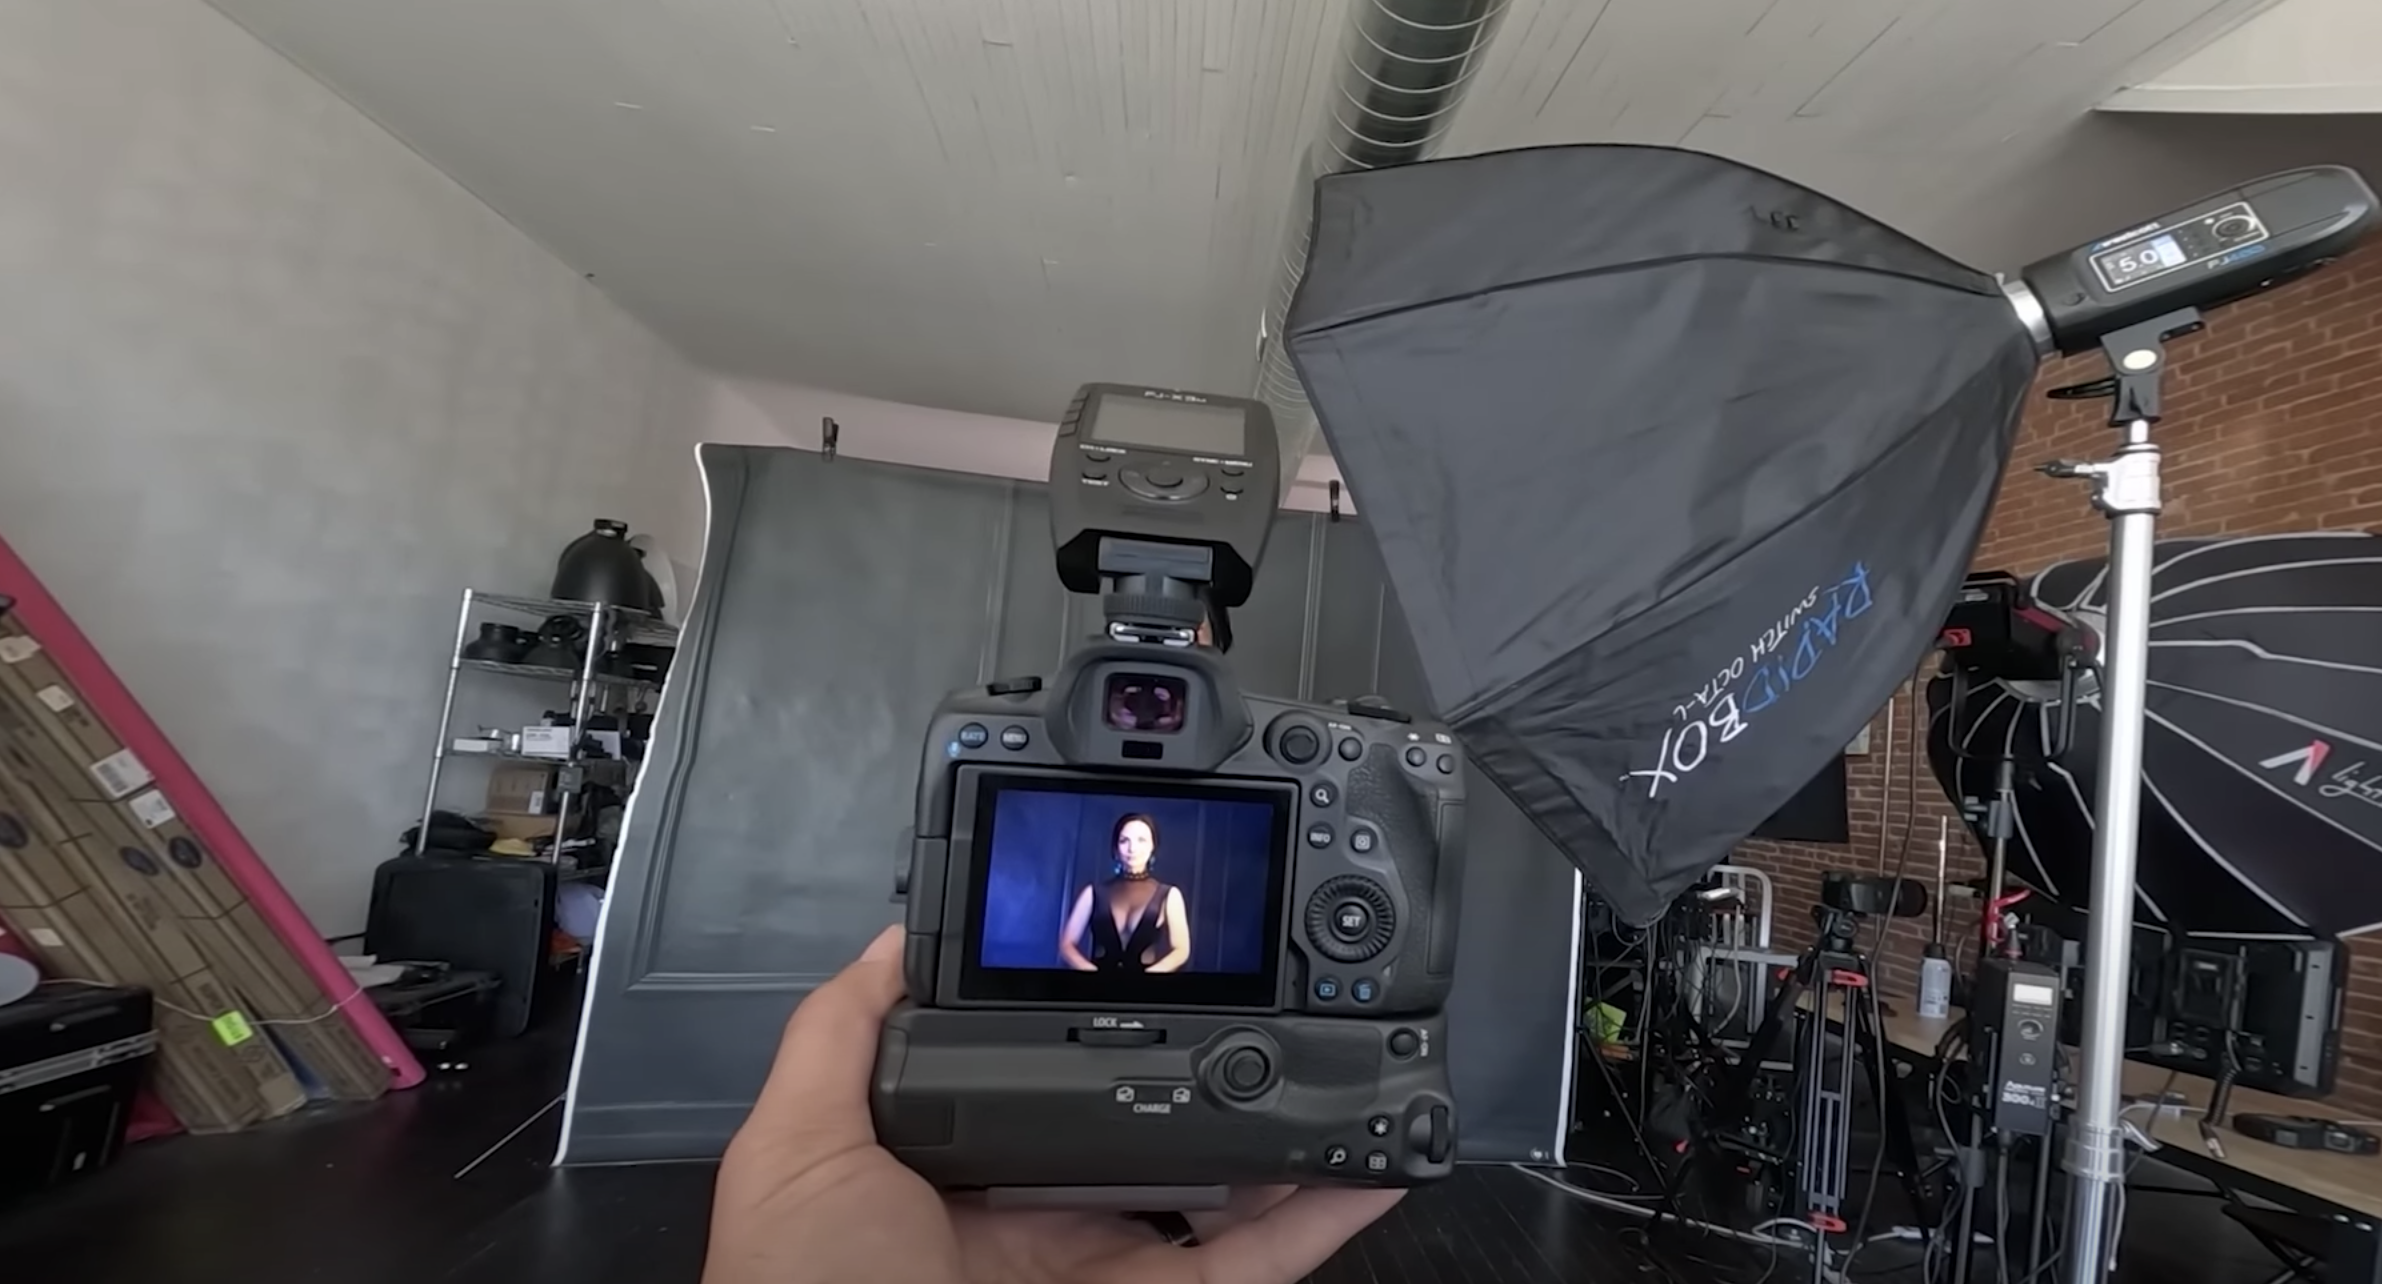
Gear-wise, we’re using the Westcott FJ-X3 M. We’re using a Canon EOS RF 50mm F1.2 lens. I’ve already metered in for the lighting. Our settings: We are in manual mode. I am at 1/200th, F/4.0, ISO 200. So that is the gist of what we’re doing for this, and that’s going to get us the look we want.
The details on set: The backdrop is Harold from Intuition Backgrounds. I feel like it matches the elegance that we’re trying to create with the portrait.
After the first test shot, you will see that everything is blue in camera (as shown through back of camera live view). And if I take this picture without a flash, she’s going to be blue. And that is because the Kelvin is set to 3200 on the camera, which is going to turn everything blue.
So how do we get her skin tones looking the right way? That’s where that gel comes into play.
You can see immediately all the shadow detail is this really cool blue tone. Her skin tones are nice and warm, and we can always make minor adjustments to that in post-production.
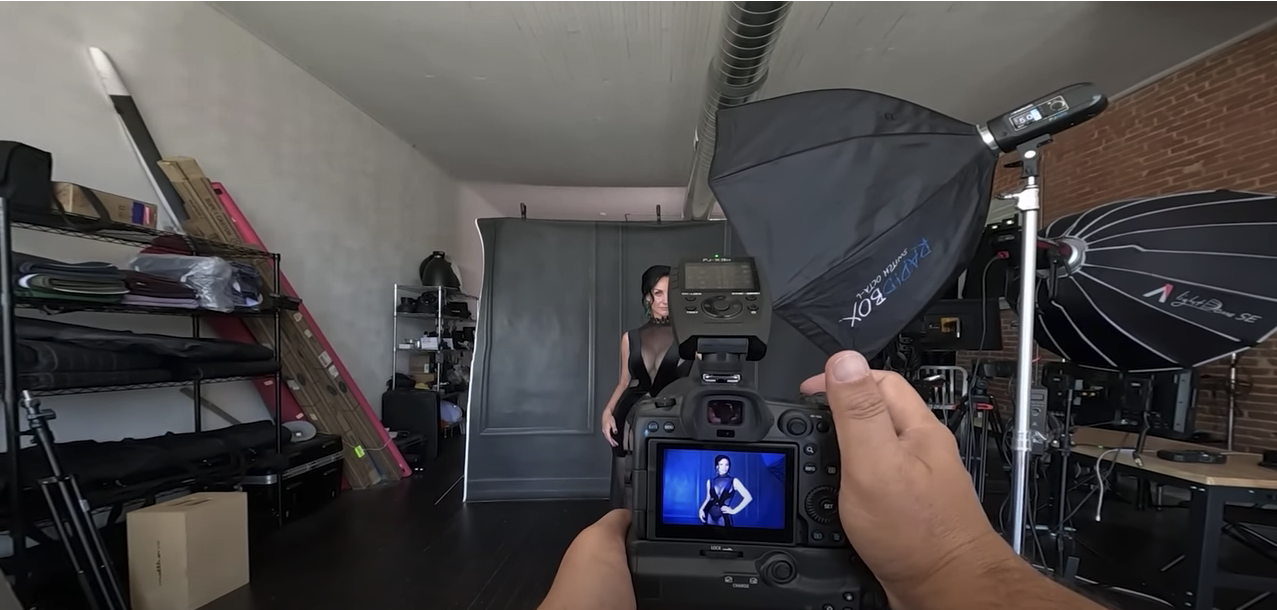
Pro tip: Don’t fall in love with what you’re seeing on the back of the screen. It’s never correct.
What are you feeling here? You’re too sassy with it. I want something that’s a little bit more cinematic or just looking off, or what do you think?
All right, there you have it in a nutshell. How easy was that, right? So with one light, you’re able to create this cinematic look and feel just by adding a gel and adjusting your Kelvin color temperature in camera.
Just a recap here. Set your camera to 3200 Kelvin, and then all your shadows are going to go nice and blue. Use a CTO gel on your strobe to warm up the skin tones on your subject.
Let me know what you think of the process. Is it easy? Is it complicated? And go out there and make your own magic.

