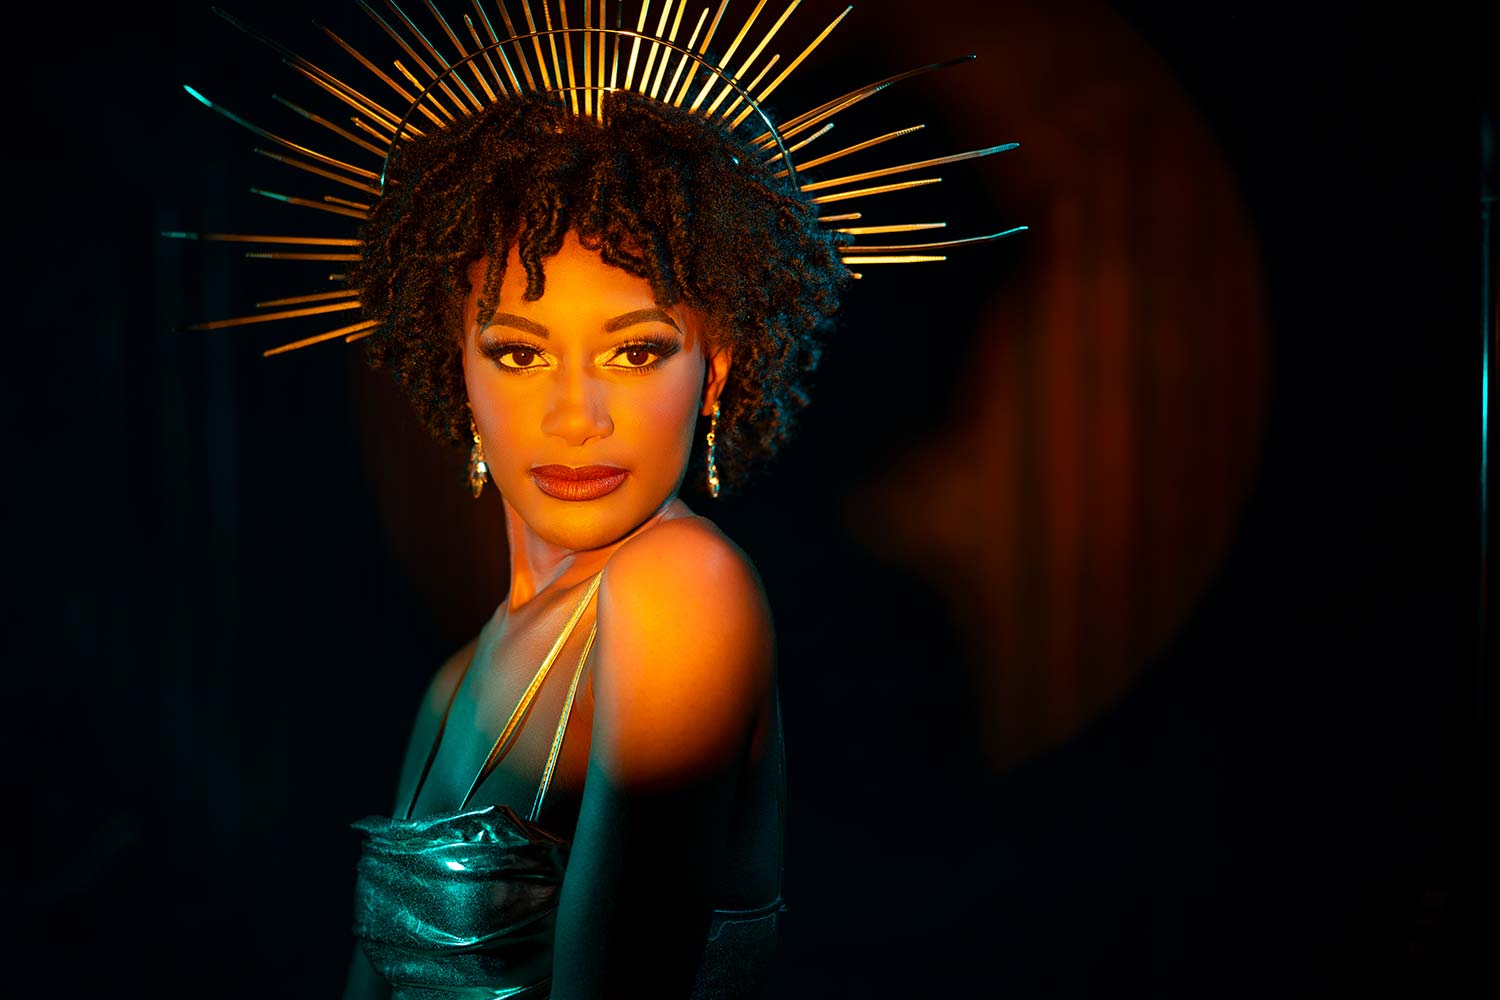
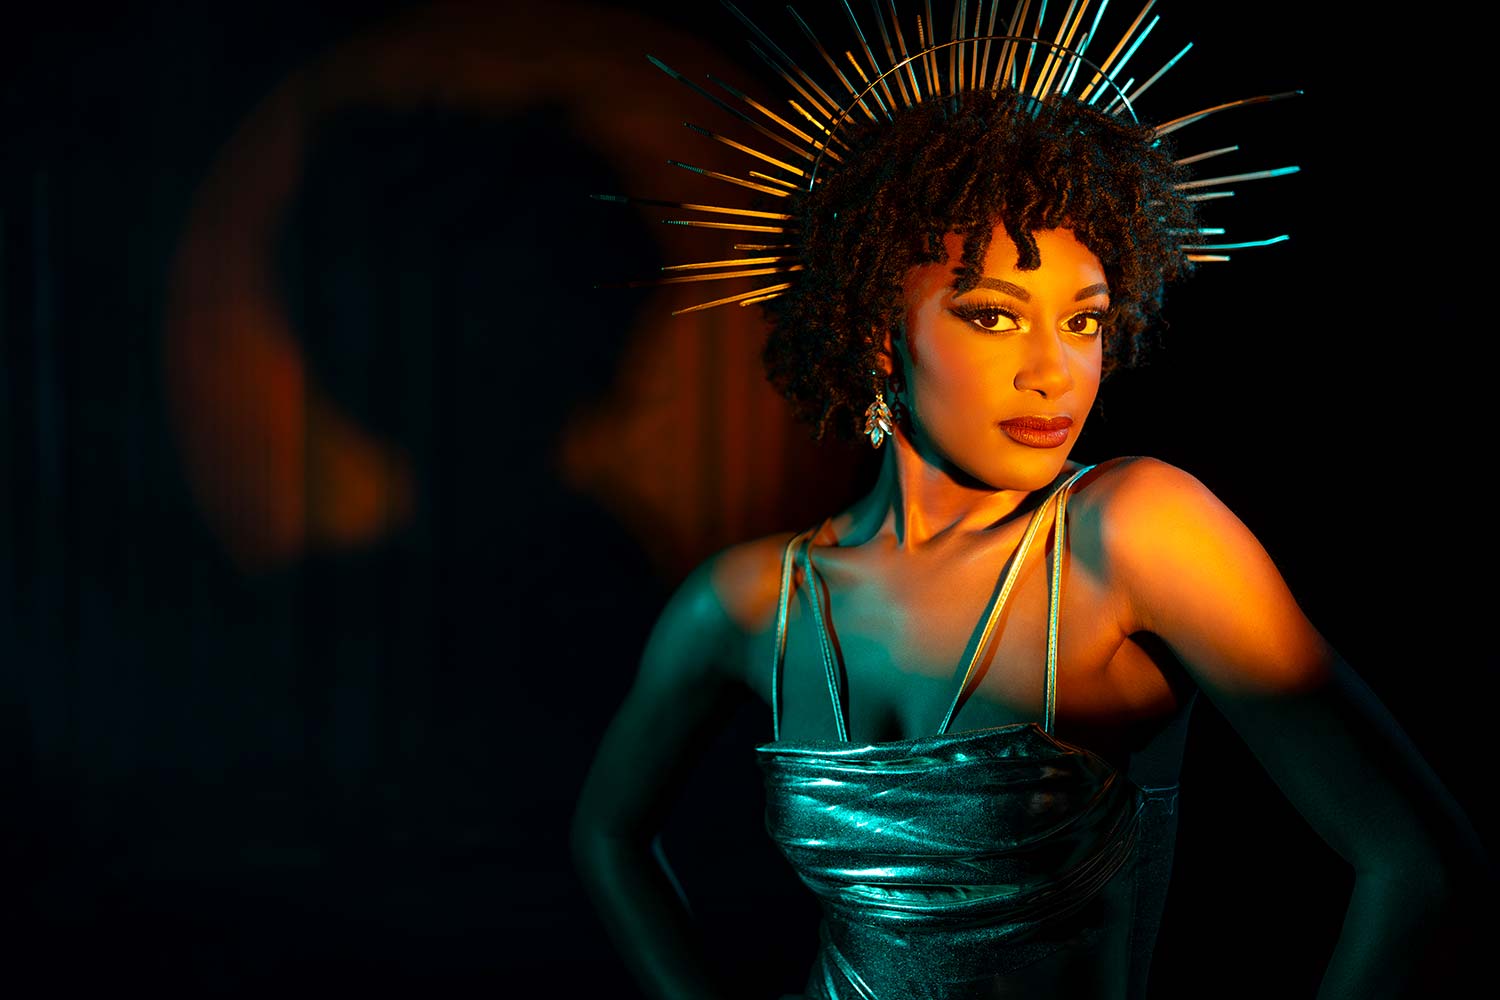
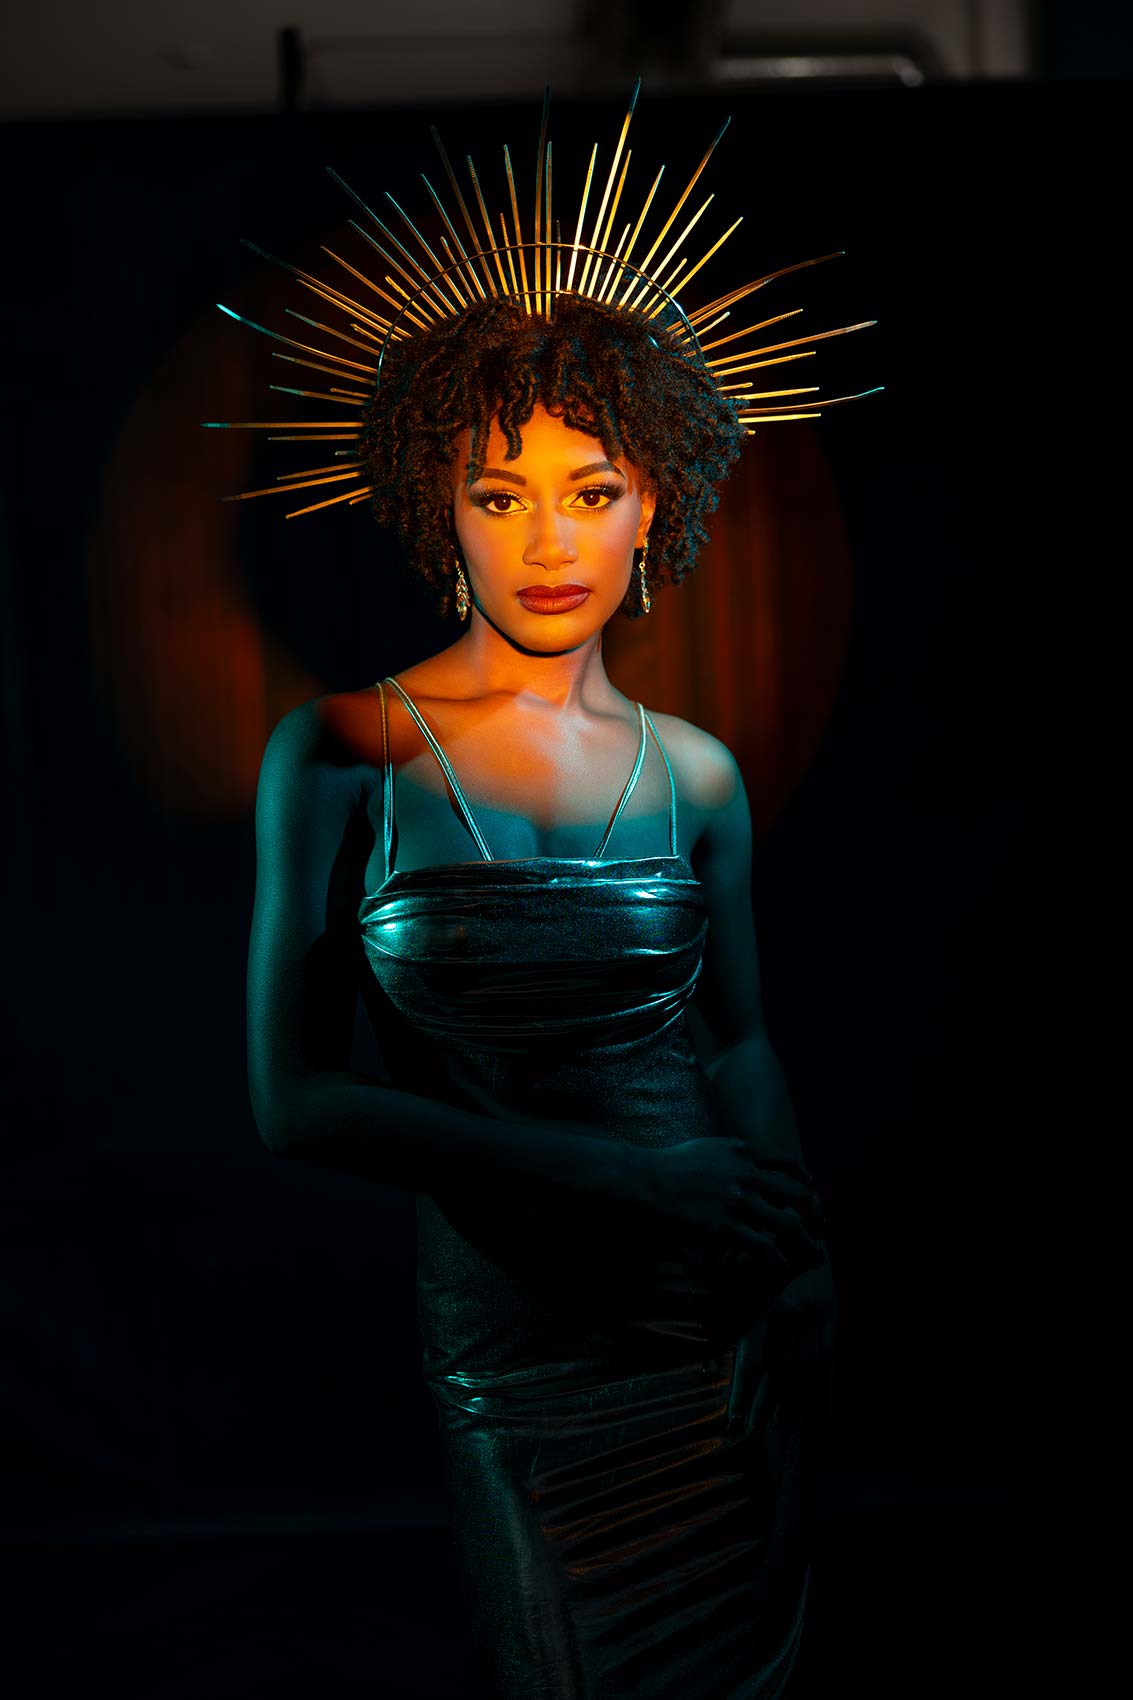
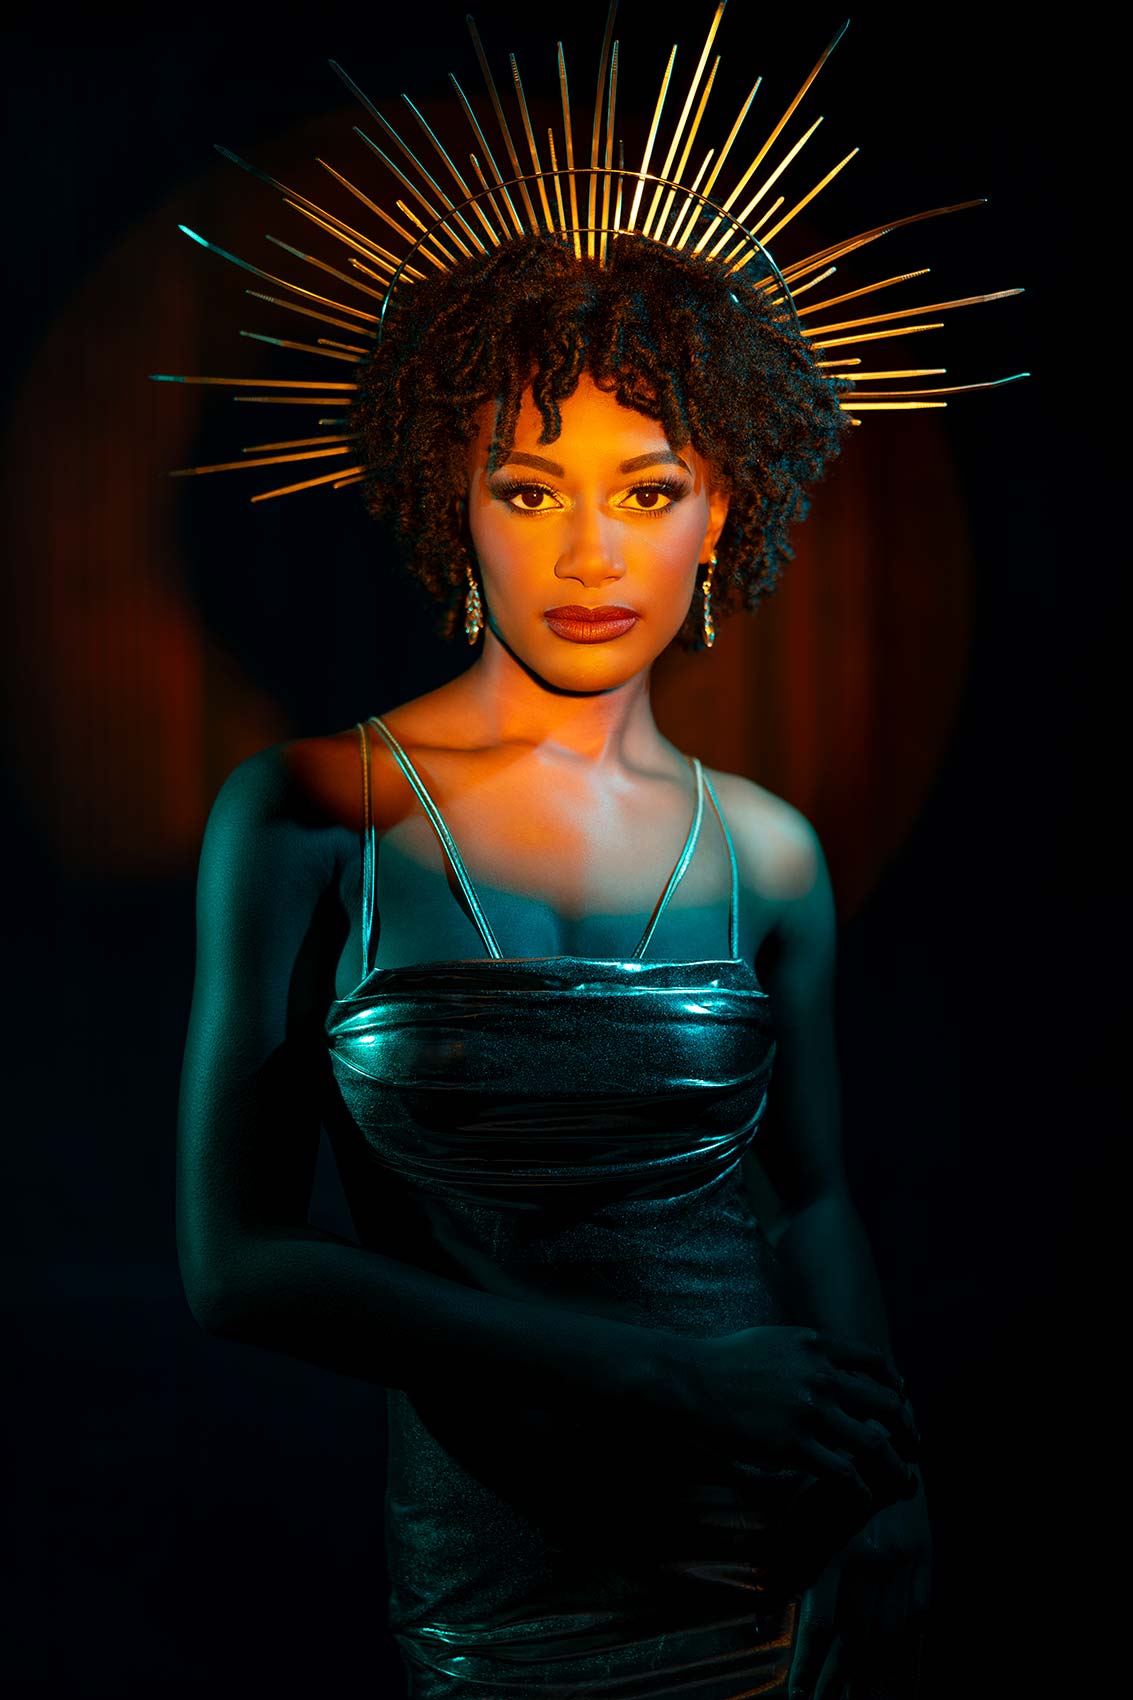
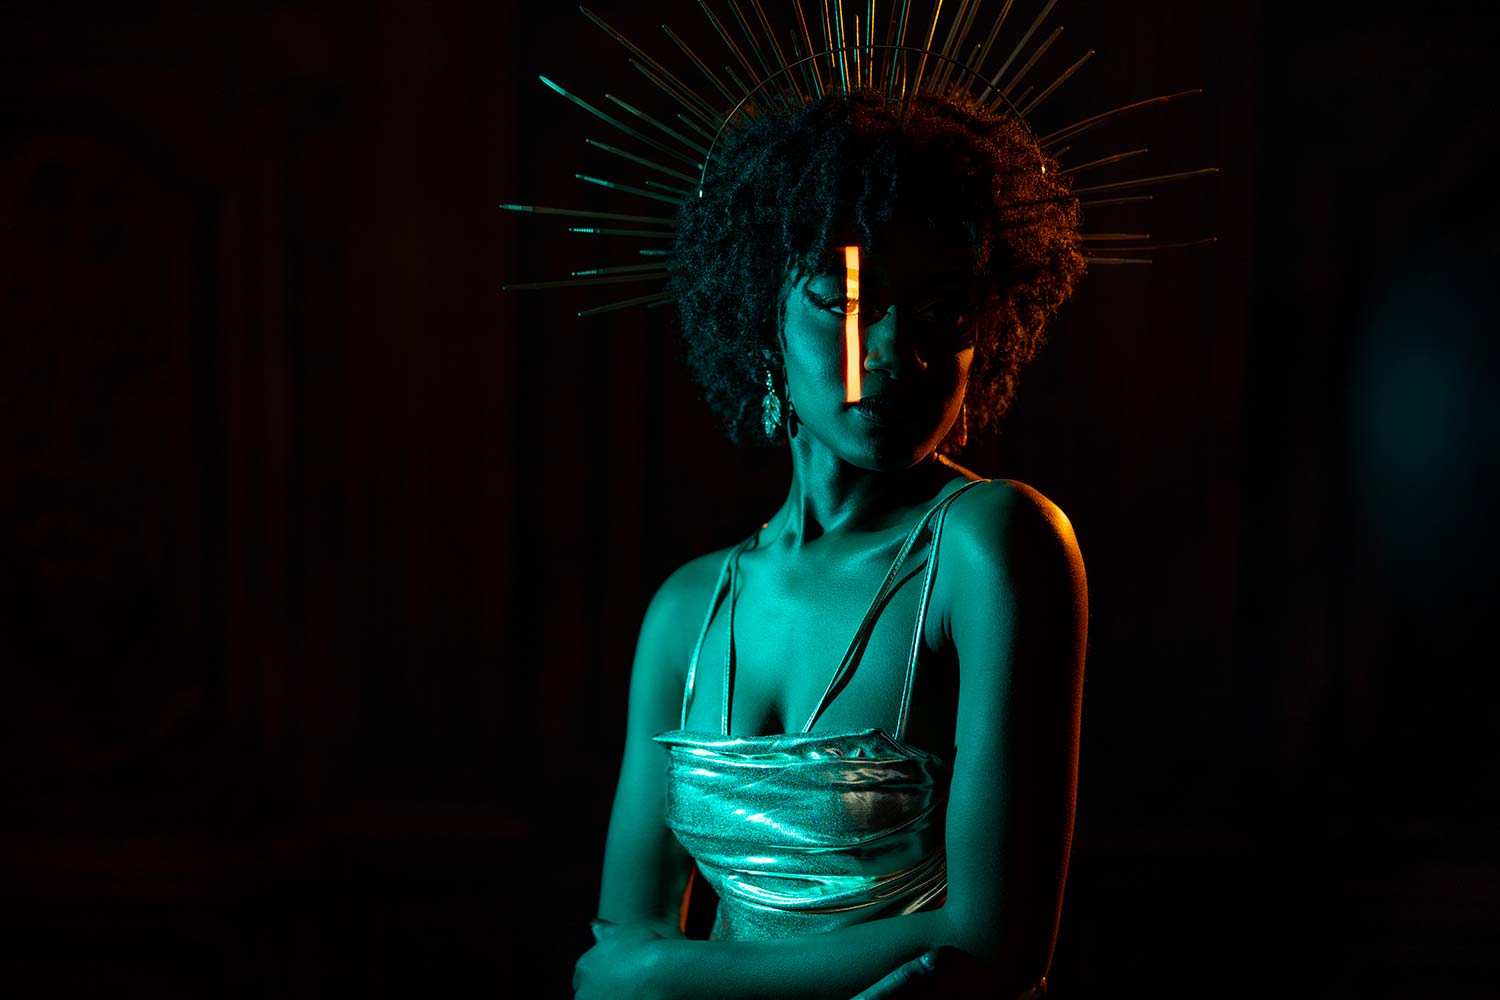
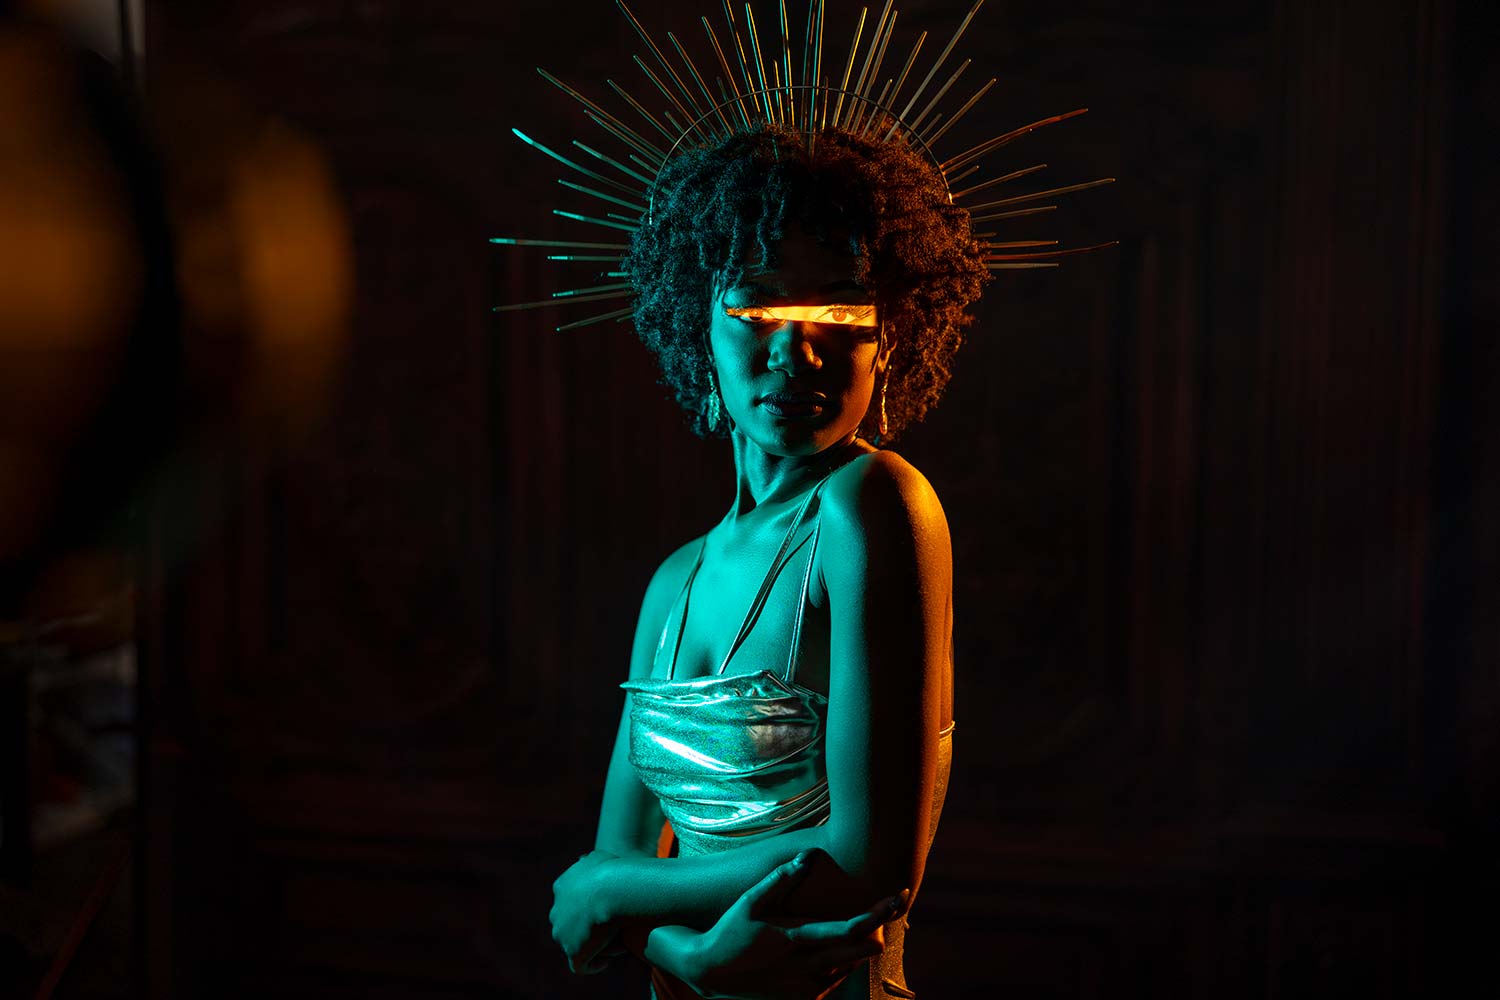
Things get super creative in this portrait photography training video using the Nanlite Projection Attachment aka a Gobo. If you are looking to unleash your creativity this is a must have tool in your photography lighting bag. We love using this tool and it can be seen in multiple videos on our youtube channel. In the video you will get insight into some portrait photography lighting techniques that you can use the next time you are working with led lights or any indoor shoots with continuous lights. To learn more about Nanlite visit nanliteus.com.
Equipment Used:
Camera: Canon EOS R3
Lens: Canon RF70 f2
Light: Nanlite FS-60B, Nanlite 36 Projector, Nanlite P J-FMM
Team:
Photographer: Sal Cincotta
Model: Peyton
Hair & Makeup: Brandi Patton, Refine Beauty
What’s up everyone? I’m Sal Cincotta. Today we’re going to do some creative portraits with a gobo from Nanlite.
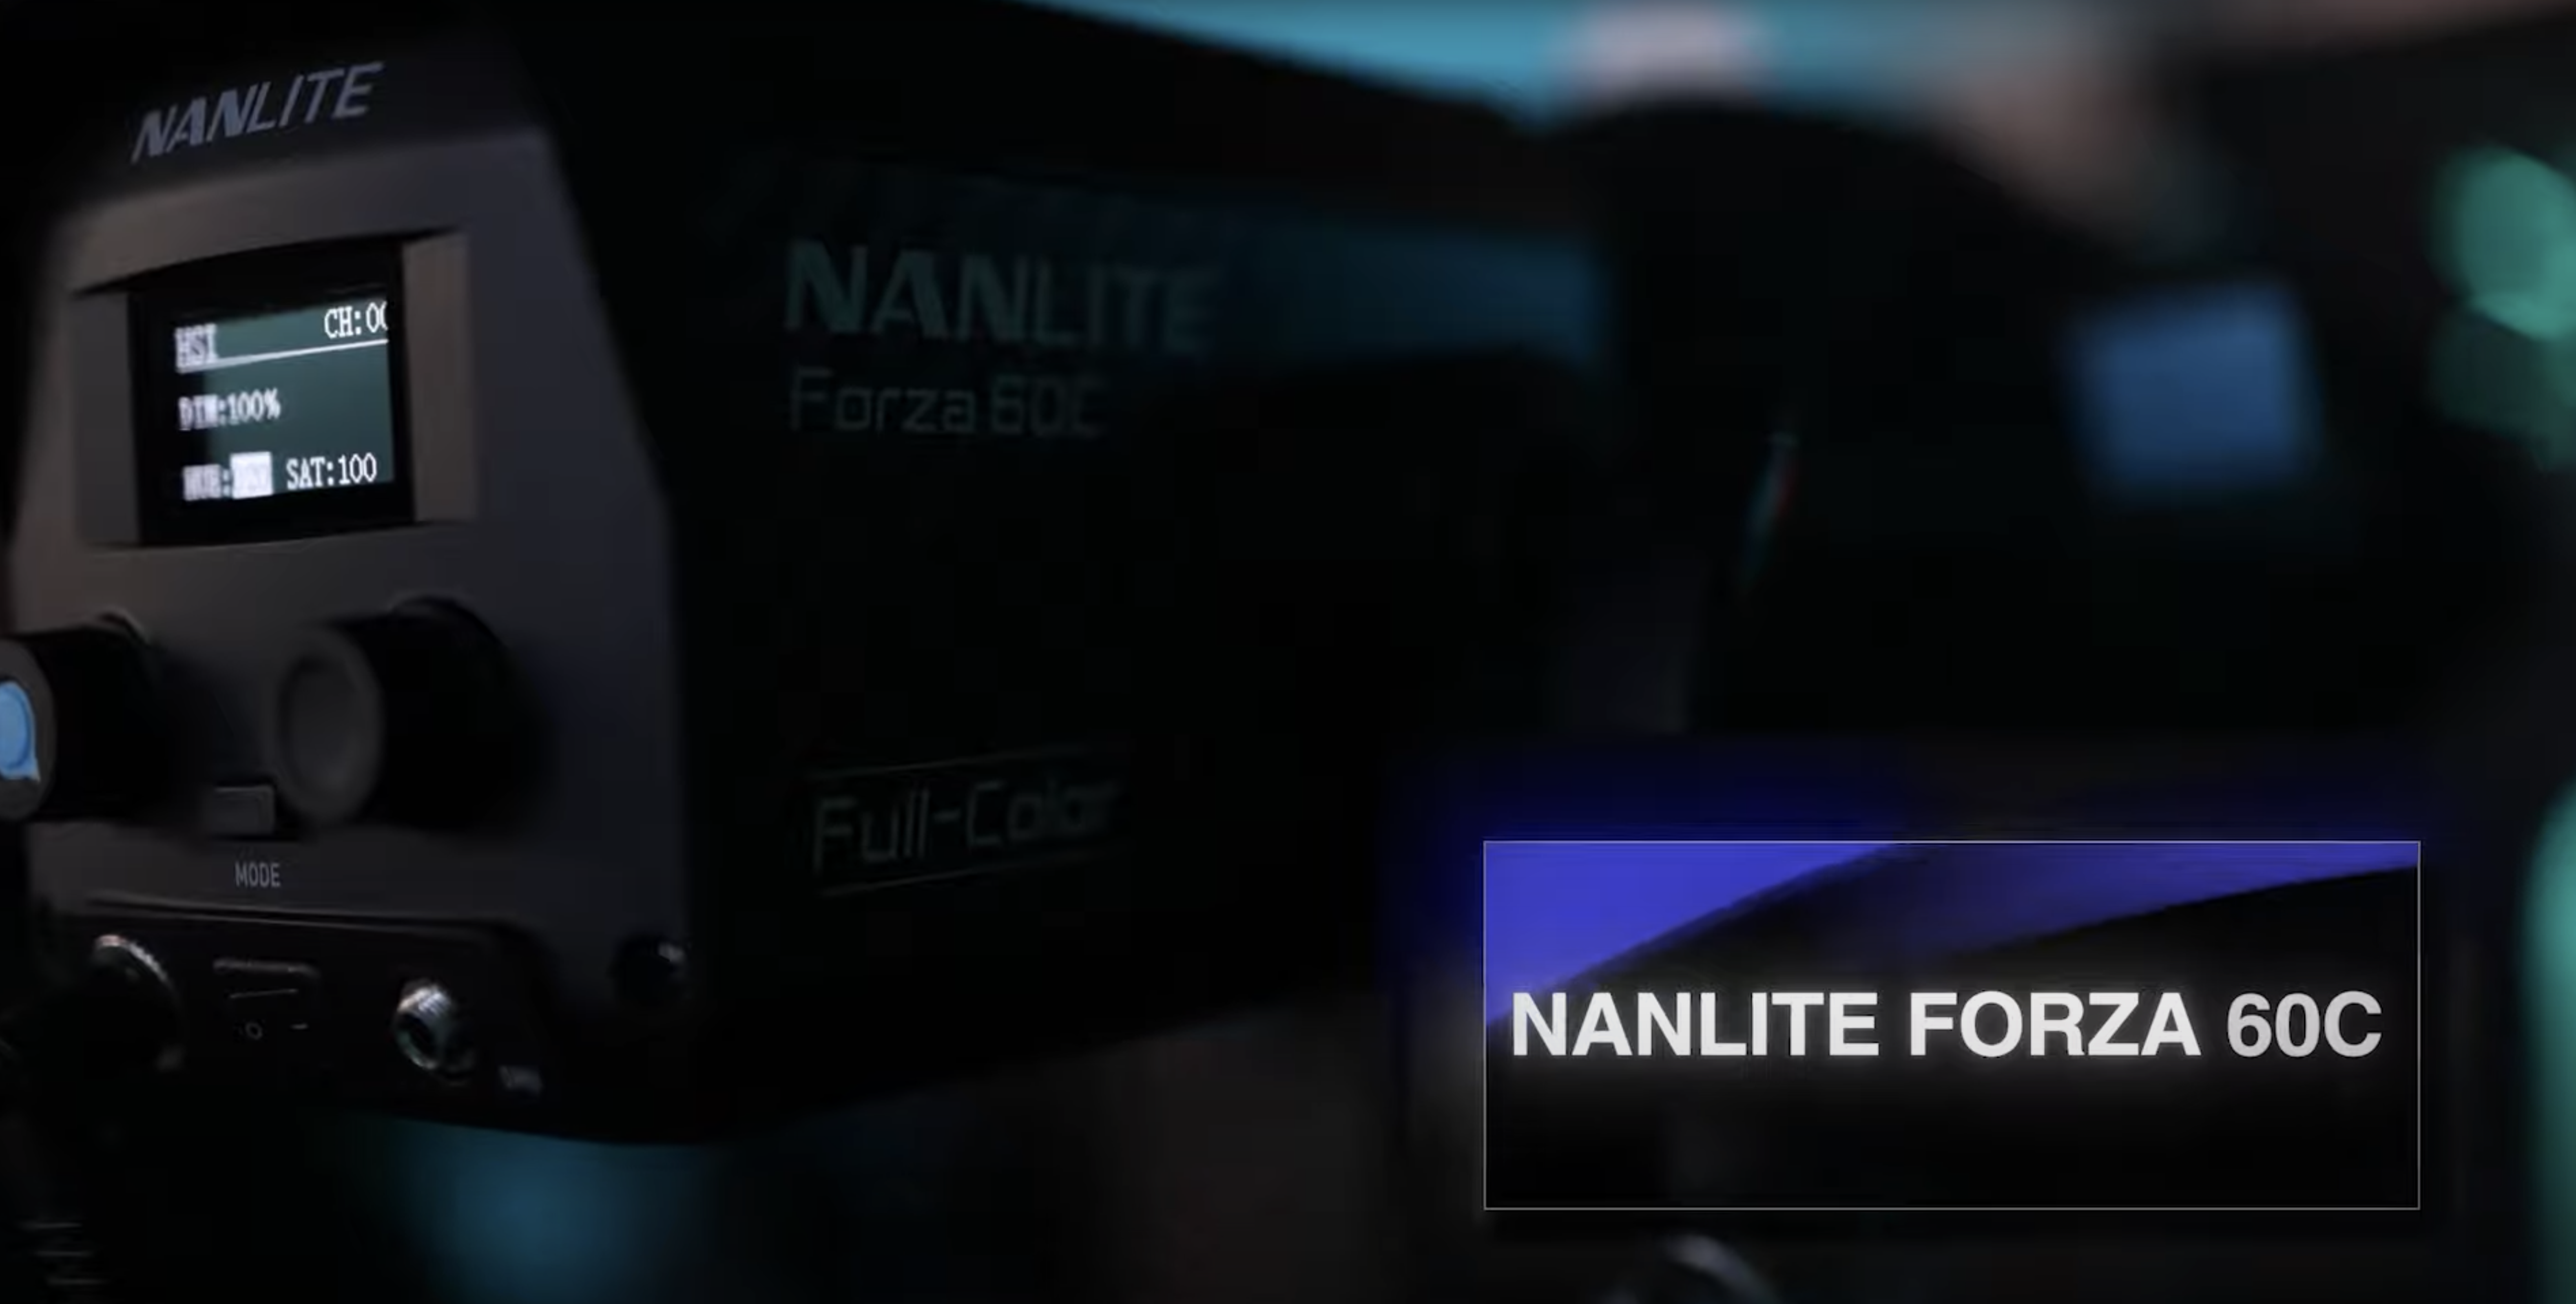
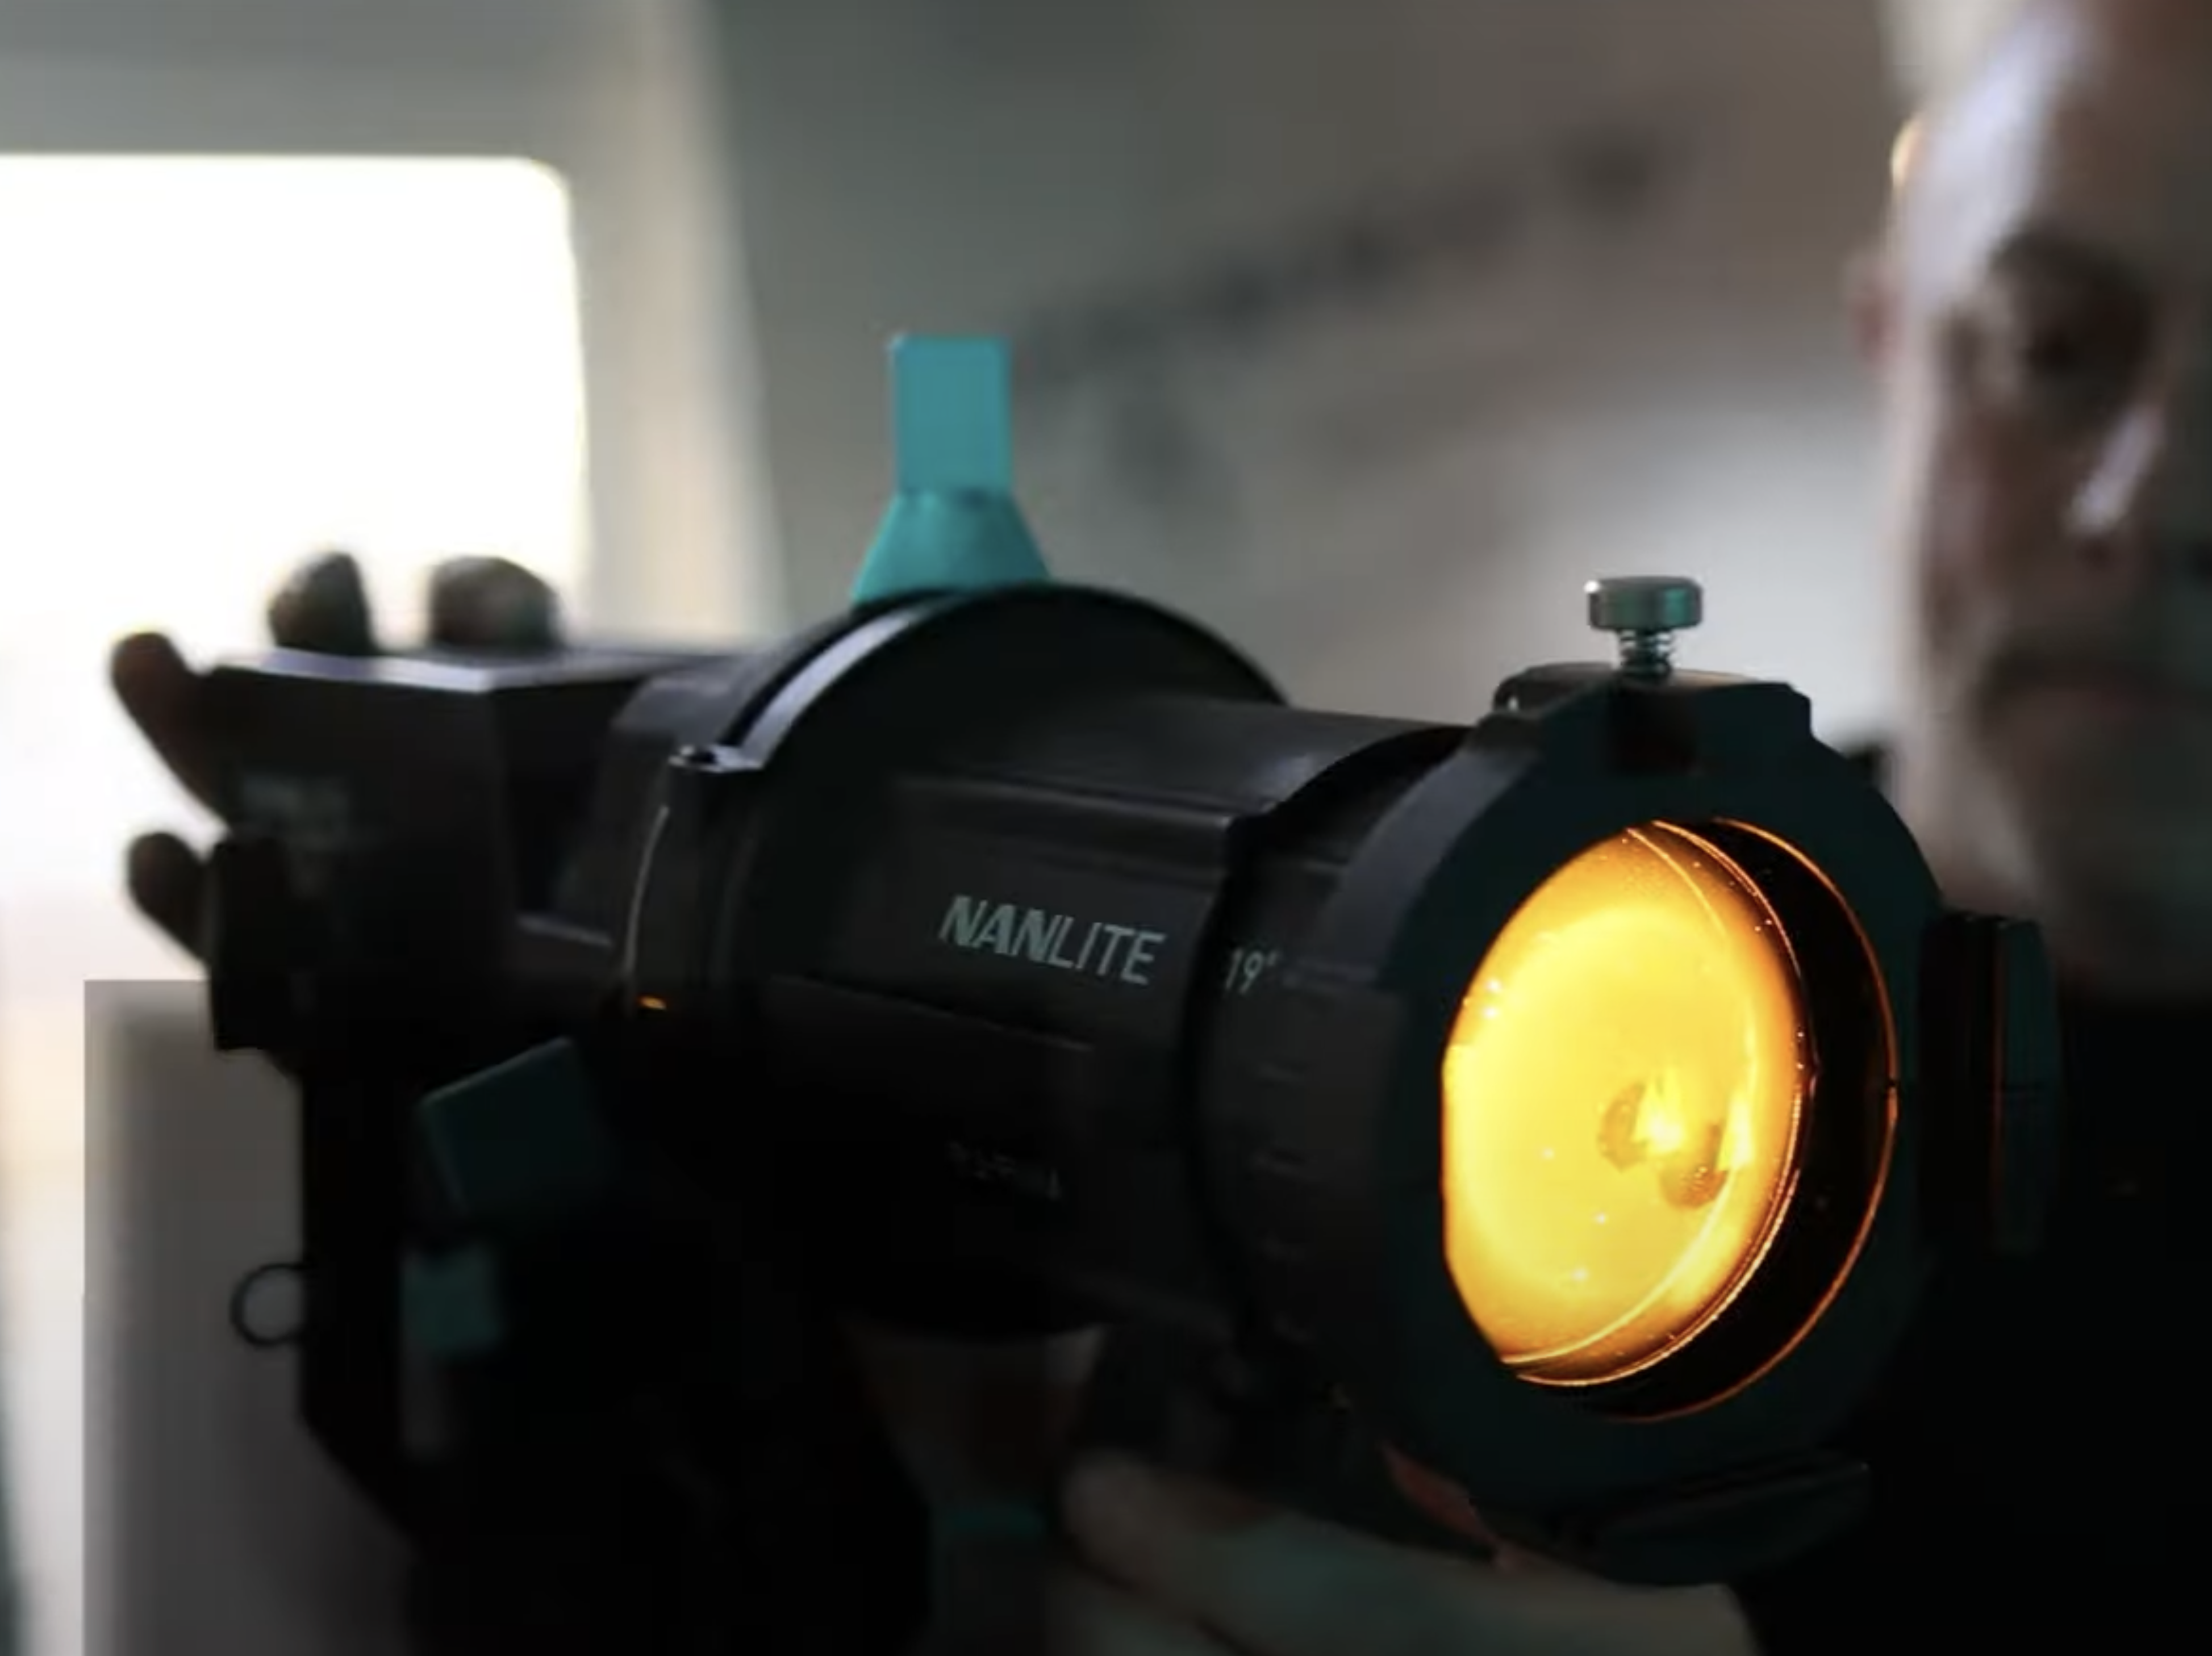
All right, guys, so we have got the PJ-FMM from Nanlite, and this is a gobo. It ends up attaching to the Forza 60C and you can use the full color or bicolor units here. So what we’re going to do, got Peyton with us here today and she’s got a beautiful outfit here. And so we’ve got three of these units and this just kind of snaps in here. And what it’s going to allow us to do is through accessories and patterns, we can do all sorts of creative things, but I do want to show you this for a second.
So super easy to use, lightweight unit. And what this is going to allow us to do is to control, you can go daylight balance with these all the way up and down the Kelvin scale, but you can also switch into RGB mode. They’re both battery operated and powered. What this is going to allow us to do here is just some creative stuff, right? Now the blades in the gobo are completely pulled out. So we can put these blades in, they’ve got patterns that we can use.
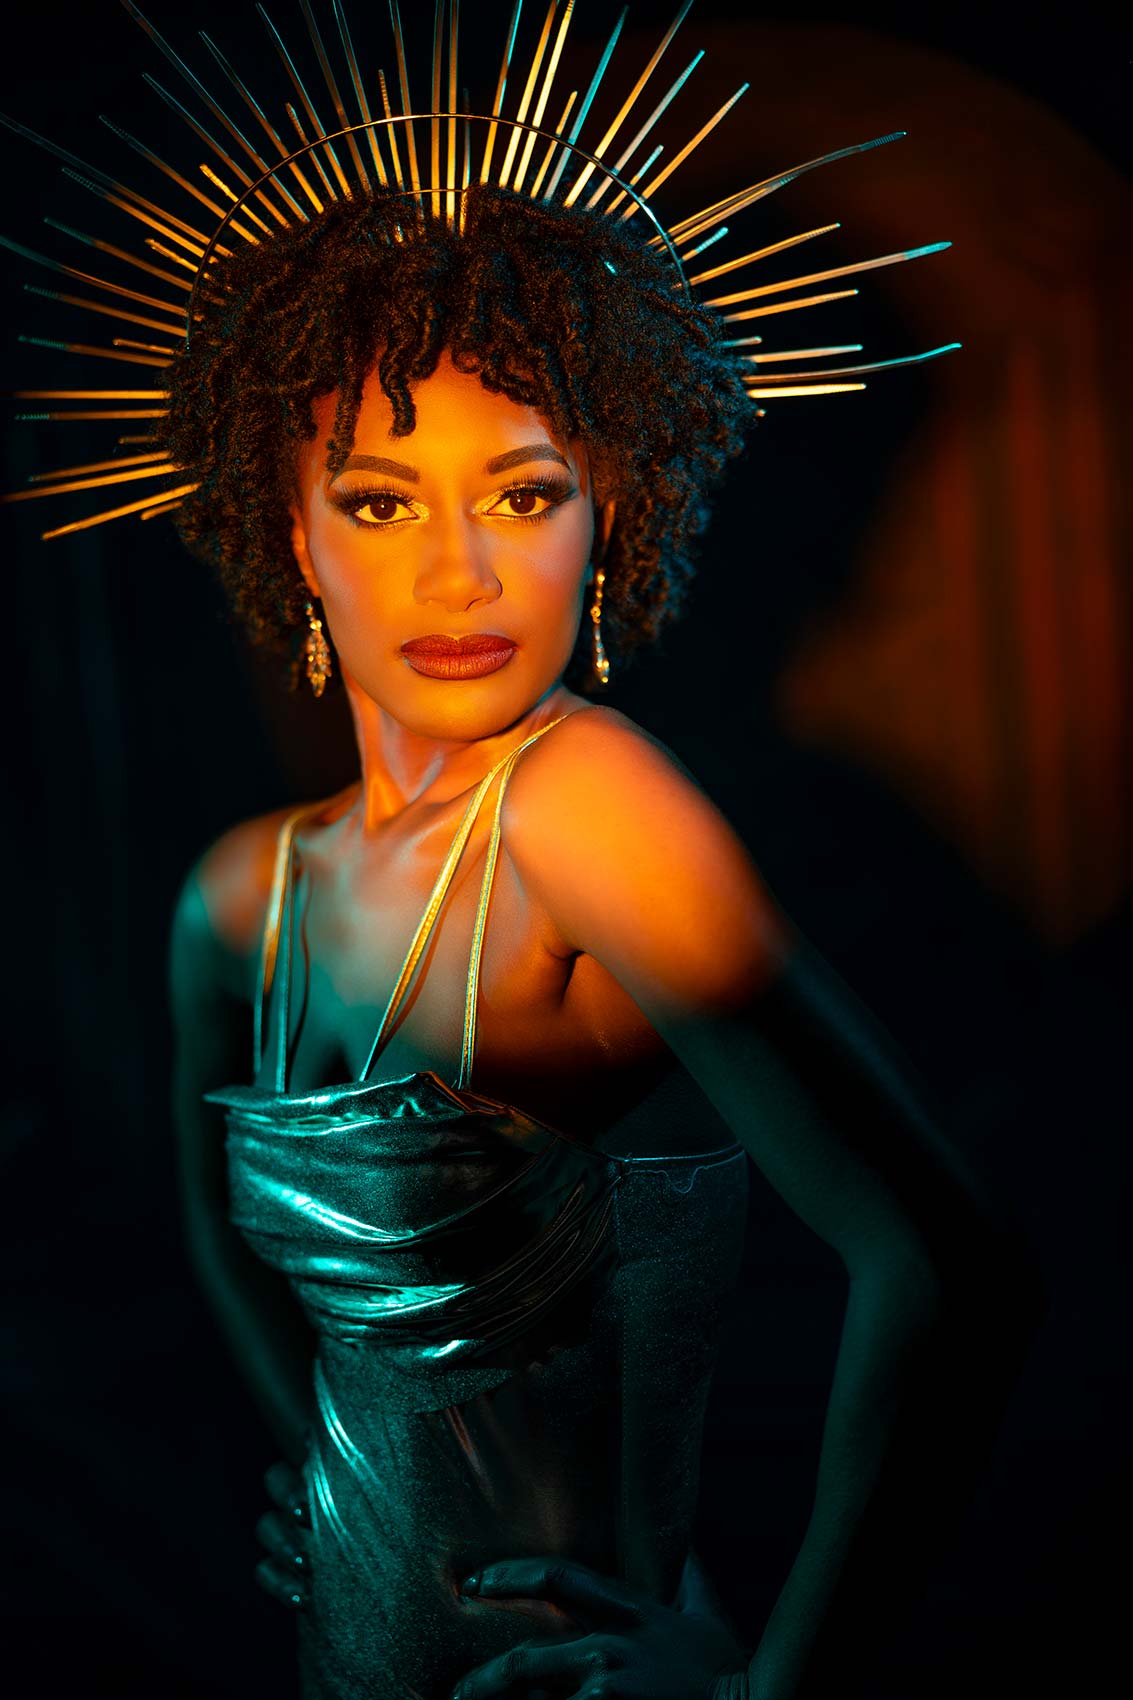
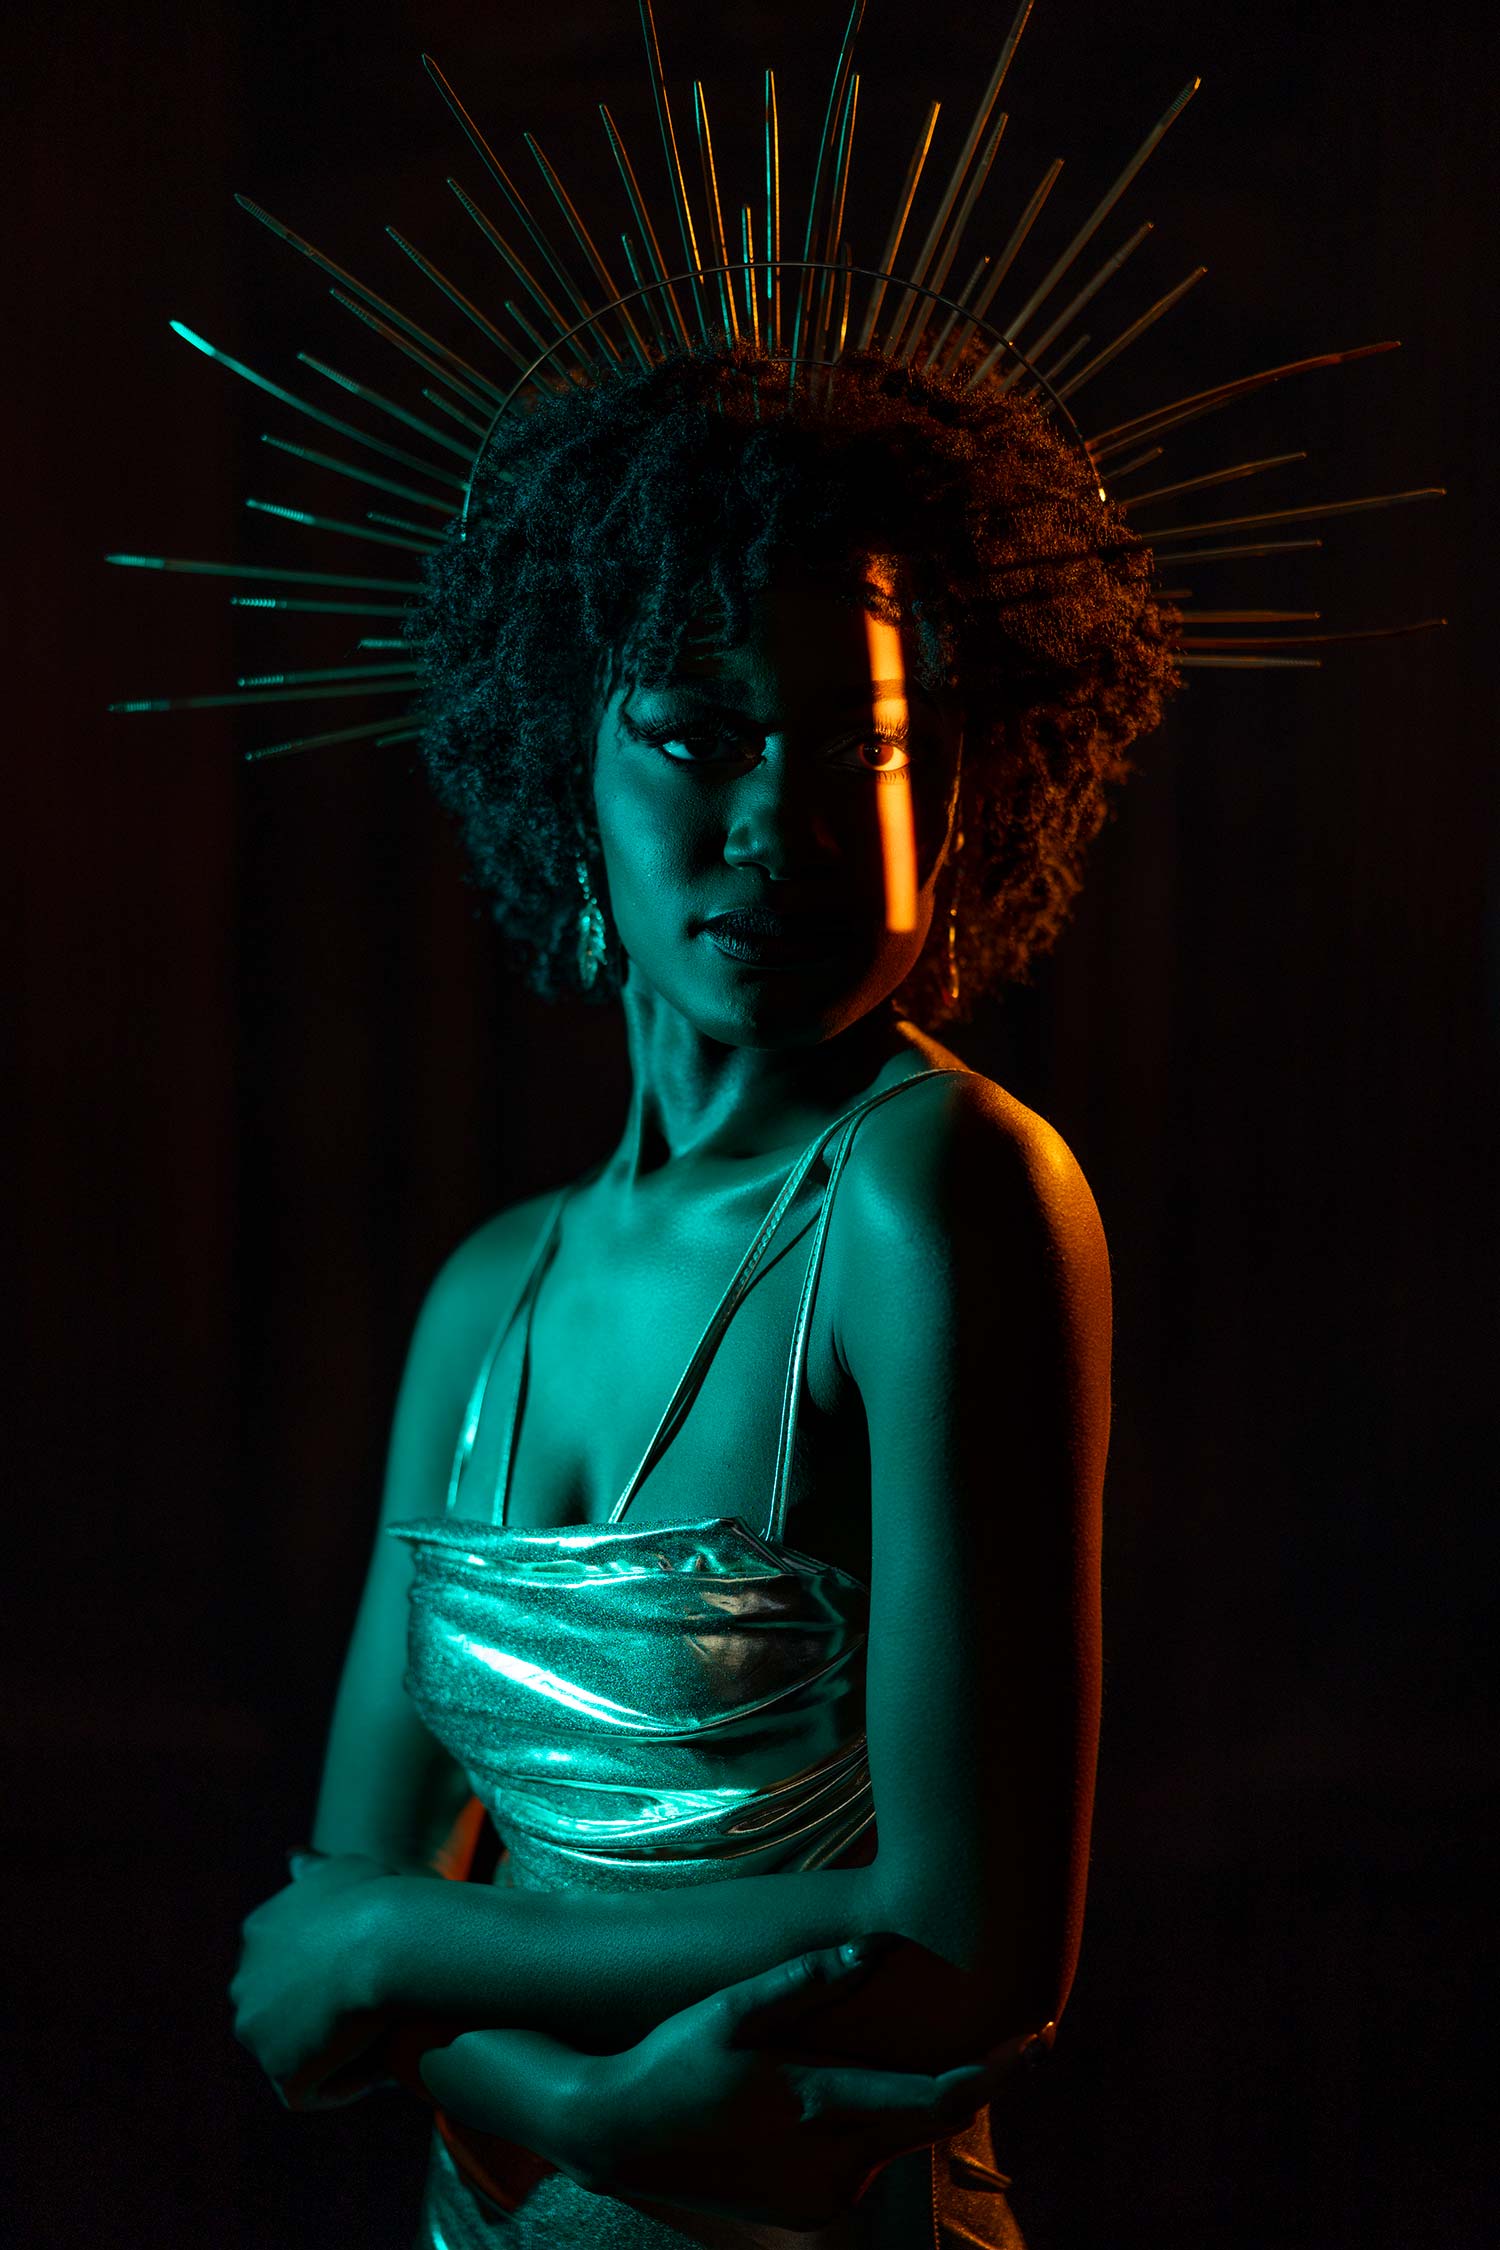
So for this portrait of Peyton, I was thinking just teal orange would be a really cool setup. And what we’re going to do here is we’re going to use this, open up the blades. It’s going to give us a circle. So if you watch Peyton here for a second, we can do all sorts of cool things with the blades. We can create just kind of a stripe pattern on her. And then check this part out because what this is going to allow us to do is pull focus. You want those sharp lines on her, and that’s how you’re doing it. You’re just pulling focus here.
So really, really practical unit, easy to travel with, easy to work with in your studio. But for this, I just really felt like this teal orange setup would be super cool. And then I’ve got two lights that we’re using with teal setup in RGB mode to just kind of illuminate the shadows. Kind of get a little bit of a wash on the background. So let’s stop talking about it. Let’s get to it.
All right, everybody, that is a wrap. How much fun was that? We created some incredible portraits of Peyton stylizing. Give it off to Alyssa. She did a great job putting this all together. Let us know down in the comments which ones you like. Also, can’t thank Nanlite enough. Be sure to check out their products at nanliteus.com. Hope you love the images. We’ll see you in the next video.

