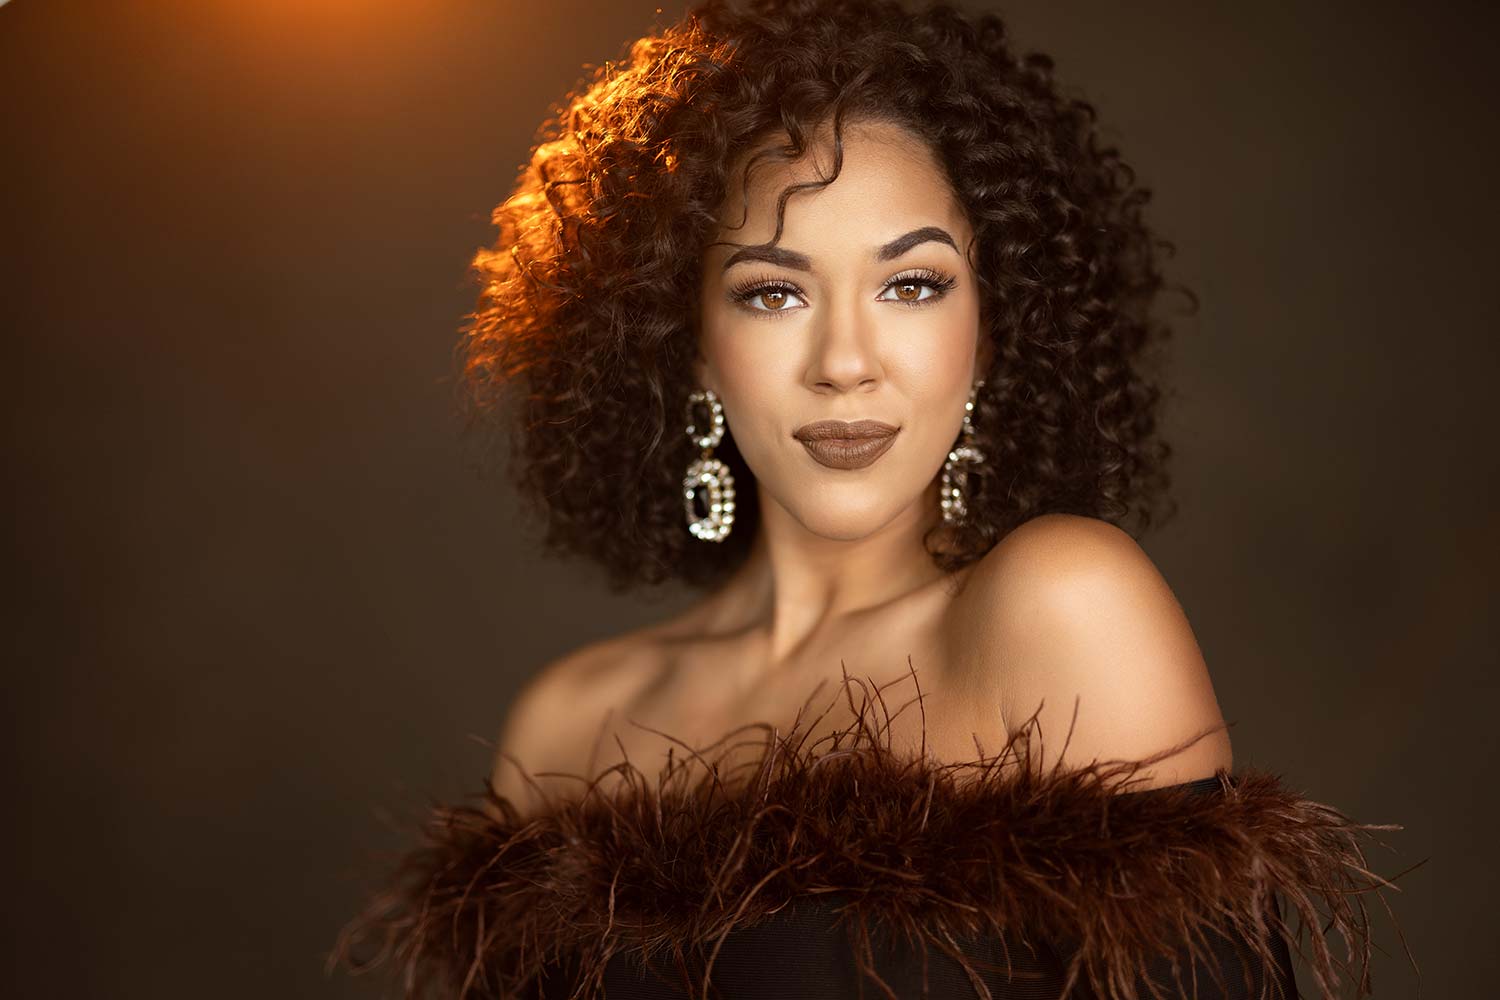
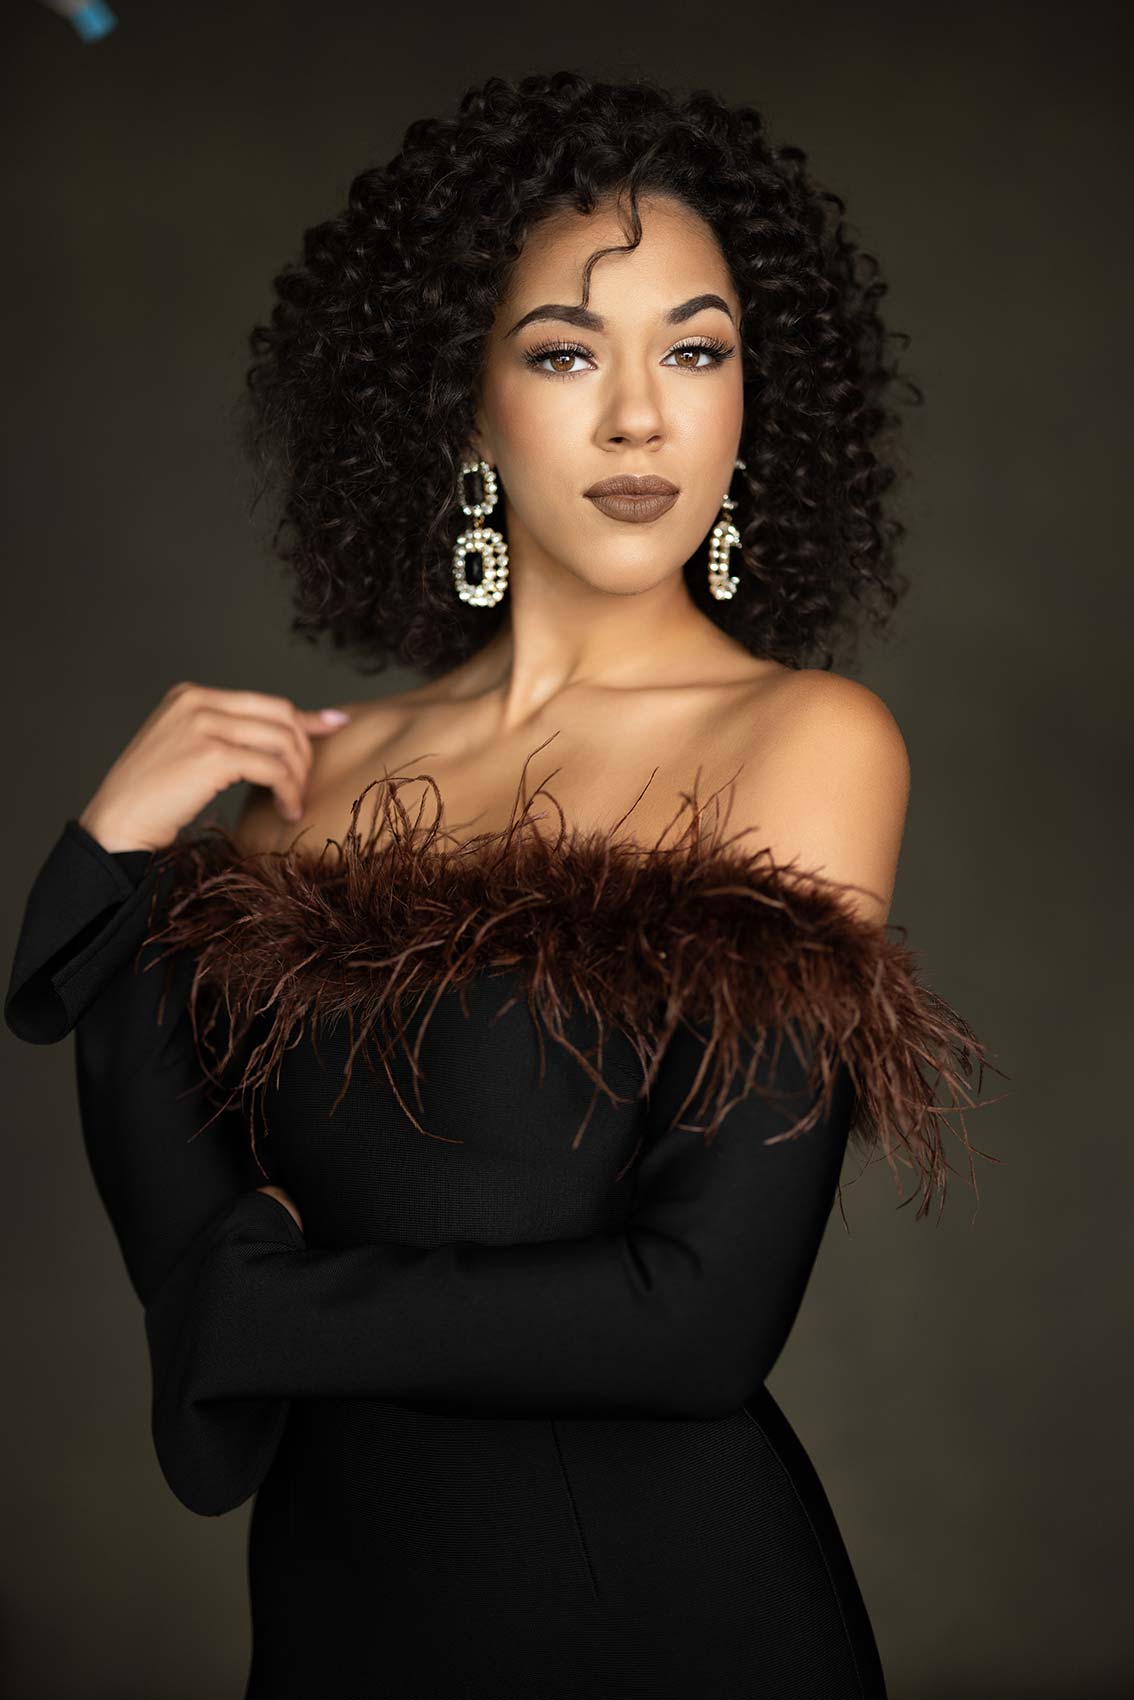
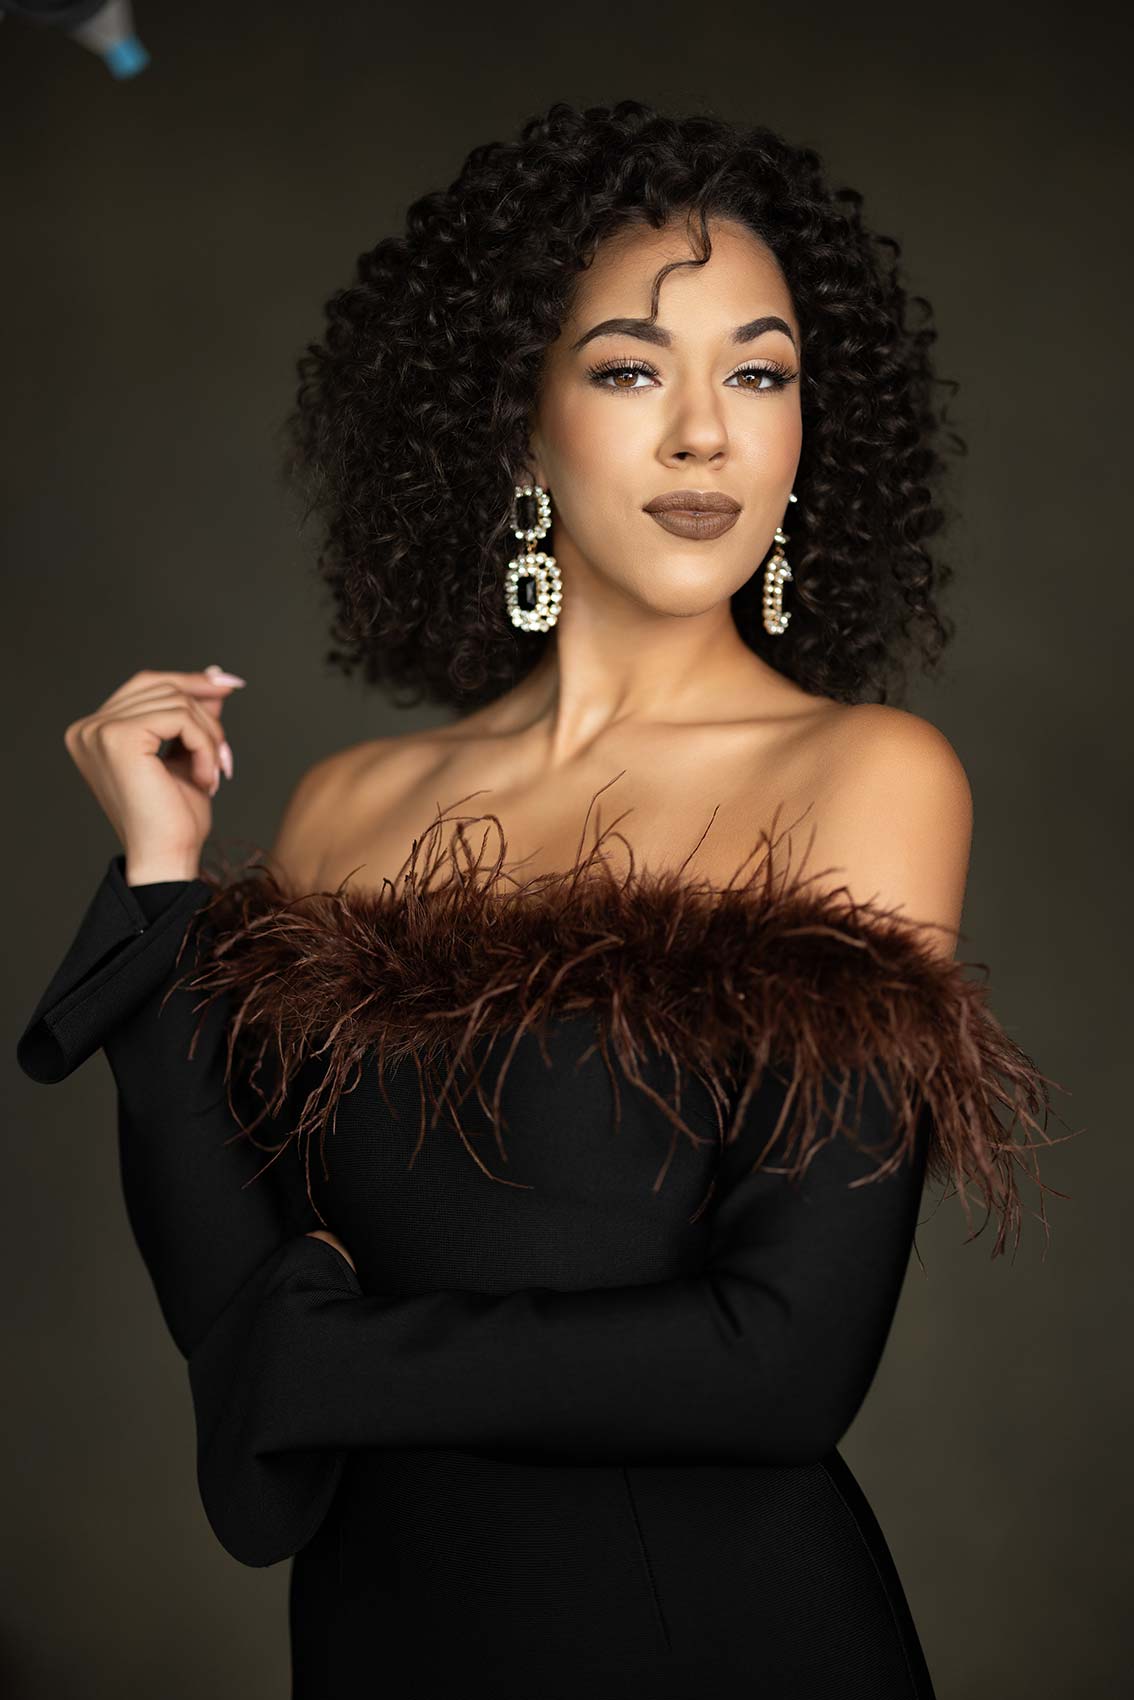
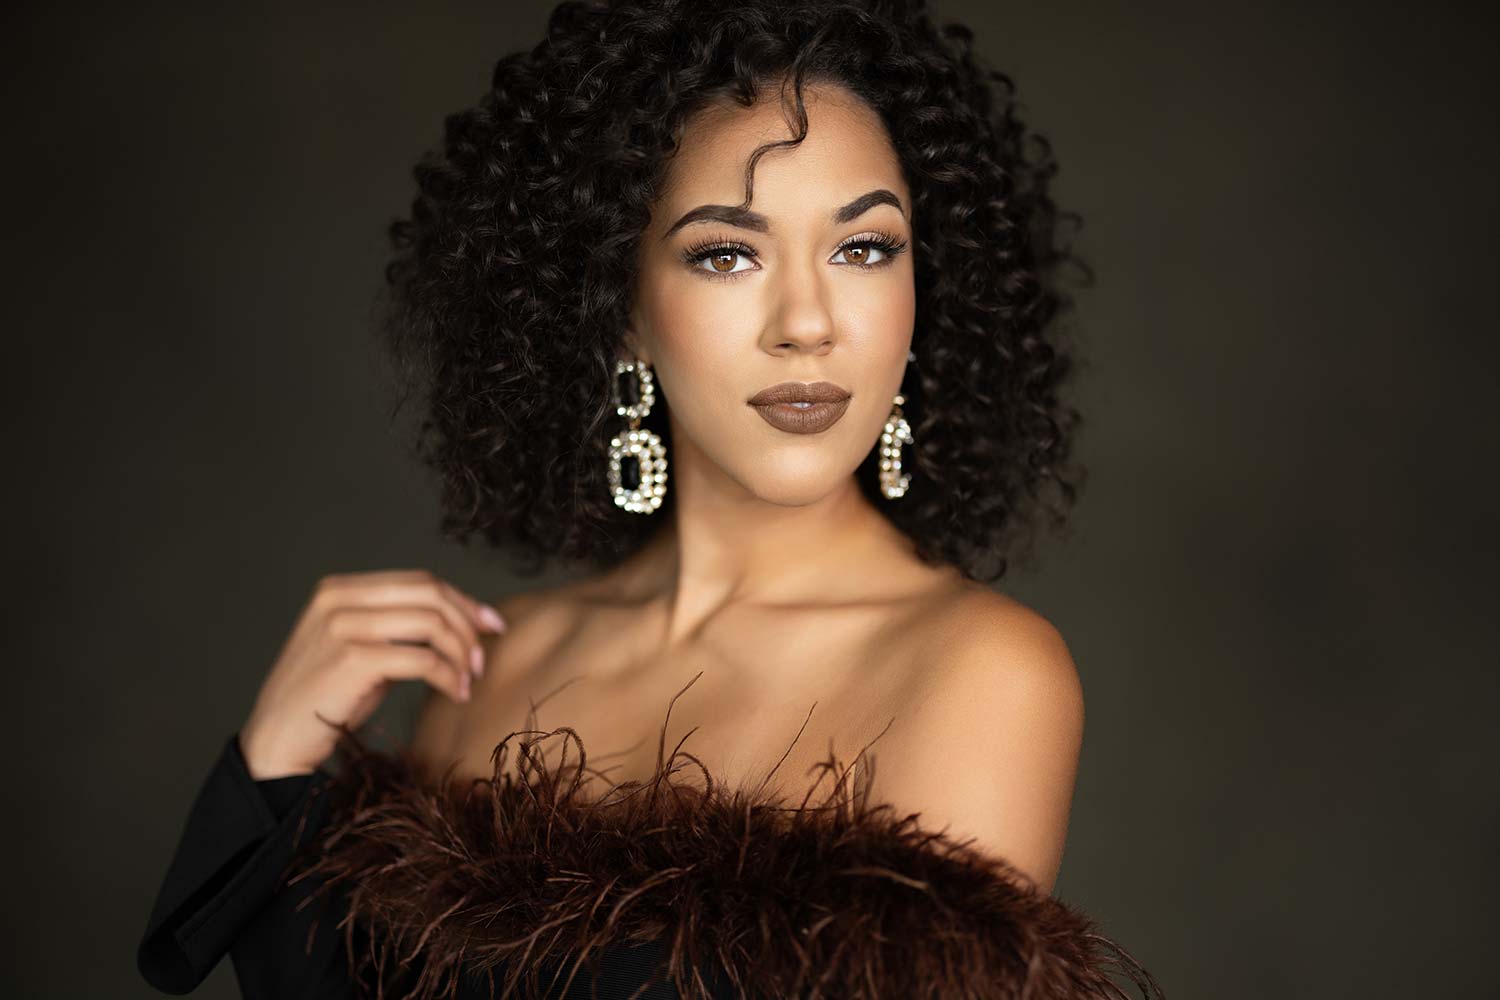
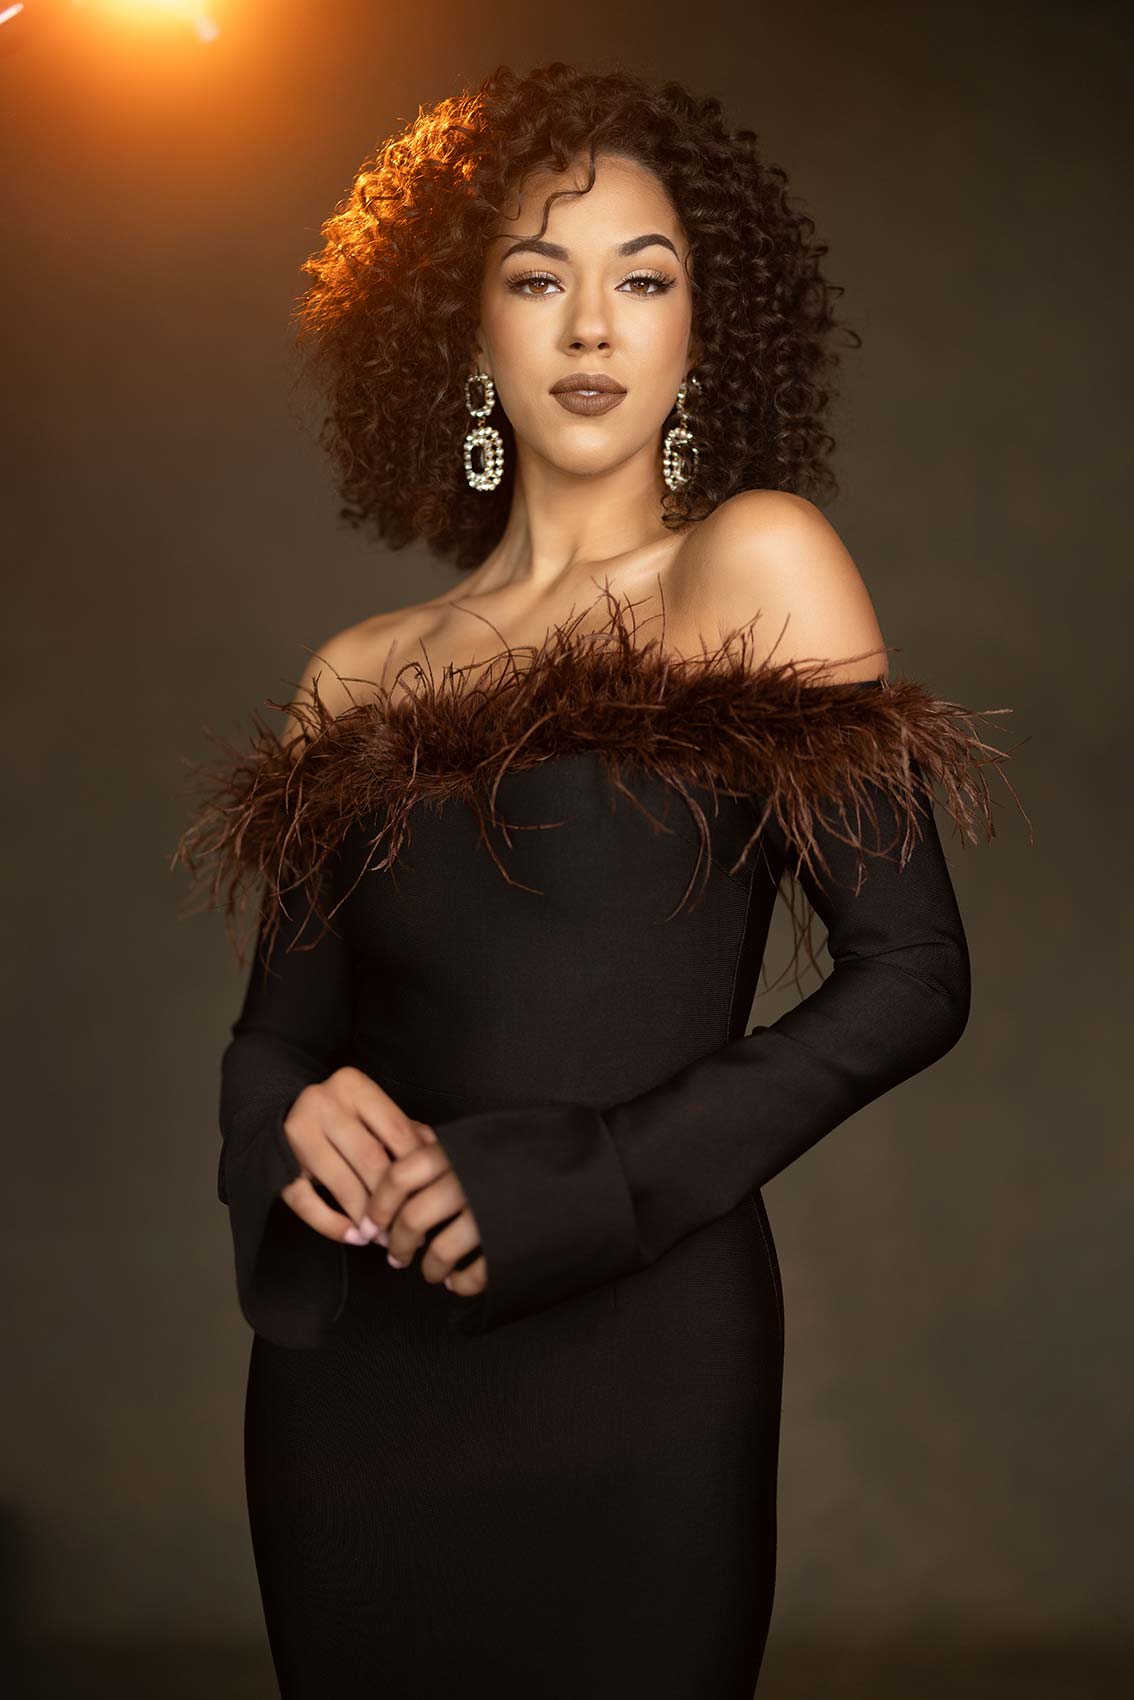
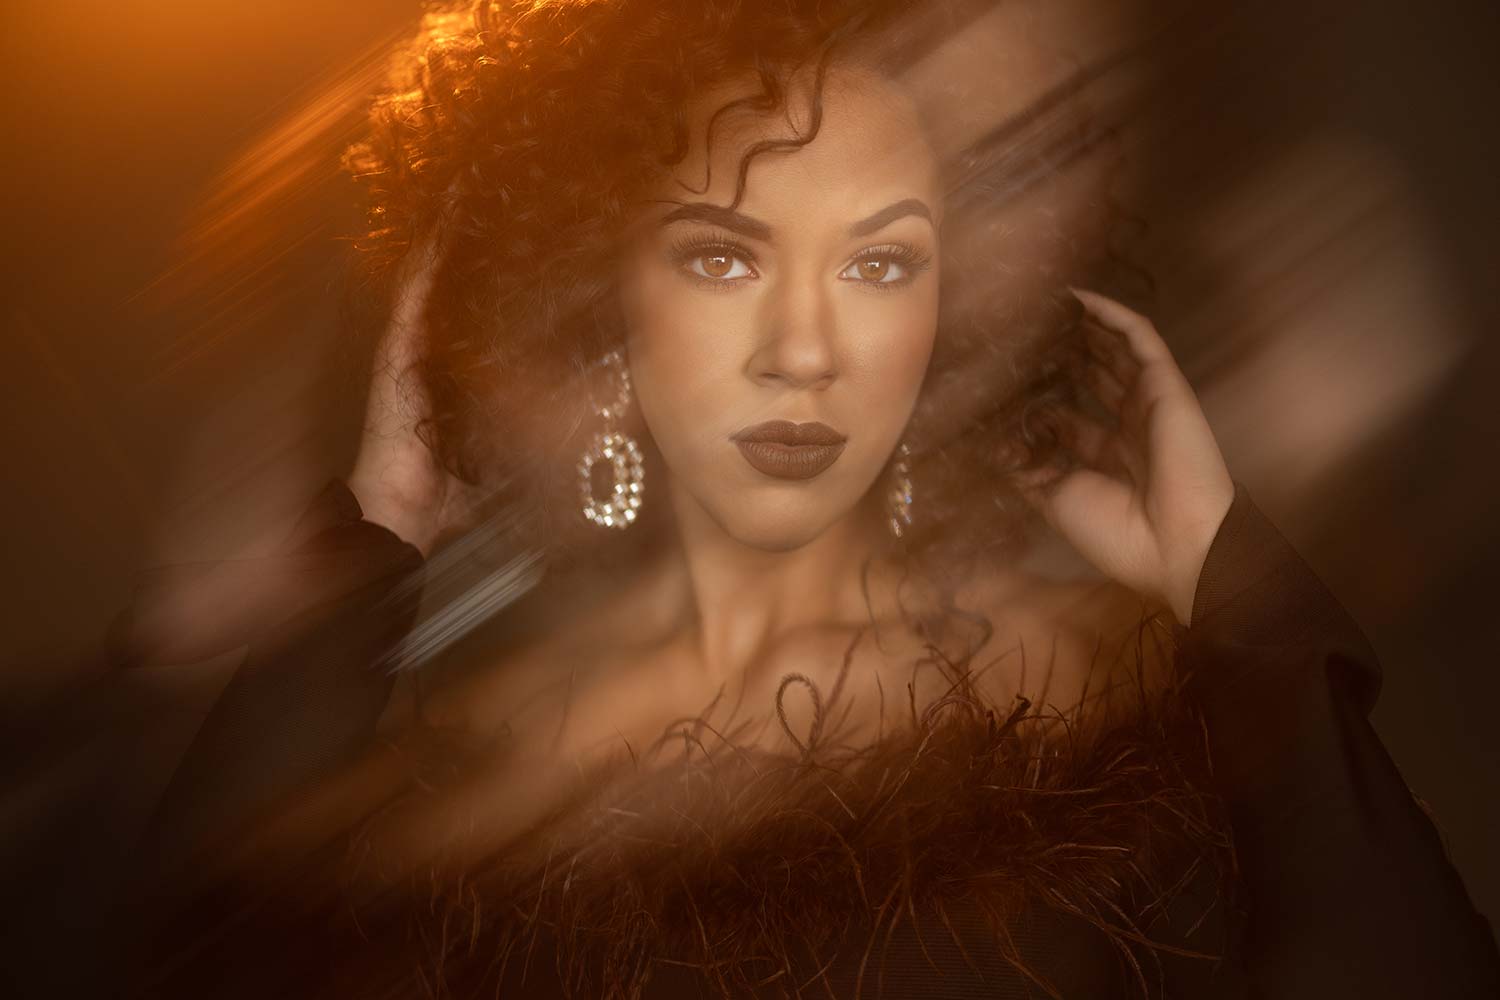
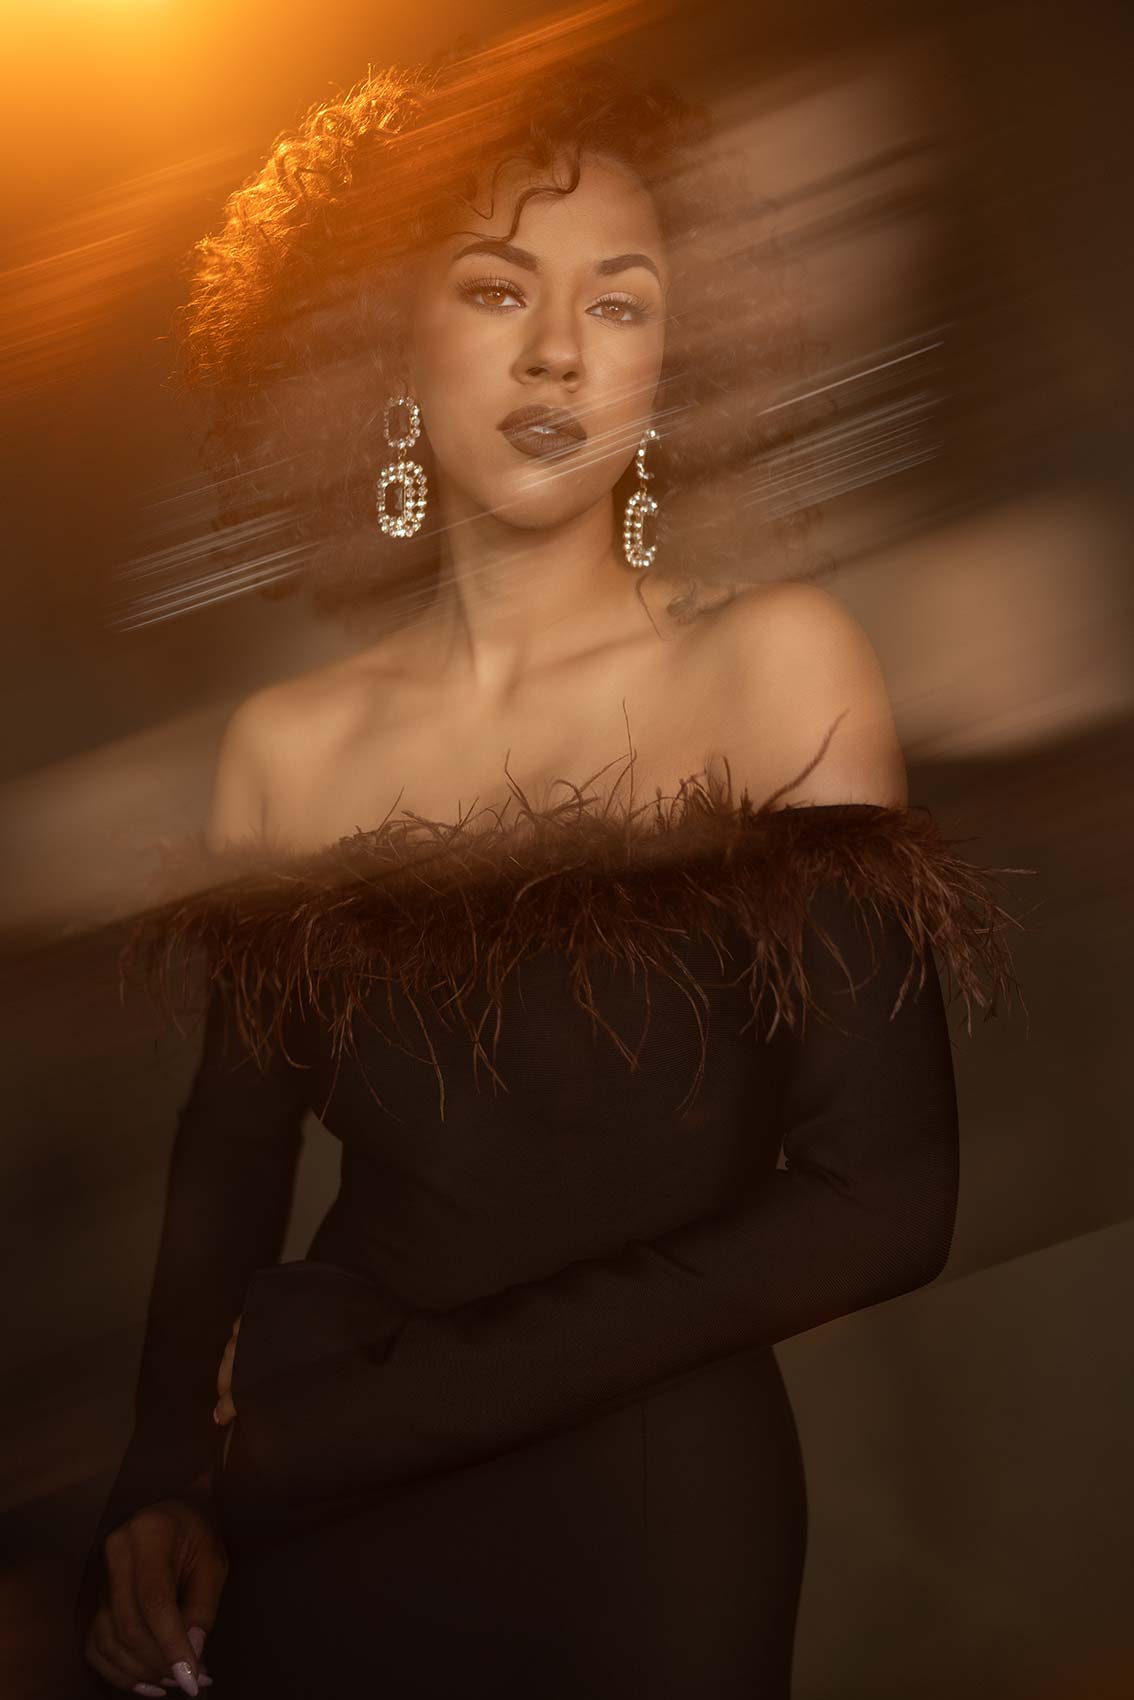
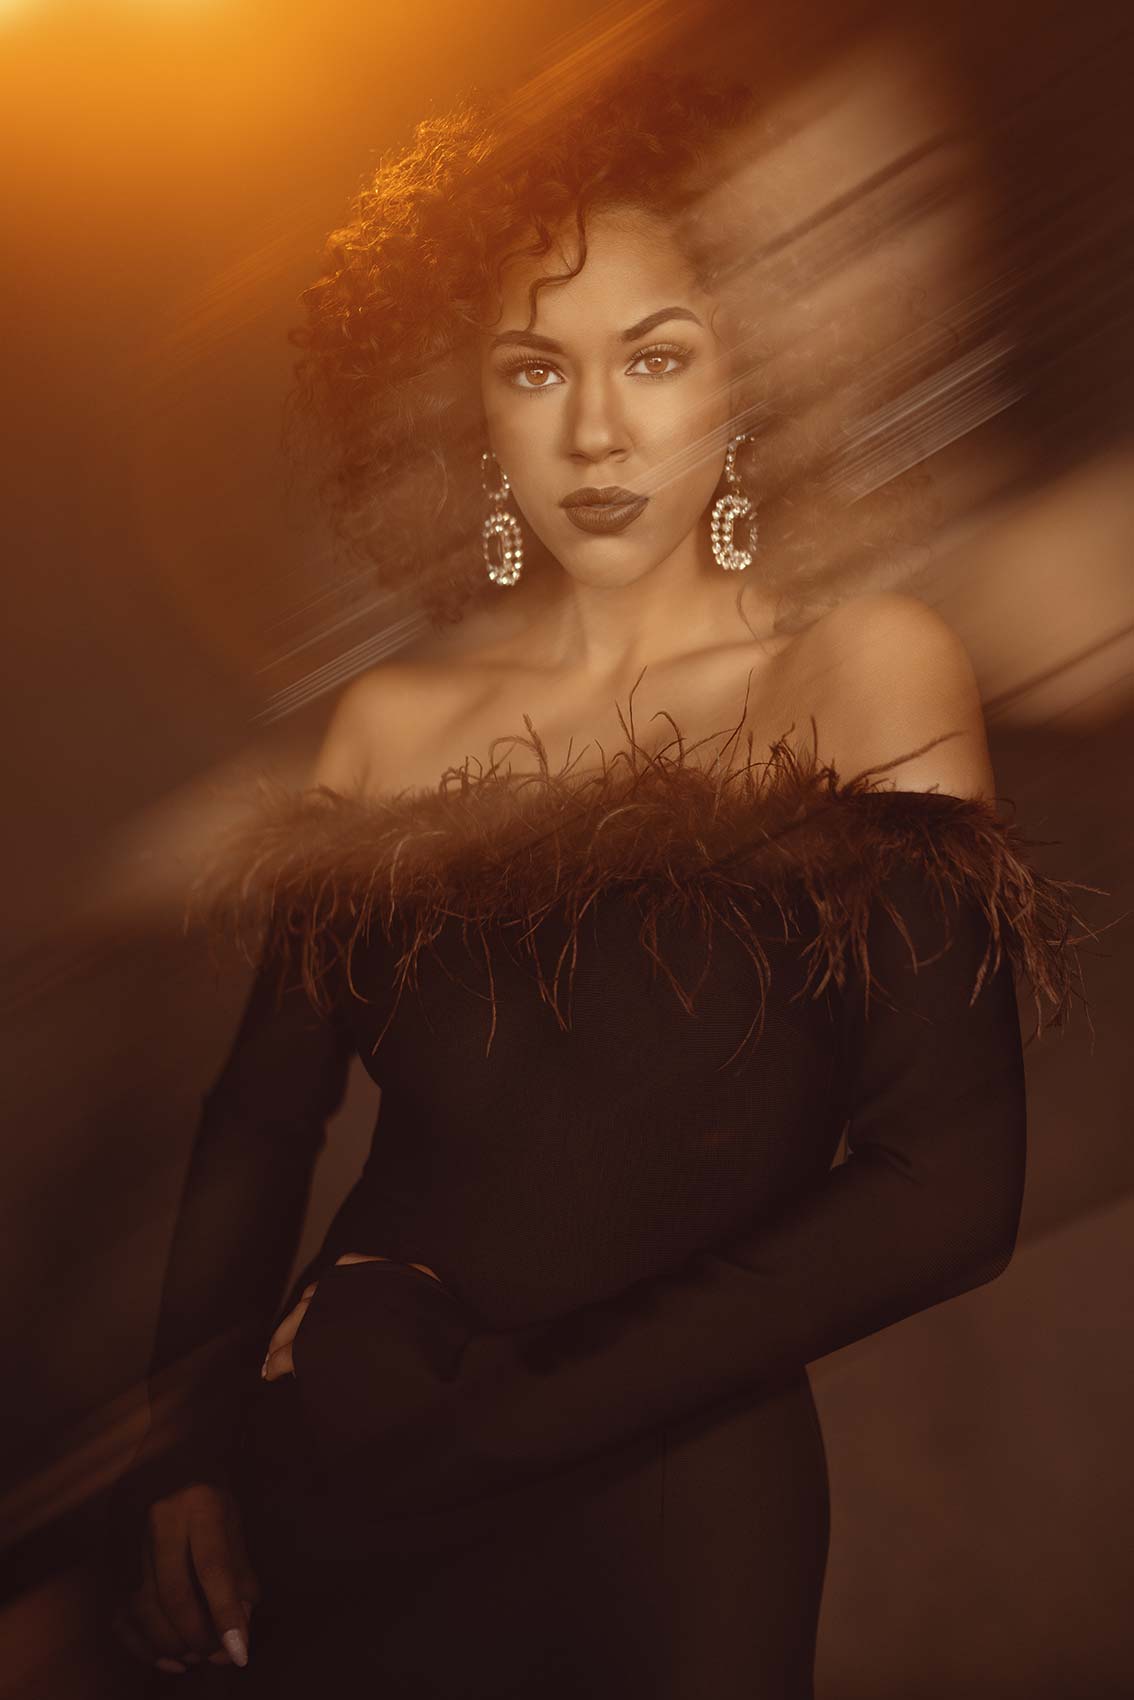
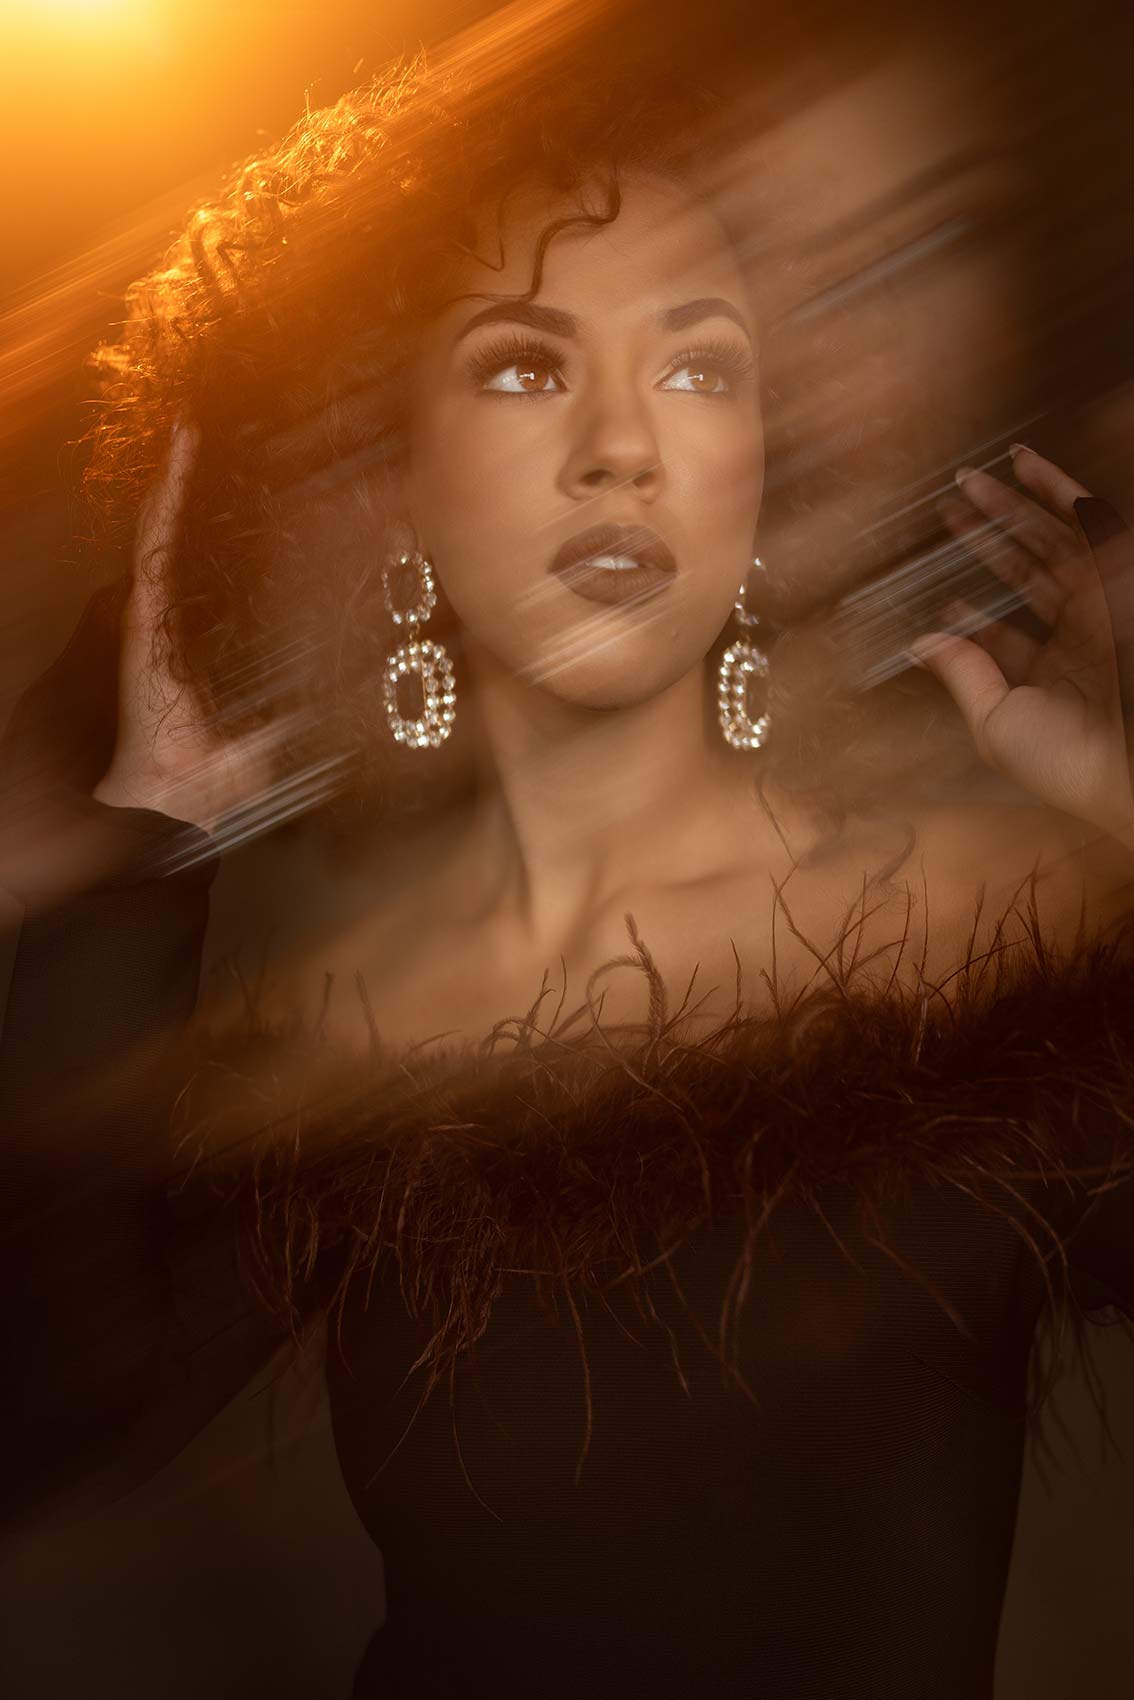
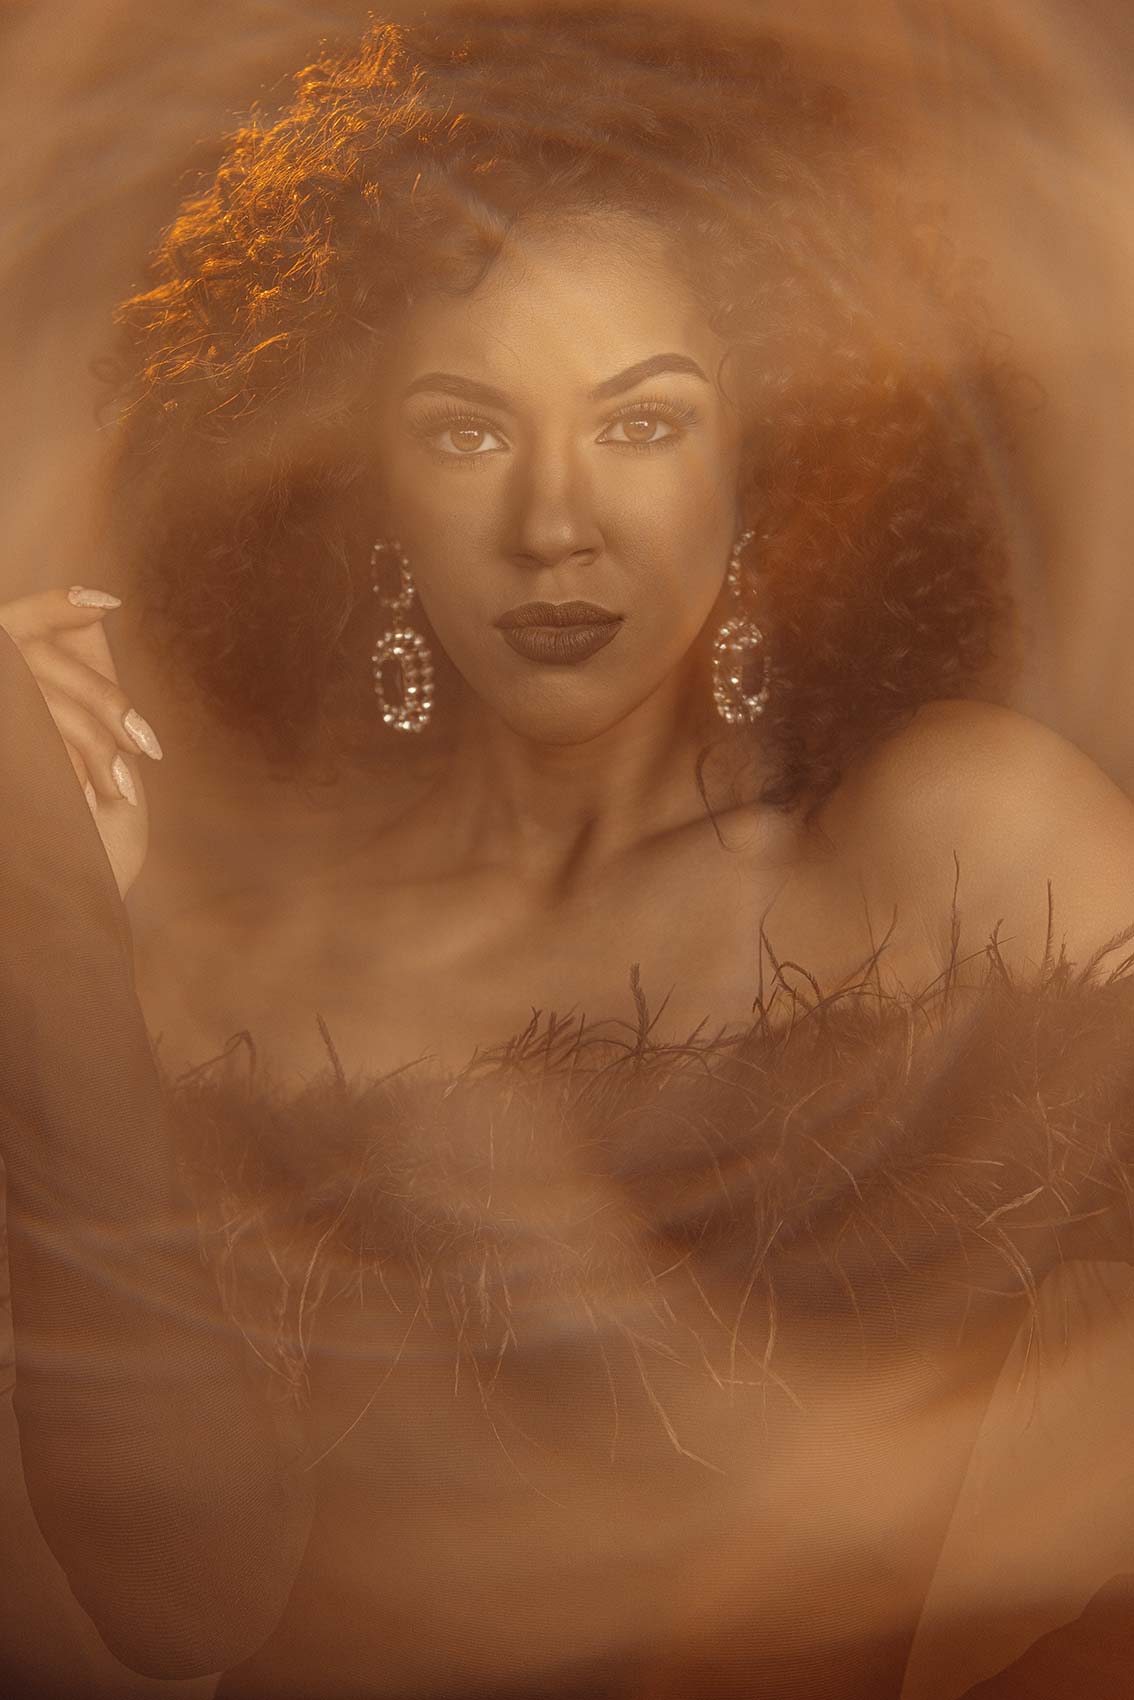
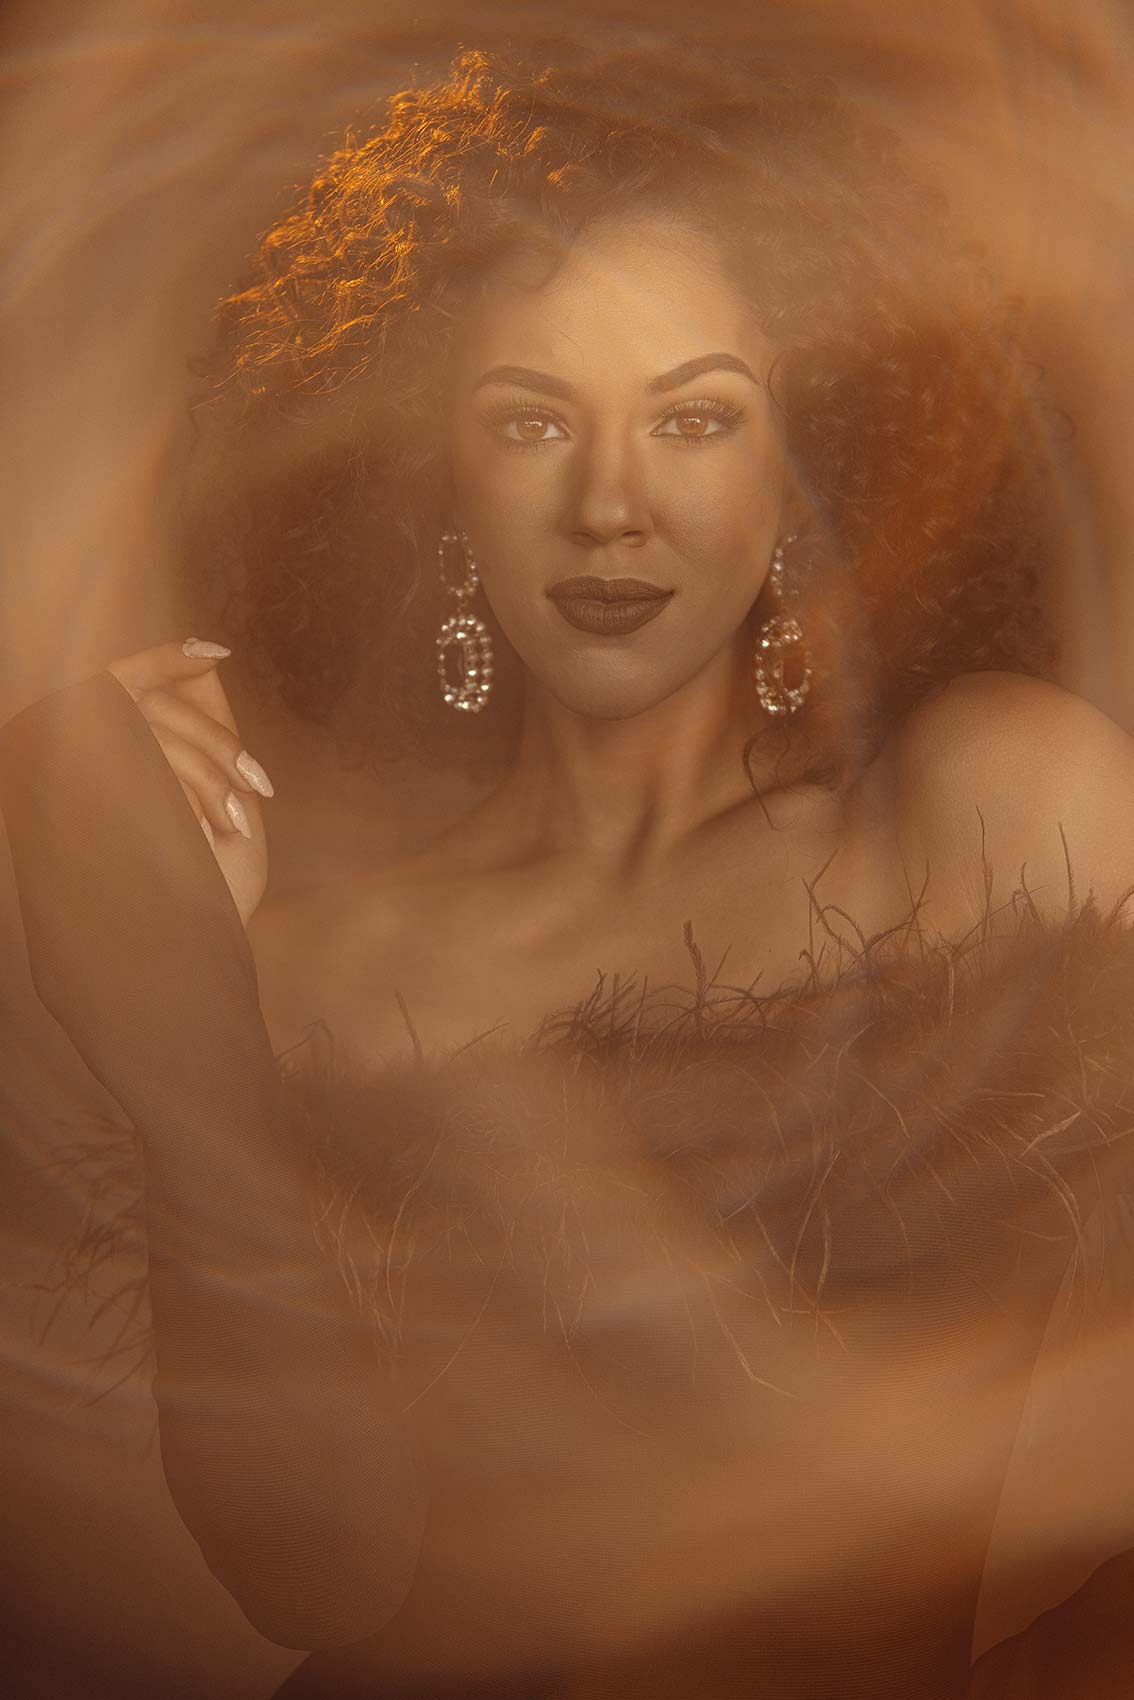
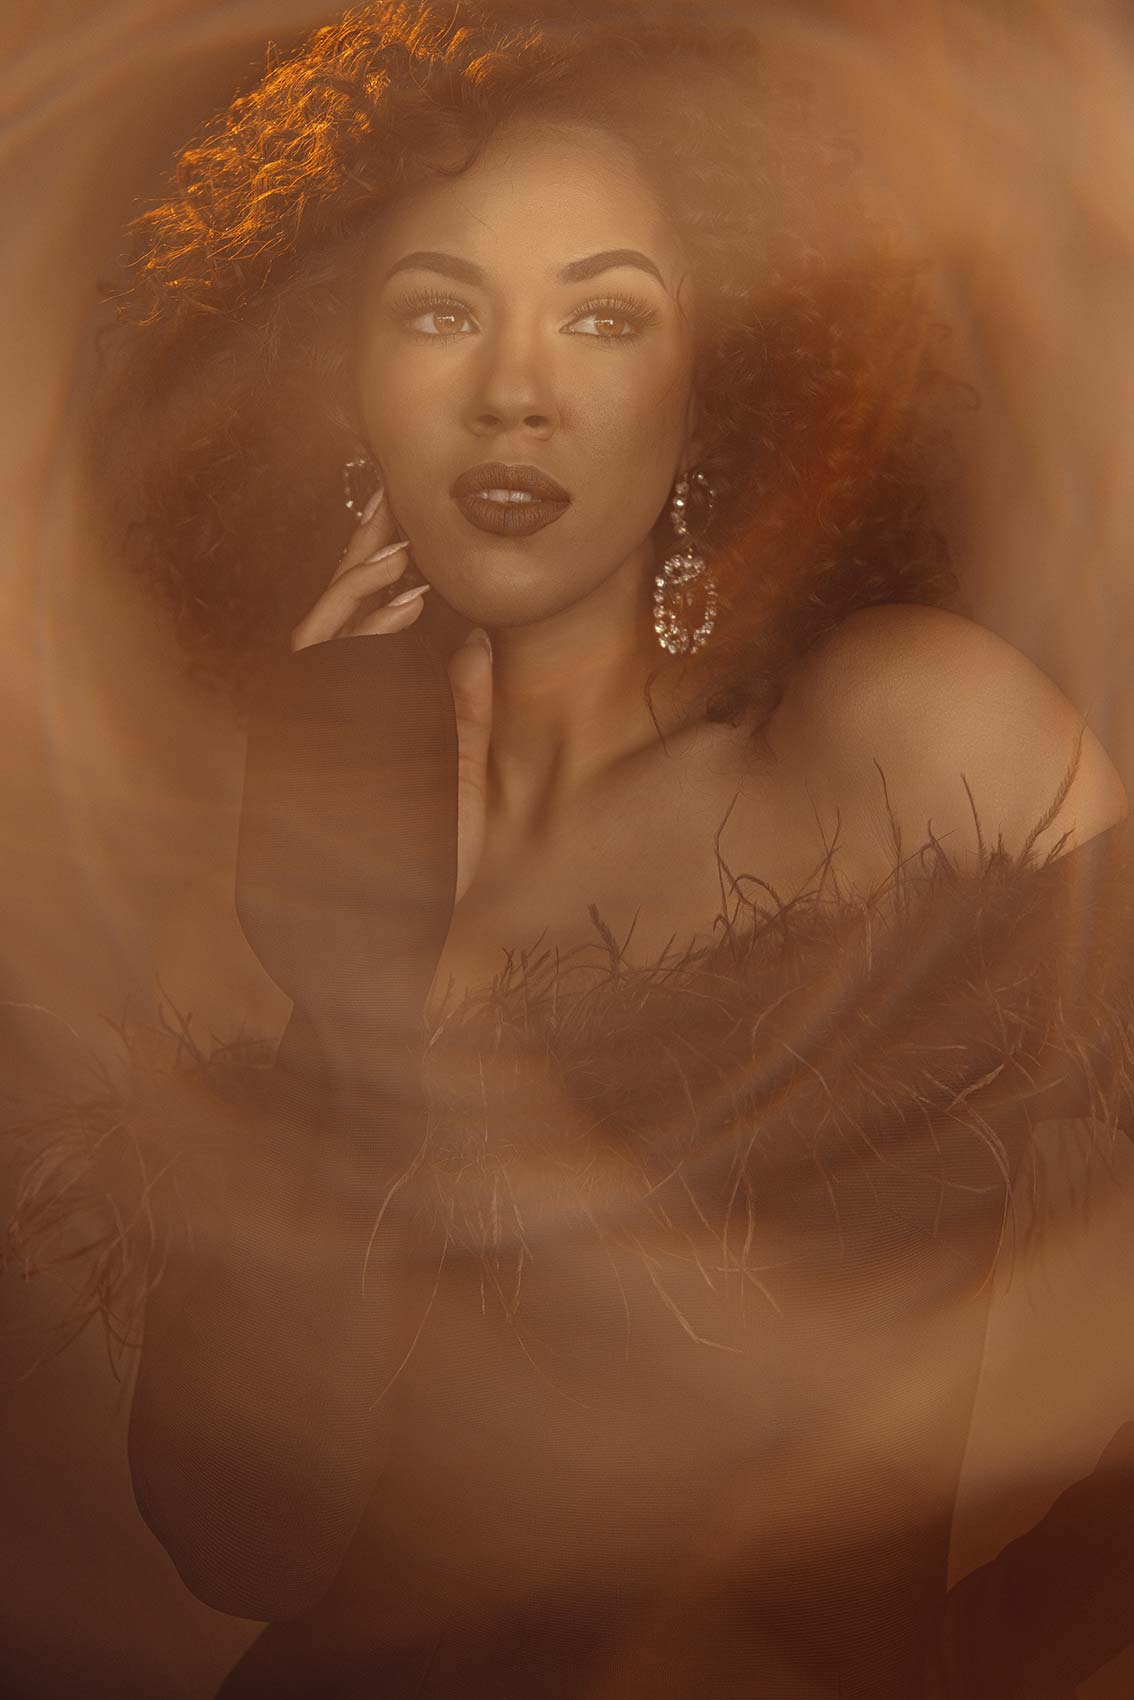
Are you ready to create stunning studio photography that has that warm sunset look and feel? In this photography tutorial we show you how we use Nanlite continuous lighting to create that gorgeous warm glow portraits. Bonus Tip // We create some unique portraits using magic crystals.
Equipment Used:
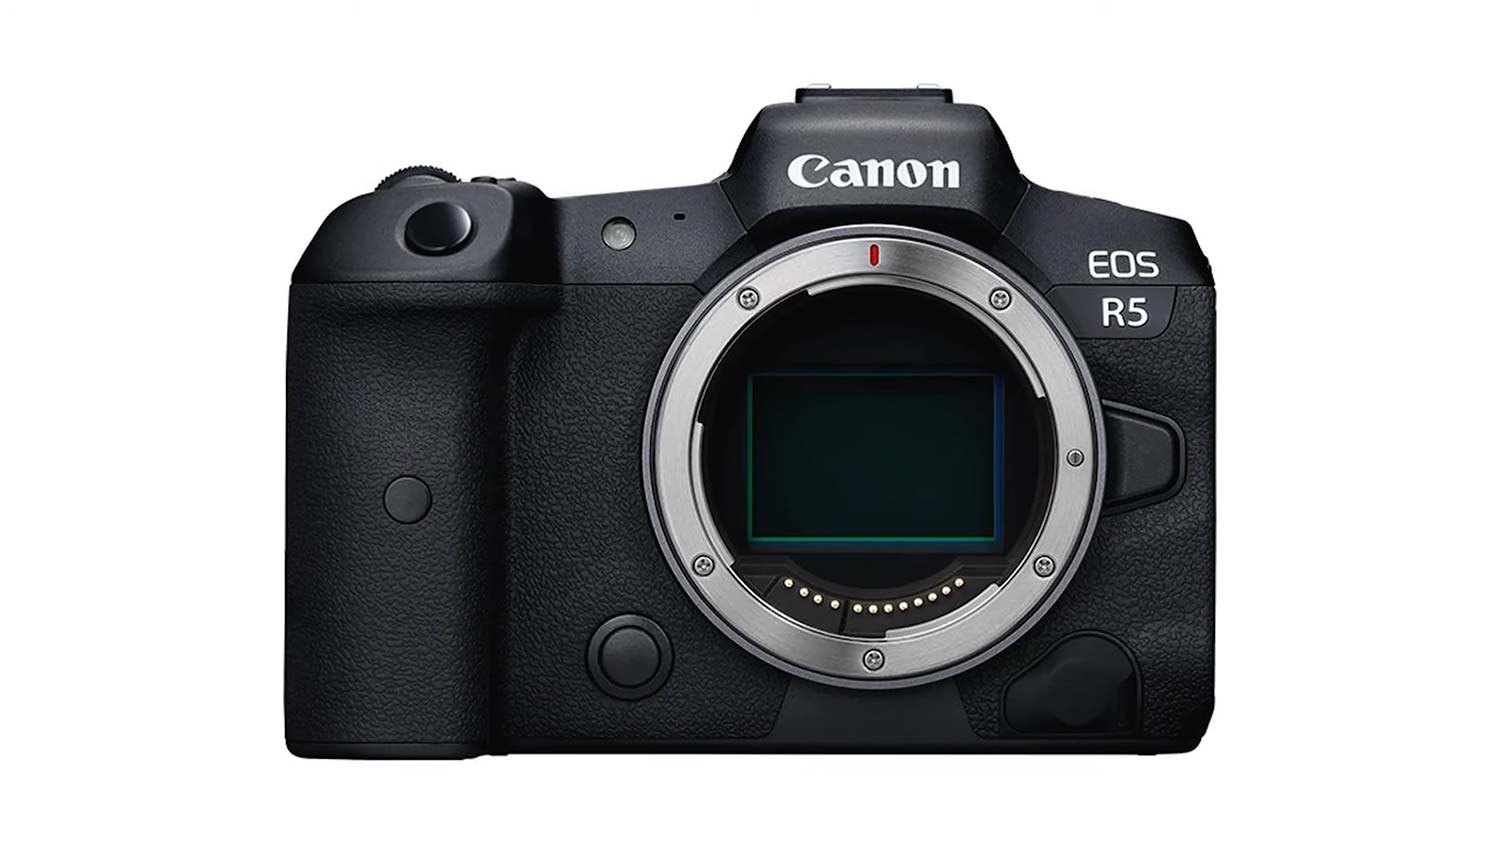
Camera: Canon EOS R5
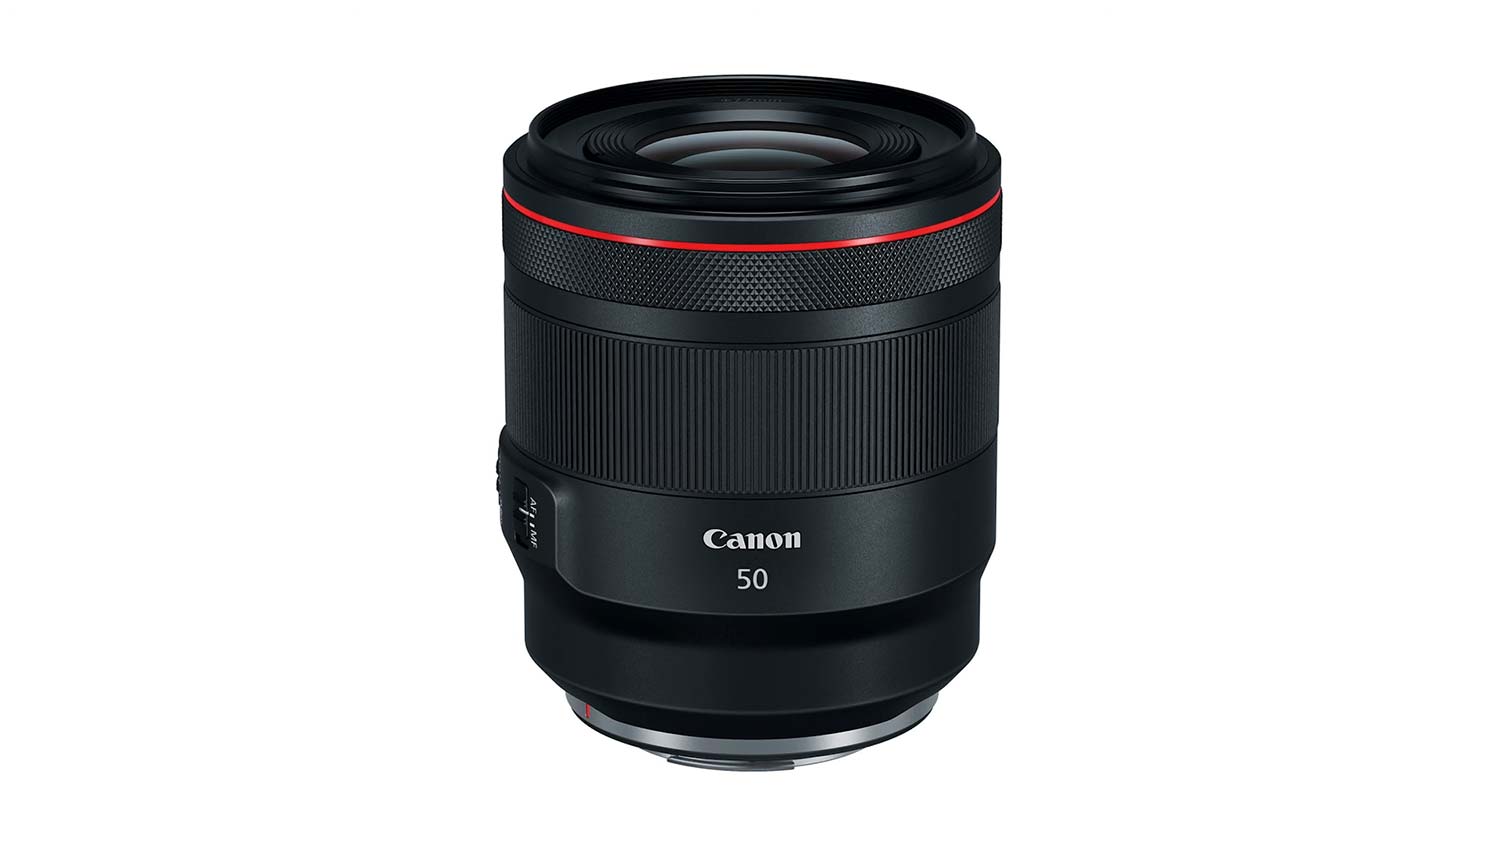
Lens: Canon RF 50mm F1.2 L USM
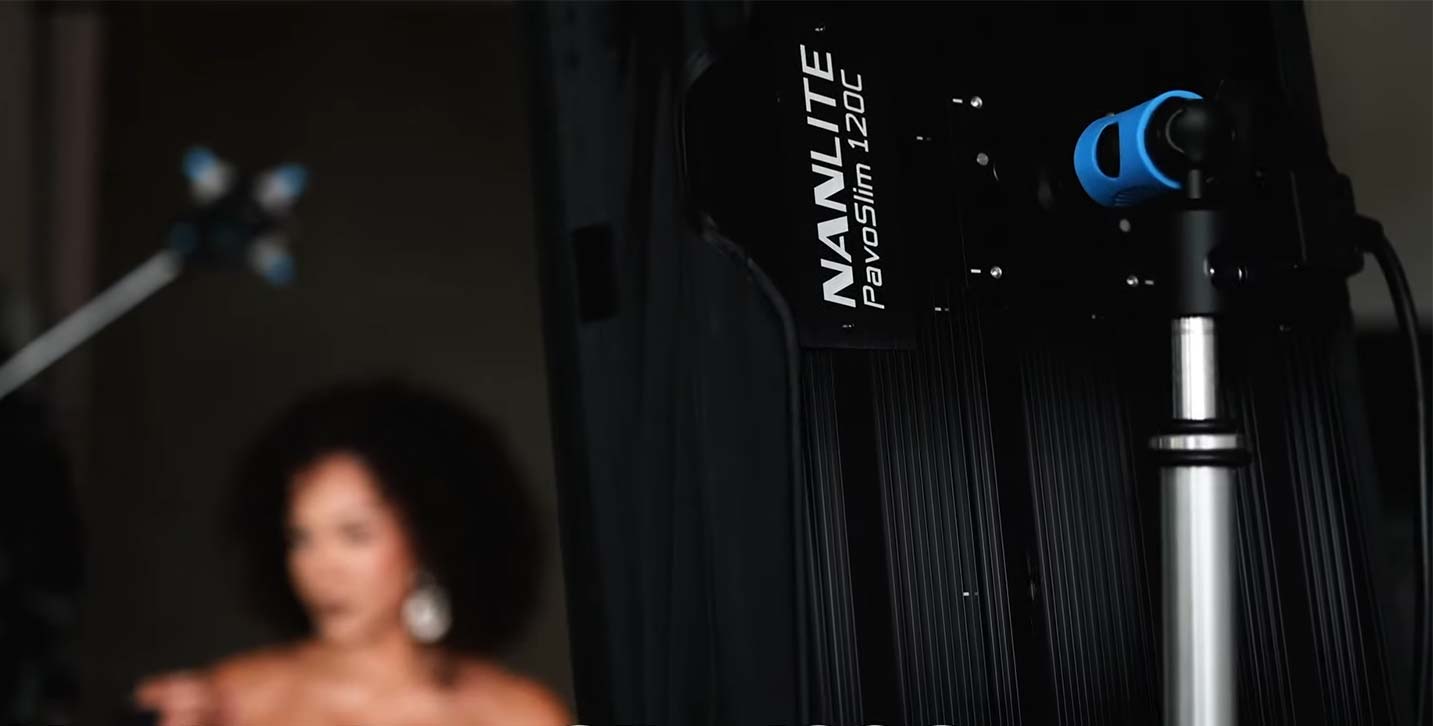
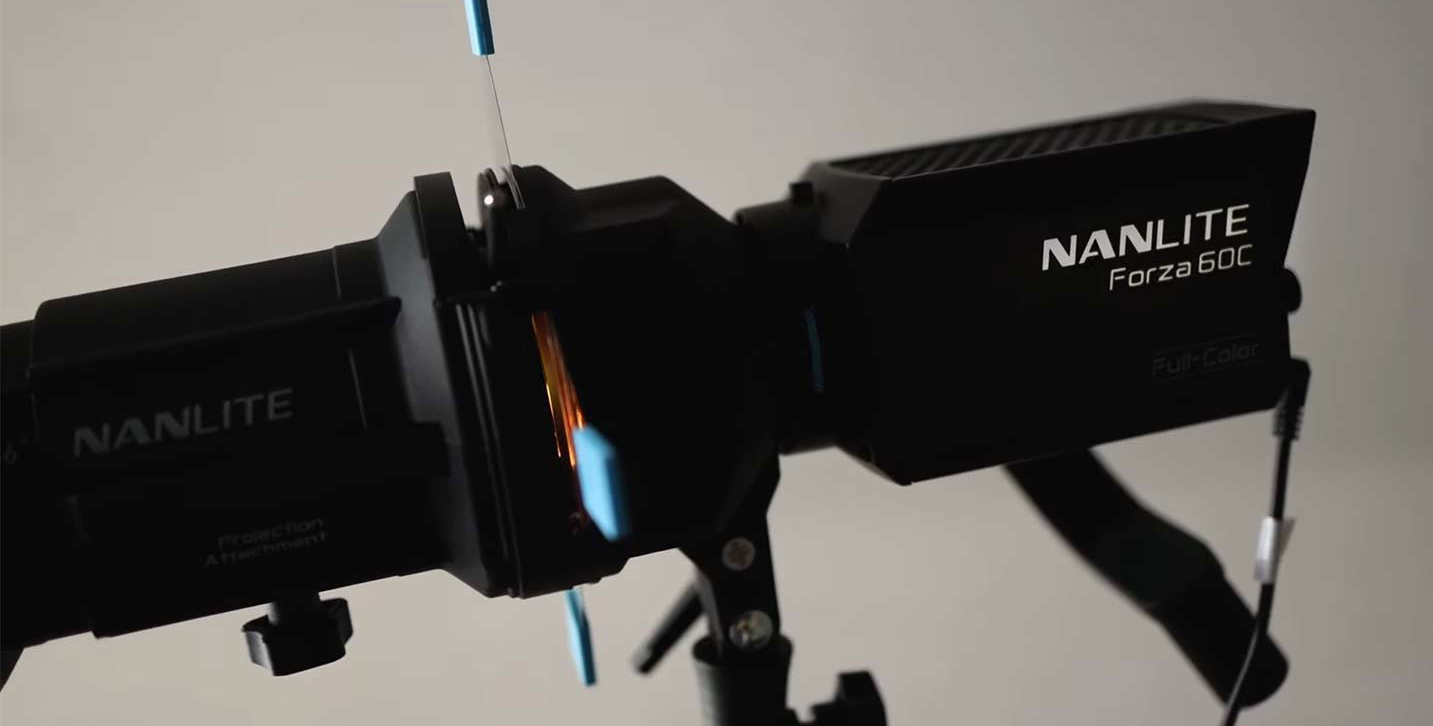
Light: Forza 60C, PavoSlim 120C
Team:
Photographer: Sal Cincotta
Model: Alonna
Hair & Makeup: Brandi Patton, ReFine Beauty
What’s up everyone? Welcome back to the channel. My name is Sal Cincotta. Today we’ve got a very special guest, Alonna. We’re going to do something in studio and we will be creating sunset photography using continuous light
So, let me walk you through the equipment we have here and then get through the setup. And if you hang around, as a bonus, we’ve got some really cool crystals that we’re shooting through. It’s going to look amazing. Stay tuned. All right, let’s get to the gear.
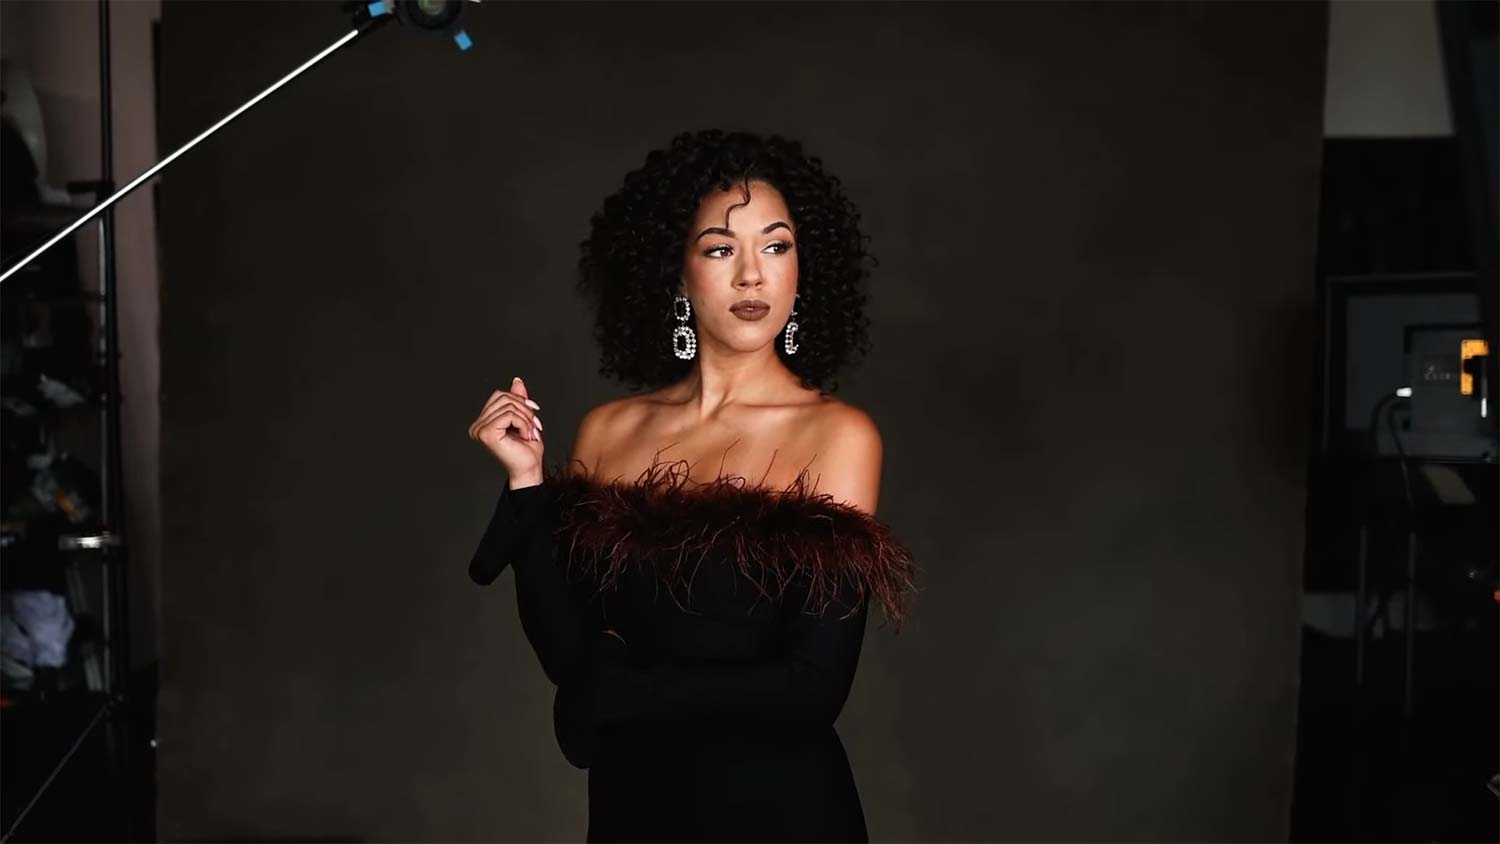
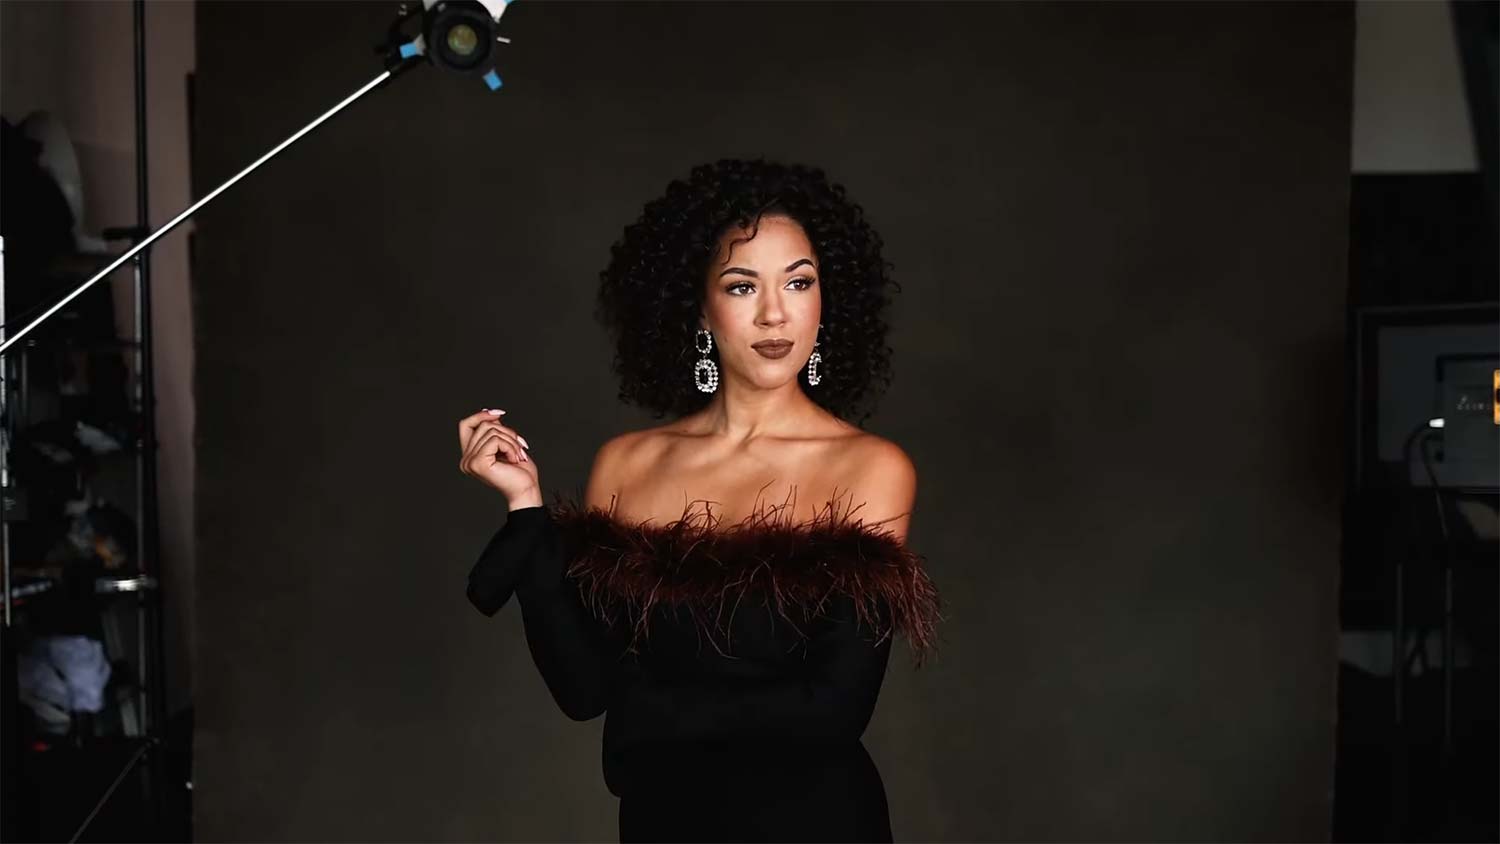
First up is the main key light. We are using the Nanlite PavoSlim 120C. This is set to 5,500K. On camera, I’m also set up for Kelvin as well. I’m not doing any auto white balance or any of that kind of stuff. You want to have complete control of color to get this look and feel. The light source is going to be 5,500K, which you’re controlling, and 5,500K on your camera as well.
Now, in order to get this look and feel, we are using a Forza 60C. The C is for color. This can go the full RGB gamut so we can get red, green, blue. But for this setup, we are in Kelvin mode. This one is opposite of what’s on your camera. We went all the way down to like 2,000 or 2,300 on the Forza 60C. That mix of light is going to give us that warm look and feel.
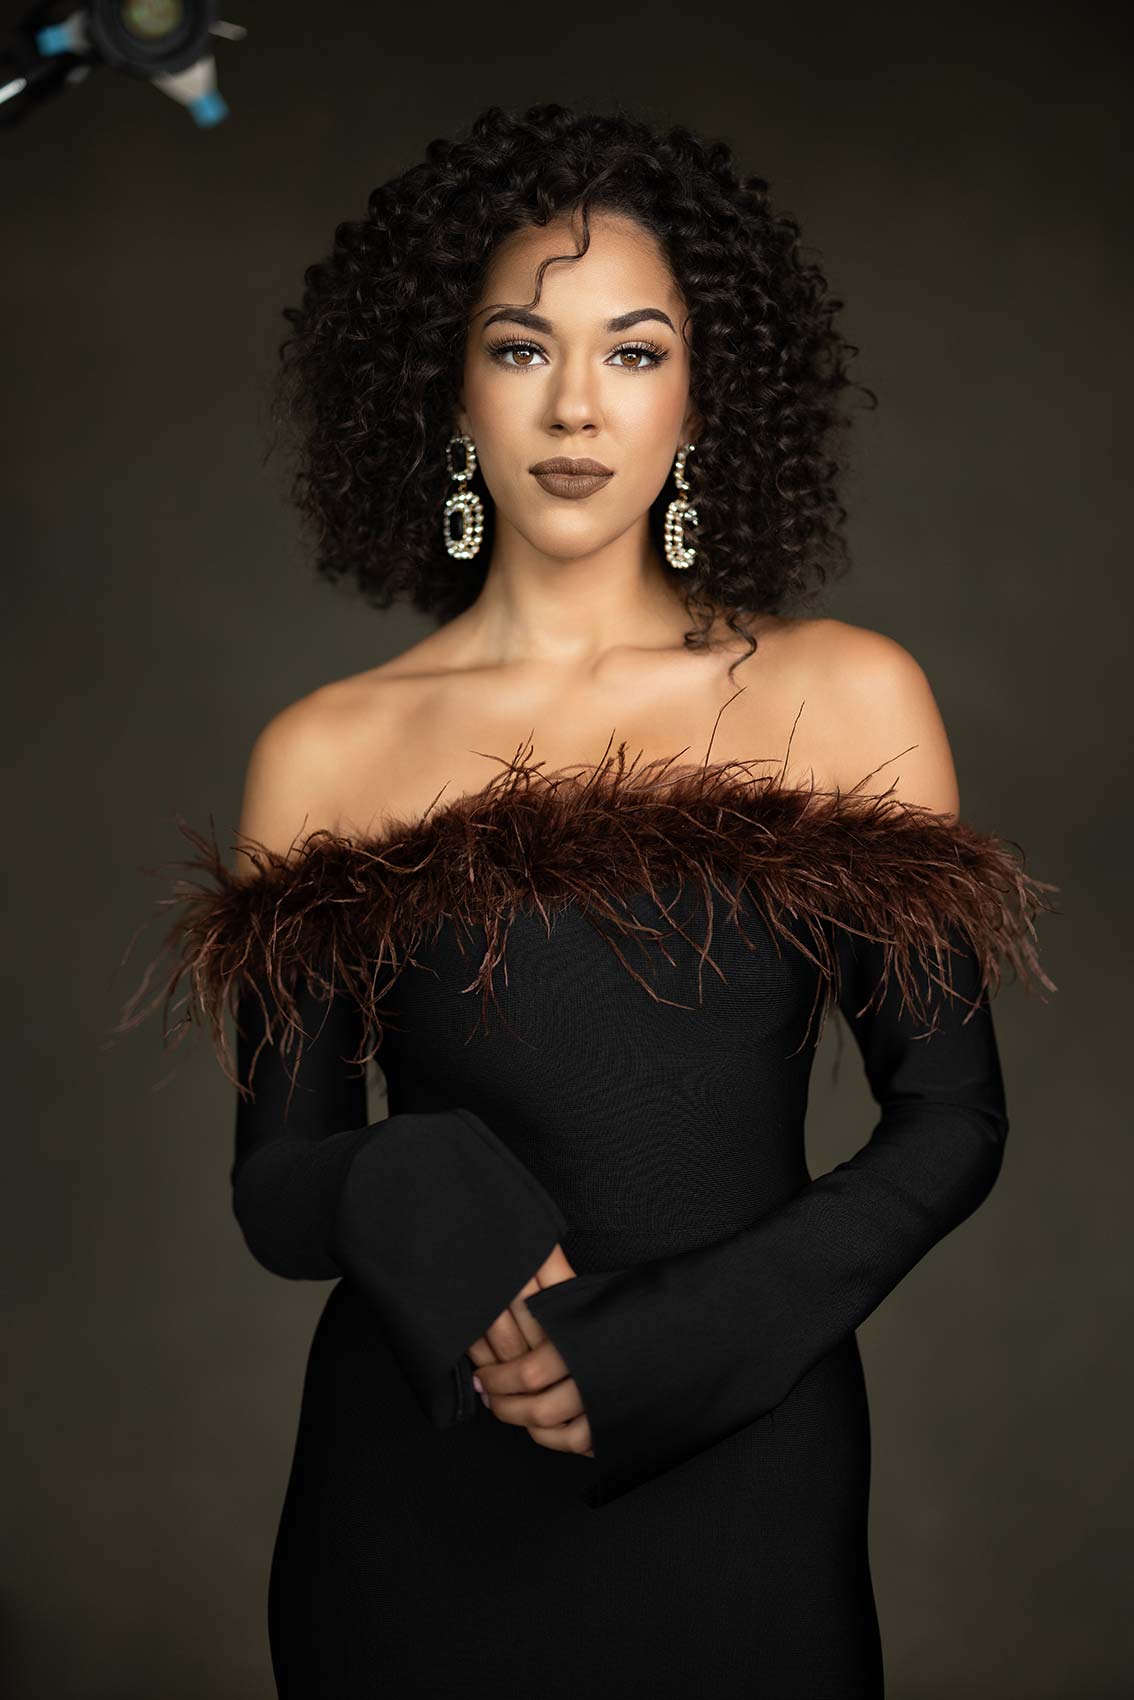
This background is hand painted from Oliphant. It’s a master series. I love the way this looks; it works with her dress, skin tones, hair and makeup. It’s going to be an absolute beautiful portrait. So, one of the first things we’re going to do is take a shot here where we turn this light off for a second.
On camera, I’m using the Canon EOS R5 and then the 50 millimeter F1.2 lens. I am photographing this at 1.2 and I love the way it looks. I love the treatment on the skin. It gives you that milky feel. I know a lot of portrait photographers who always put hate in the comments because we’re not shooting portraits at 5, 6, or 8. I don’t operate in that world; I like 1.2 and the look and feel of it.
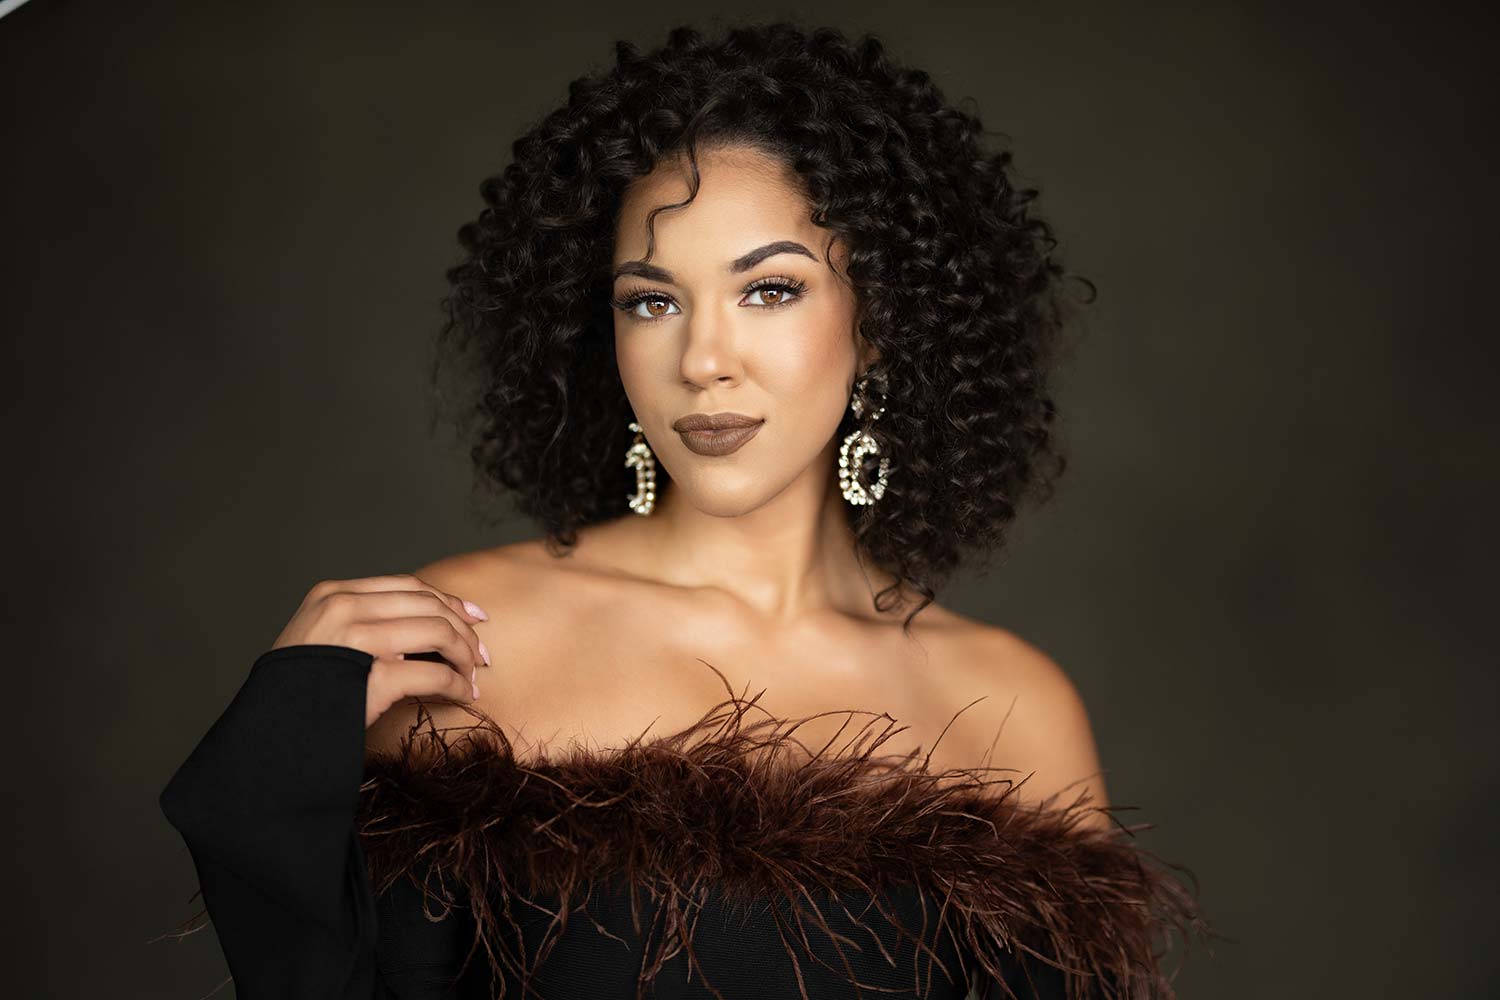
Now we’re just using the key light. I want you to see what this is going to look like. All right, here we go. I love the way this is looking. We’re just set up for a nice portrait.
I’m going to pause here for a second because I want you guys to understand what I’m doing here. I want you to look at Alonna for one second. I’m going to pause here for a second. I want you guys to understand a little bit about what I’m doing here. I want you looking at Alonna for one second. So when we first started, I asked her to look away, and that’s what she did. And I want you guys to see something here. I want you to notice the white in the eyes. Look, I know this is a video about lighting, but we’re going to talk about posing and things that make a better image. We see too much of the white of the eyes, and that’s why I correct that. I think it’s super important for you as a photographer to pay attention to this detail. When you tell your subject to look away, they naturally just want to look far away, but it creates too much white in the eyes. So we’re going to keep you there and then watch how the shift changes. Bring your eyes here. Now look at that. She’s still looking away, but now we see more of her pupil and less of the white of the eye.
Also, go to your normal squared up pose. When she started looking that way, which there’s nothing wrong with that, but we’re giving her what’s known as broad lighting. We’re lighting most of her face, and you need to be aware of this because there is a difference in lighting patterns. There are some where you’ll make your clients look heavier on camera than they are.
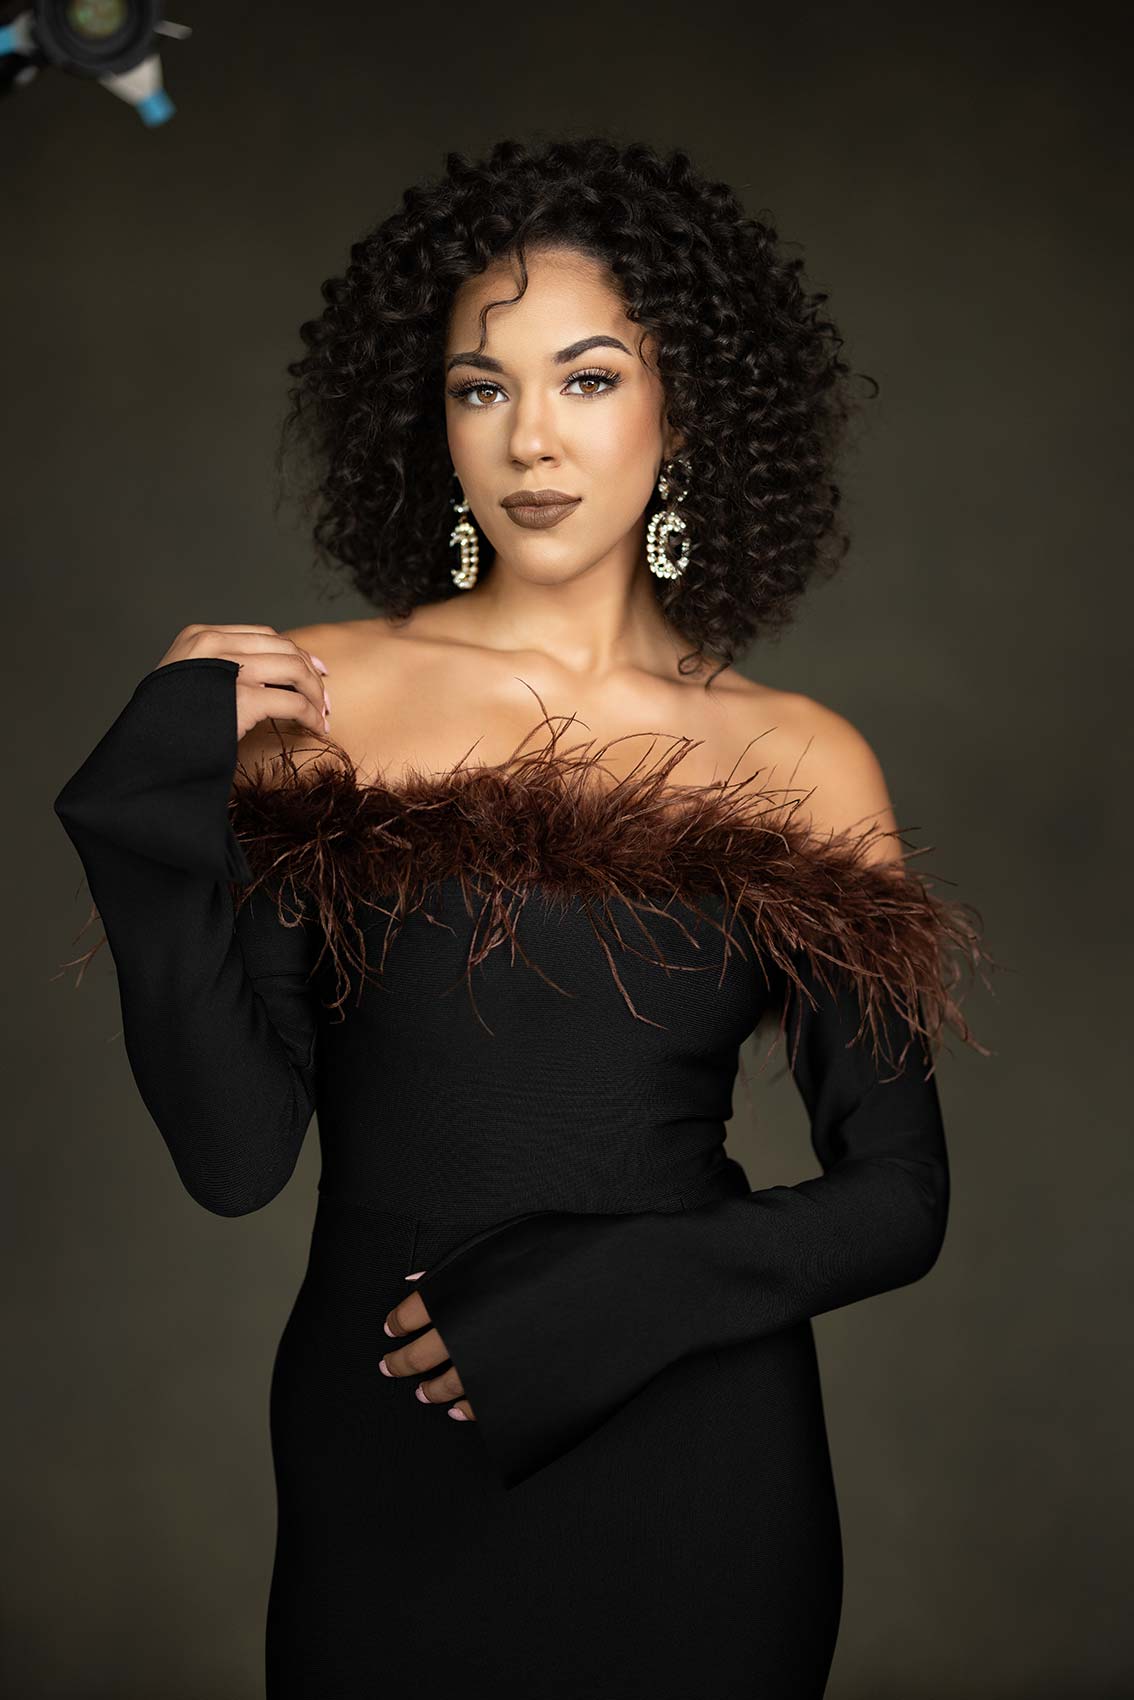
Obviously, Alonna is not heavy, but we are not giving her the best look and feel. So watch this happen in real time. Turn your shoulders towards me. So now look at her collarbones and then watch as she turns to me. Her collarbones start popping. Who doesn’t want that? Now turn your face towards that light. Now we’re shaping her light and her face with some beautiful light underneath her chin and making her collarbones pop.
So again, lighting is season to taste. I just wanted to stop here for a second and show you that and point that out because I was giving her a lot of direction. That’s the why. Now, back to the show.
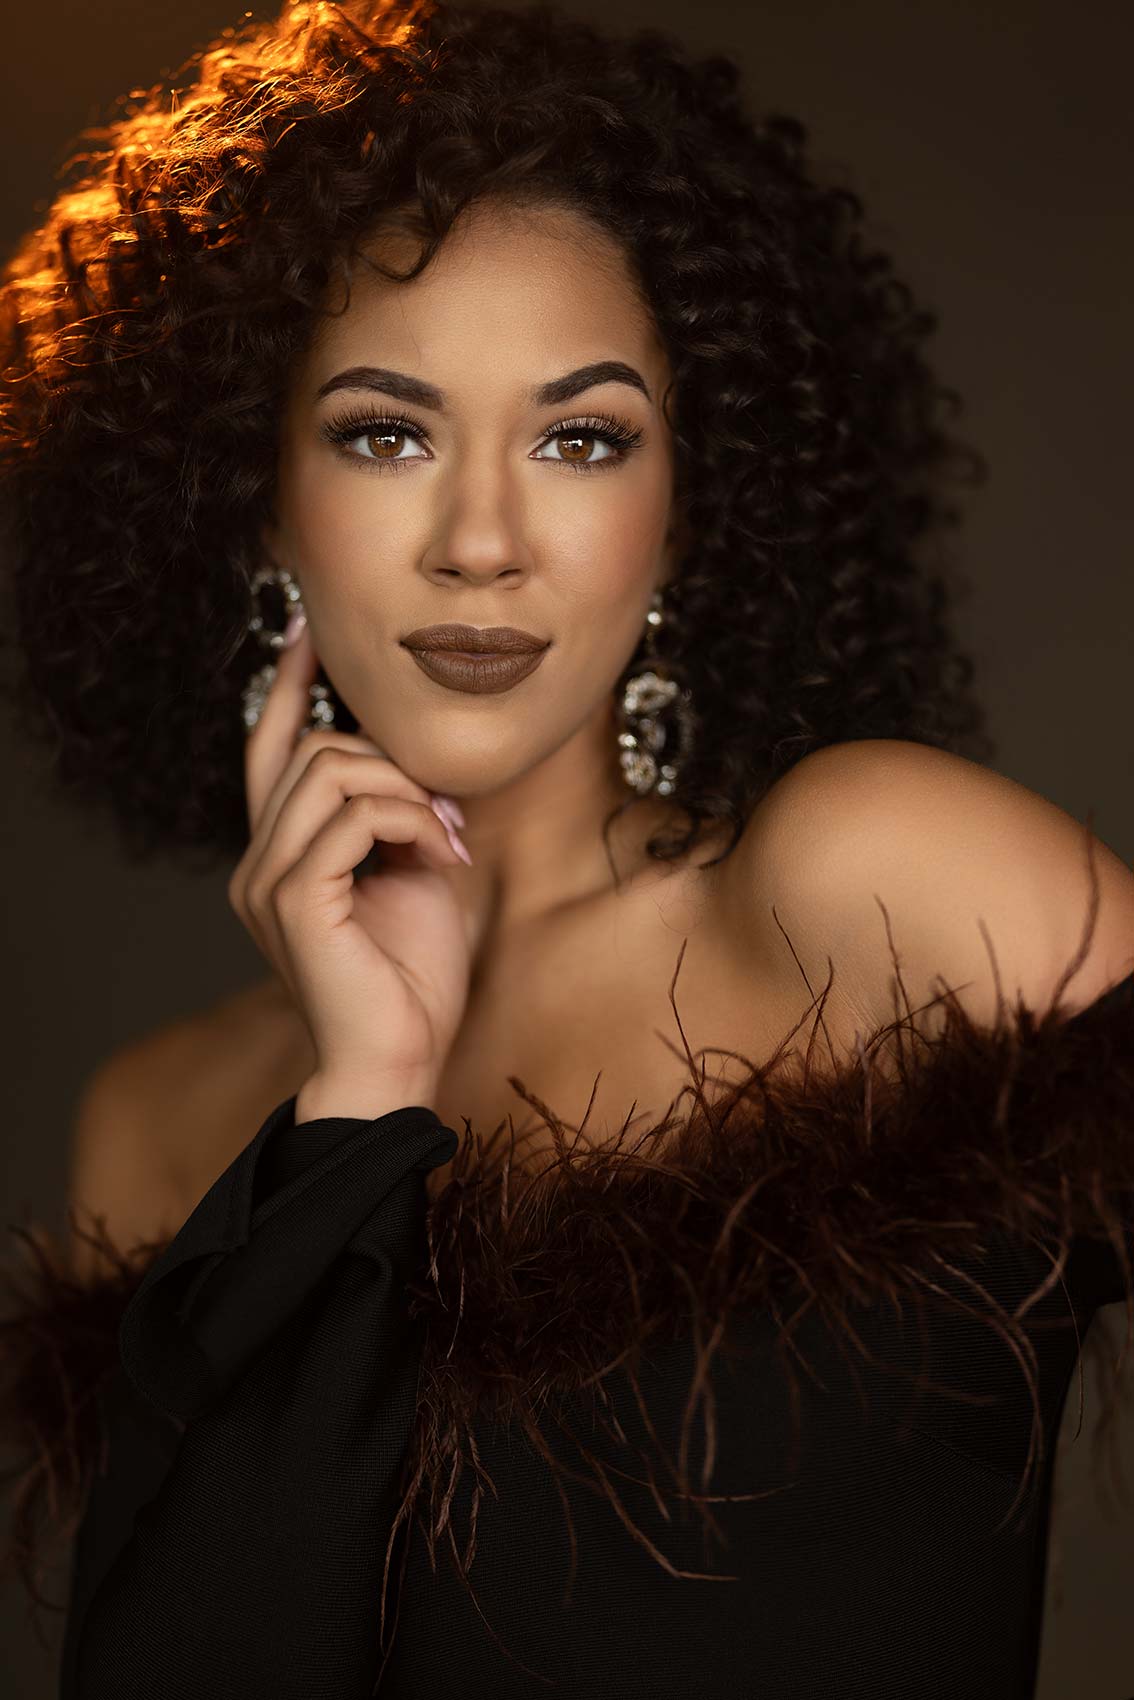
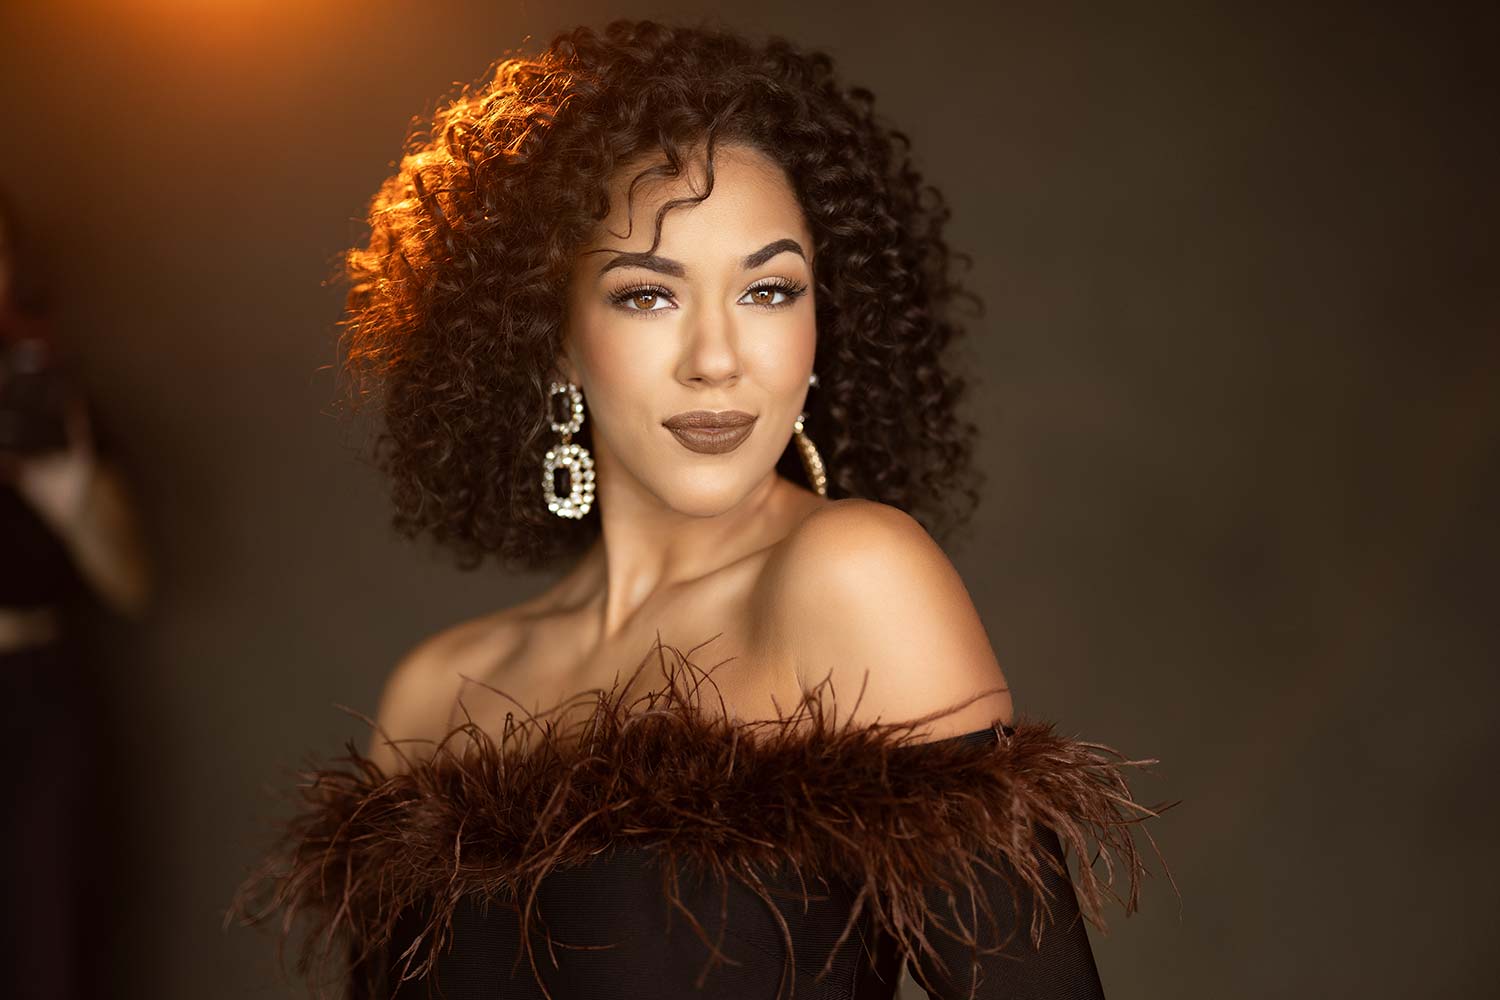
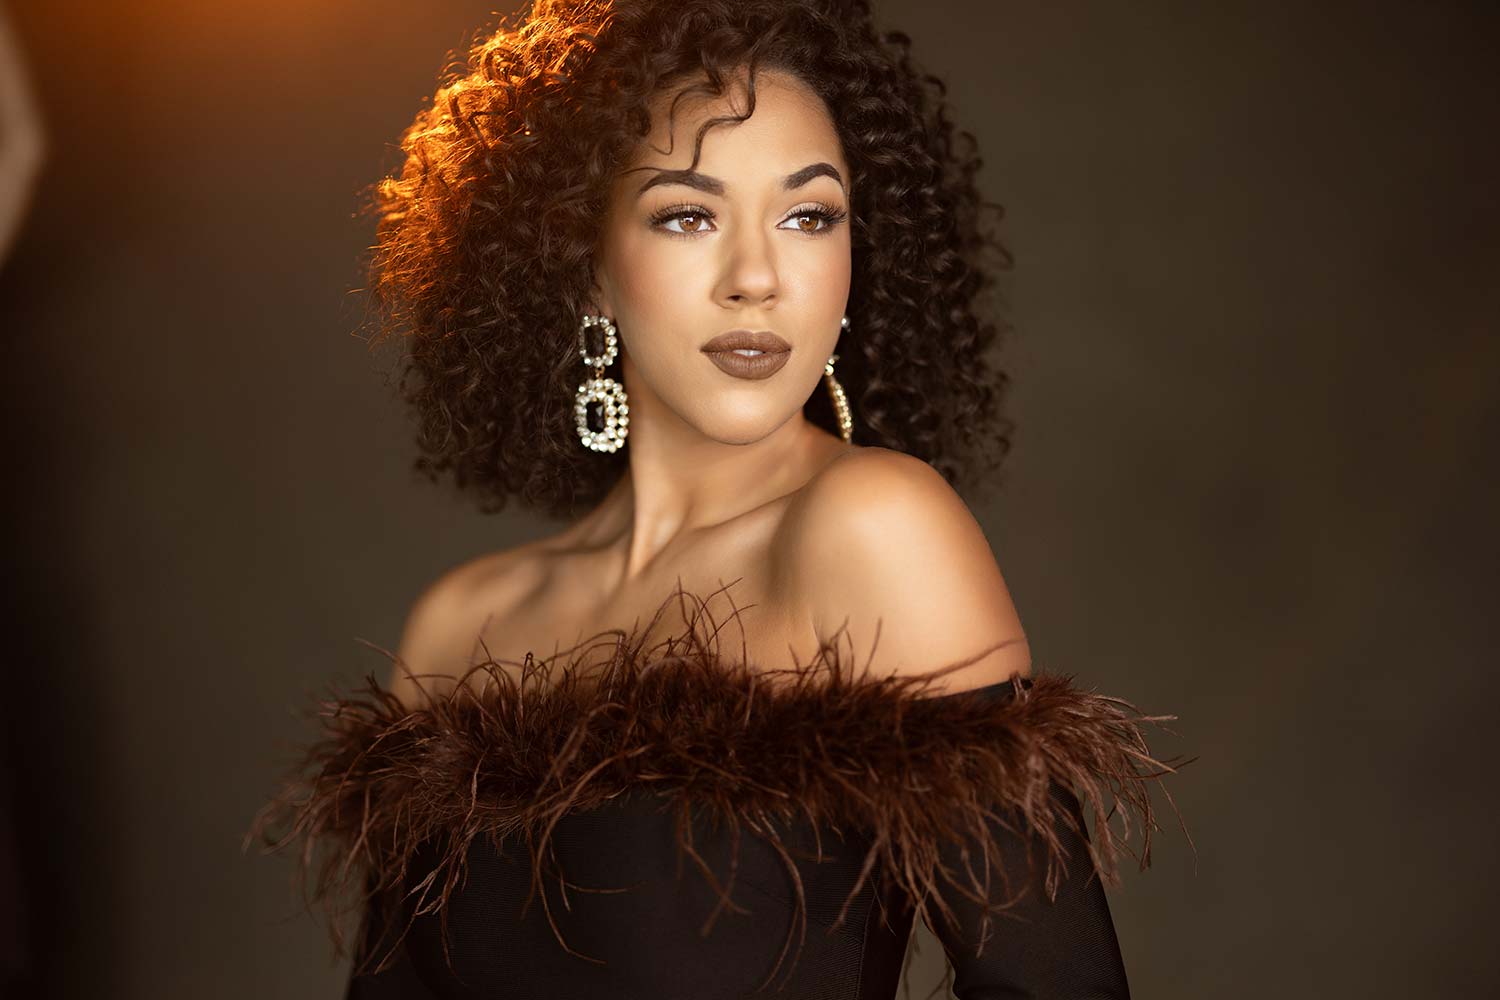
I’m going to bring in this secondary light. I want you to see how it adds a little bit more flavor to the shot, giving it that sunset look and feel. The trick is having that light in the top left-hand corner so that it gives you a little bit of flair into the lens.
Now you’re seeing the difference just by adding that light, naturally warming up this portrait.
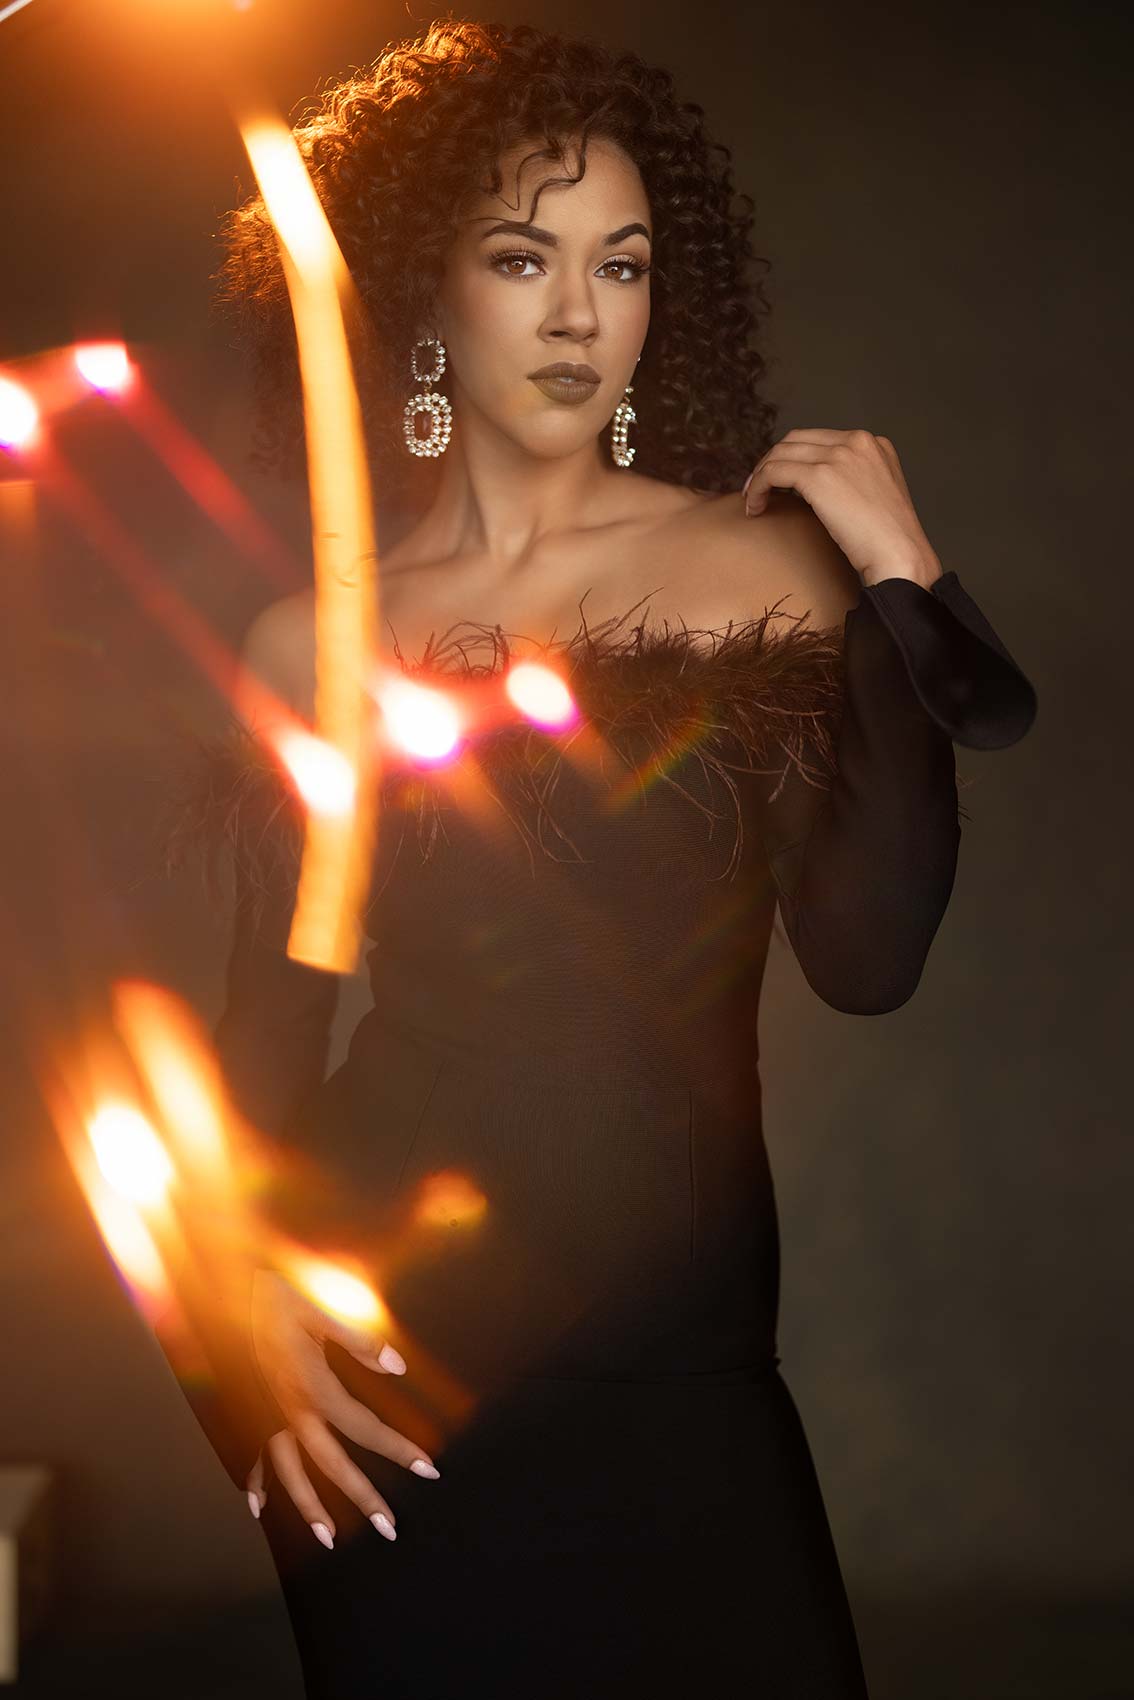
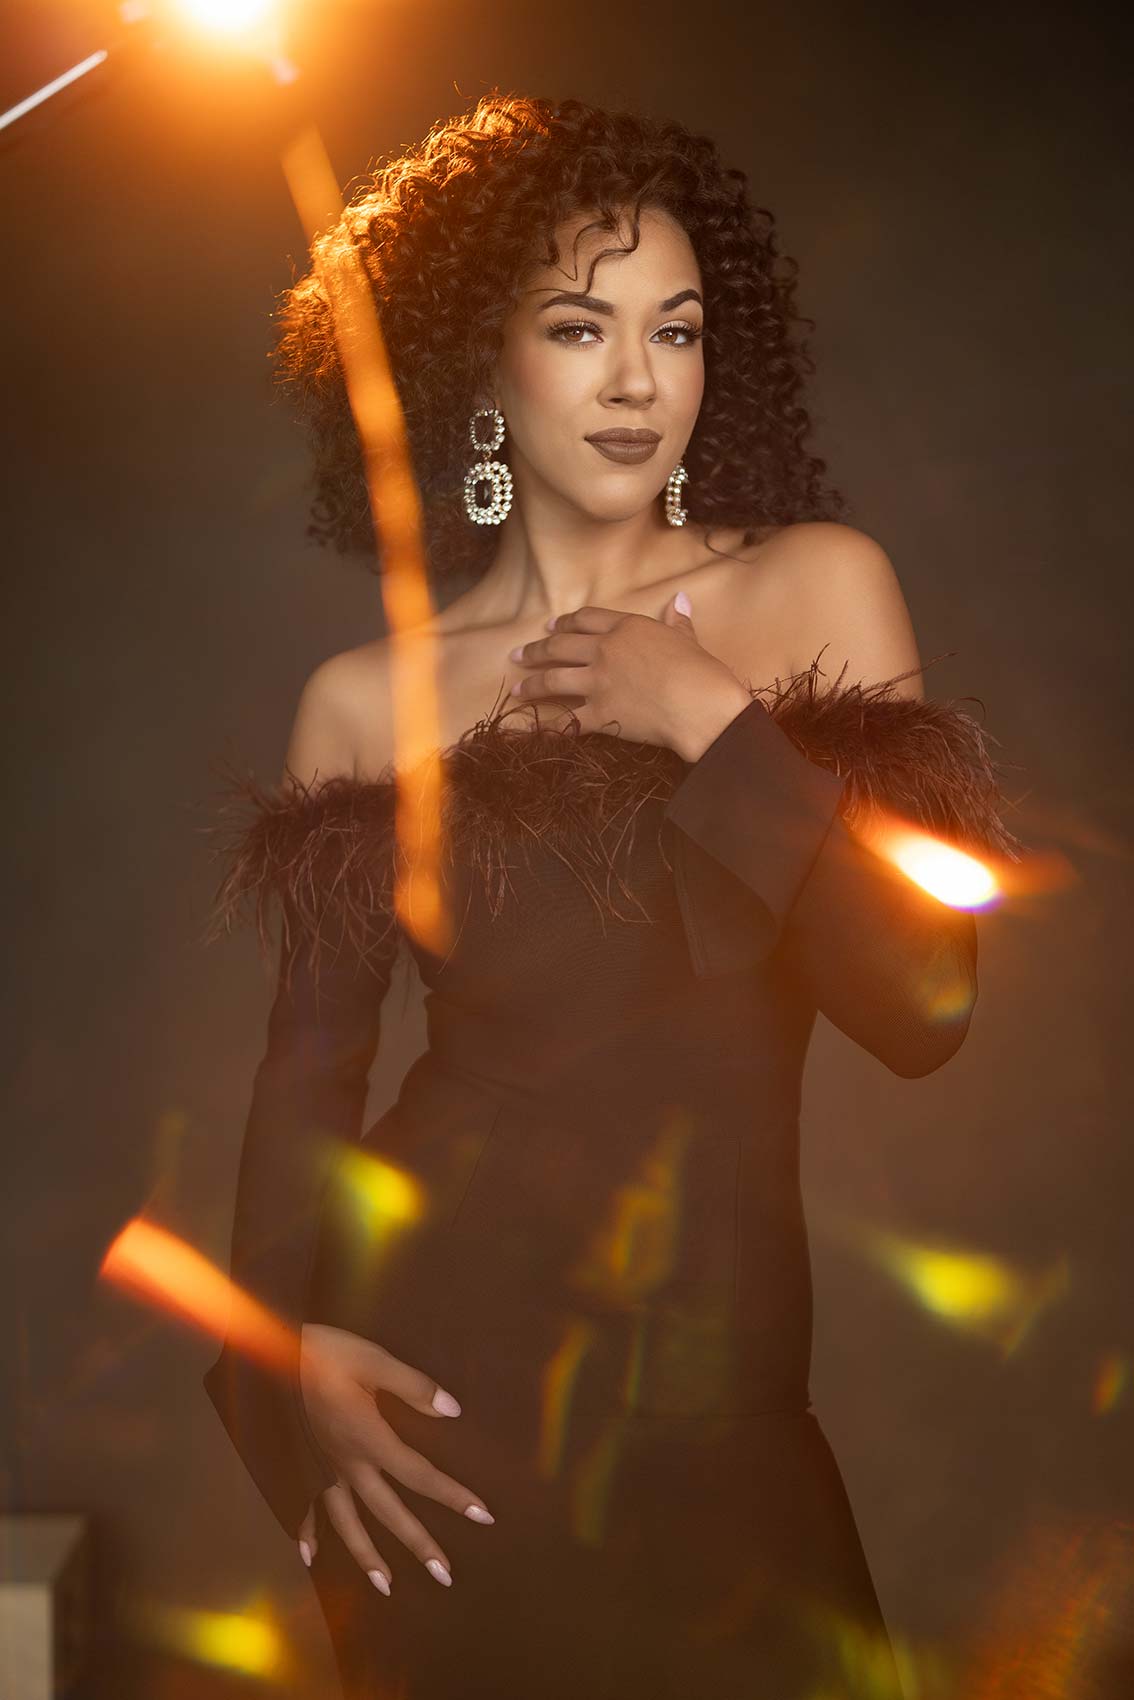
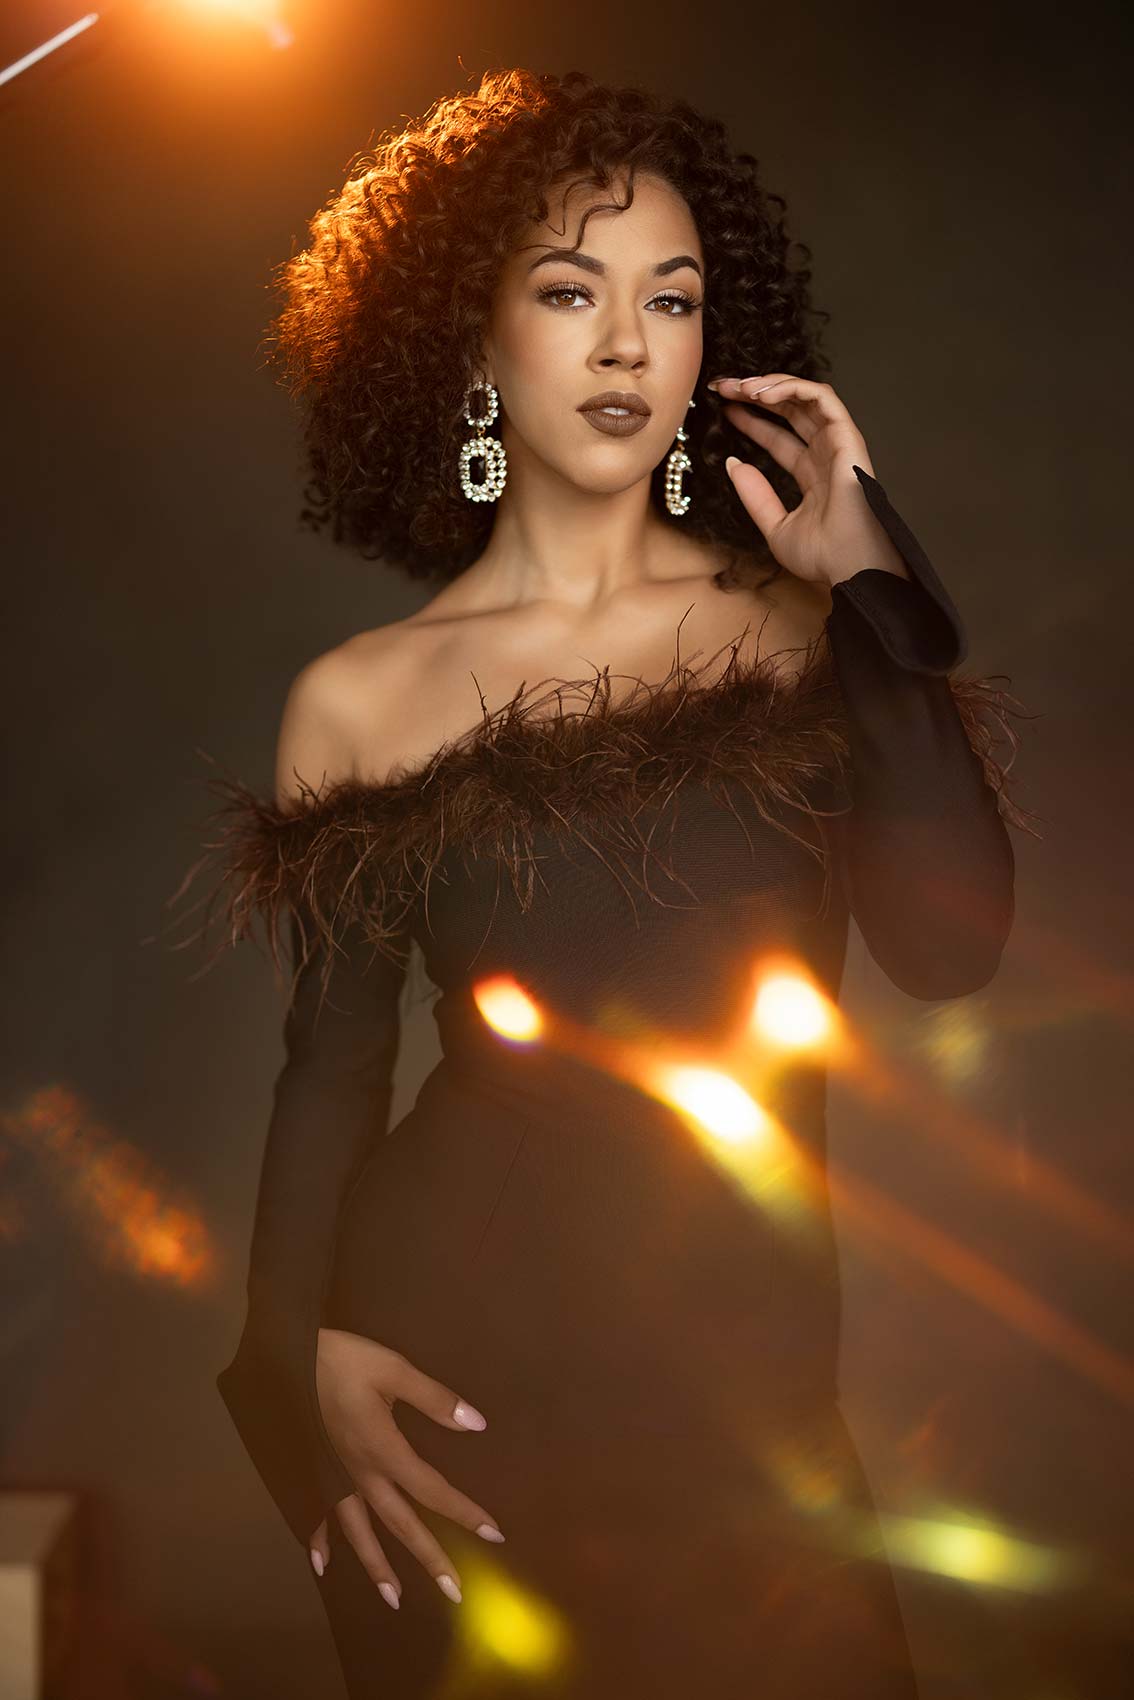
Okay, time for the bonus. We’ve got this crystal prism here. I don’t know why, but I just keep one. So now we’ve got this little crystal prism – whatever you want to call it. Watch what happens when we’re firing the light. Look at that, guys.
Am I going to shoot every shot like this? Of course not. But look at that – it’s sick, psychedelic. By putting this on the front of the lens and the light firing into it, we’re getting a really unique look and feel.
Something like this gives us a unique look and feel. Am I going to show 100 images shot that way? Of course not. I can get one or two that’s just a little bit different. It’s good for her portfolio. It’s good for my portfolio. Maybe the client loves it. I want to have that something that just looks and feels a little bit different. You get the number one shot and then you start experimenting.
In the spirit of experimenting, we got this cheap little prism from Amazon. We’ll throw a link in the description for you guys. How much was this? Maybe $30 or $35. Now, if I turn this, you can see this is changing where that prism is and how it’s interacting with her.
So basically, this prism has a straight piece and then it flares off at the edge, changing the dynamic and the way light interacts with the lens. I love this. We’re just going to play with this. I’m going to underexpose a stop on camera. This is going to make her face just pop a little bit more.
I’ve got one more. This is from a company called Neewer. I love their equipment. This one is the Hole Effect filter. Although my wife corrected me, saying it was the The Swirl Effect.
Now look, Neewer, if you don’t have one that’s called the swirl effect, maybe it’s time to add it because Alissa Cincotta said you need a swirl effect. When you see the images, it does give a swirl, but that’s not the name of it. I’m going to go with the name that’s on here, which is called the Hole Effect.
The truth is I’ve got an 85 on here so we don’t have that much room for your hands. As I’m firing this light into the camera, it’s changing things a little bit on how that light is hitting it. So, we need to be conscious of that. All right, so here we go. Now, this one has a wild effect, almost like you’re shooting through steel wool.
All right guys, that is a wrap. It’s a super quick and easy way to do it. Hope you enjoyed this video. Let me know down in the comments which one is your favorite, and we’ll see you in the next video.

