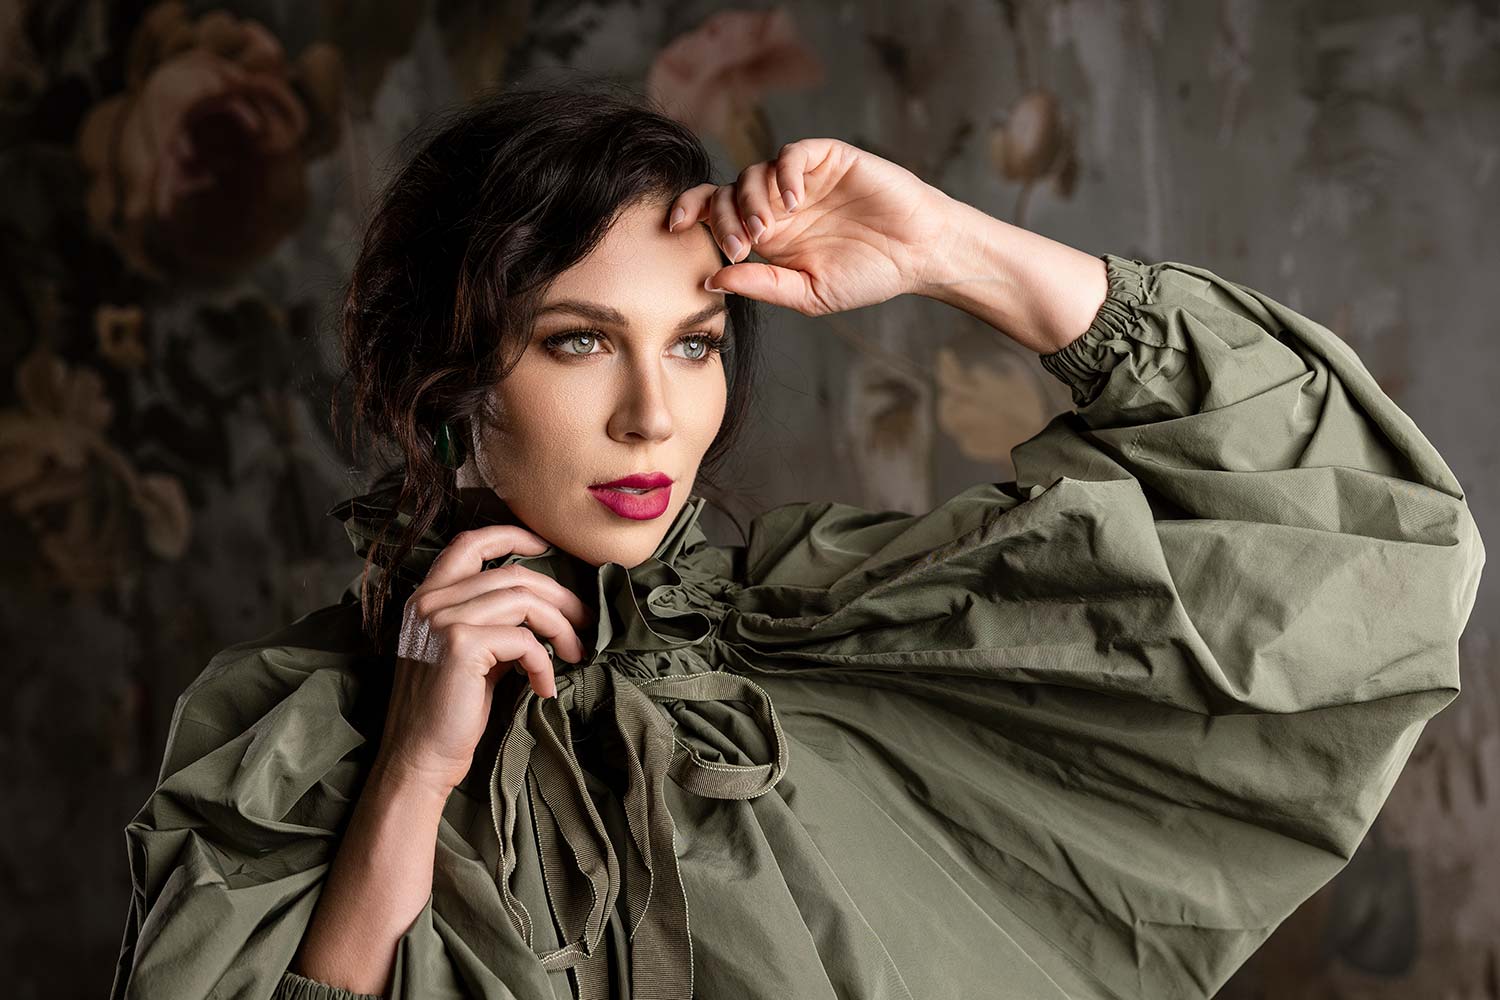
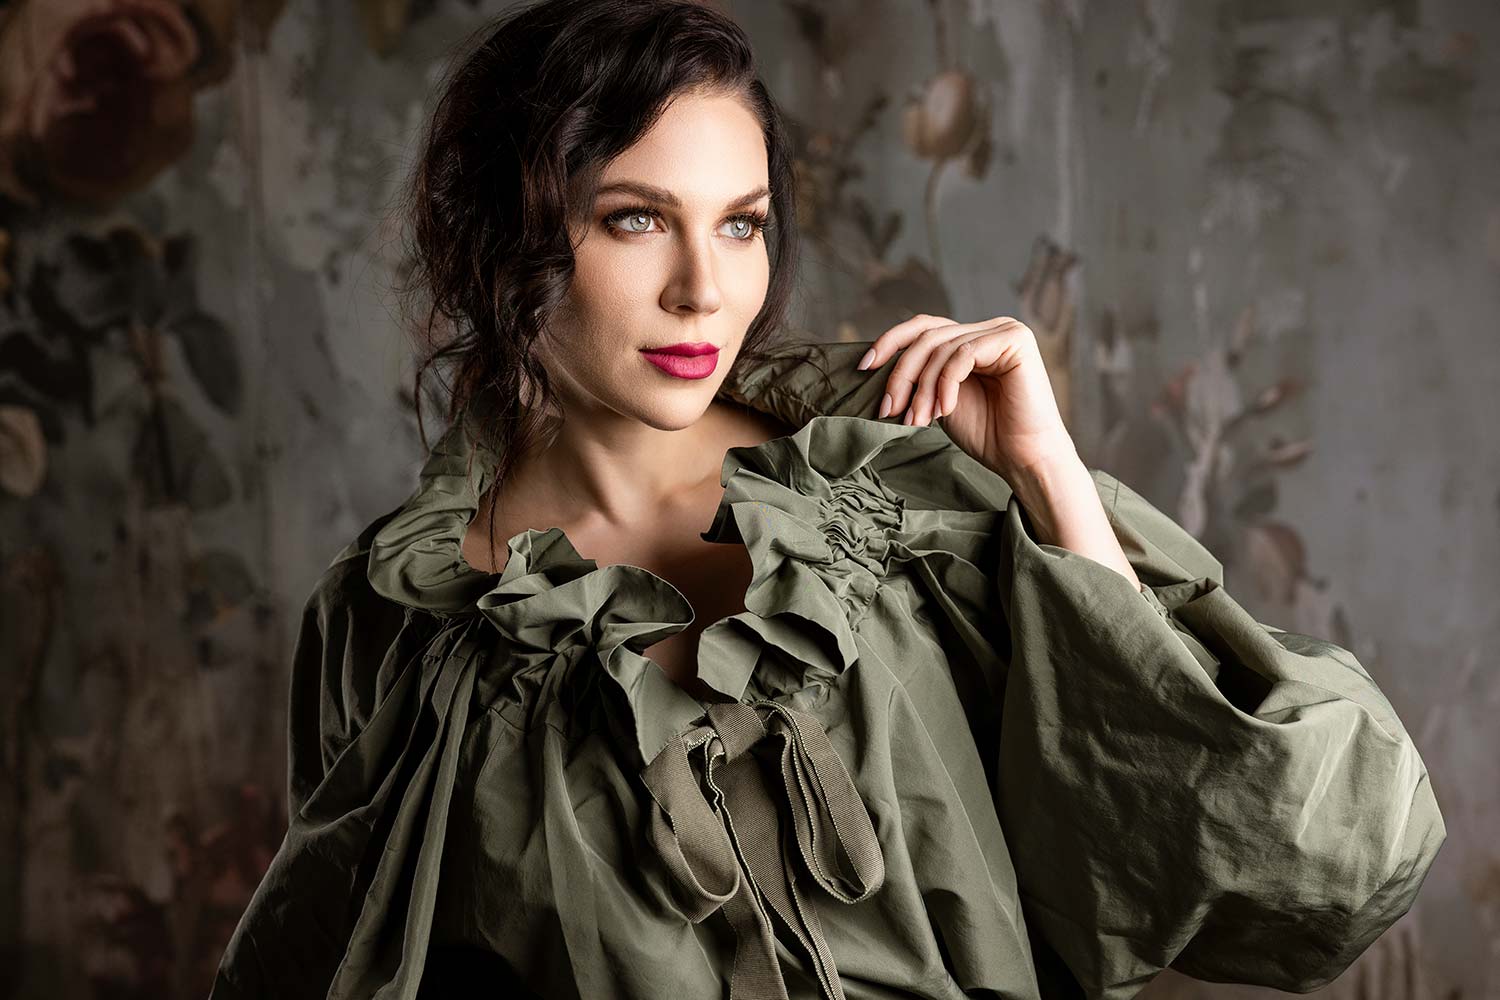
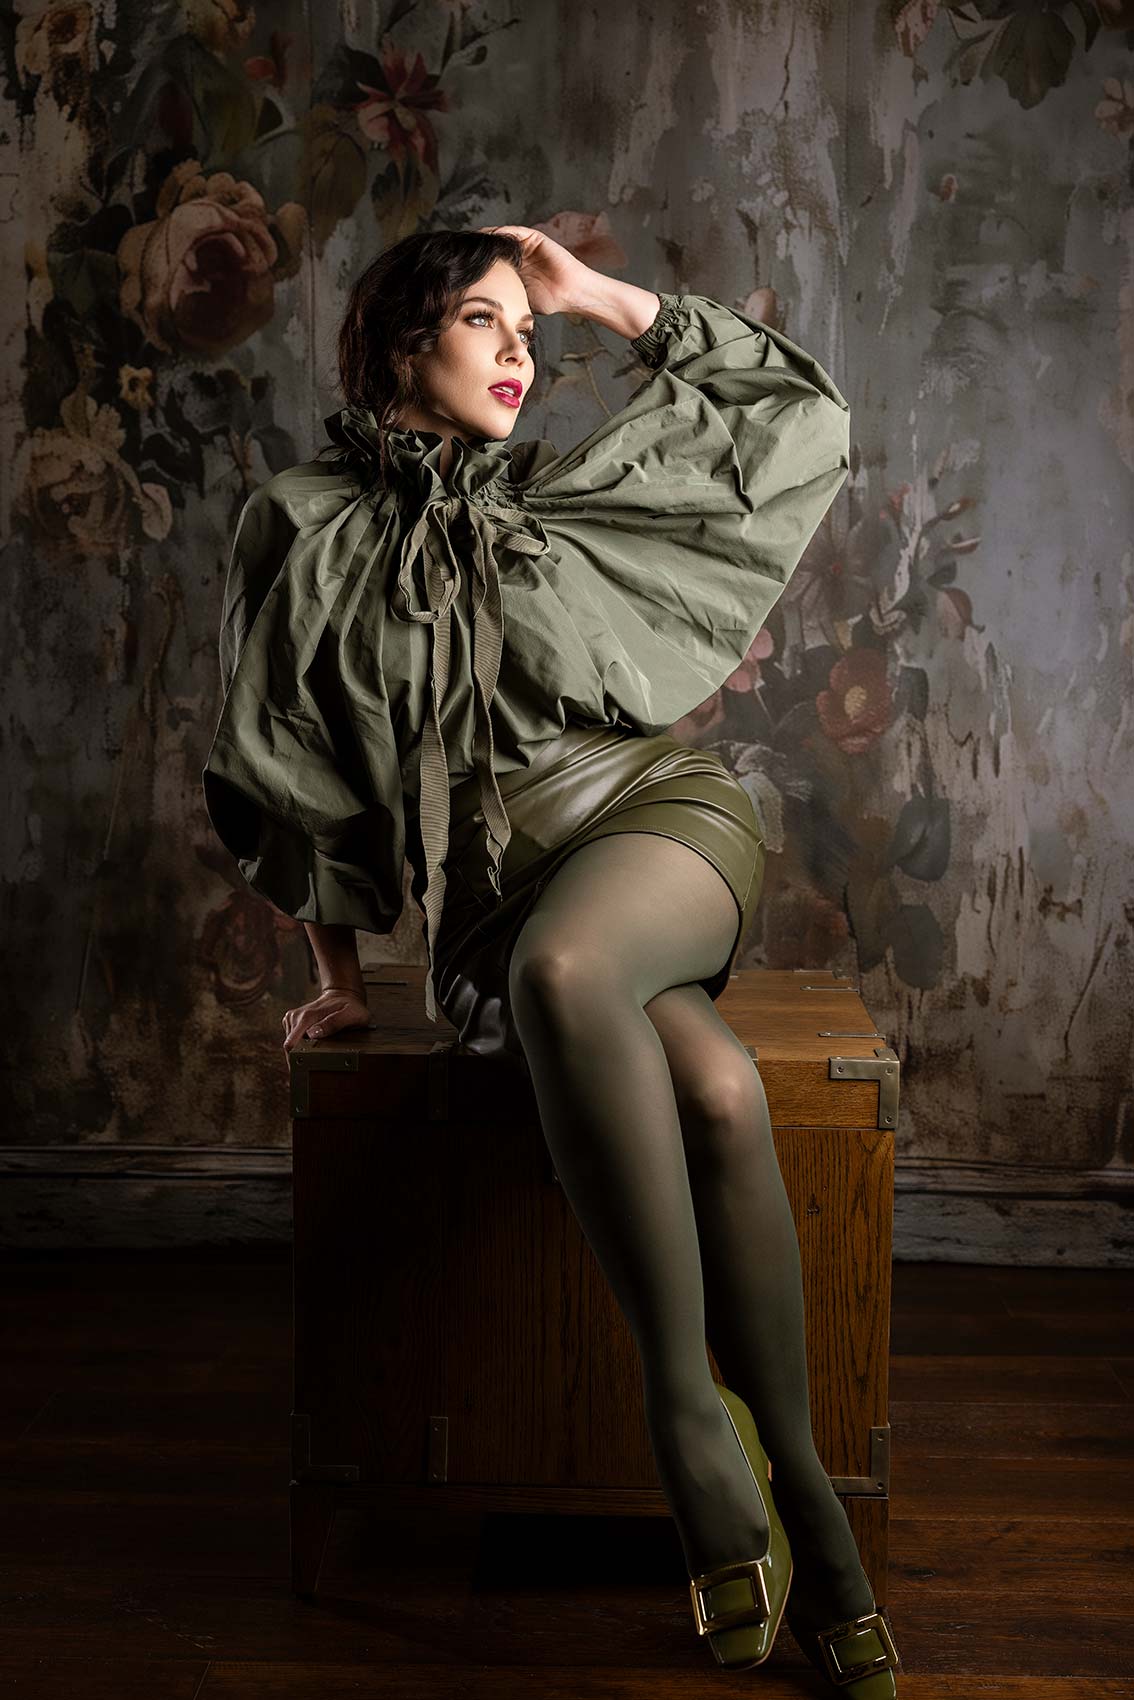
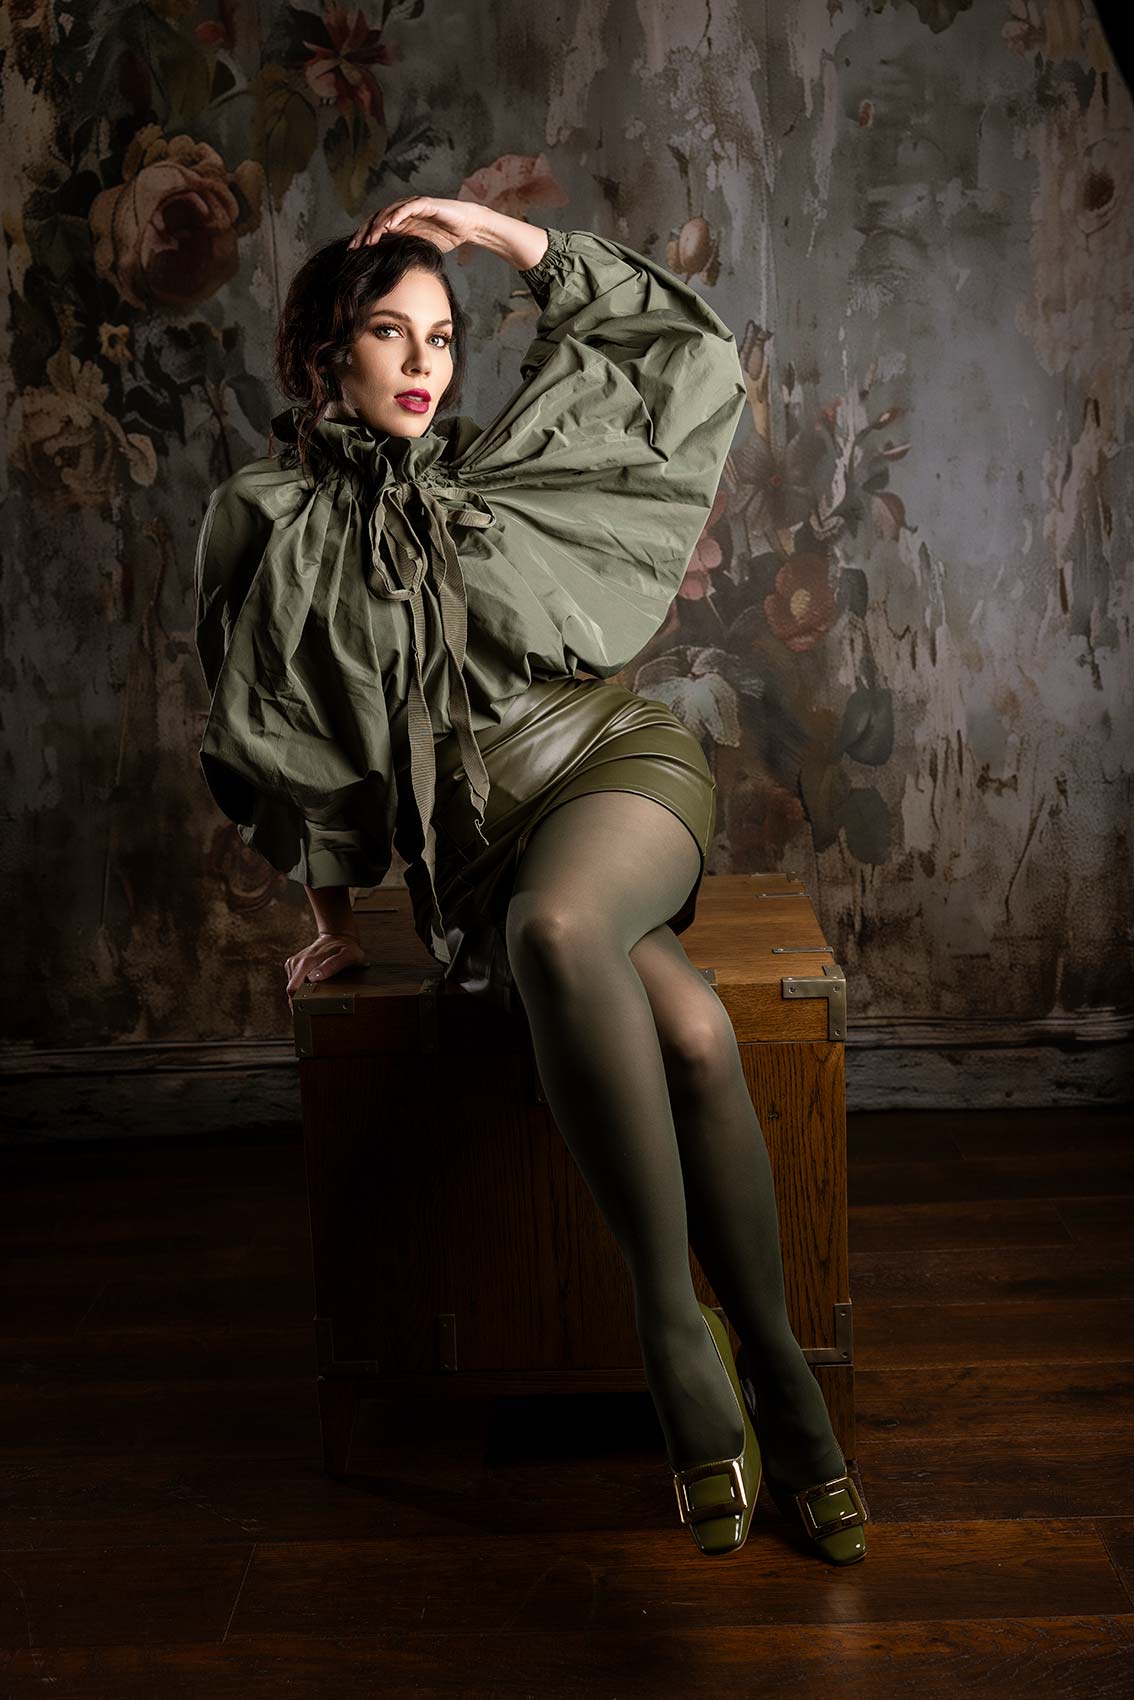
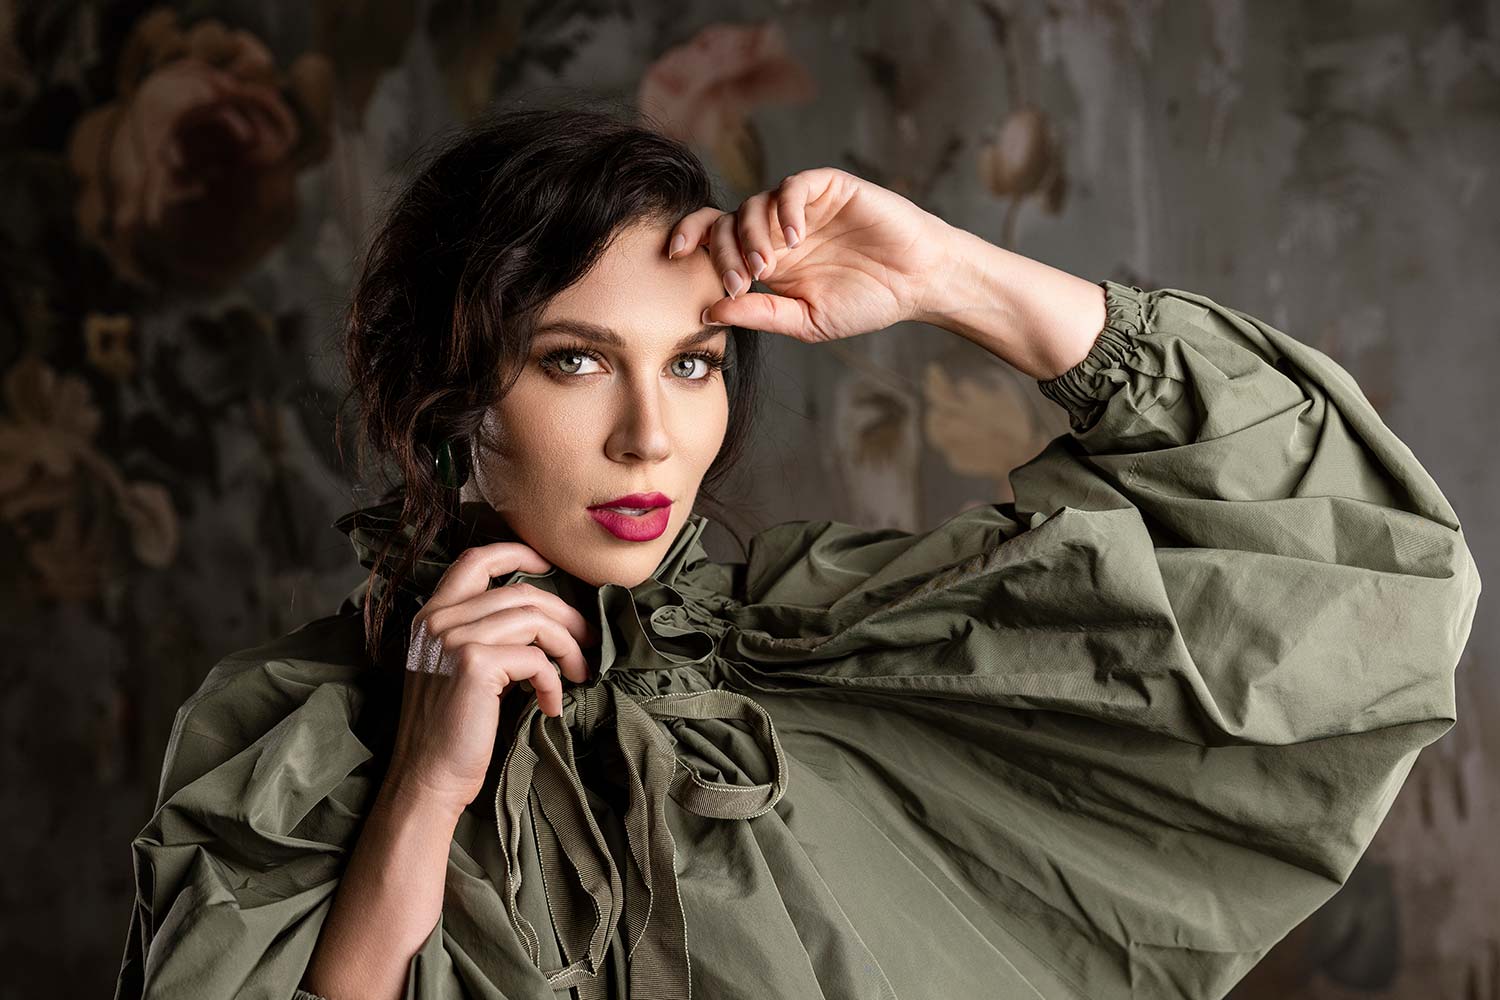
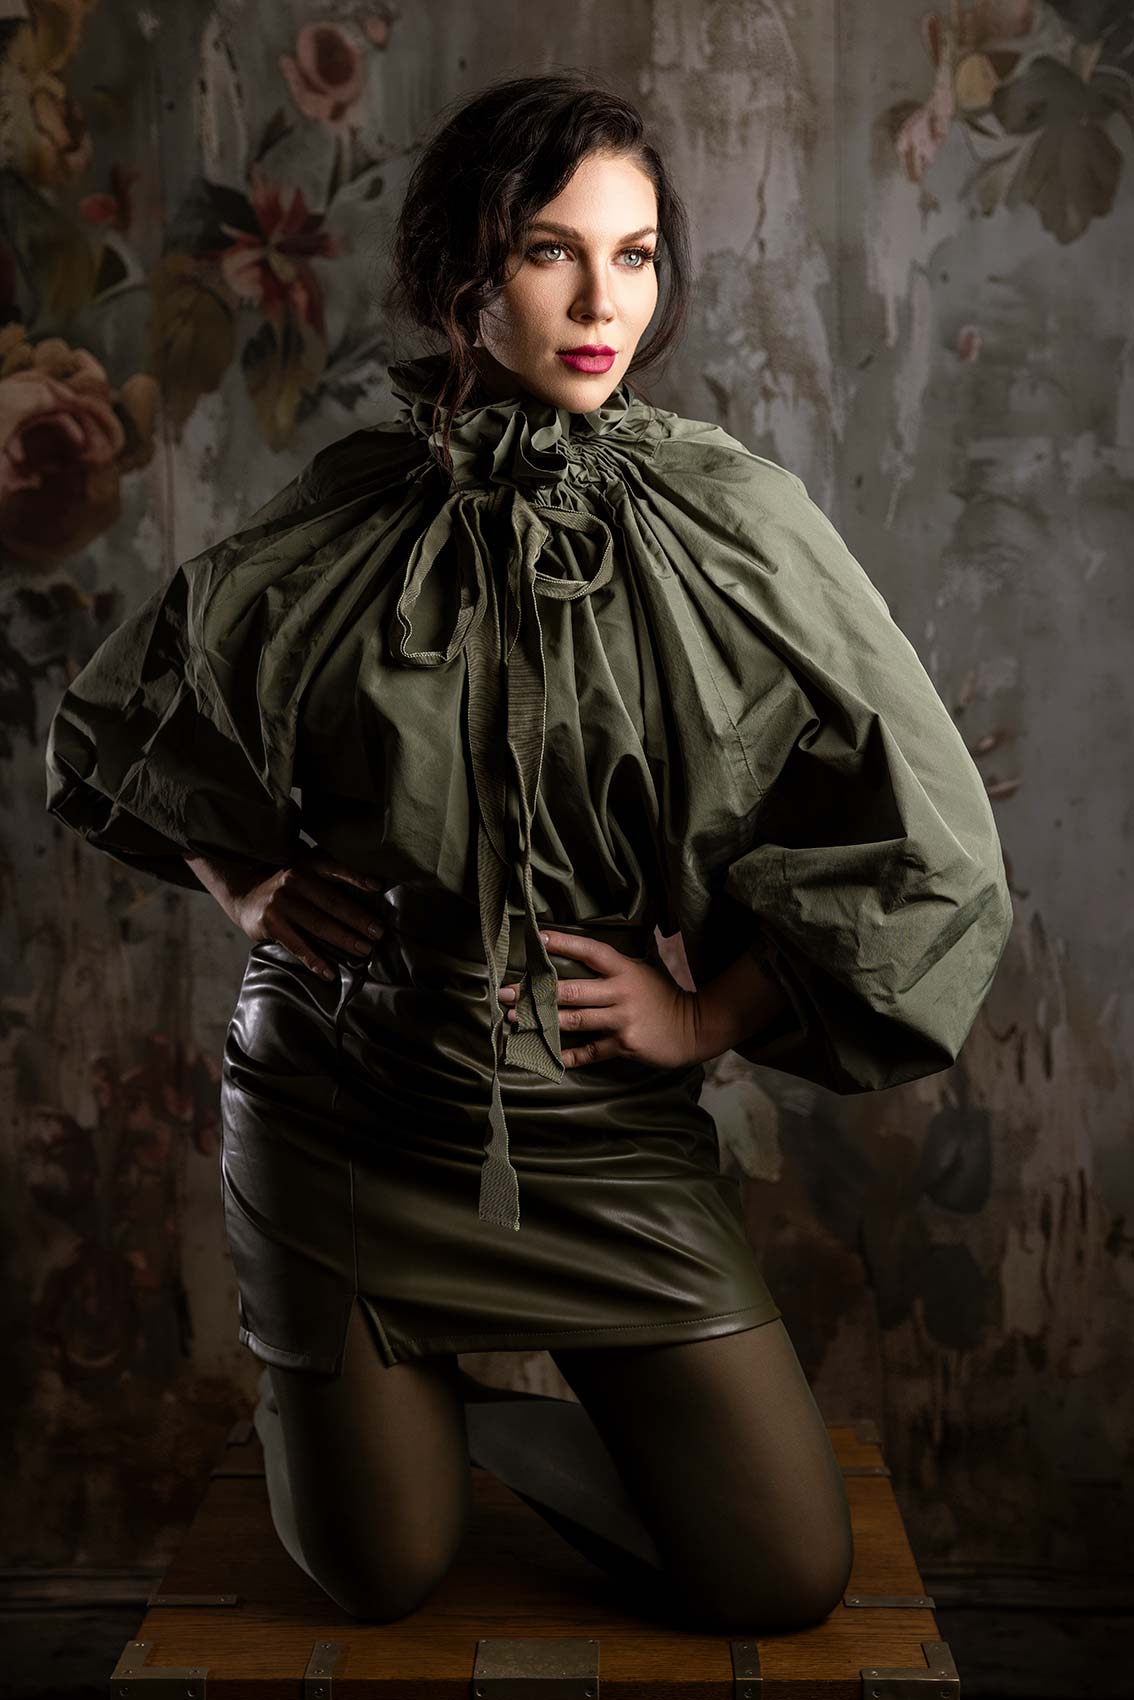
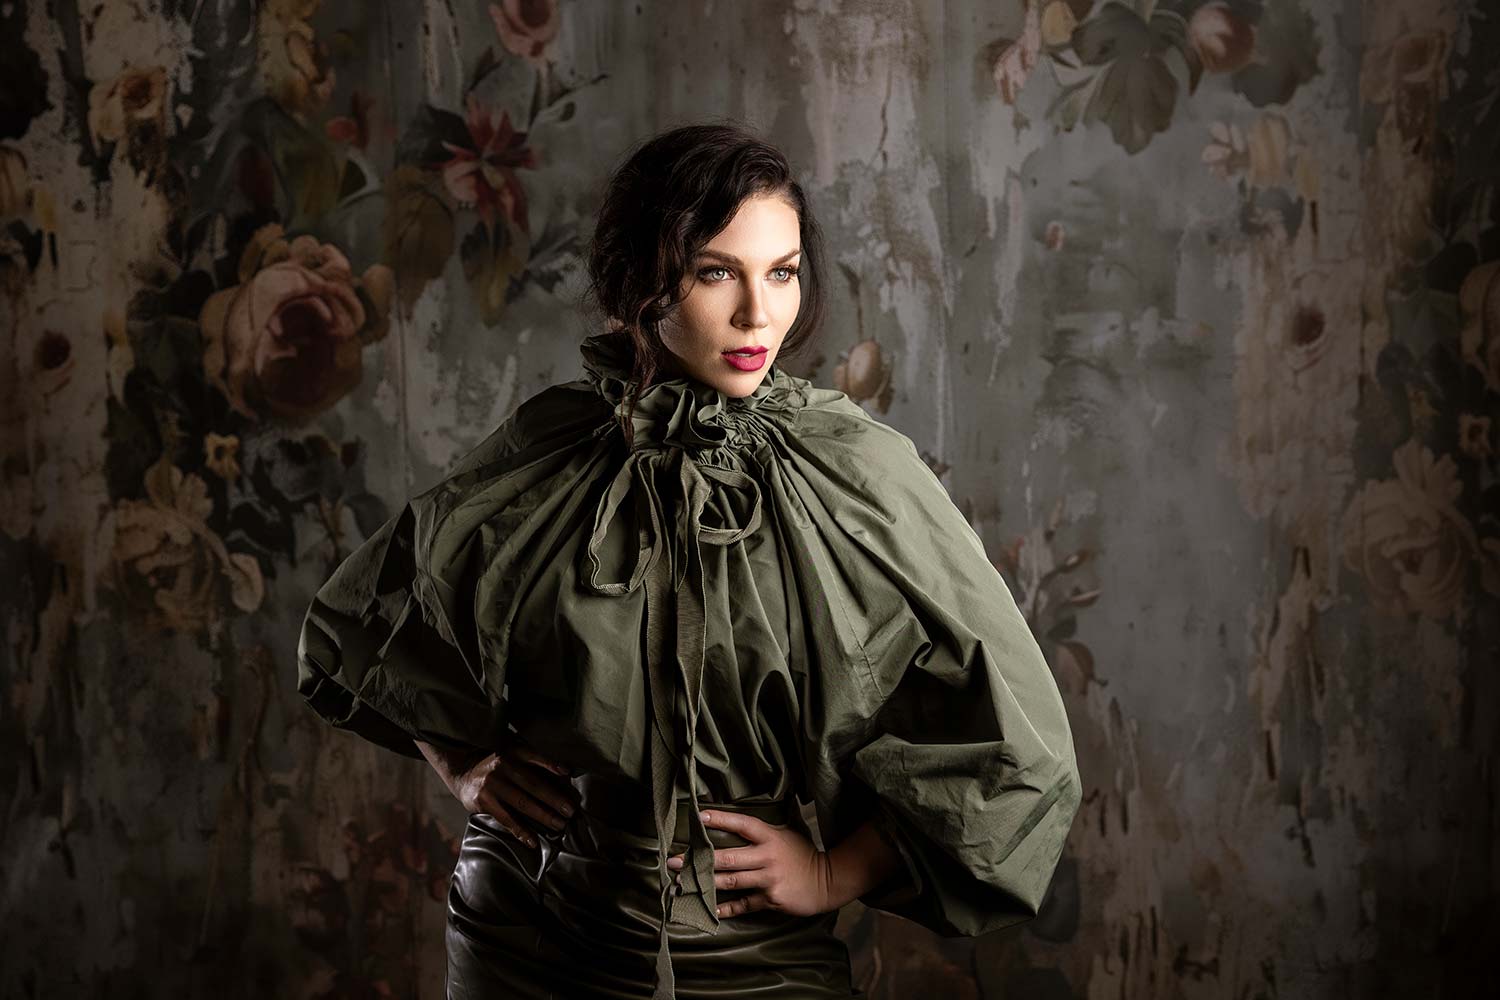
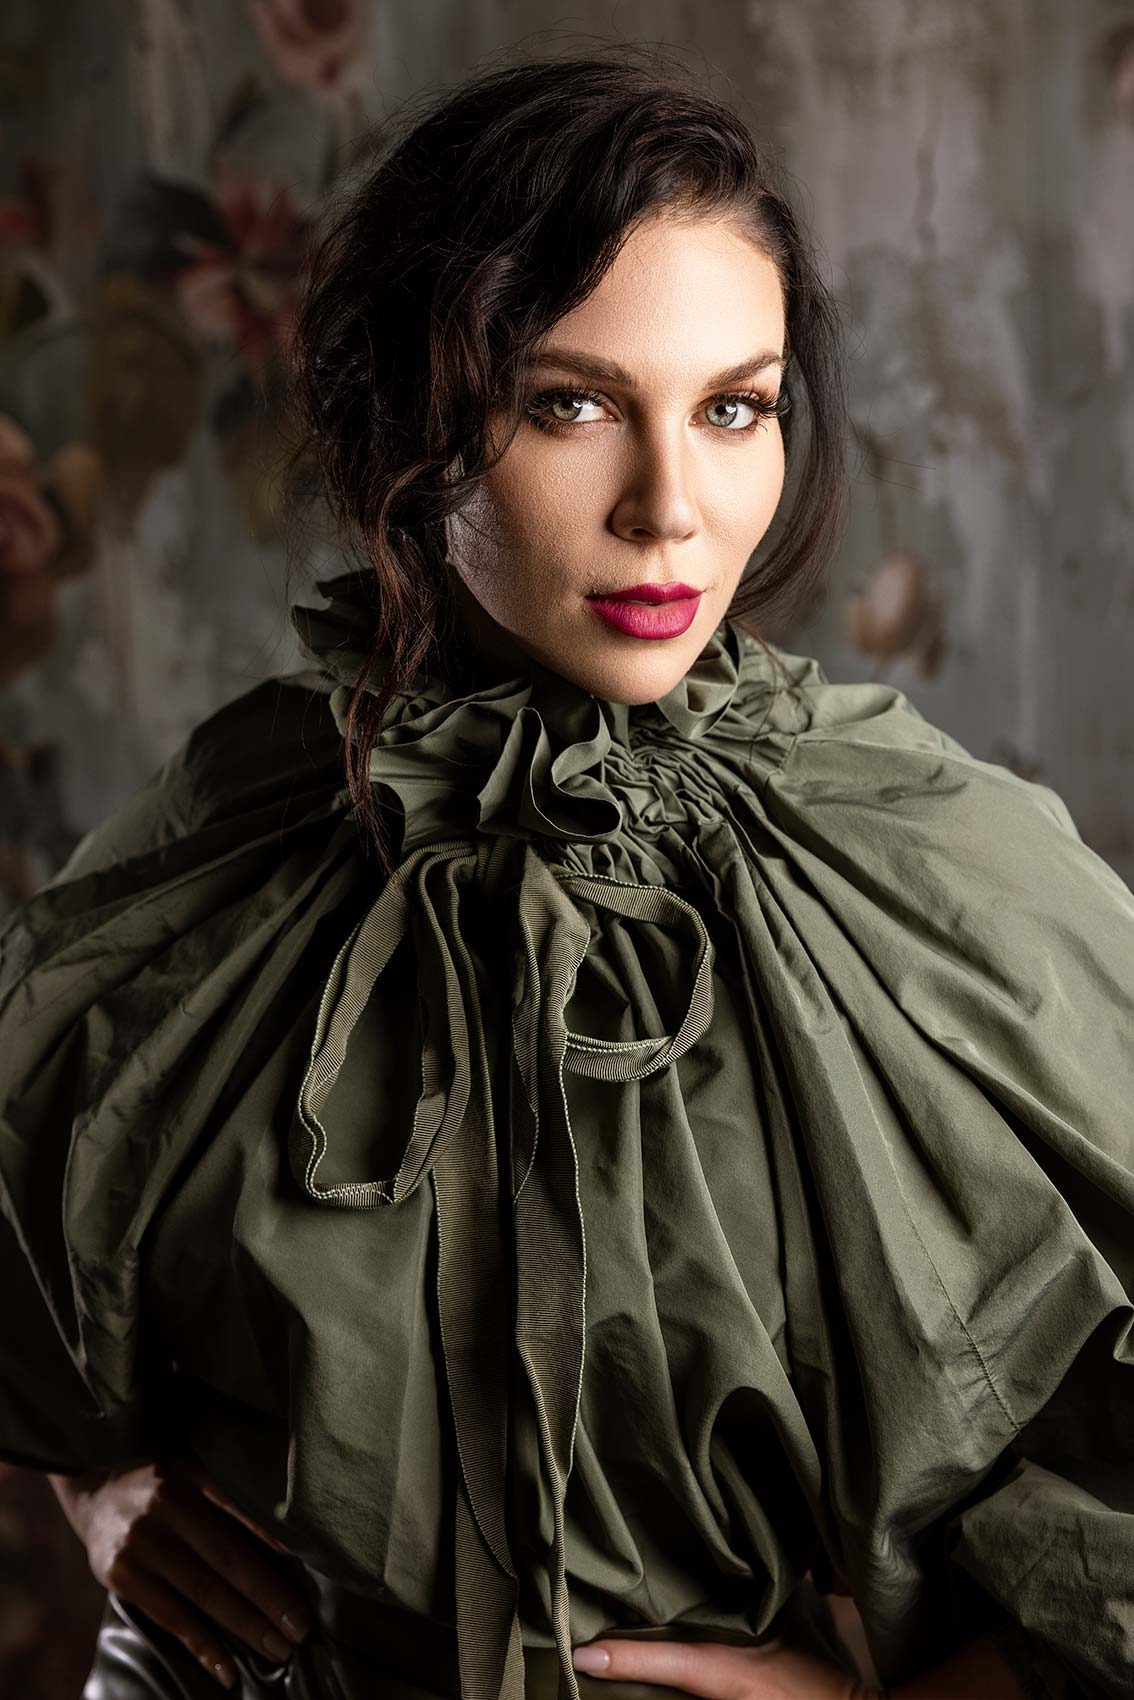
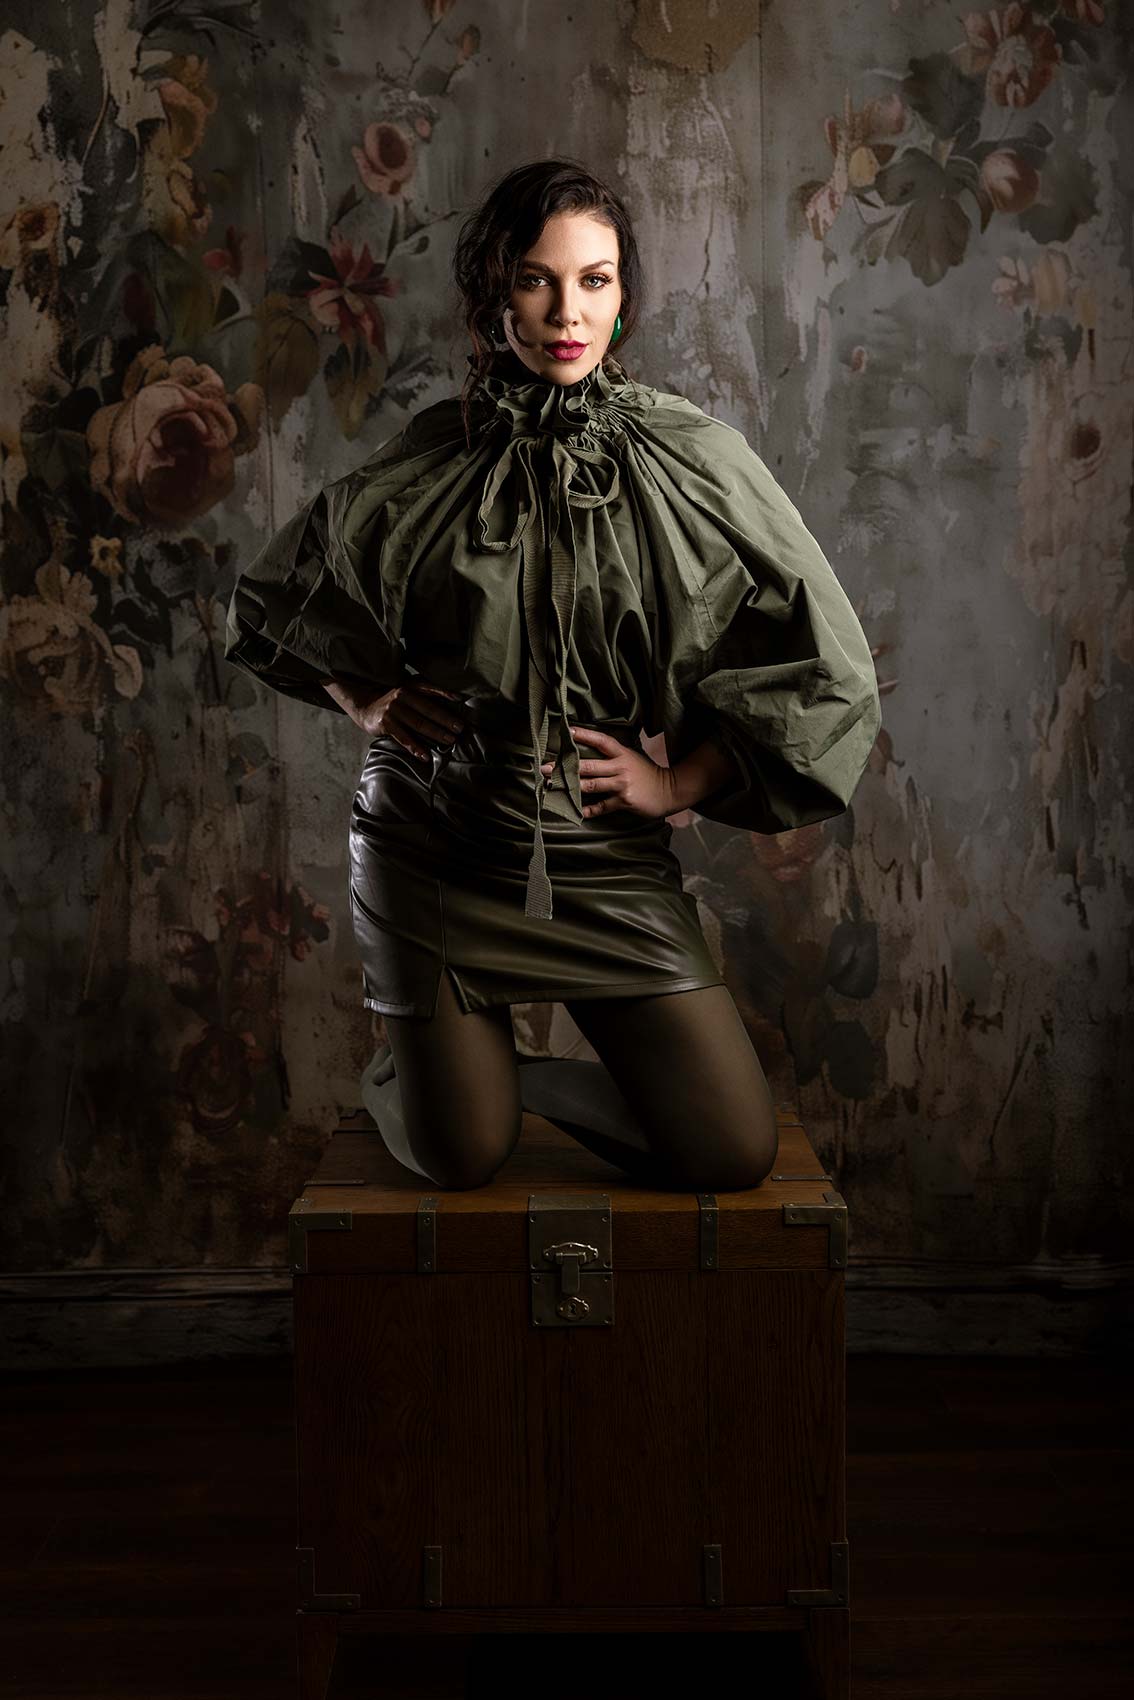
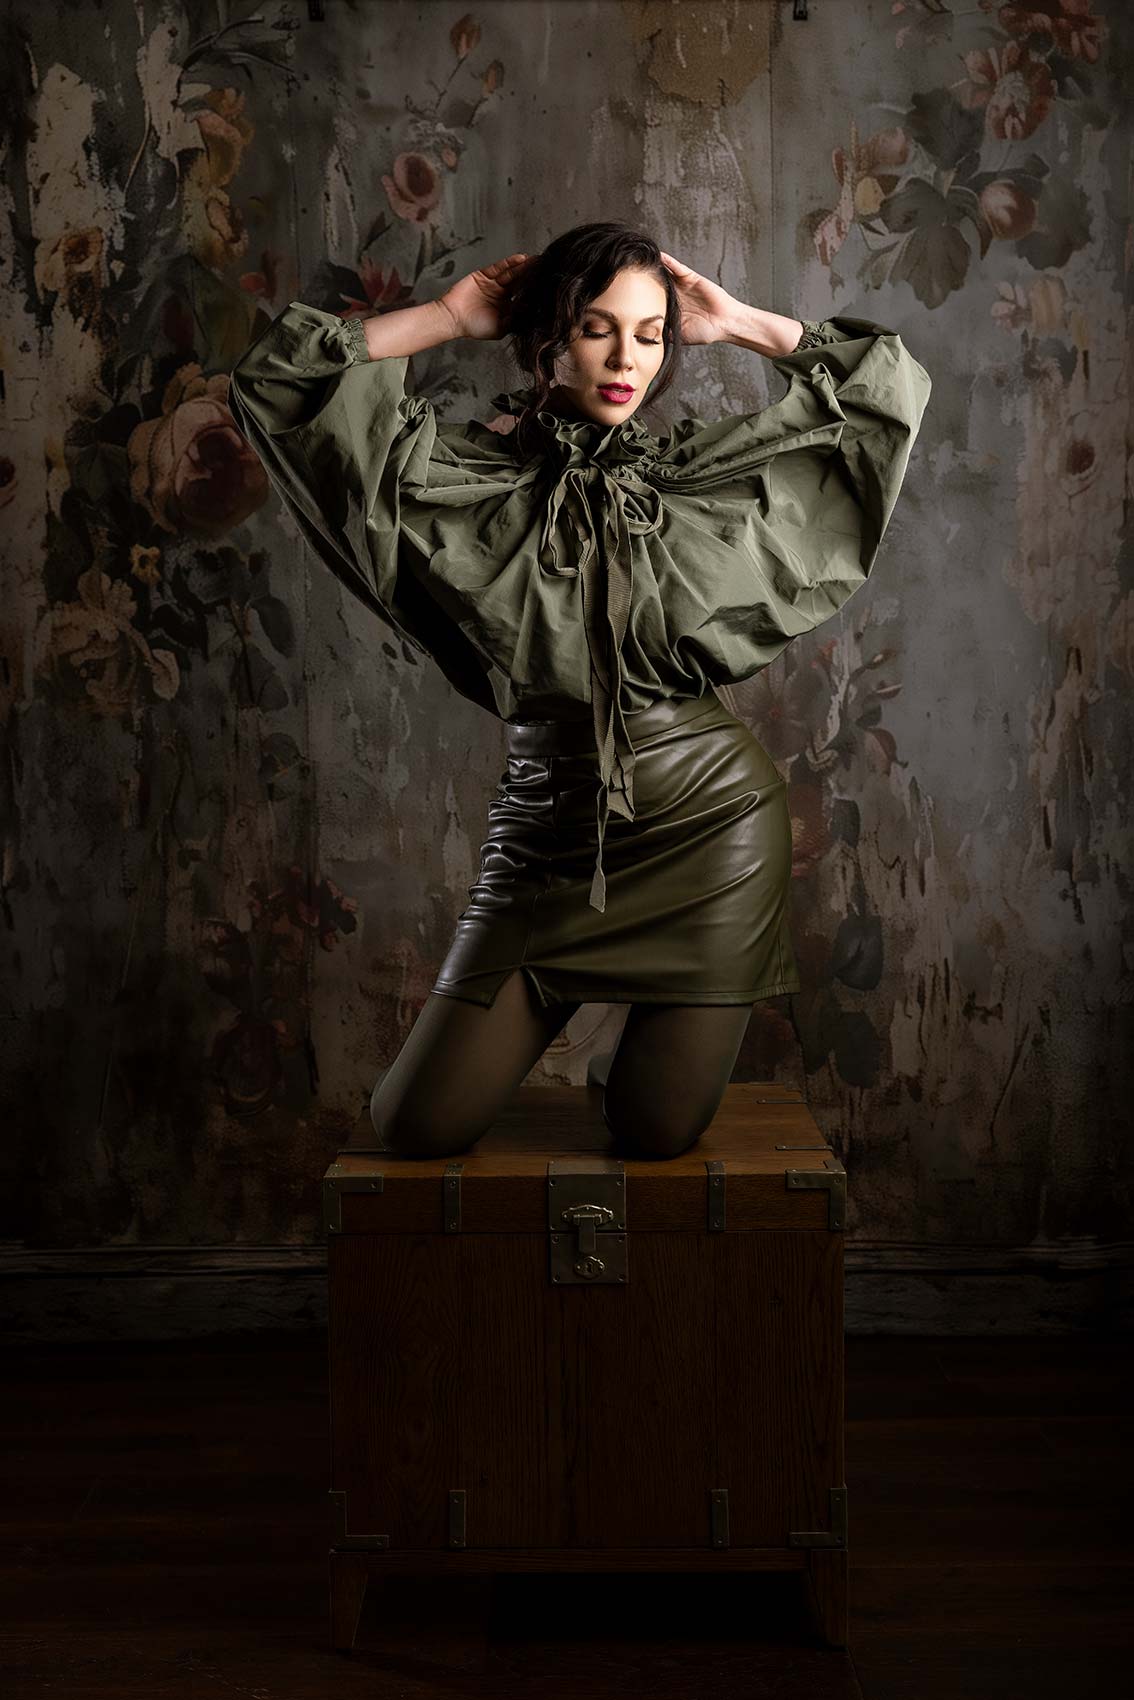
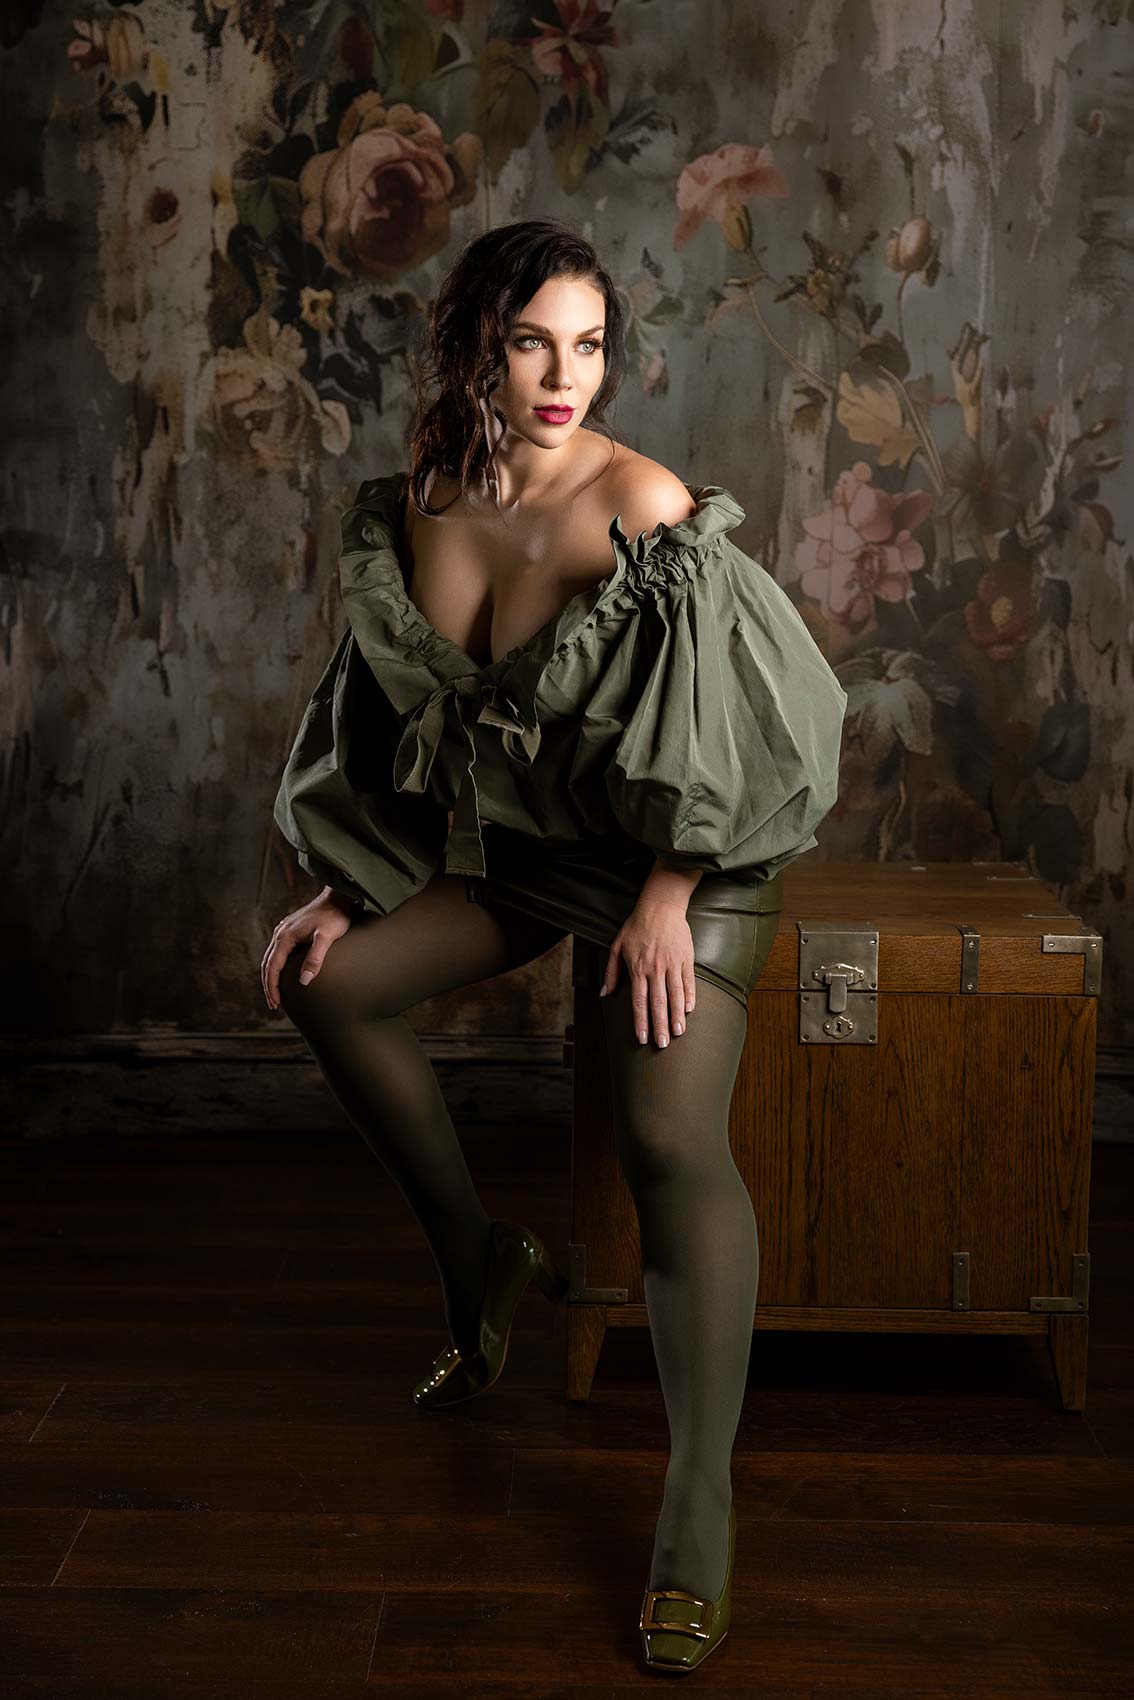
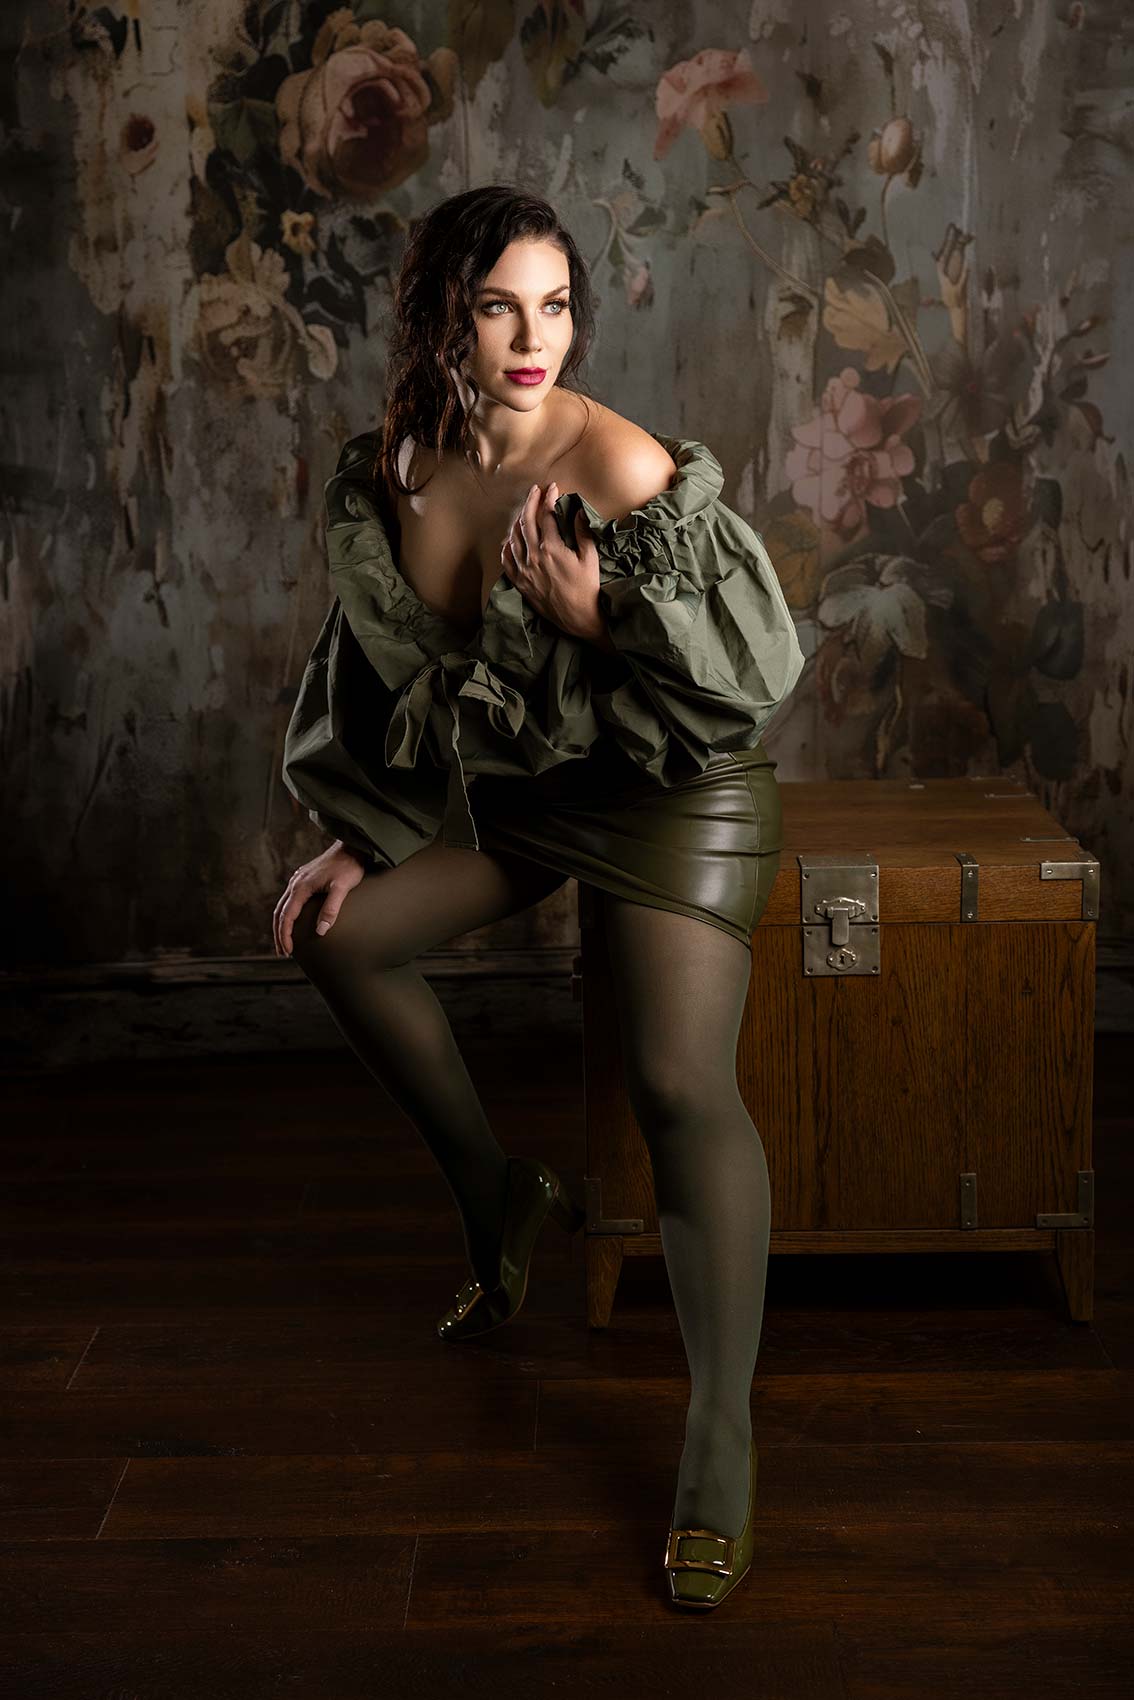
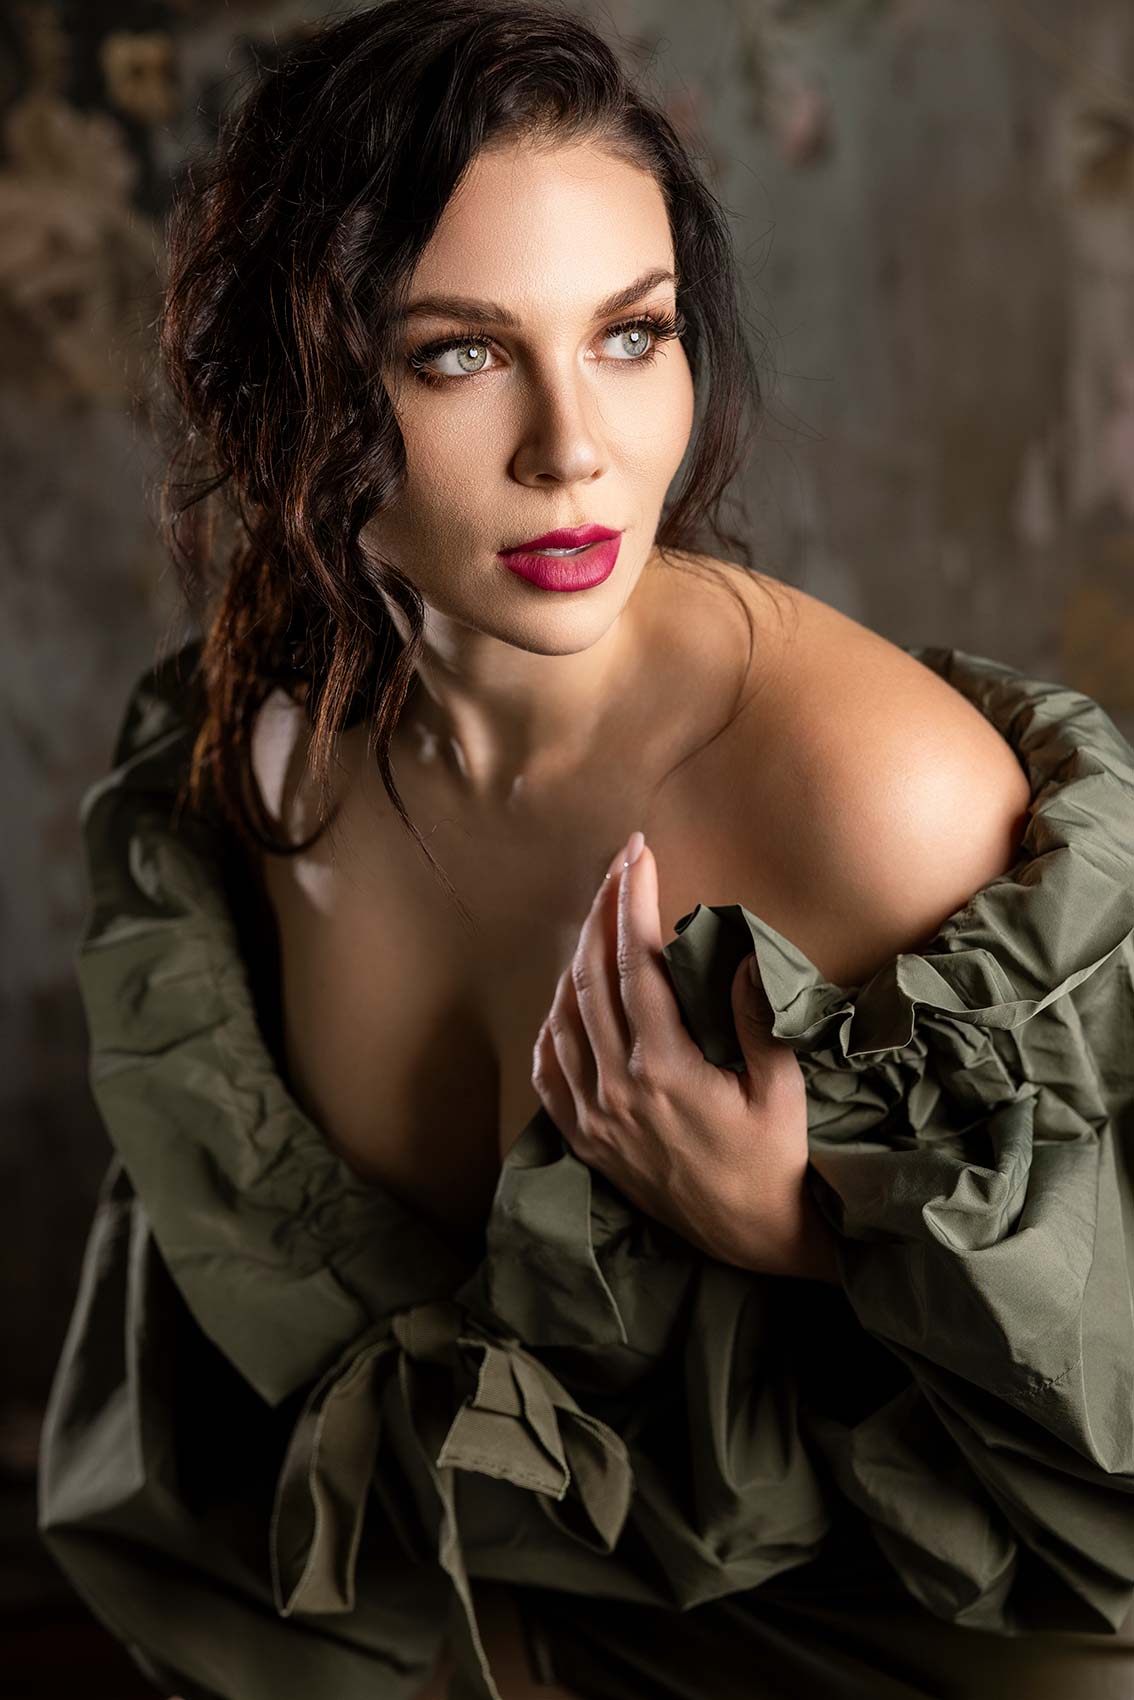
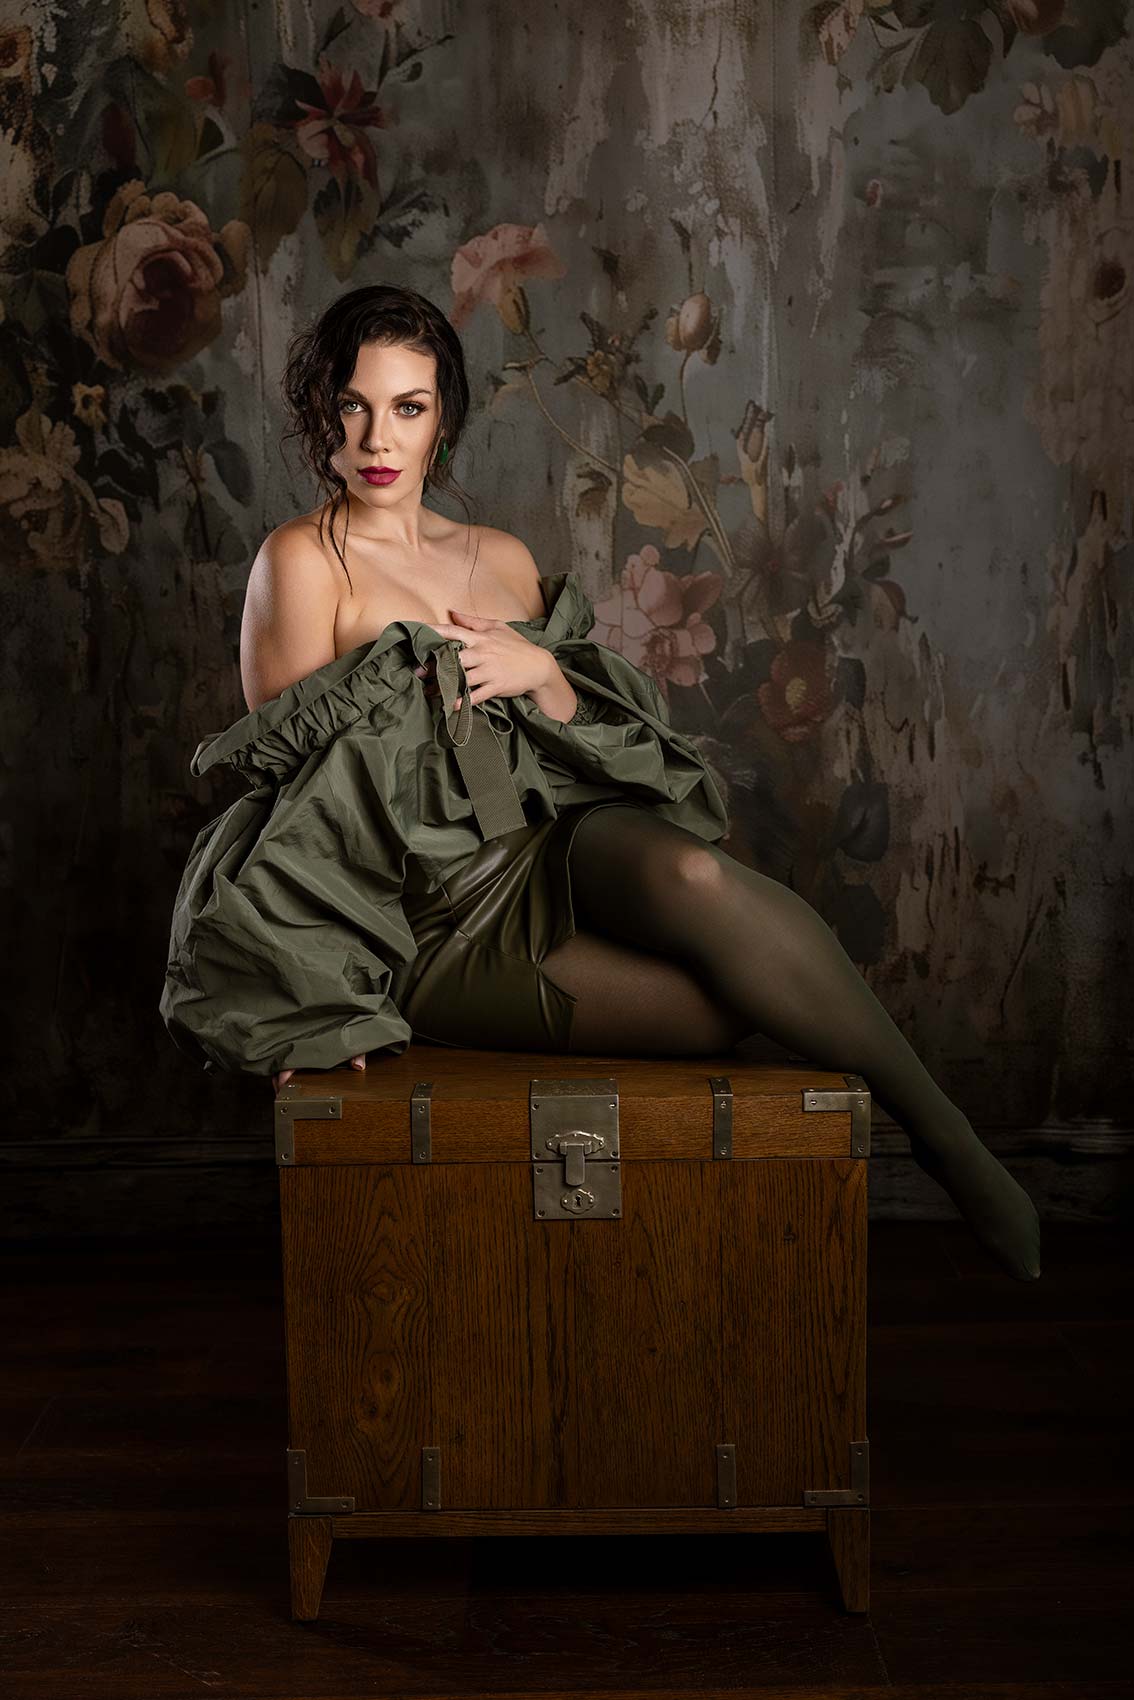
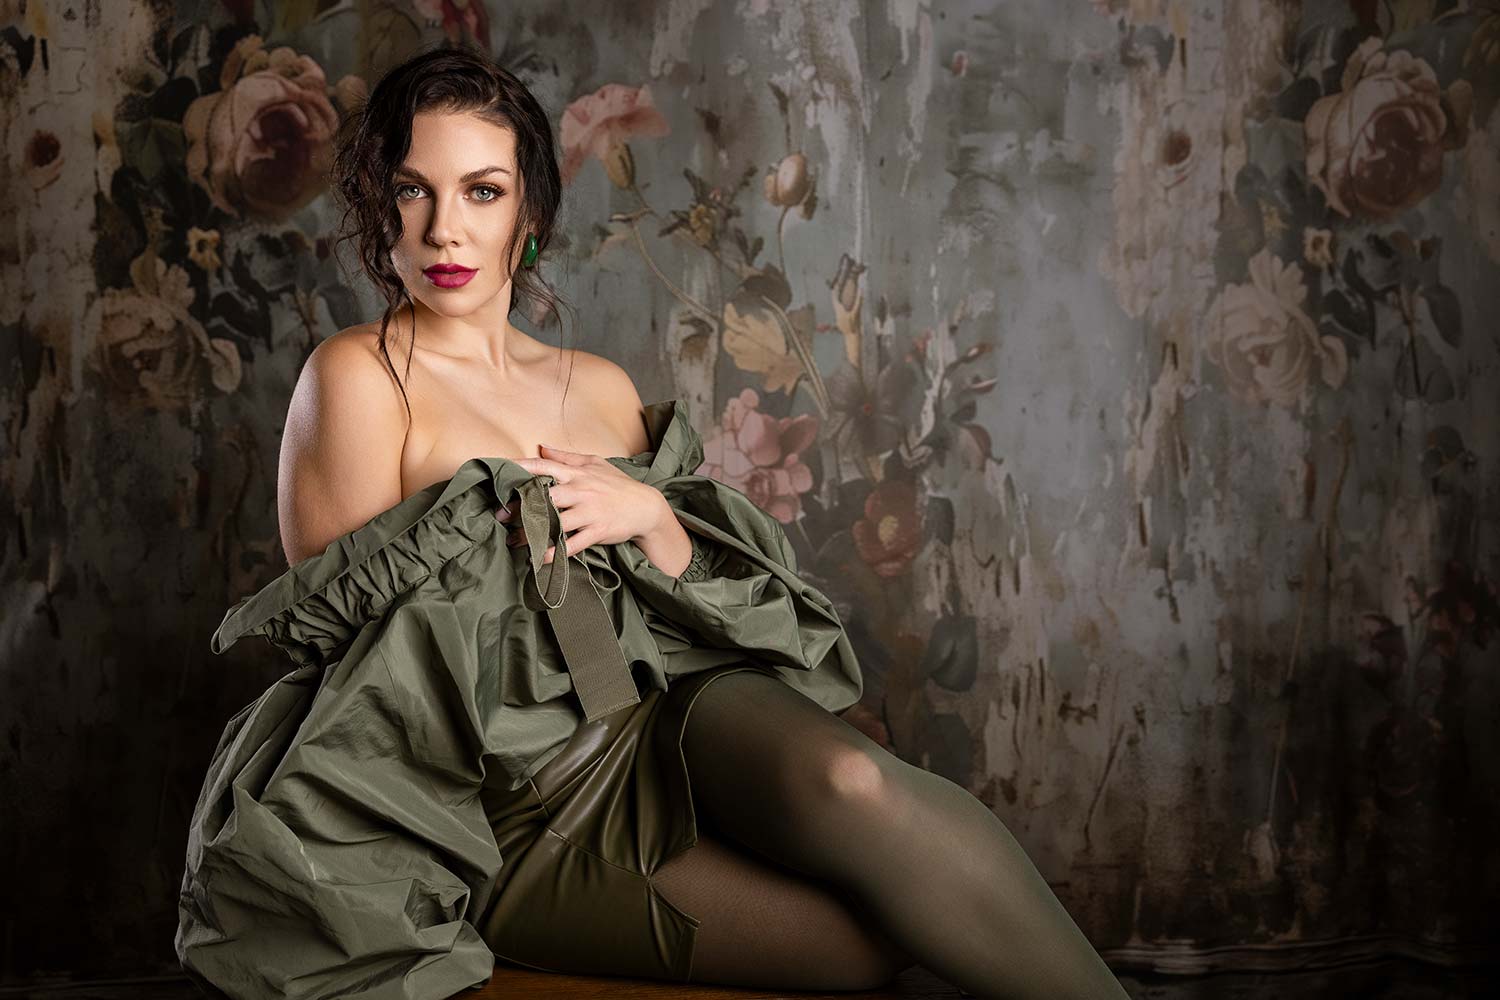
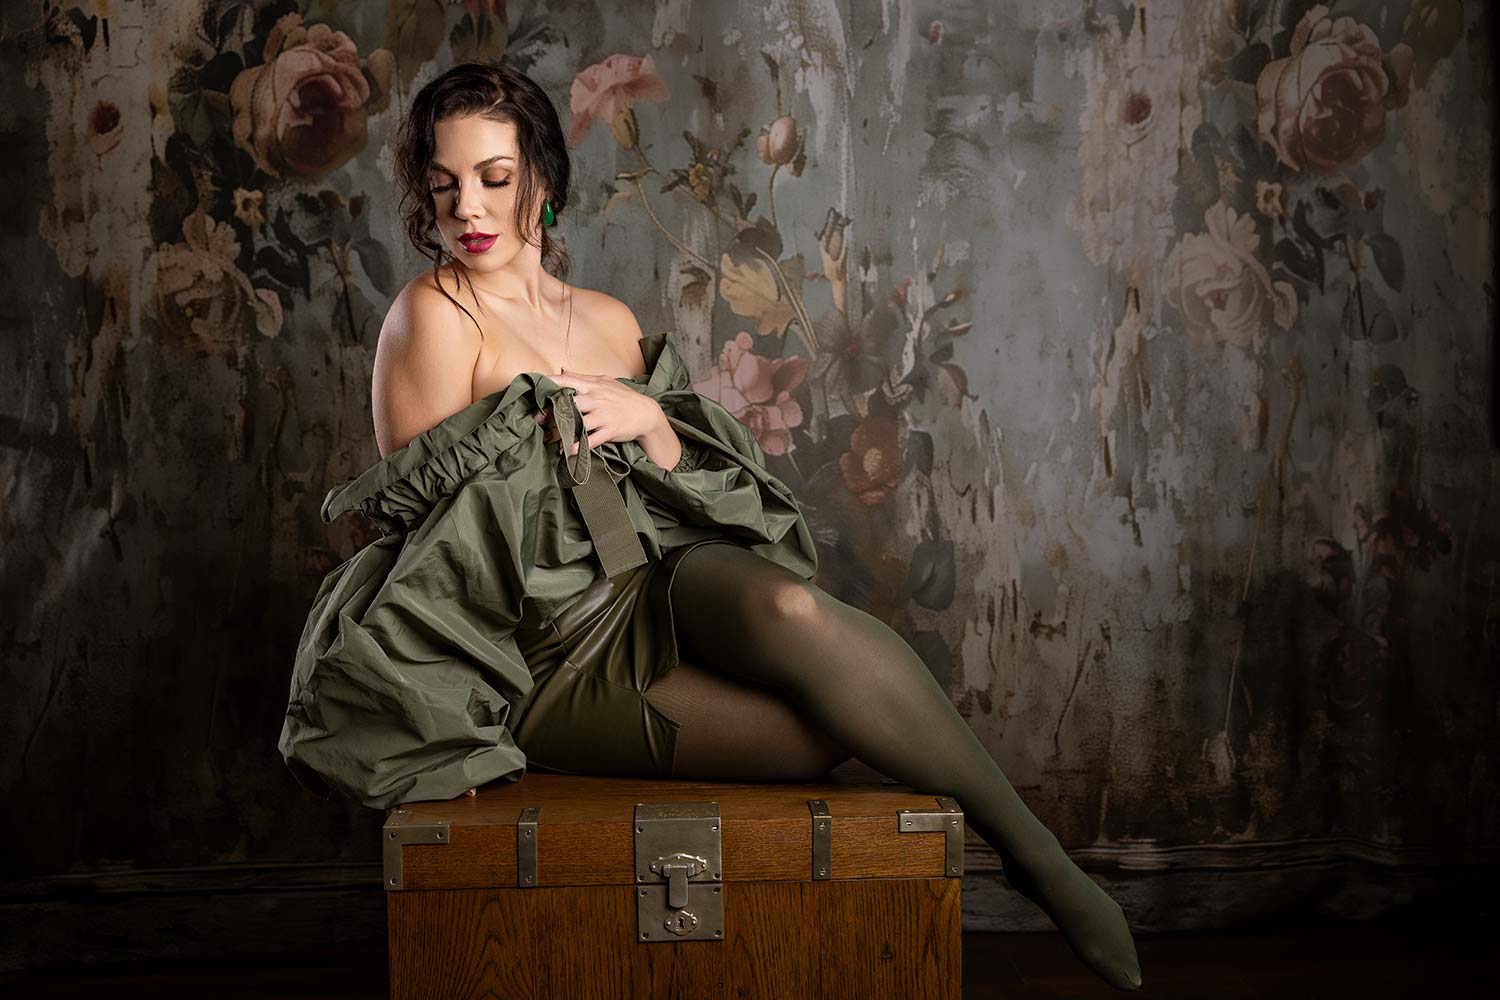
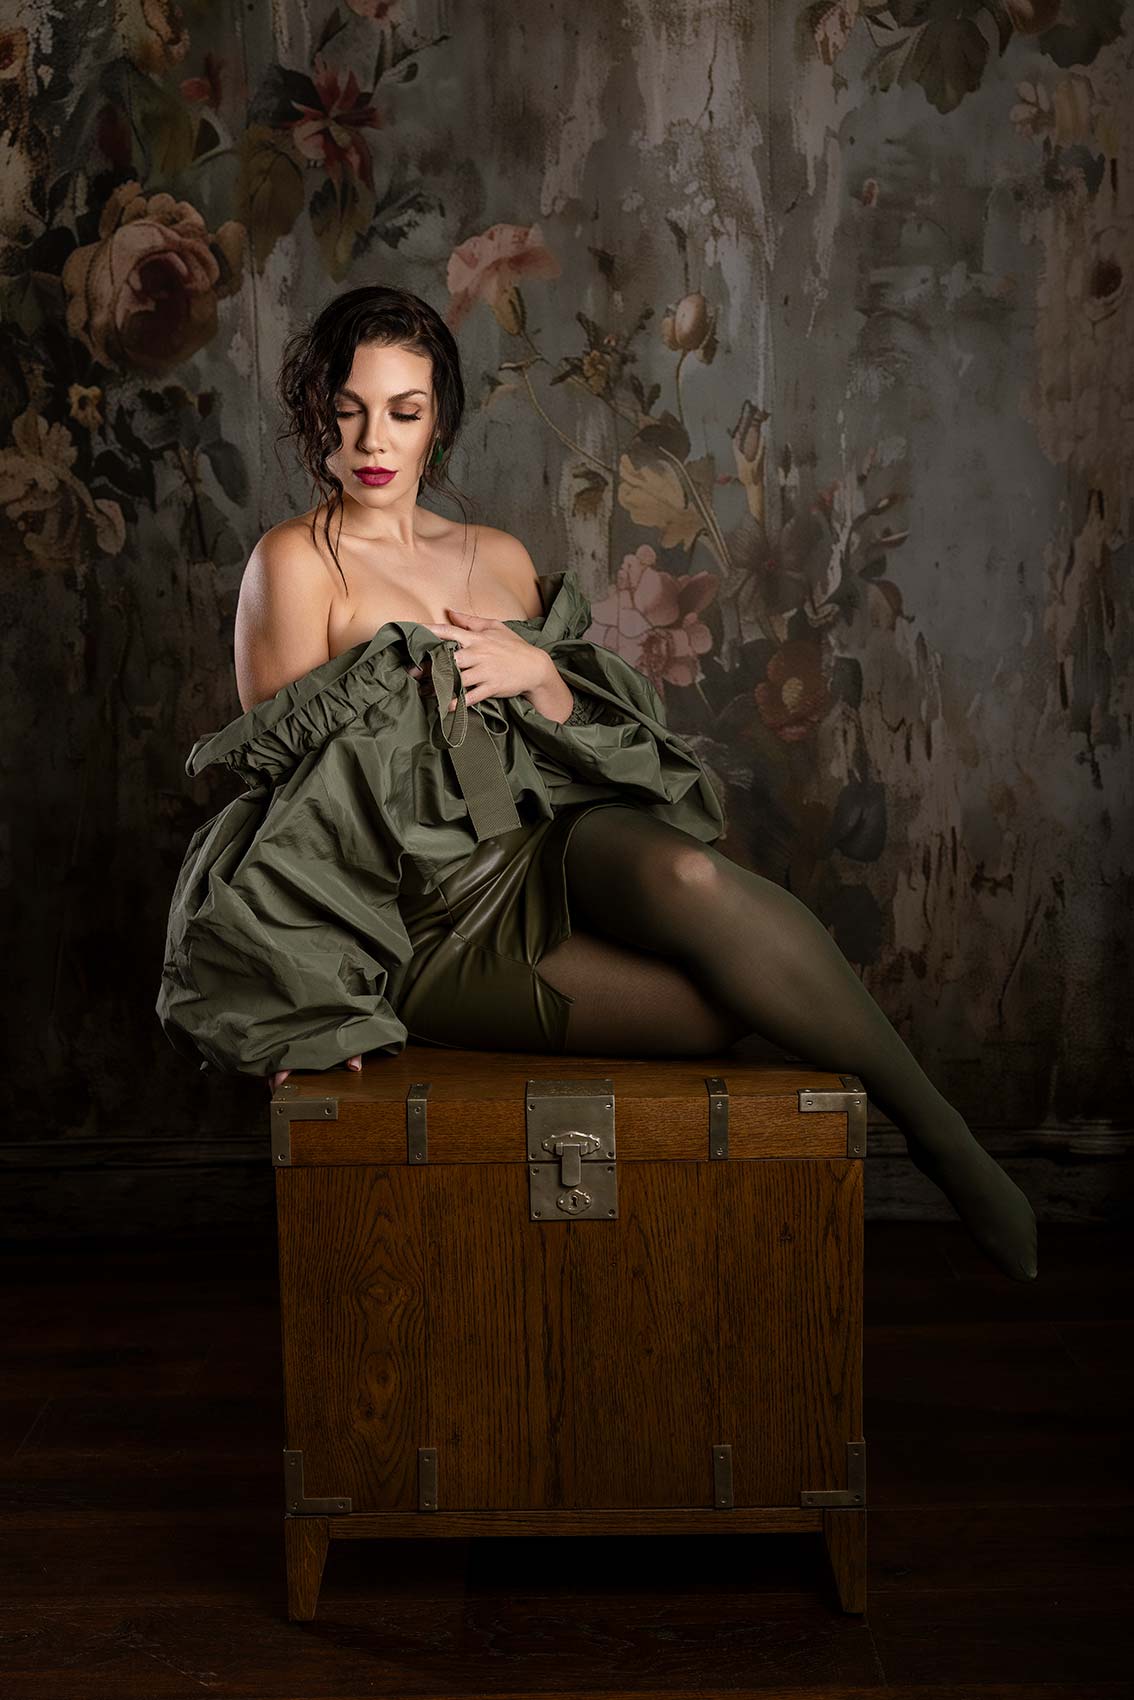
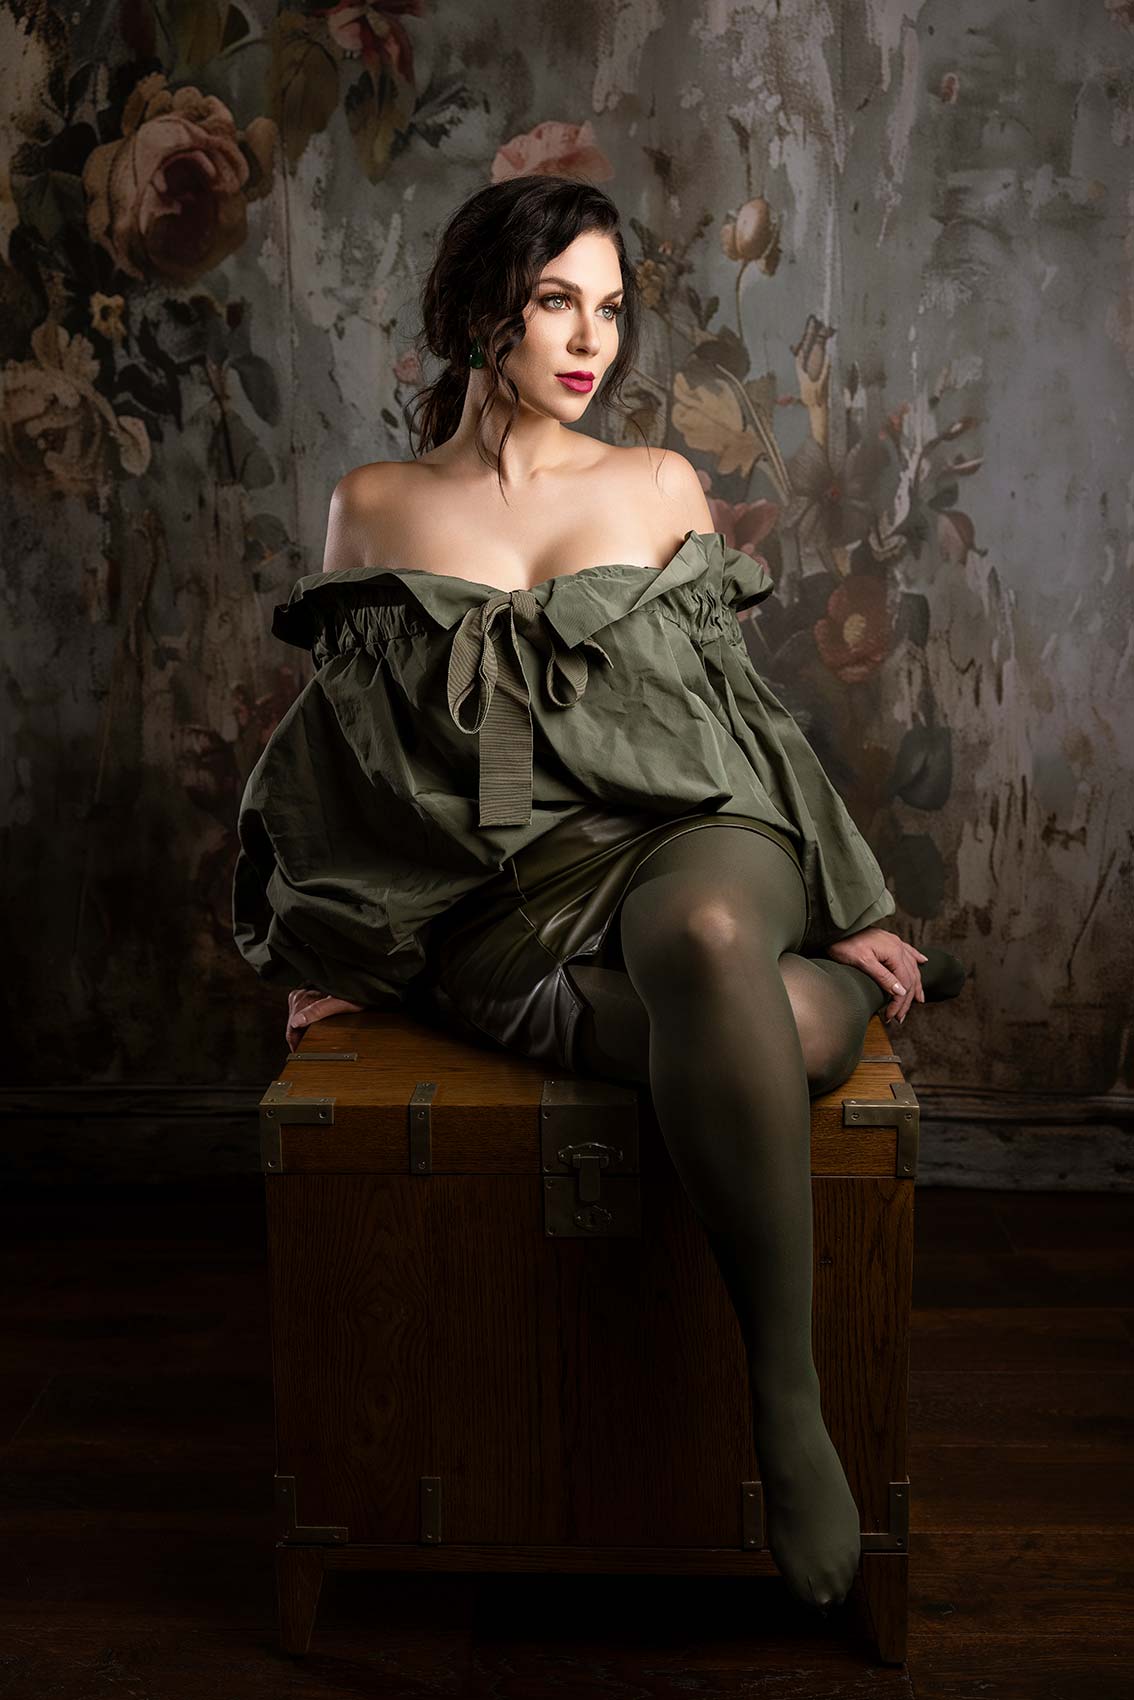
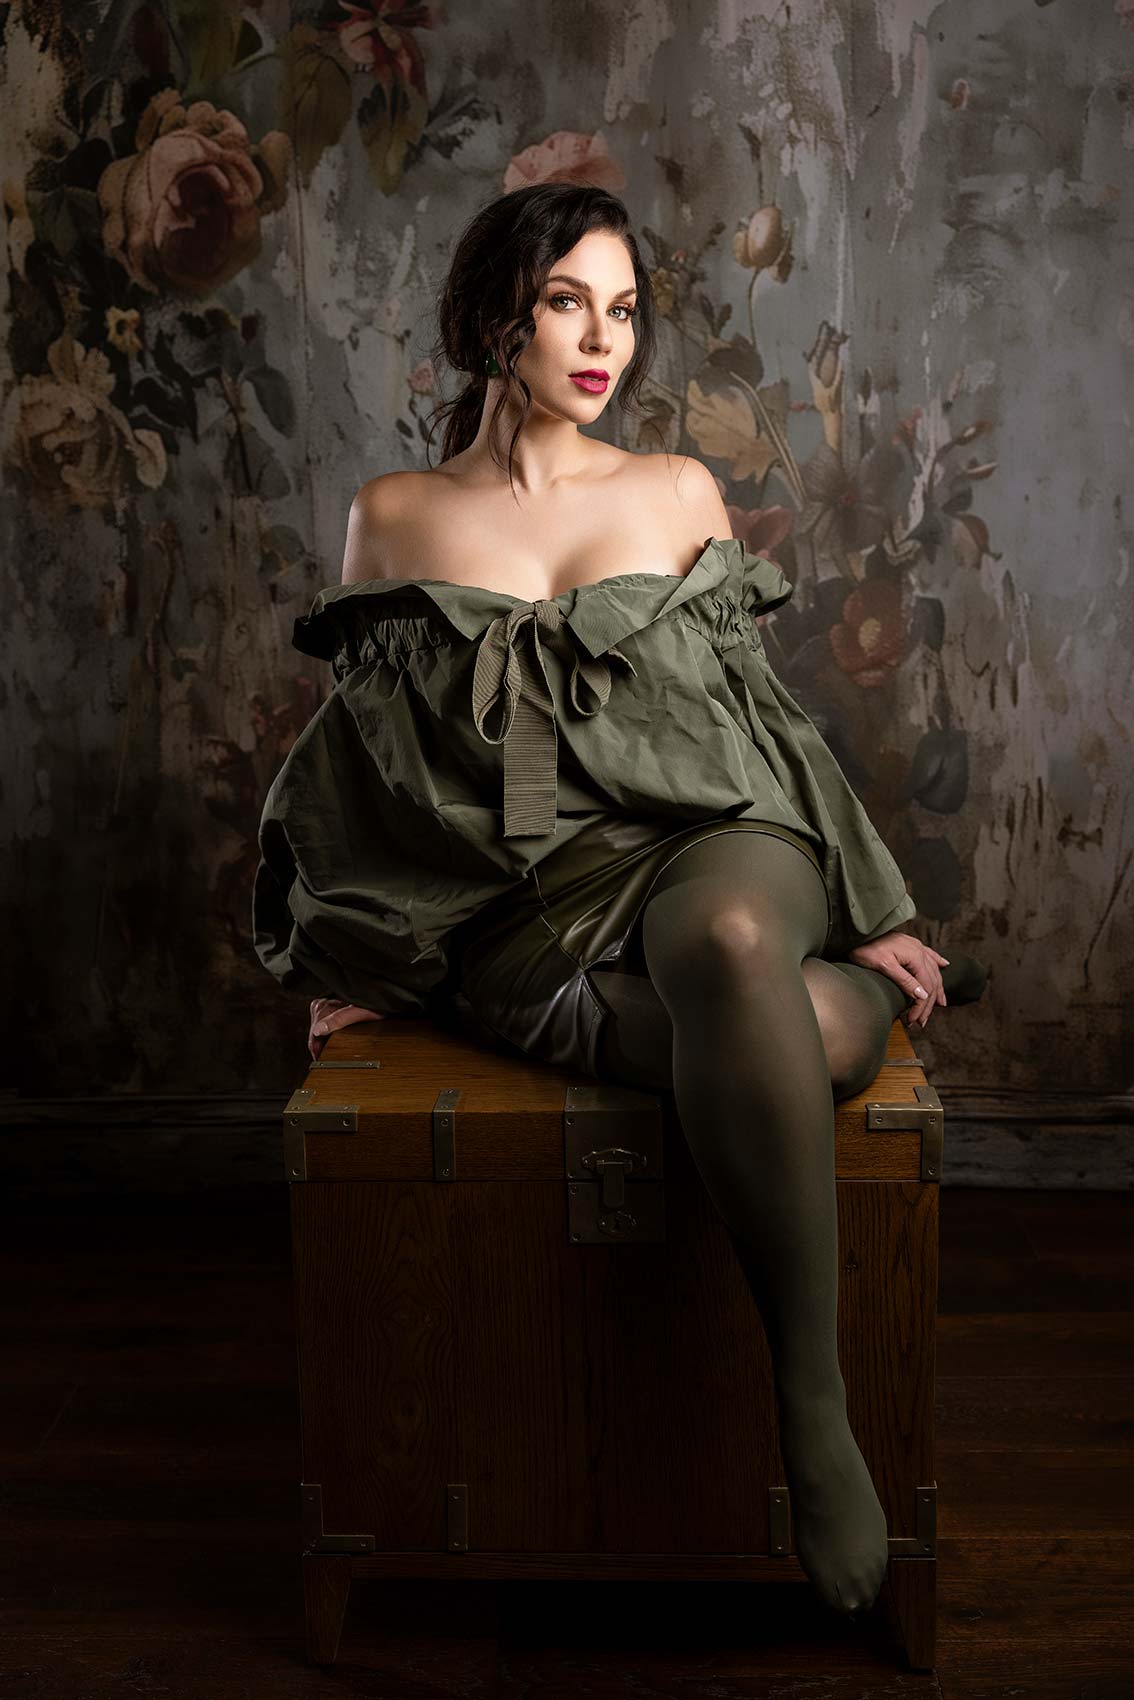
The Westcott FJ400 is a beast when it comes to creating in-studio portraits for your photography shoots. Soft light beauty portraits are no exception. I love working with the Westcott lighting system and their softboxes. In my opinion, they are some of the best on the market, and you can’t beat the price point. Ready for some soft light beauty portraits? Let’s get to it.
Equipment Used:
Camera: Canon EOS R5
Lens: Canon RF 28-70mm F2 L USM
Light: Wescott FJ400, Octabox, Westcott FJ80II, Sekonic L-478D-U
Team:
Photographer: Sal Cincotta
Model: Lauren Middleton
Hair & Makeup: Brandi Patton, ReFine Beauty
All right everybody, I’m Sal Cincotta. Today we are going to attack soft light beauty portraits and we’ve done that a lot on the channel because I absolutely love them. So before we get into gear, technology, or how-to, let’s talk about what typically makes for a soft light beauty portrait and why we even want to use it.
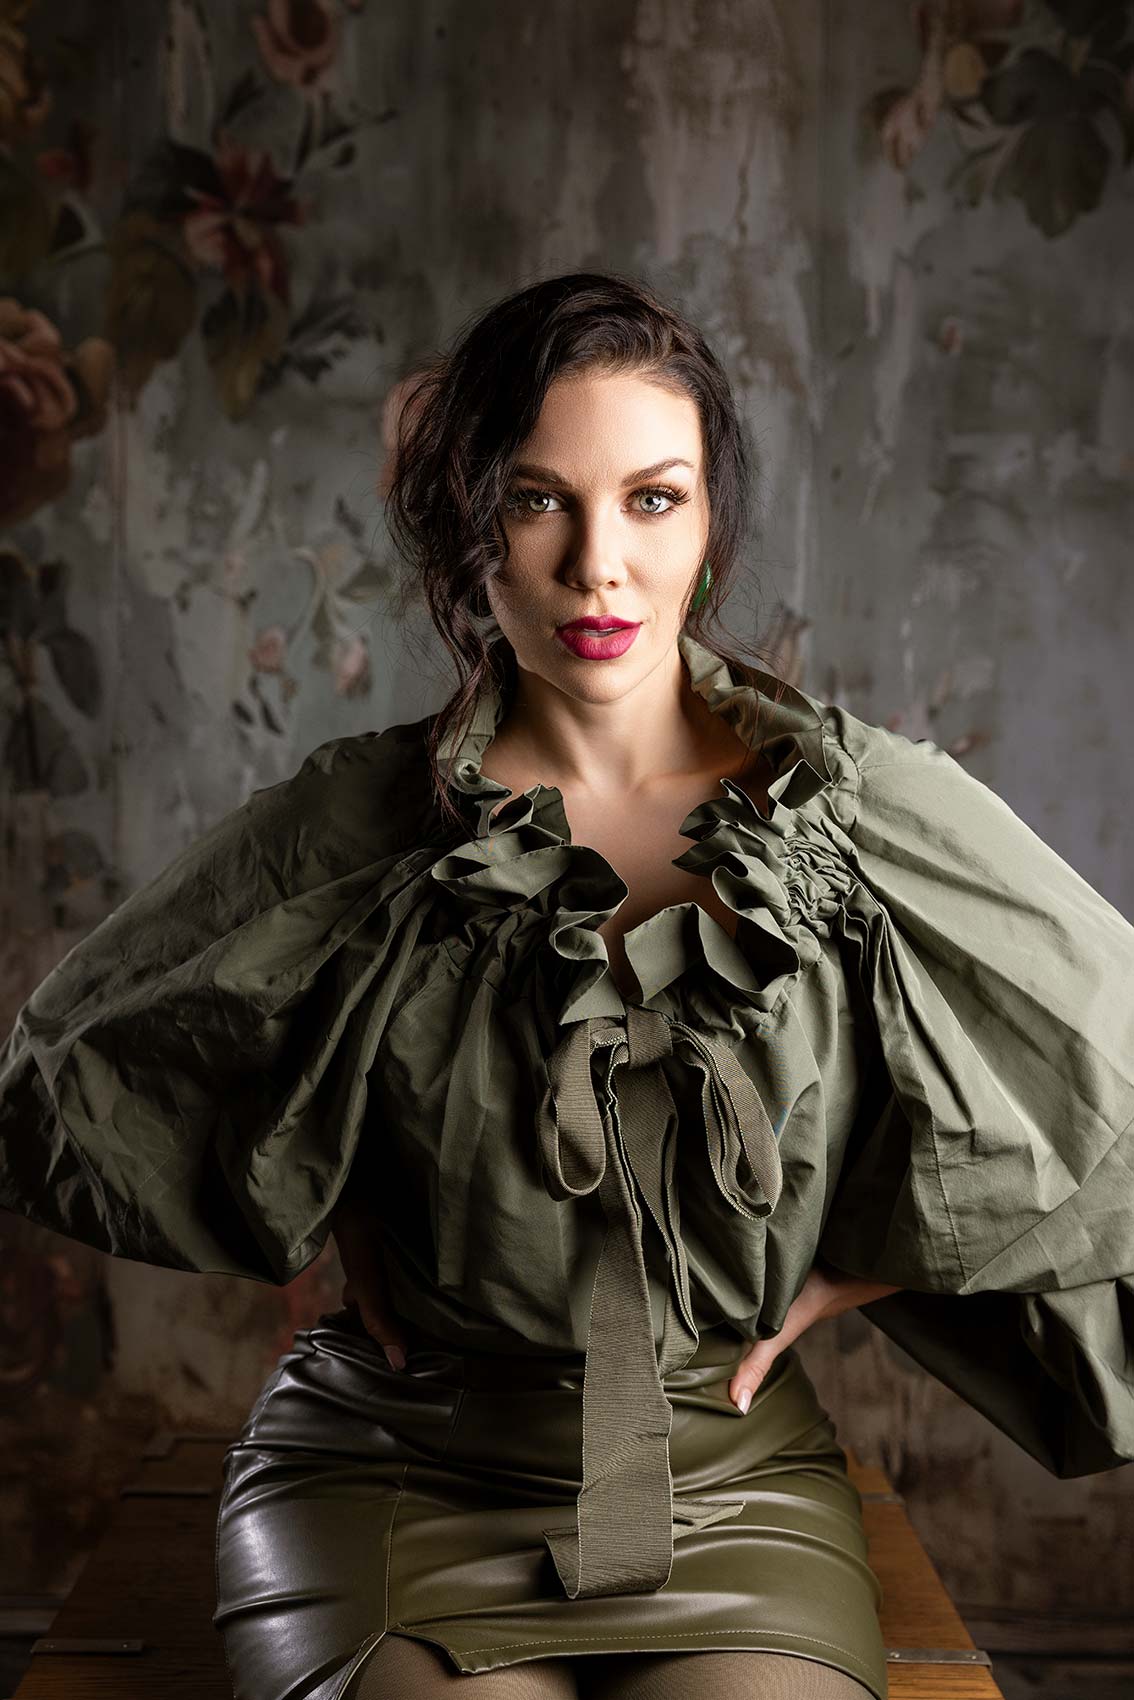
At the end of the day, the more contrasty the light, the more focus, the more specular it is, the more you are highlighting imperfections in the skin. That’s not going to be good for almost anybody on this planet because we all have imperfections. So think about it, if you were shooting a mountain range with the sun setting at an angle, you’re going to see all these shadows. That’s what’s happening on people’s faces, highlighting their pores and showing those imperfections. So how do we alter that? Well, that’s beauty lighting.
Lighting Setup
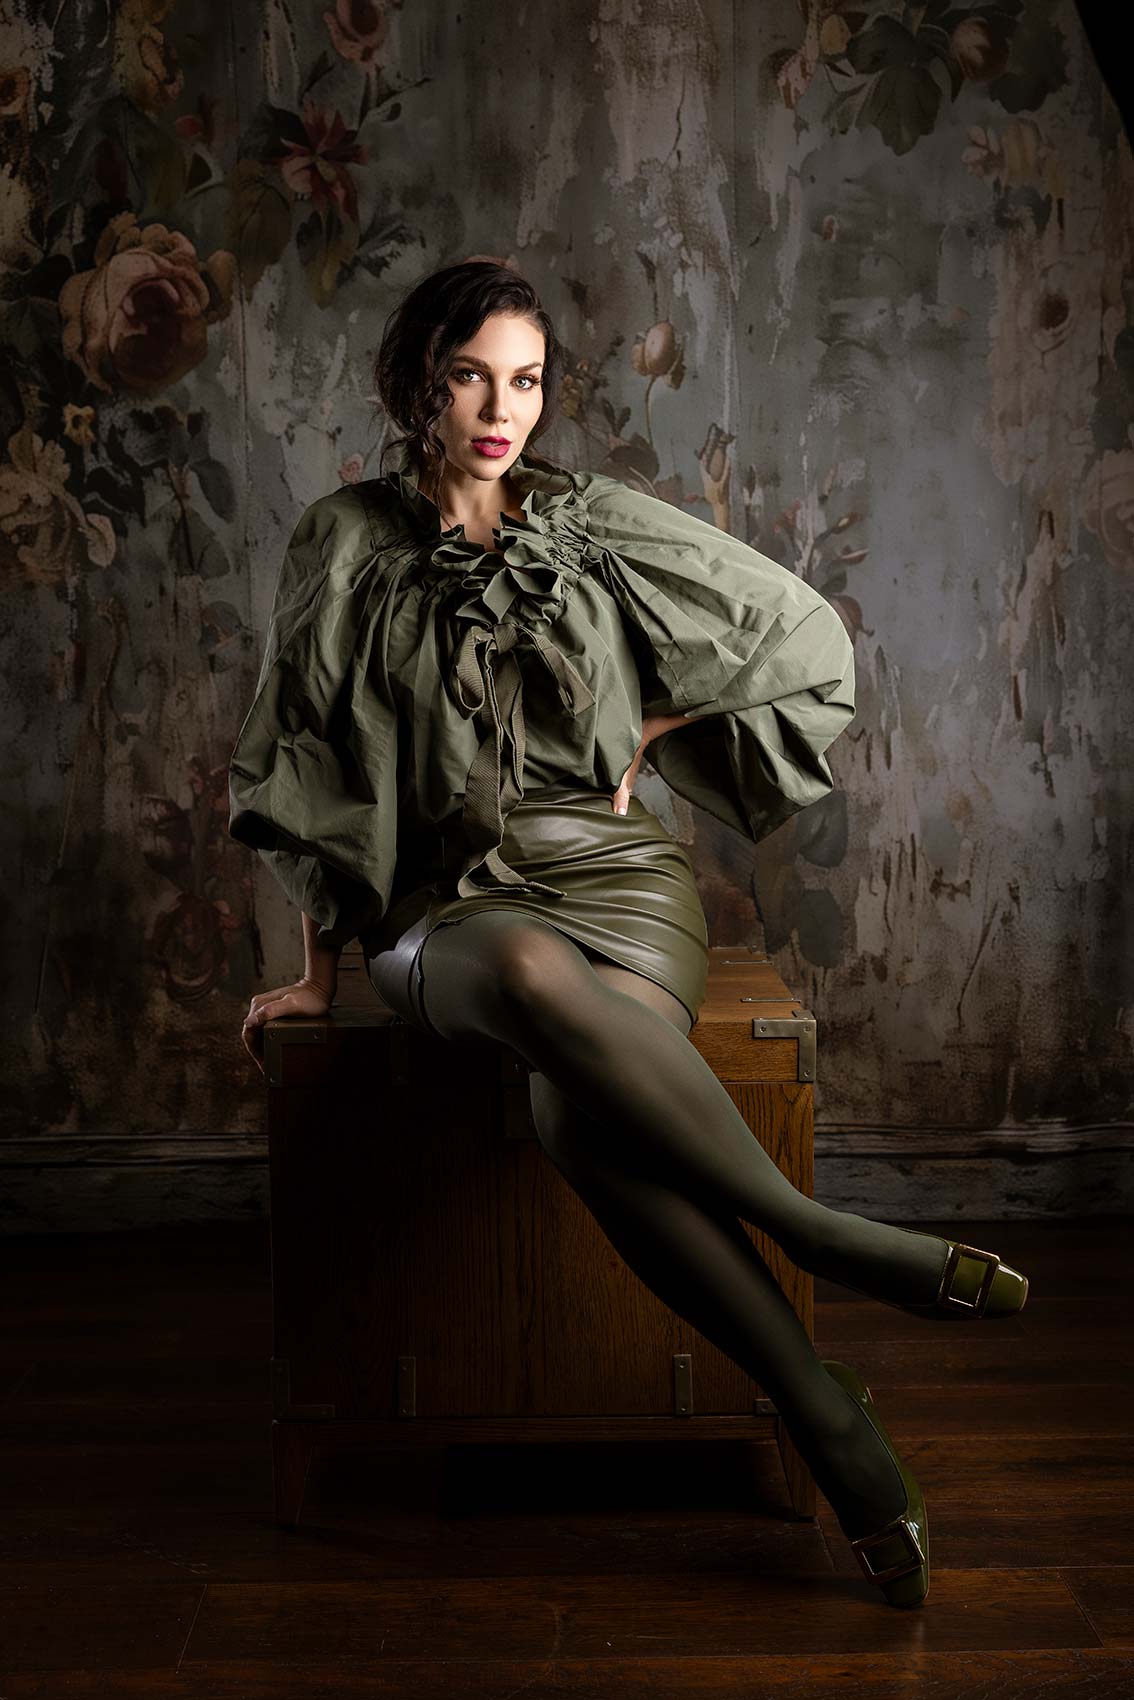
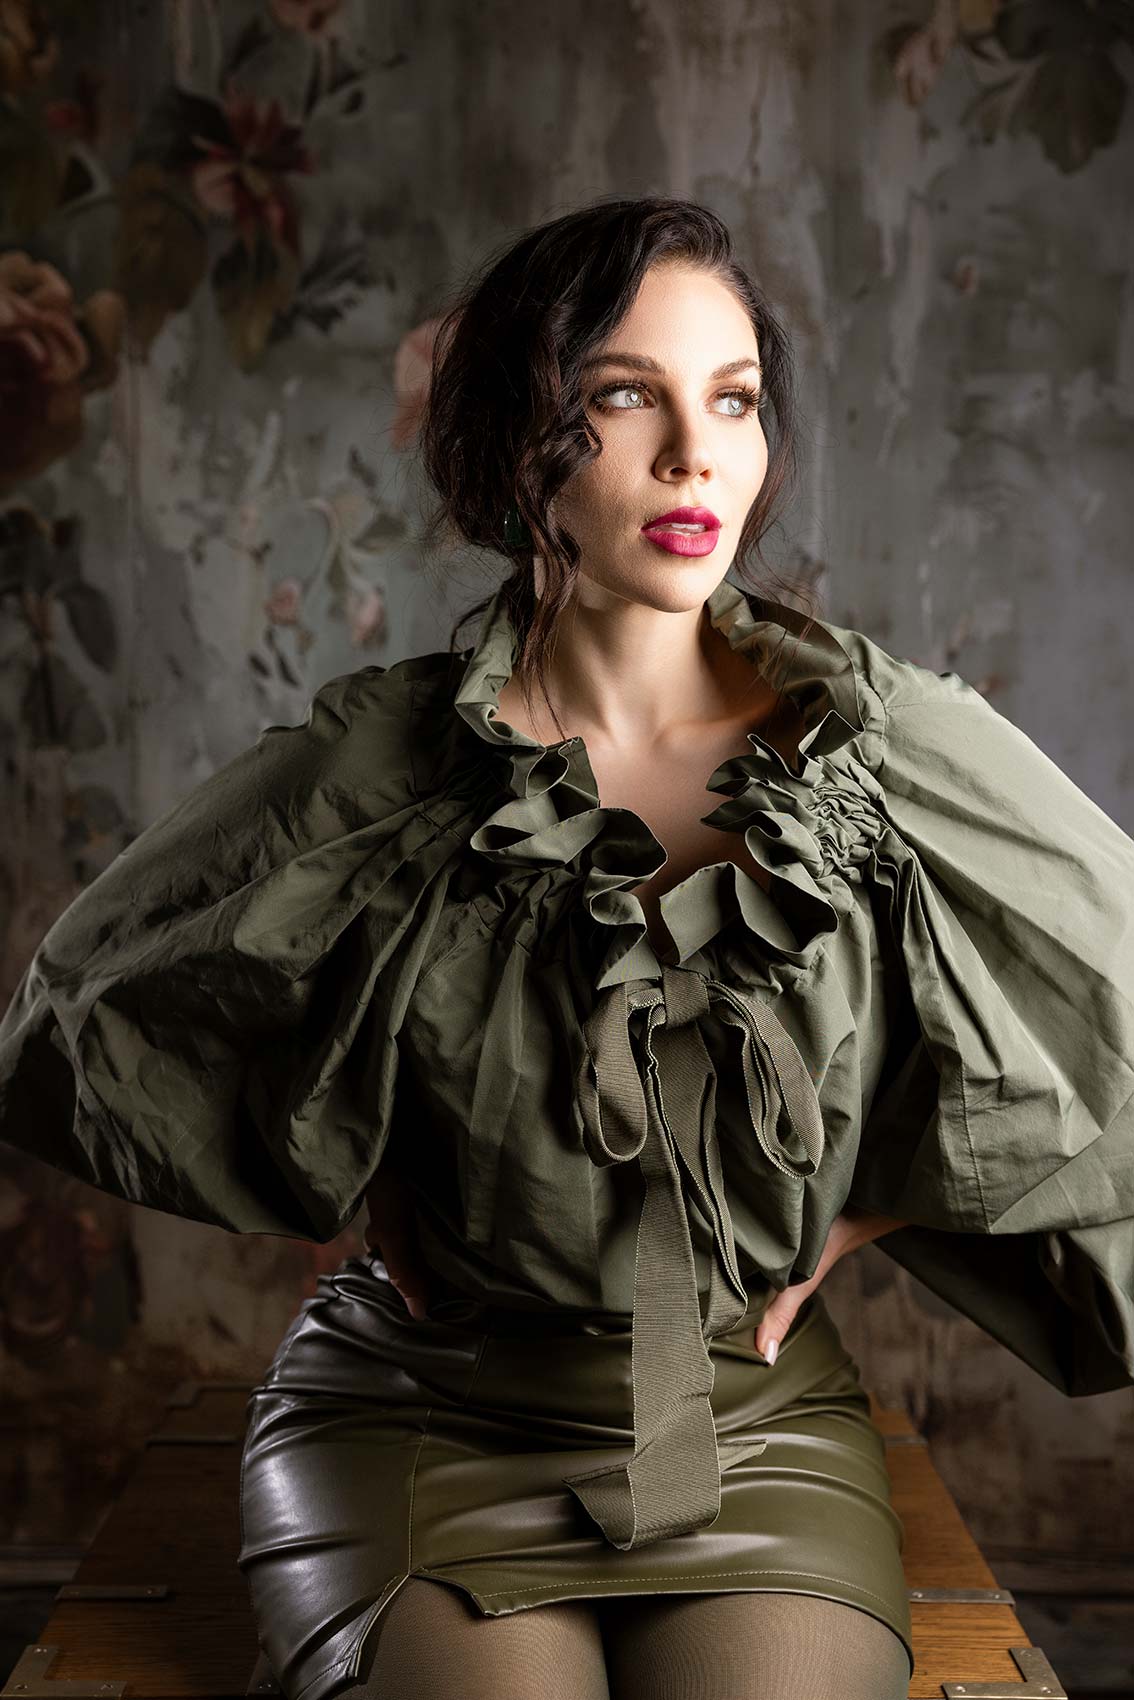
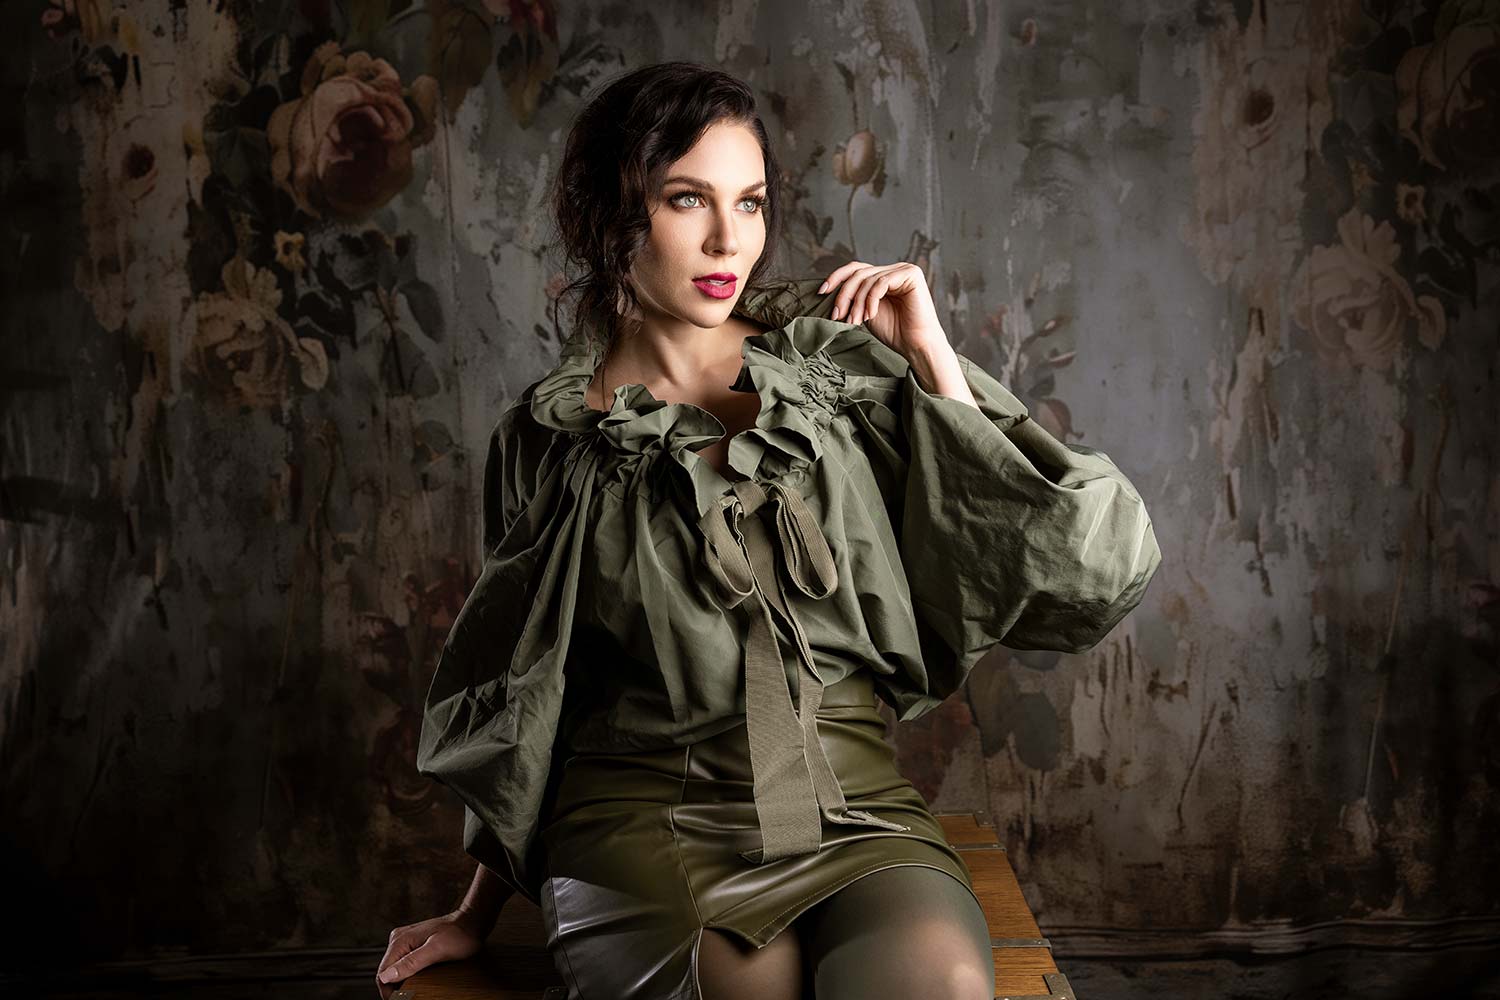
What we want is a large, soft light source. We’re using the Westcott FJ400 and their medium Octabox. I love their medium Octa, and I love their large Octa too. The key is, it’s all relative to your subject. So if you peek around here, the closer we move this to her, the softer and softer it will become, and the less contrasty and less specular it will be. That’s going to wrap around her face, creating softer shadows, which will help with pore detail and create what we’ll call beauty lighting—that’s the ultimate goal. You don’t have to use only an Octabox. There are beauty dishes you can use, but it’s really about making sure we’ve got some even, sometimes even flat, lighting to produce this.
So we’re doing two things—we’ve got two lights set up here, and we’re going to get dialed in. Of course, we’re using a light meter. I use the Sekonic Lite Master Pro L-478D-U. The name is complicated—I’d rather just call it “light meter, version two.” But no, we’ve got the Lite Master Pro L-478D-U. So, we’ll use that today and get dialed in.
I’m at ISO 200, shutter speed 200, and manual mode. When I’m in the studio using strobes, I’m always in manual mode—it just makes life easier. So, what we’re going to do is get a light meter reading here, and we’re at F4.5. But I also have a kicker light on the background. On the background, I just want a little bit of edge light to create separation, and we’re using the FJ80 II. Let’s see what we’re getting on that kicker light.
So on that, I’m getting F2—just over a stop less, maybe a stop and a half, closer to two stops less. 2.02. I’ll kick it up a little, kick it up a notch. From the trigger, I’m just going to add one more stop of light. This will probably push it to just over 2.8. Do it one more time and it’s 2.81. We’ve got 4.5, I believe it was. 2.8—so just over a one-stop difference. That’s going to be enough to give us the look we want.
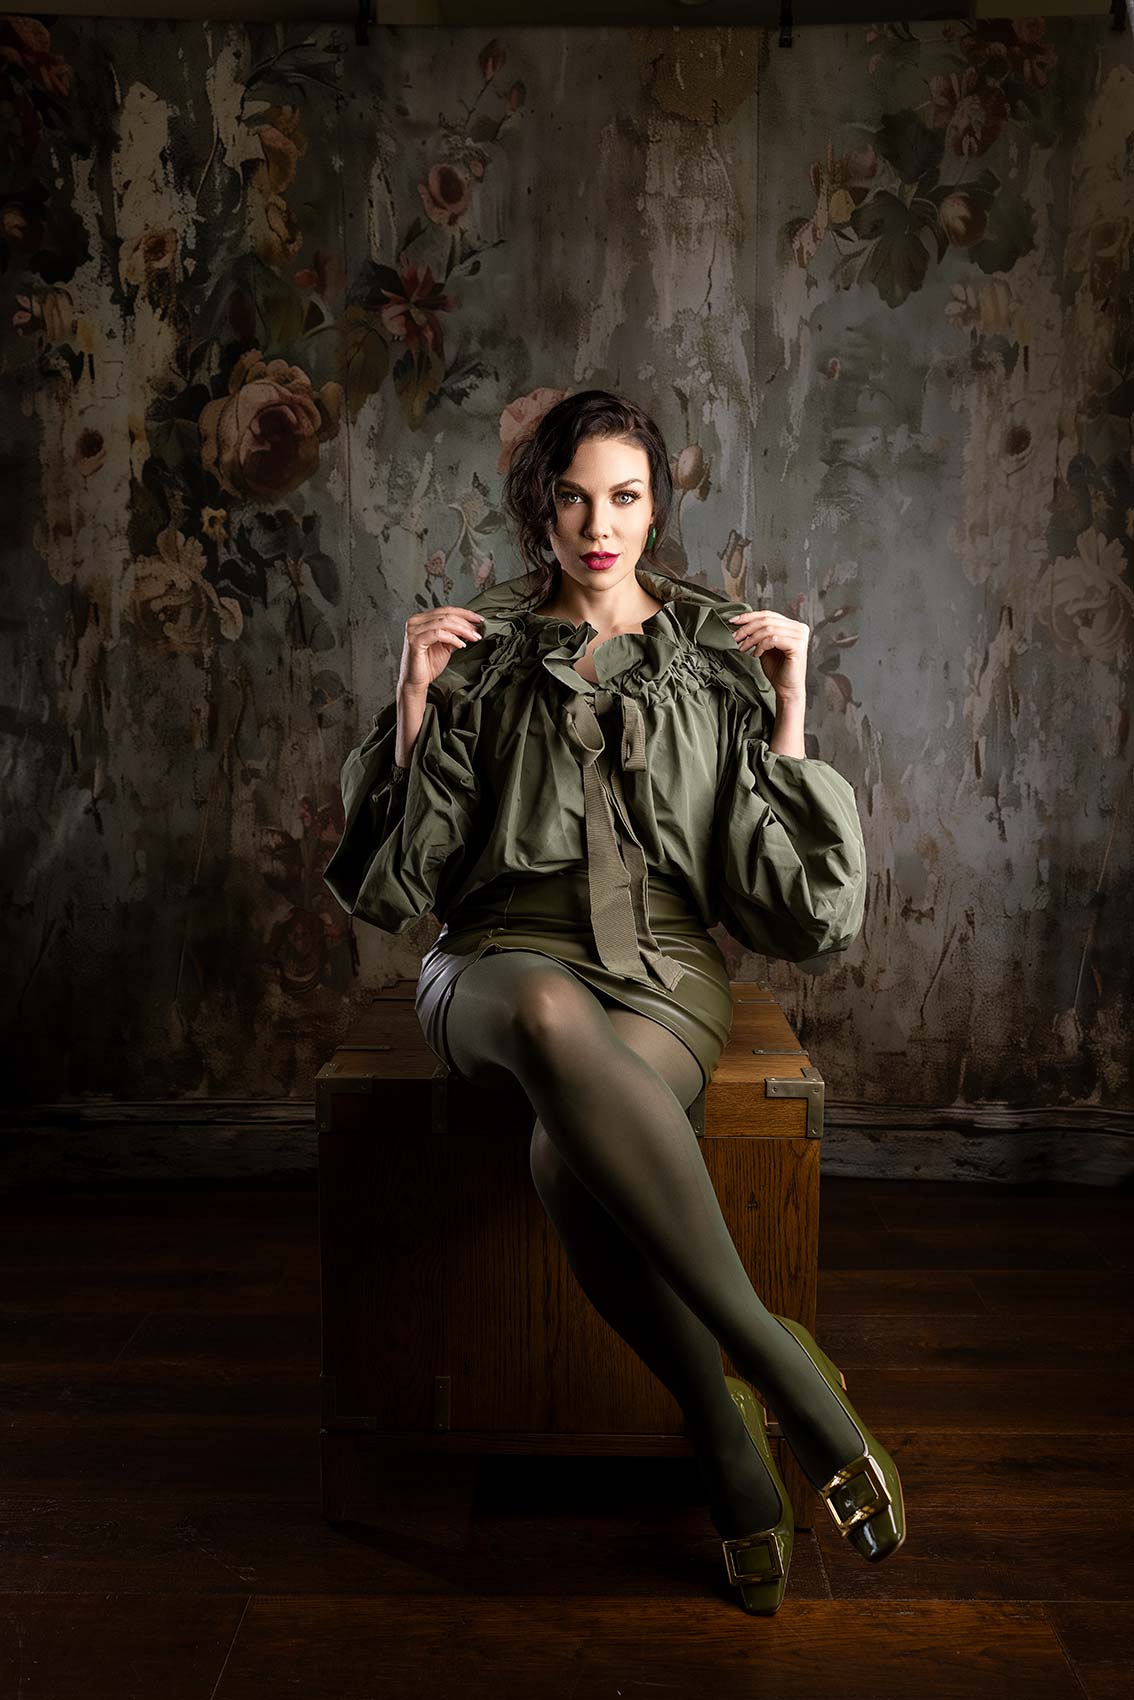
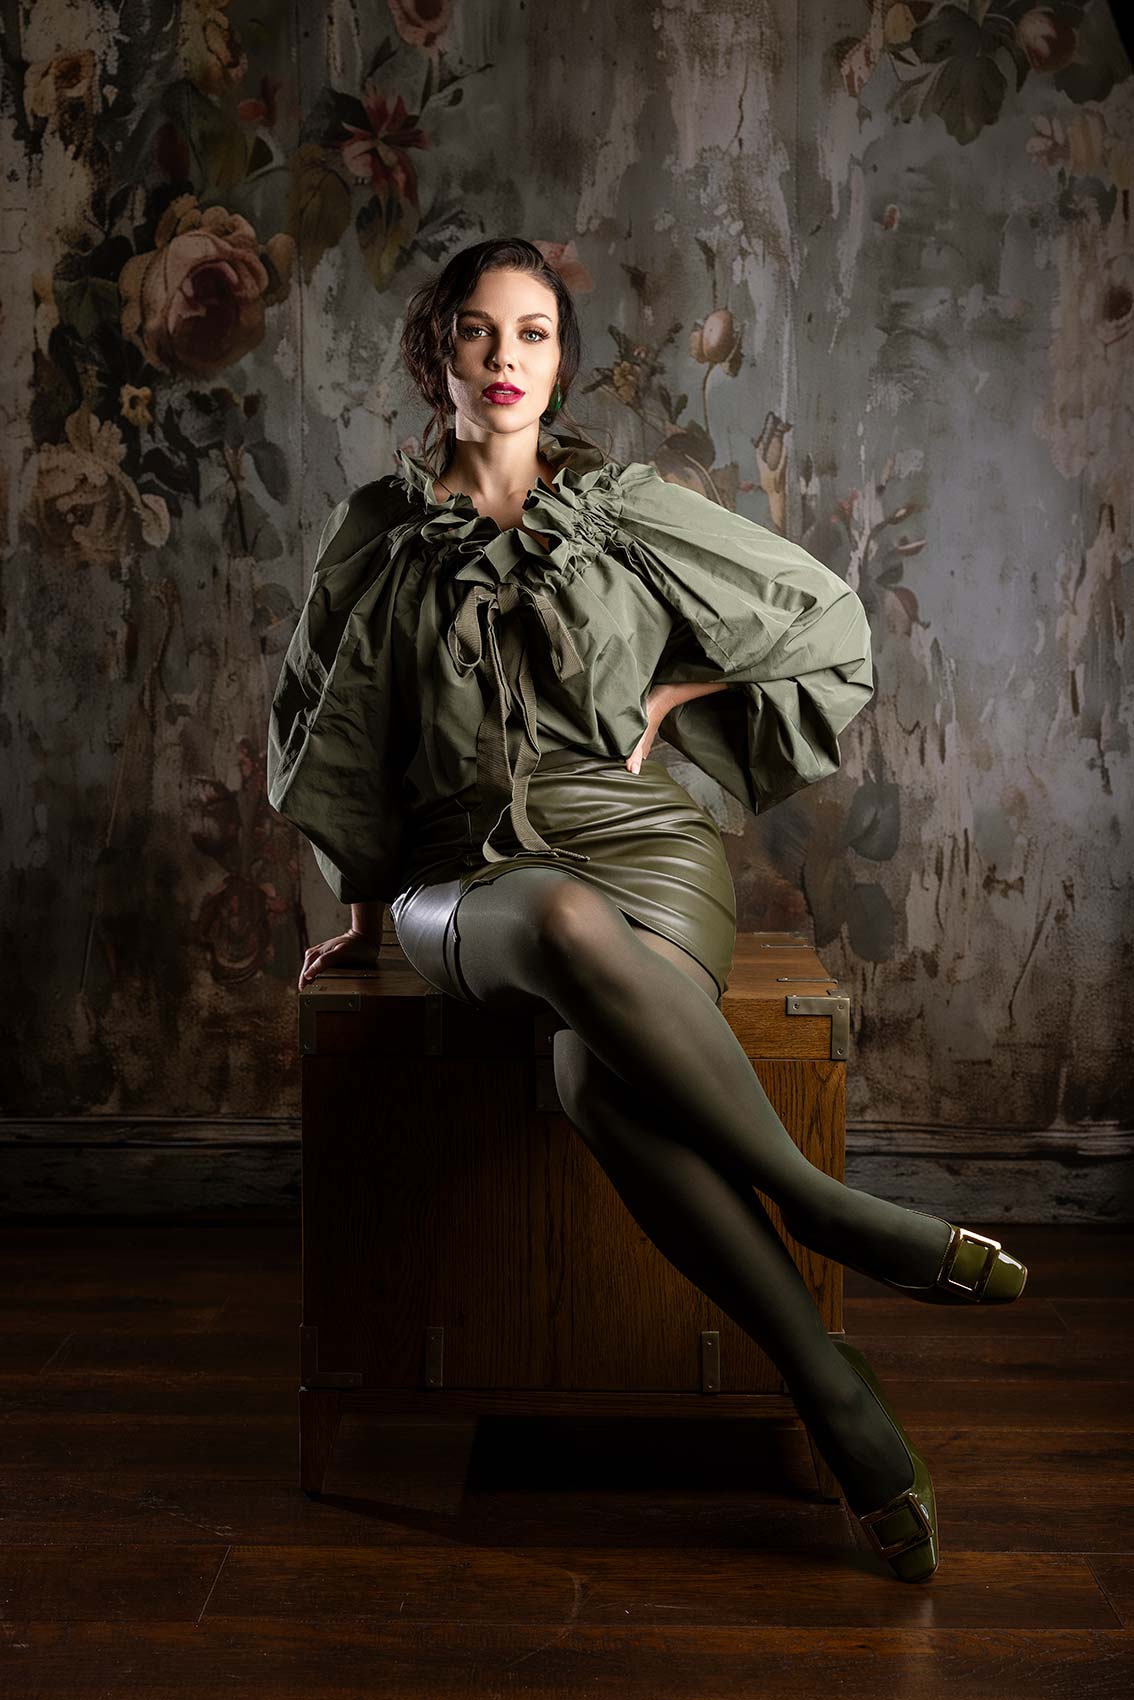
So this is so important with a light meter—I can’t stress it enough. It just makes life simple. I know a lot of you want to run and gun it, and I’d be lying if I said I don’t do that sometimes too. But what I really want is to be able to get dialed in. And look, we’re not in a studio space; we’re in a living room with a backdrop up. The background is from Intuition—it’s the Tapestry, part of their new wall collection, and it is absolutely beautiful. Love what Lauren’s wearing—the tone on tone. Let’s get some killer portraits.
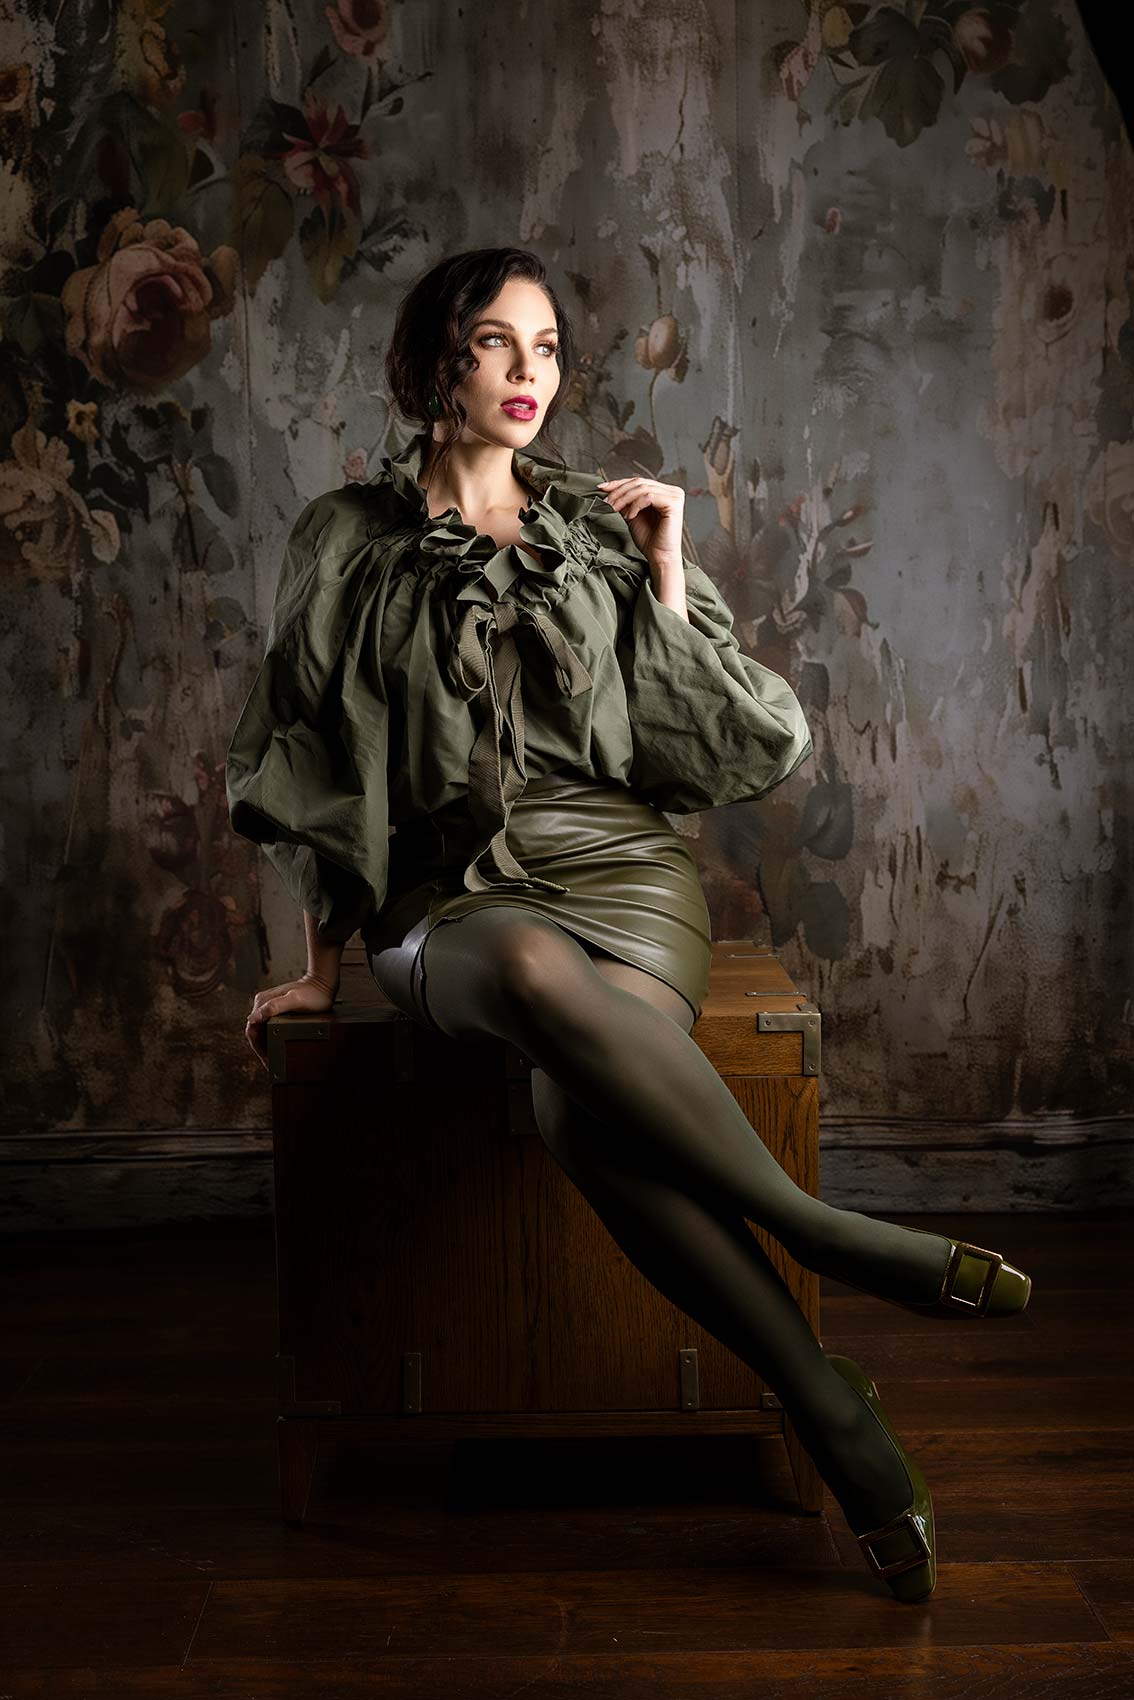
So it’s worth stopping here for a second, guys. Something that drives me nuts is when we’ve got legs, chest, and face all facing the same direction. I really like angles and S-curves, if we can get that. So just from your perspective, if you’re watching, notice what happens when her legs are going one way and then she brings her chest and face the other way. Much stronger portrait, in my opinion. All these tones look phenomenal. The edge light is a little too hot, so I’m going to come down. I’ll come down by a stop and a half.
It is worth noting, right? We’re talking about beauty lighting, not necessarily beauty portraits. So I think a lot of people get worked up when I make a video and I’m like “beauty portraits”—that’s not a beauty portrait. Okay, calm down, Carl. There is a difference between beauty lighting and a beauty portrait. A beauty portrait can have beauty lighting—probably should—but a full portrait can also have beauty lighting along with other directional lighting, and so on. So what I’m really trying to focus on today is just big, soft beauty lighting. Even though we’re going to do a mix of full body and tight shots, hopefully that makes a little bit more sense.
All right, everybody, that is a wrap. Let us know which picture is your favorite. But the most important takeaway here is realizing that, with just one light and an edge light—so two lights—you can do some incredible things. Similarly, you could have a one-light setup, like the FJ400 and an Octabox. That’s my go-to when it comes to strobes. My setup is easy to use, quick, painless, and gives you beautiful portraits. So hopefully that’s inspired you. We’ll see you in the next video.

