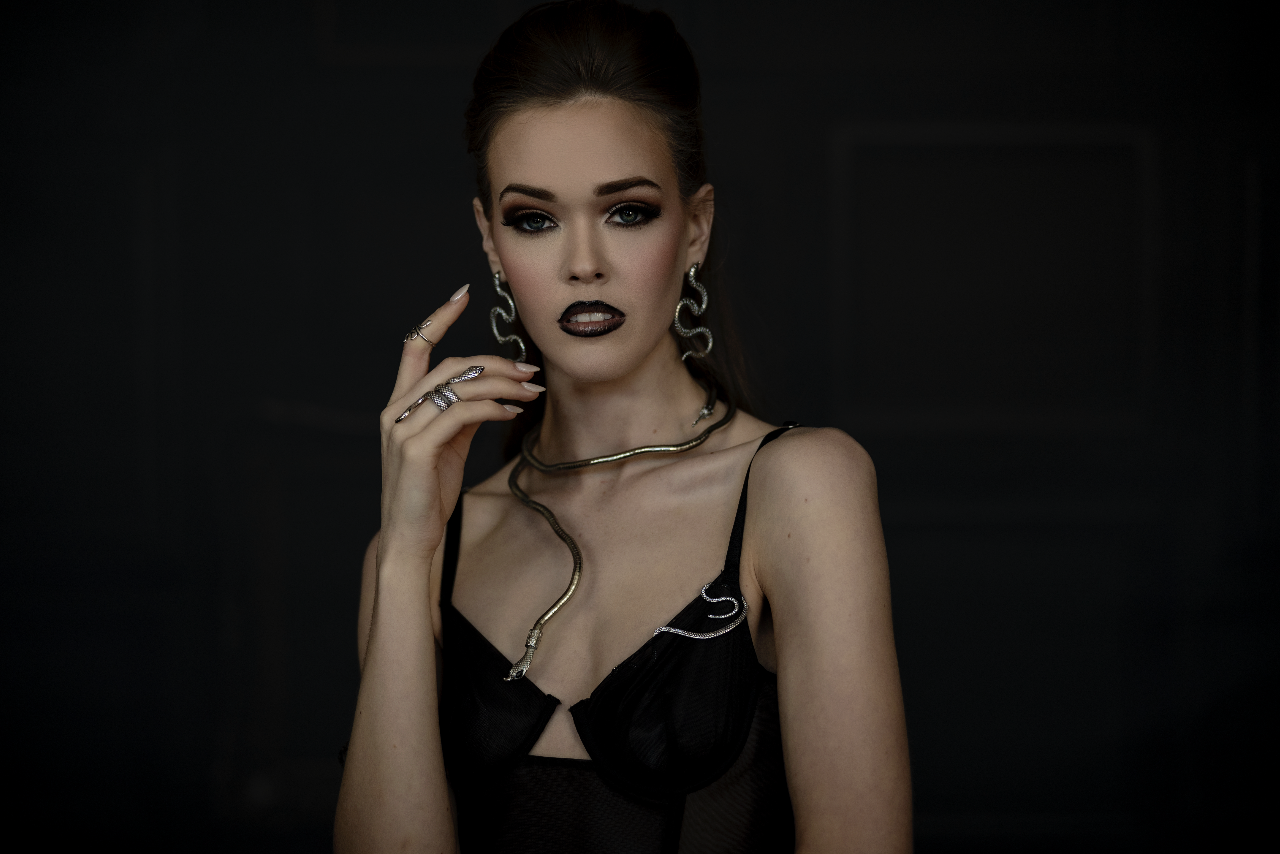
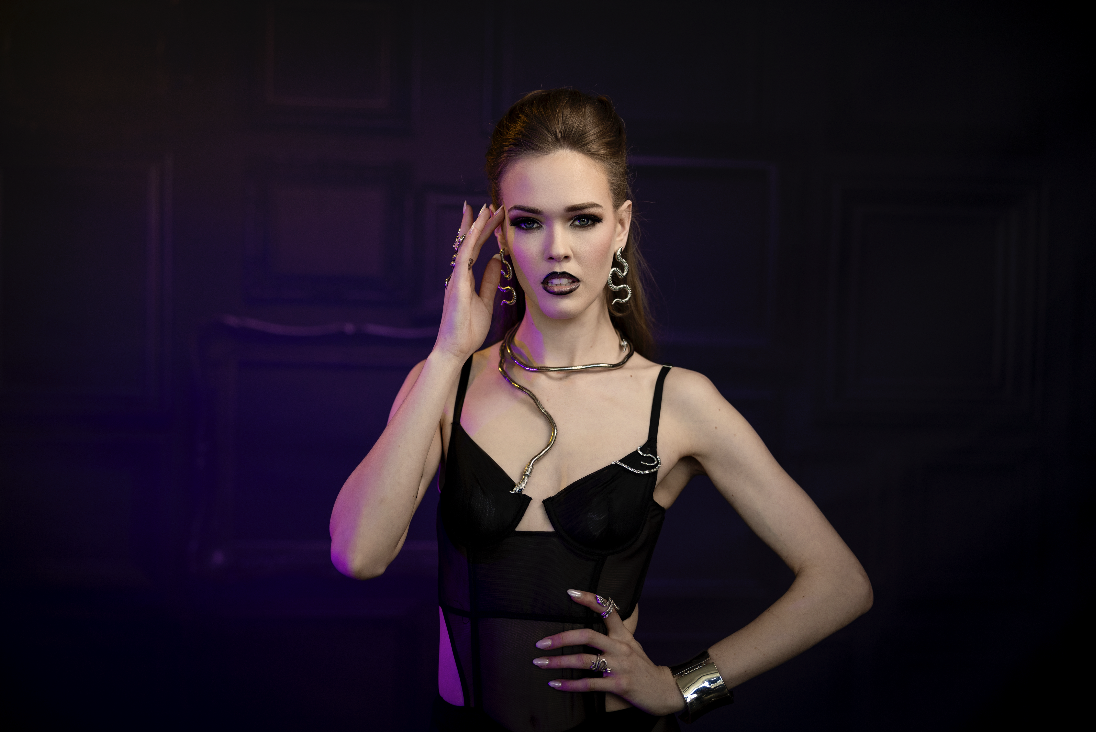
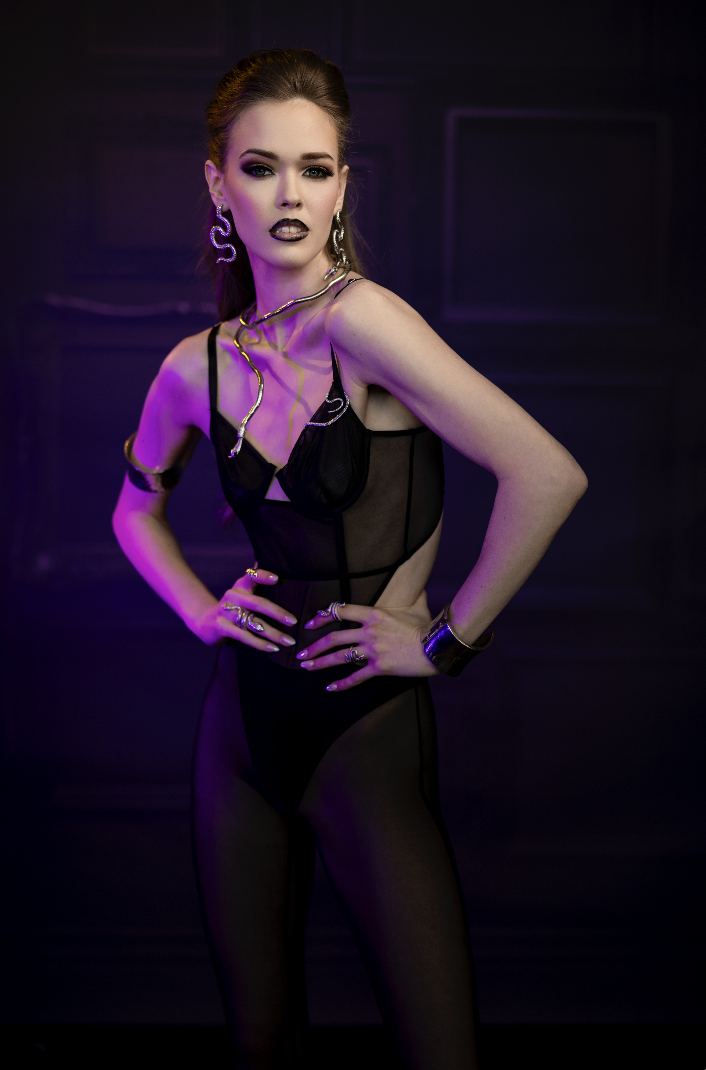
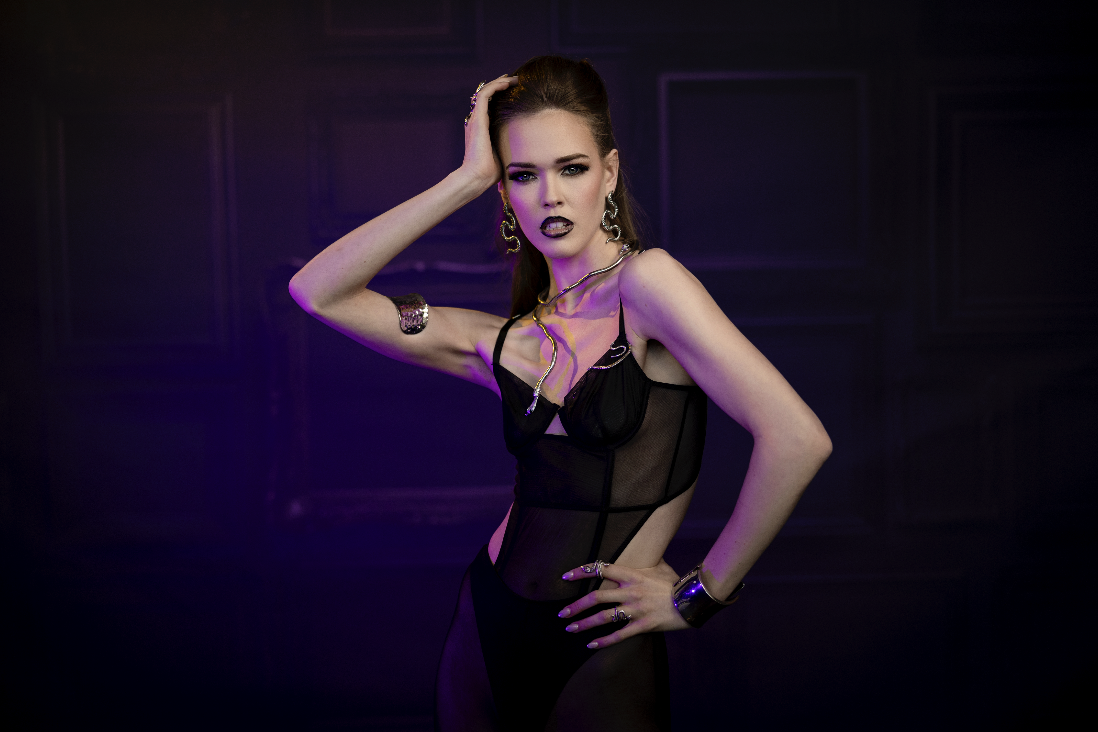
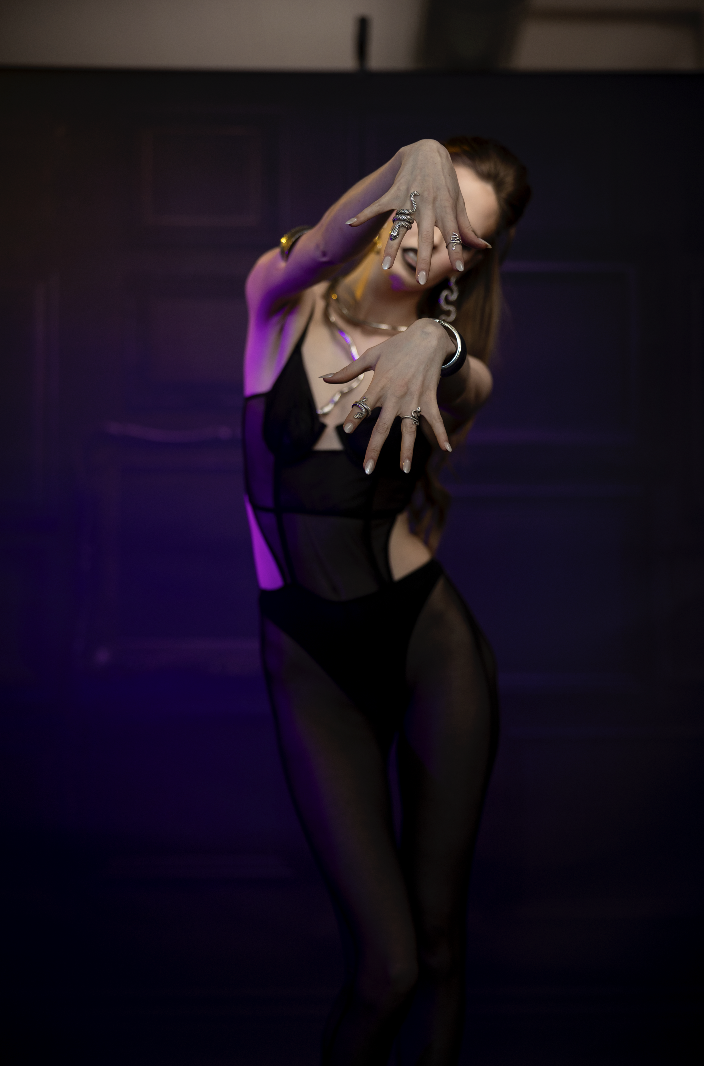
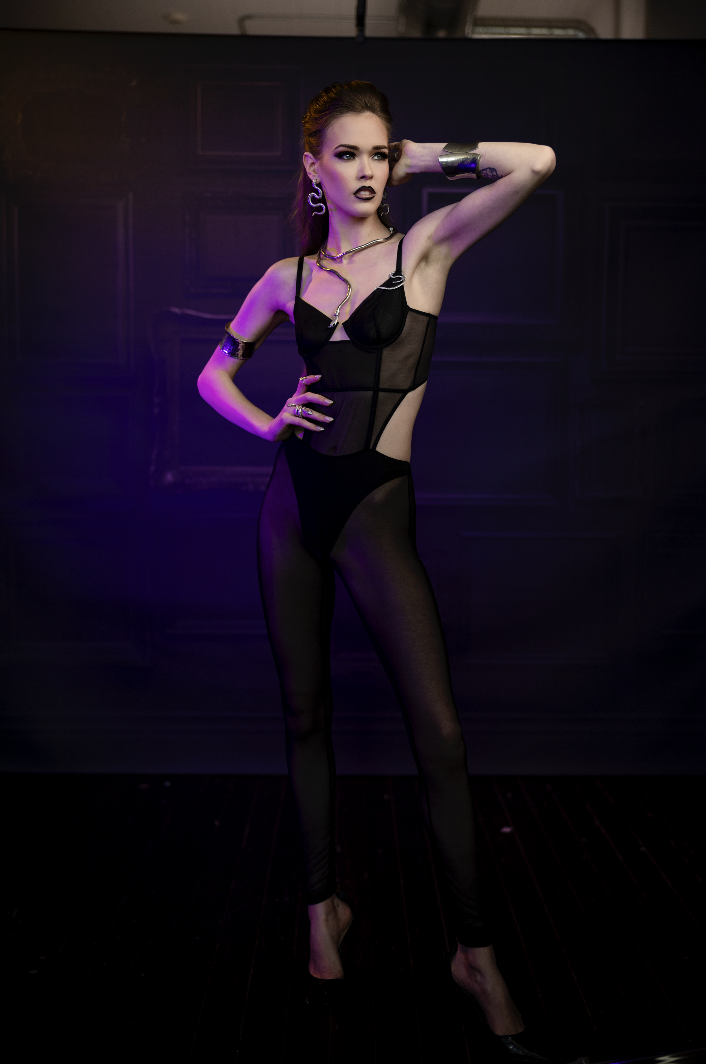
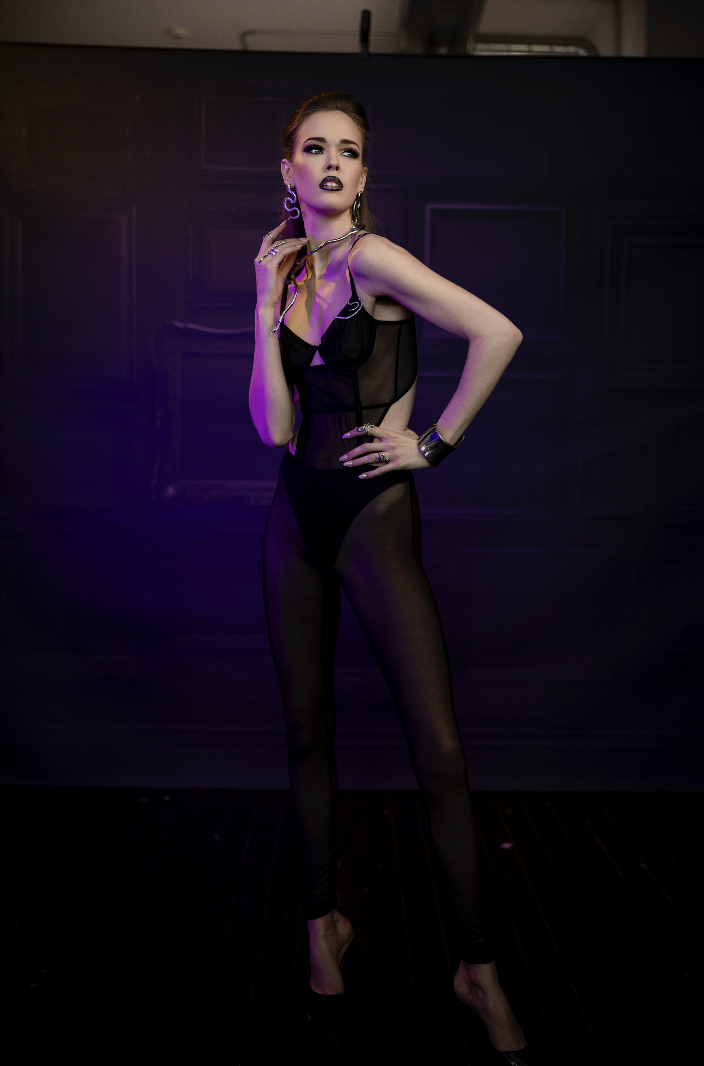
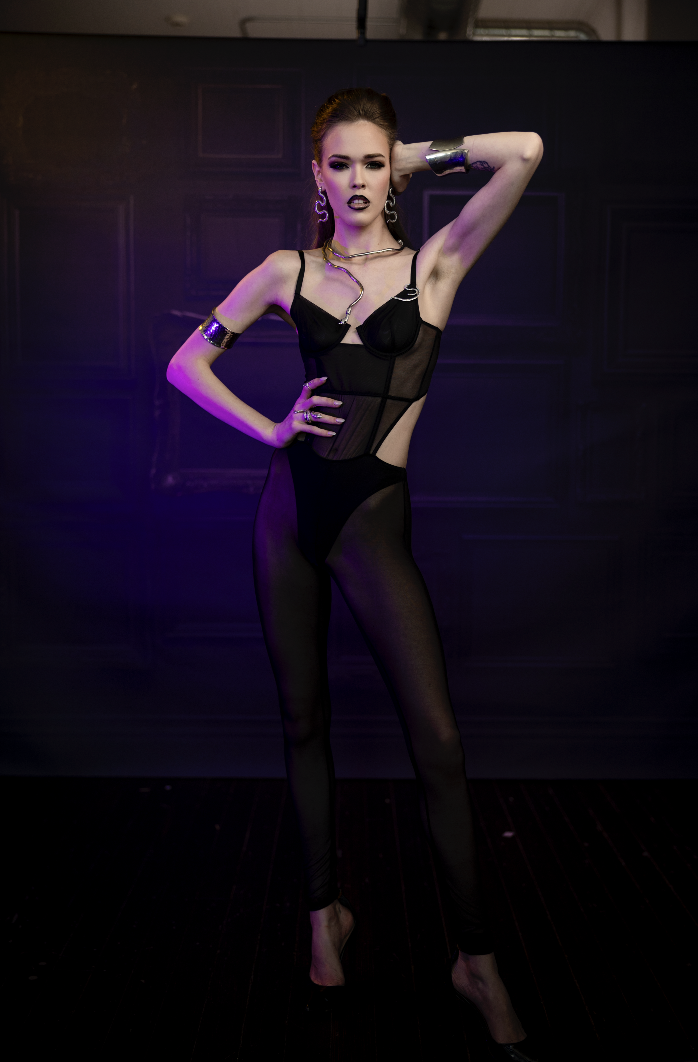
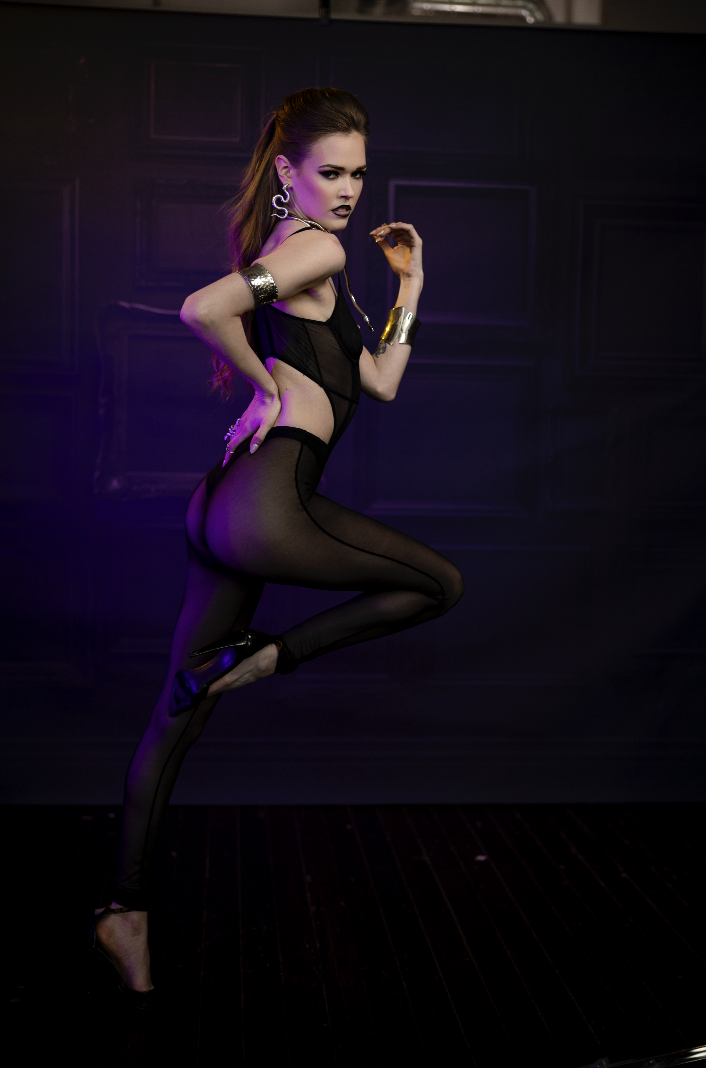
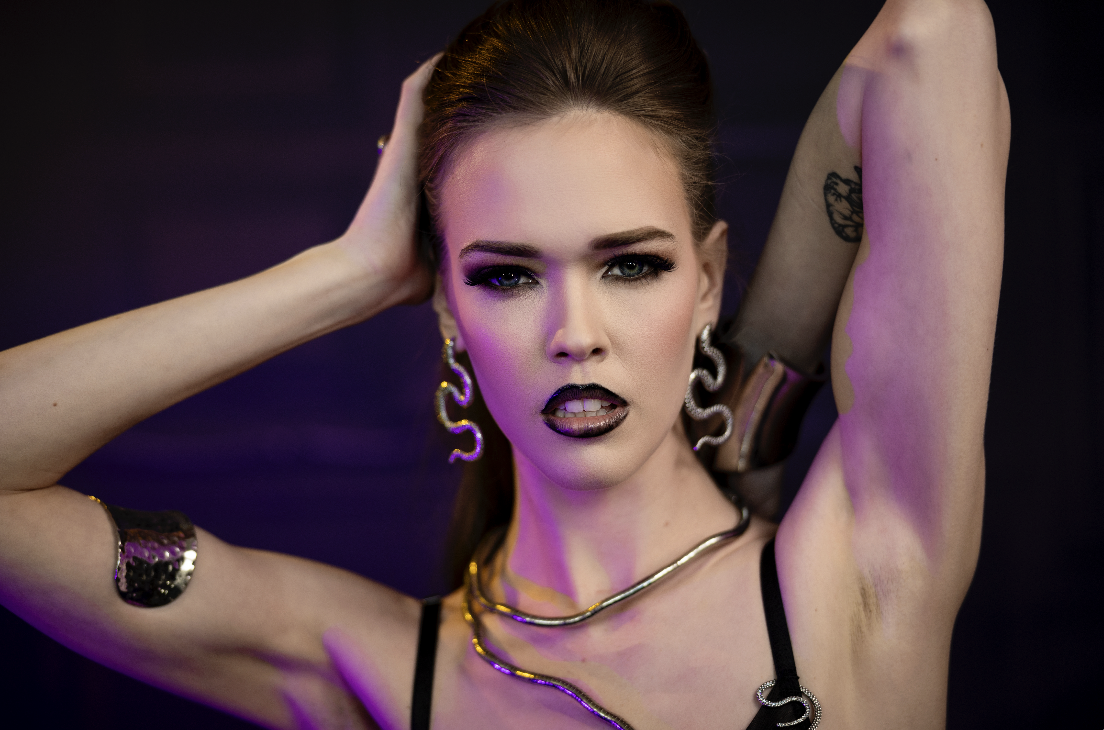
Ready for some low key moody portraits with the Nanlite Forza 60C? Continuous lighting can really up your portrait photography game. In this photography video tutorial, I walk you through how I set up my lights and why. In addition, I talk about my camera settings as well.
Equipment Used:
Camera: Canon EOS R3
Lens: Canon RF28-70mm F2 L USM
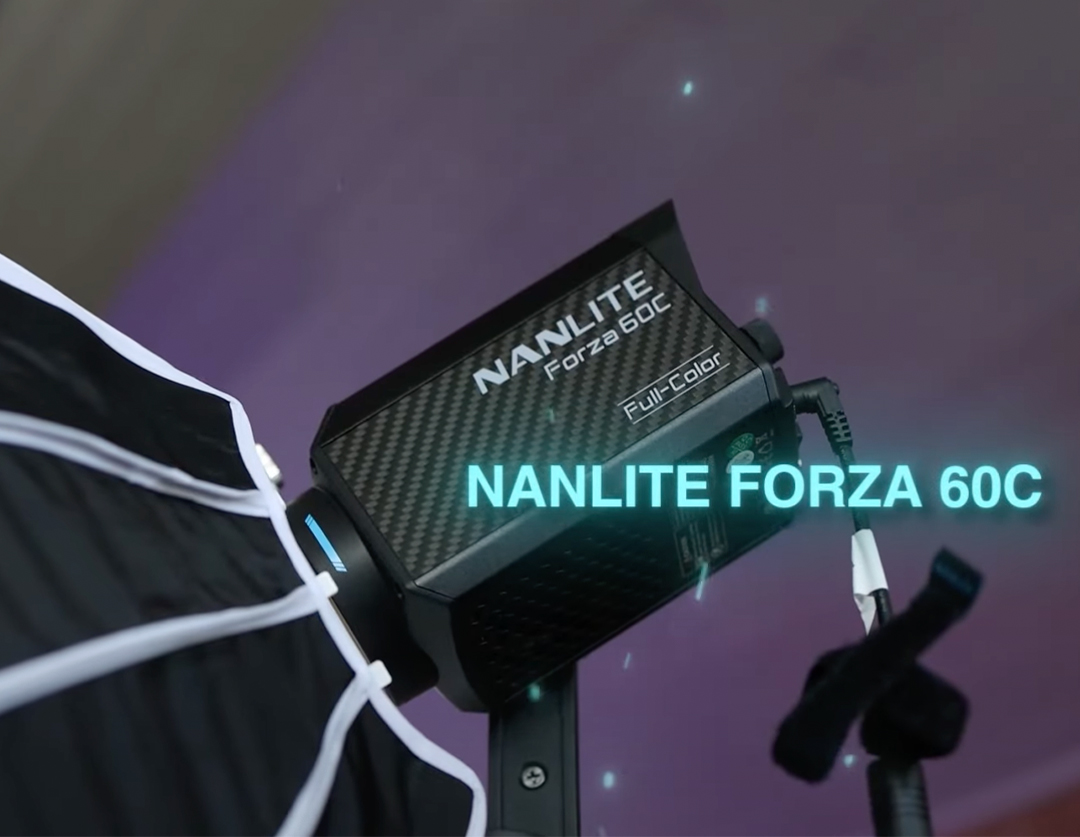
Light: Nanlite Forza 60C
Team:
Photographer: Sal Cincotta
Model: Violet
Hair & Makeup: Brandi Patton, ReFine Beauty
What’s up everybody? My name is Sal Cincotta. Today we’re going to create some low key moody portraits using continuous light from Nanlite. I am obsessed with continuous lights. Now, I will tell you we are in my studio. There’s a lot of natural light pouring in, and I’m going to show you a little bit of how we blacken that out using your on-camera settings.
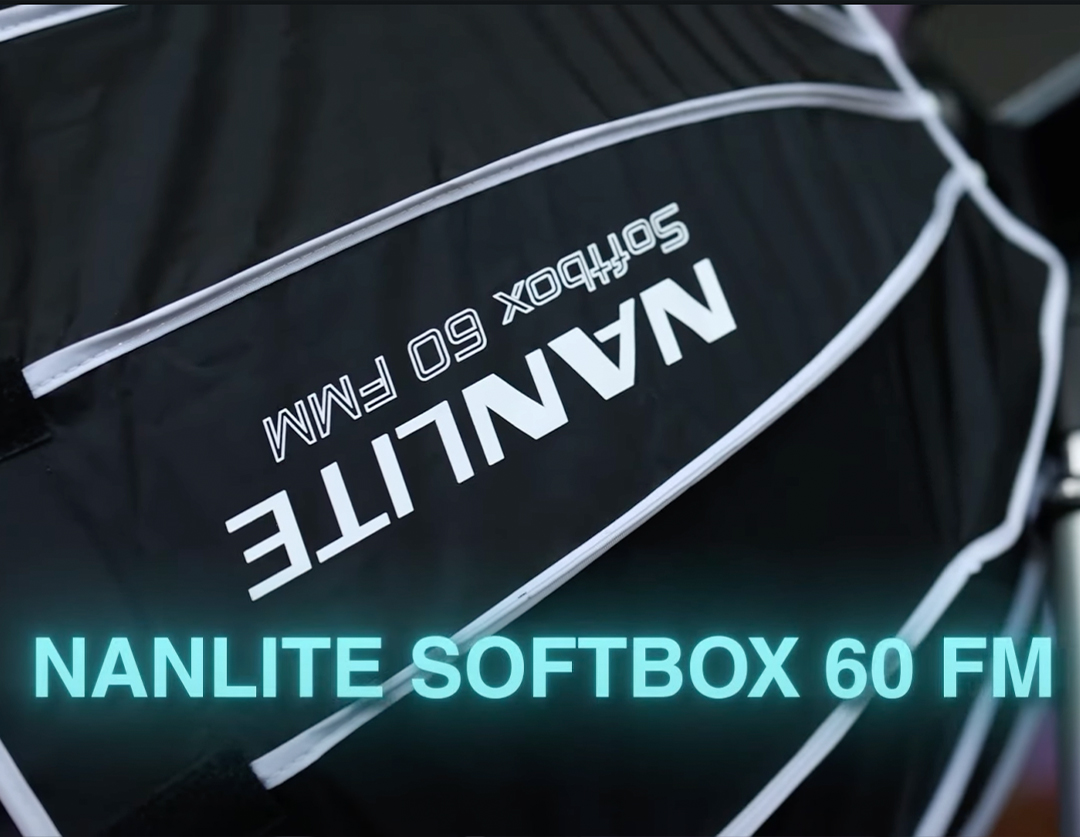
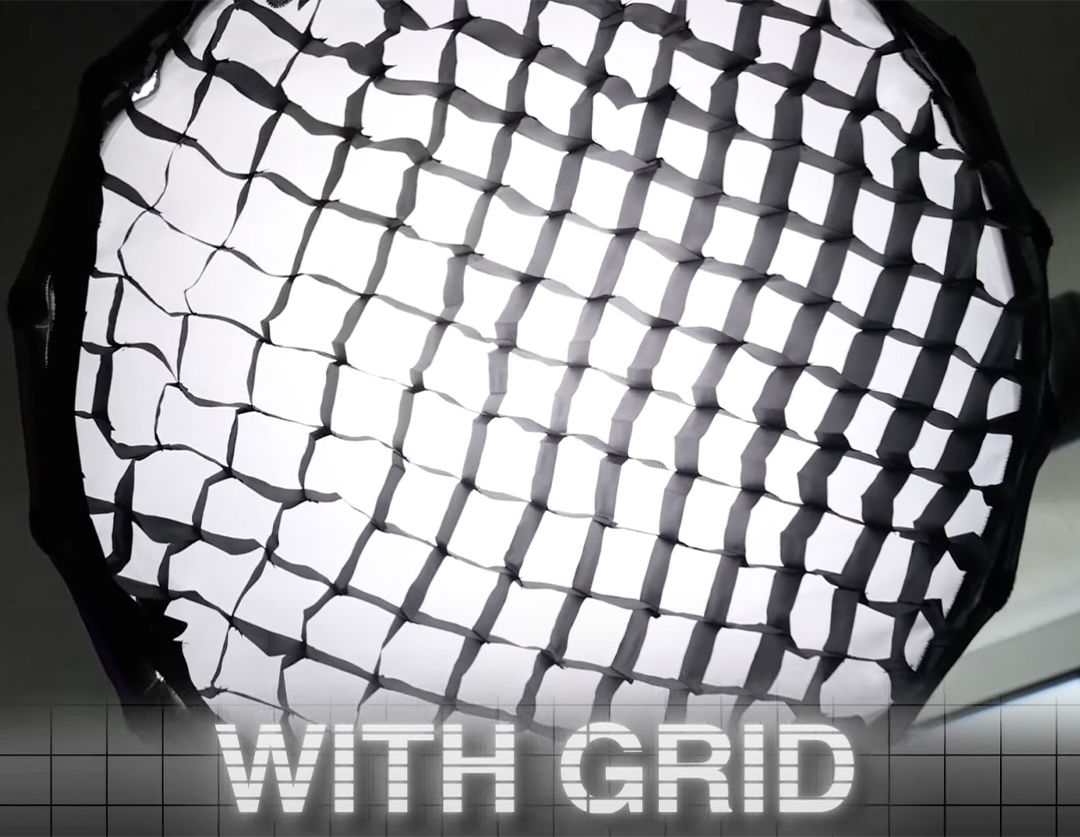
That being said, I want to give you a little tour of what we’ve got going on here. So the key light here is again, a Forza 60C. They’re battery powered or you can plug them in, which gives you a lot of portability. We’ve got their 60 FMM softbox here with a grid, so we really want to control that light.
I really like this C, for full color. We’re catch throwing a yellow light RGB and then a purple light into the scene, so to really give it a feel and more texture. I find working with gels and colors really adds some texture to your portraits. When you’re working with gels, you can do this with strobes, but it takes a little bit longer to get everything to look right. That’s why I like continuous lights because what you see is what you get.
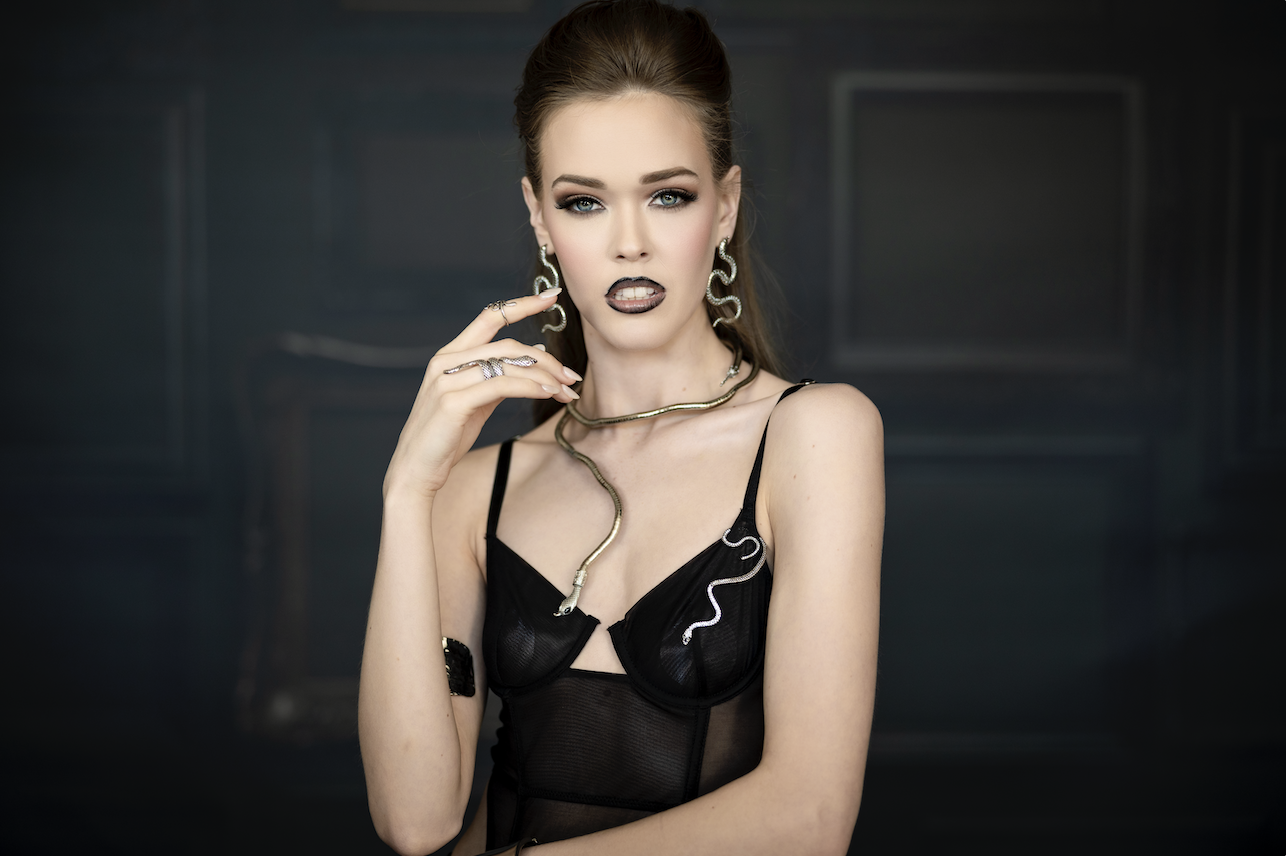
We’ve got the always beautiful Violet behind us and she’s got a really rocking outfit here that fits the scene. We’ve got a background that is from Intuition Backgrounds. It’s a new wall that they just launched for their collection. For the camera I’m using a Canon EOS R3 and a 28-70 lens. Let’s get to it.
Lighting Setup
So what I want to do is get rid of some ambient light in the room. To do that I’m at aperture priority ISO 200, 200 of a second F2, and I’m just going to see what this sets up to be. So it’s metering in at 1/60th of a second because when you’re an aperture priority, the only thing that’s going to change is the shutter speed. So you have control of everything else.
If I take this portrait, it’s really nice but the lighting is very flat. If I want to make this a little darker, I’ve got to shoot this above 1/60th of a second. So what I’m going to do is flip this into manual mode, and I’m going to shoot this at F2 1/500 of a second. Now I’m seeing a very under-lit portrait. It’s not completely black, I’m not really going for that. But I don’t want to have to drag the shutter and let in any ambient light once I turn on these other lights, so that’s where my head’s at. And what I’ll do from there is I will make that adjustment with the Nanlite to make sure that I’m higher or at 1/500th of a second with lighting.
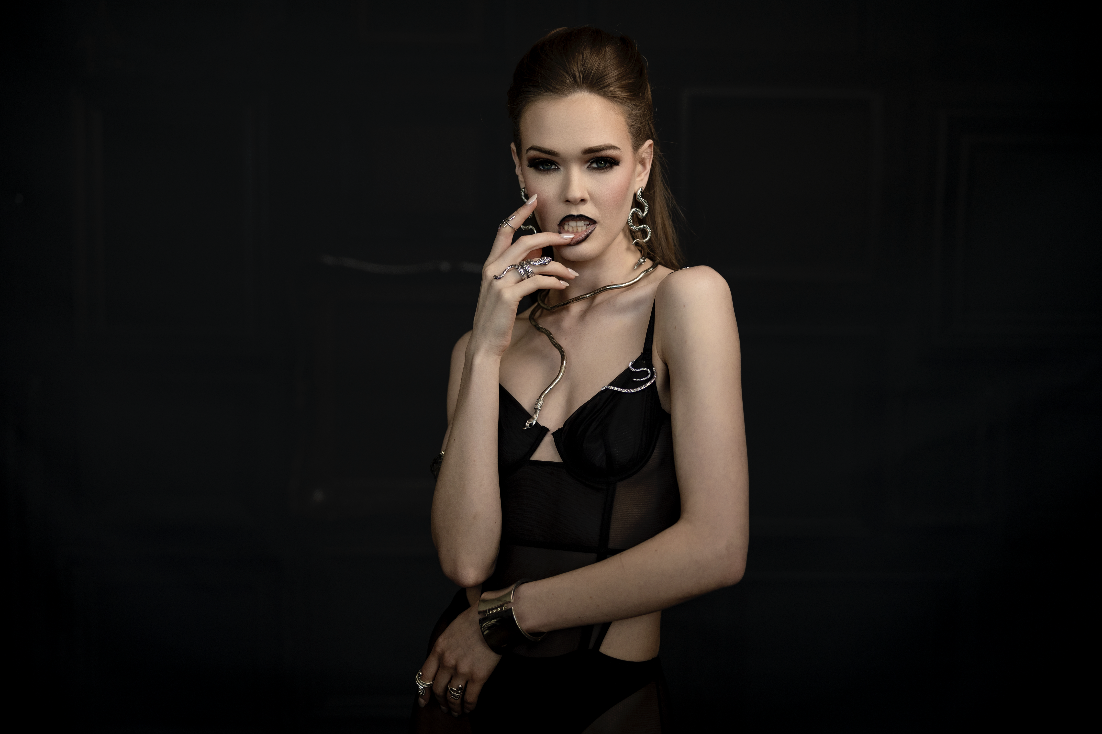
Now what I’m going to do is turn on the key light here, and this has been adjusted and I will start adding. So here’s a portrait just with our key light, no color, and I want you to see how this image comes along.
Key Light Only
Settings: f/2 @ 1/500, ISO 200
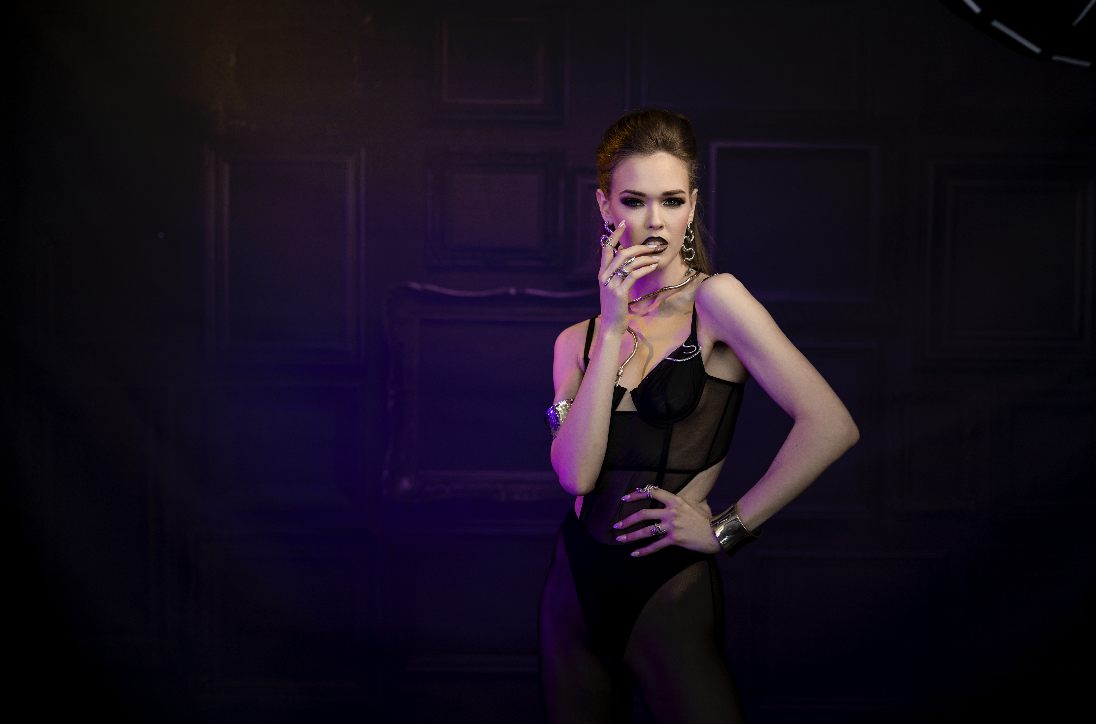
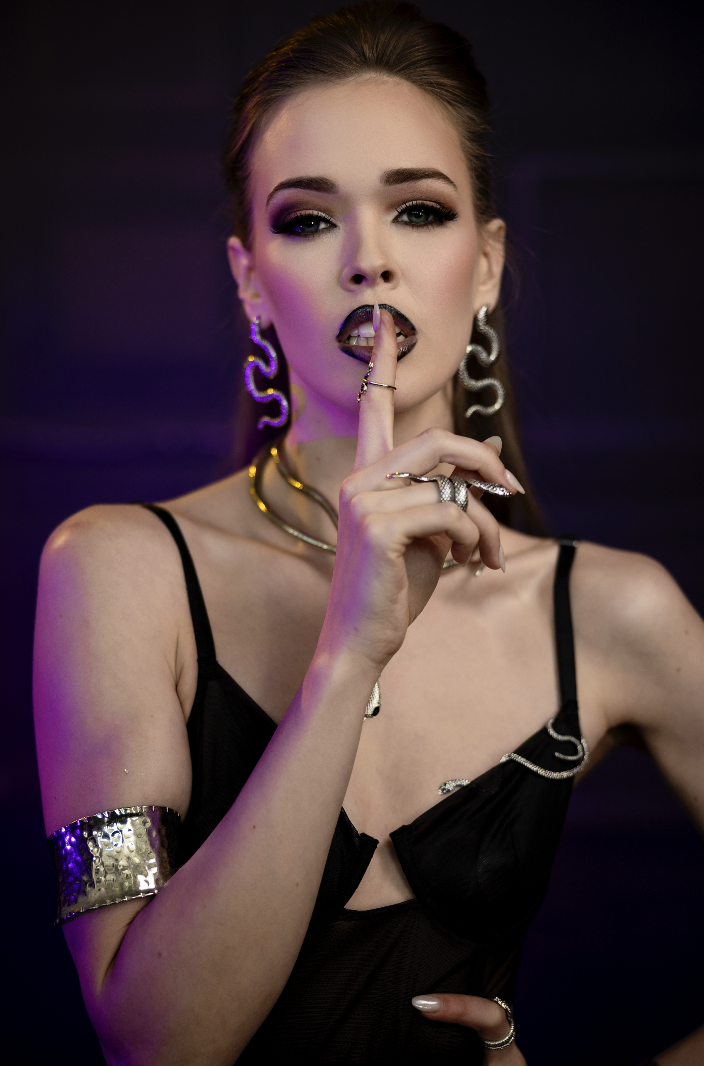
It’s a nice portrait, but I feel like without color it really doesn’t have that sense of anything. It just looks like a flat studio portrait. So, now I’m going to add the purple and yellow, and I really feel like this is going to end up coming to life. I want to have that yellow wash across the wall and I want some of it to hit her. We have the same shot, same frame up, and boy, that image now has so much more depth and life to it. I mean, I’m hoping you guys agree.
Key Light + Yellow and Purple Light
Settings: f/2 @ 1/500, ISO 200
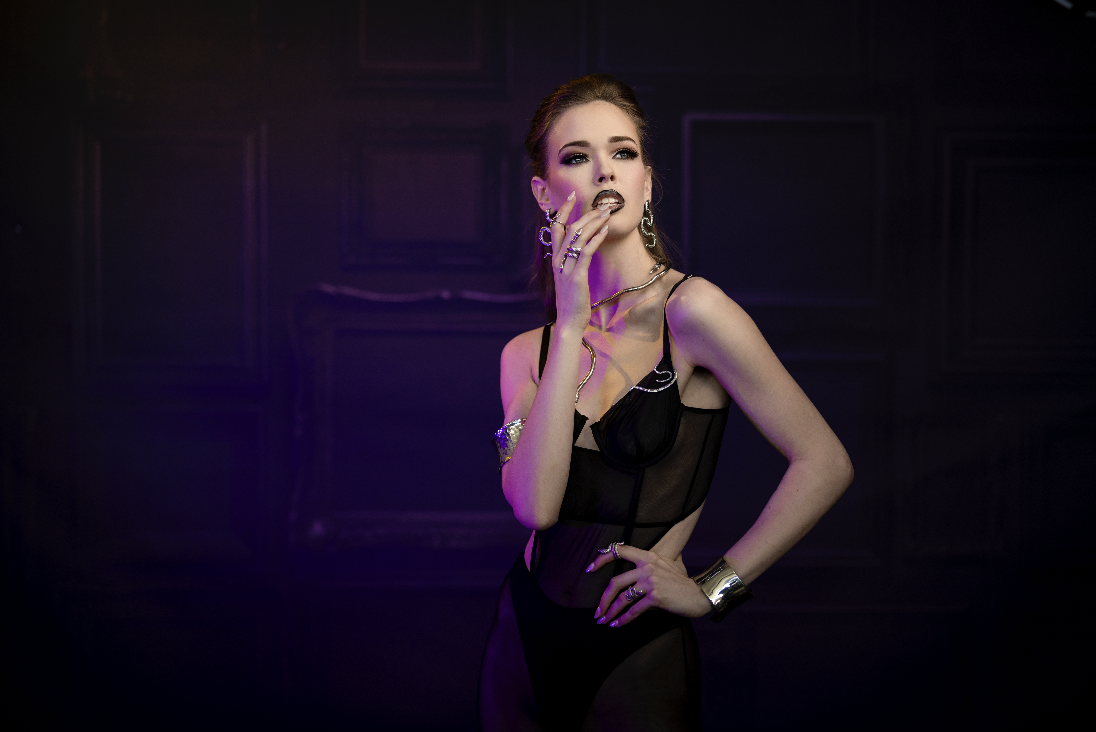
So it wasn’t hard to set this up. Now, what you see is what you get. We’re off to the races.
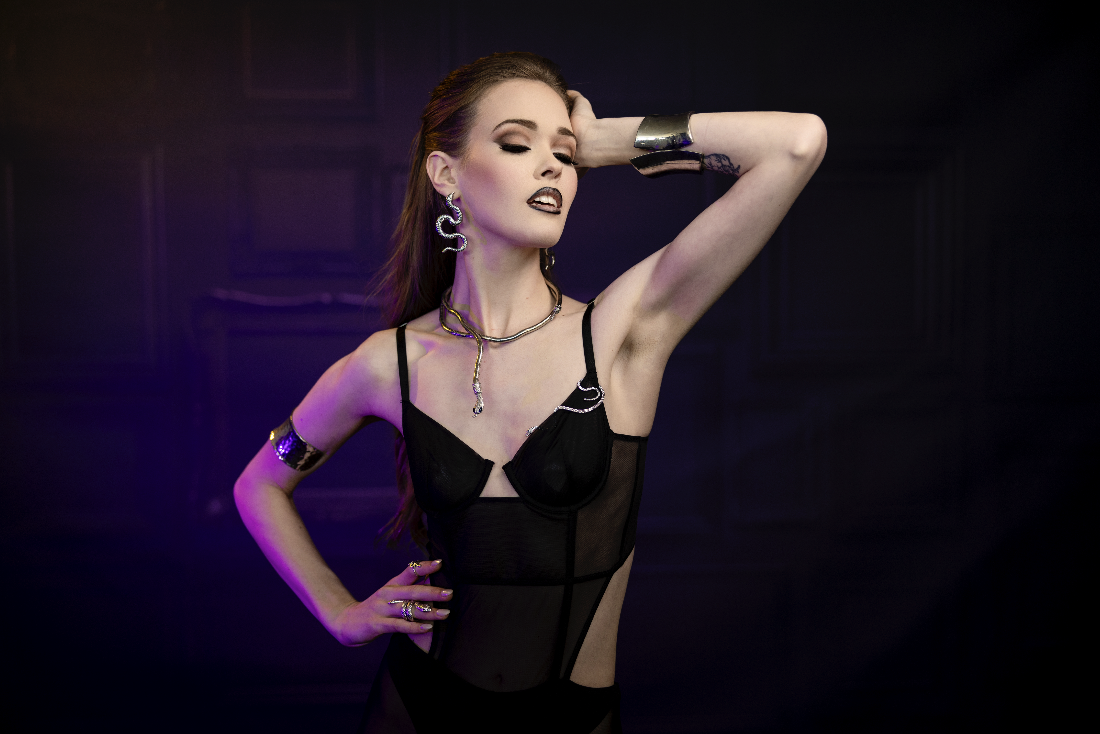
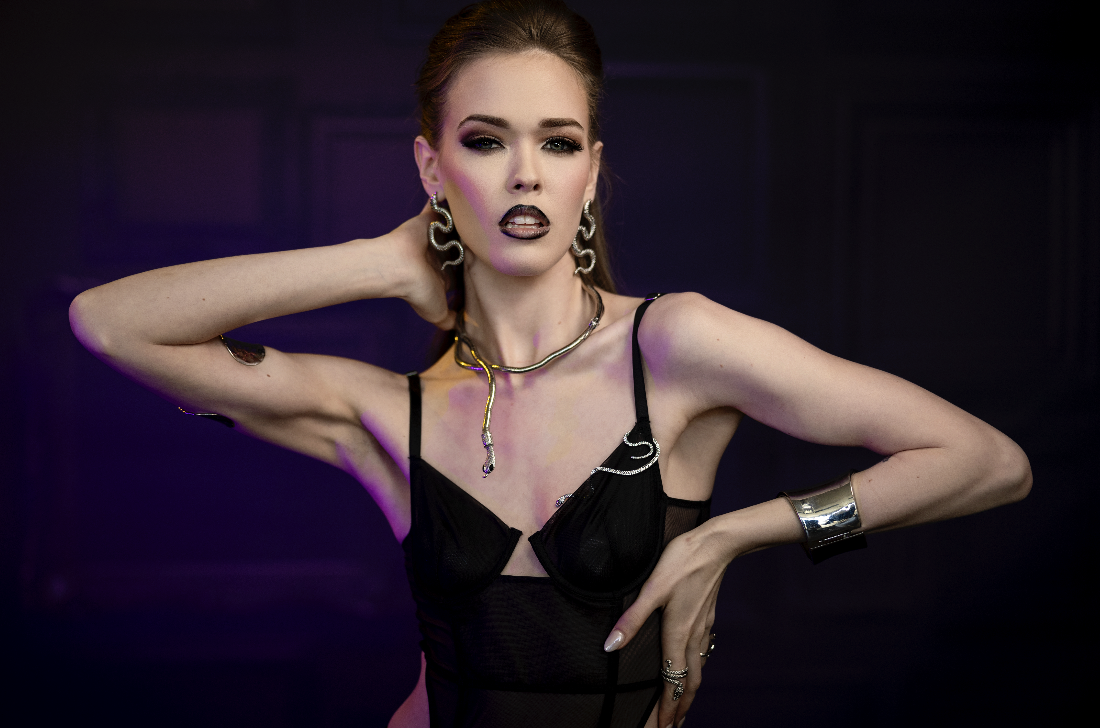
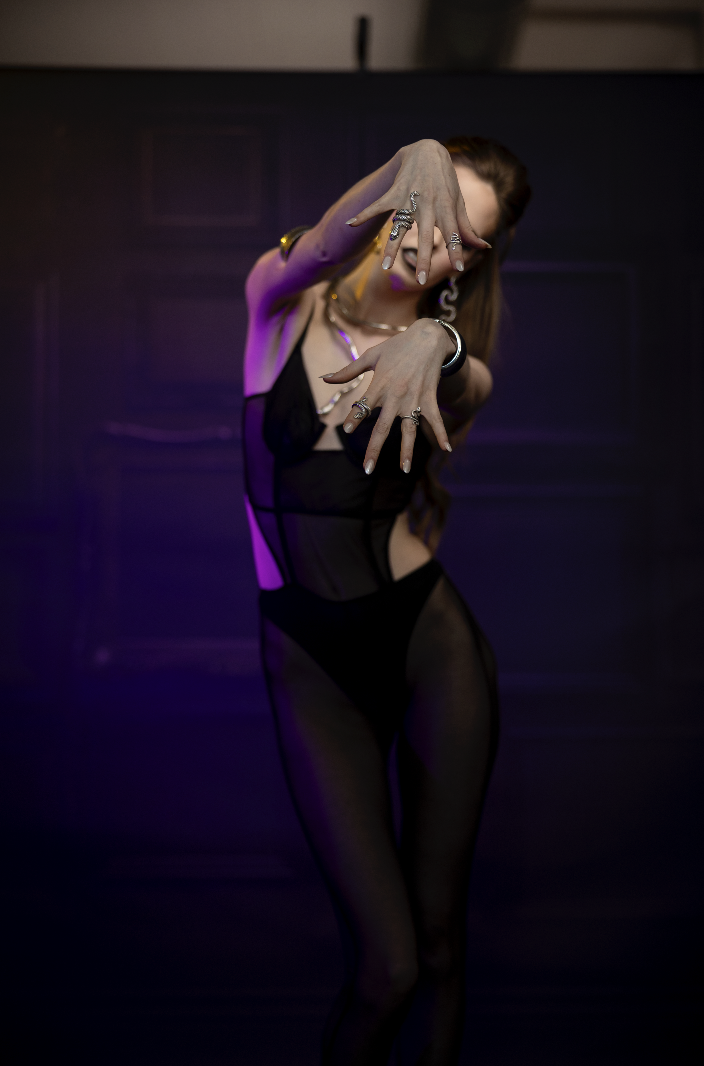
Final Images
All right everybody, hopefully you love this video. Be sure to check out Nanlite at Nanliteus.com. We’ll see you next time.

