
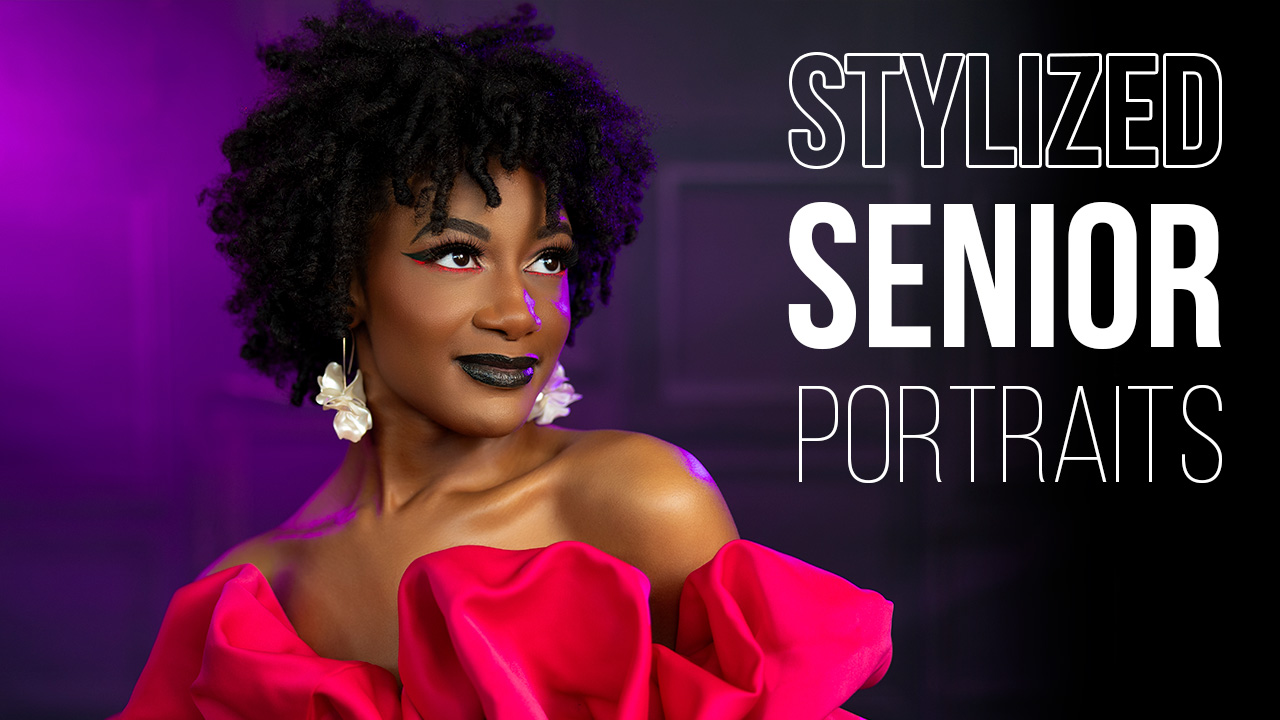
Creating Editorial-Style Lighting for Studio Bridal Sessions with Michael Anthony
Want more information on this article? Get access to video content and additional supporting images. Launch the October 2017 issue of the magazine by logging in or signing up for a free account. Shutter Magazine is the industry’s leading professional photography magazine.
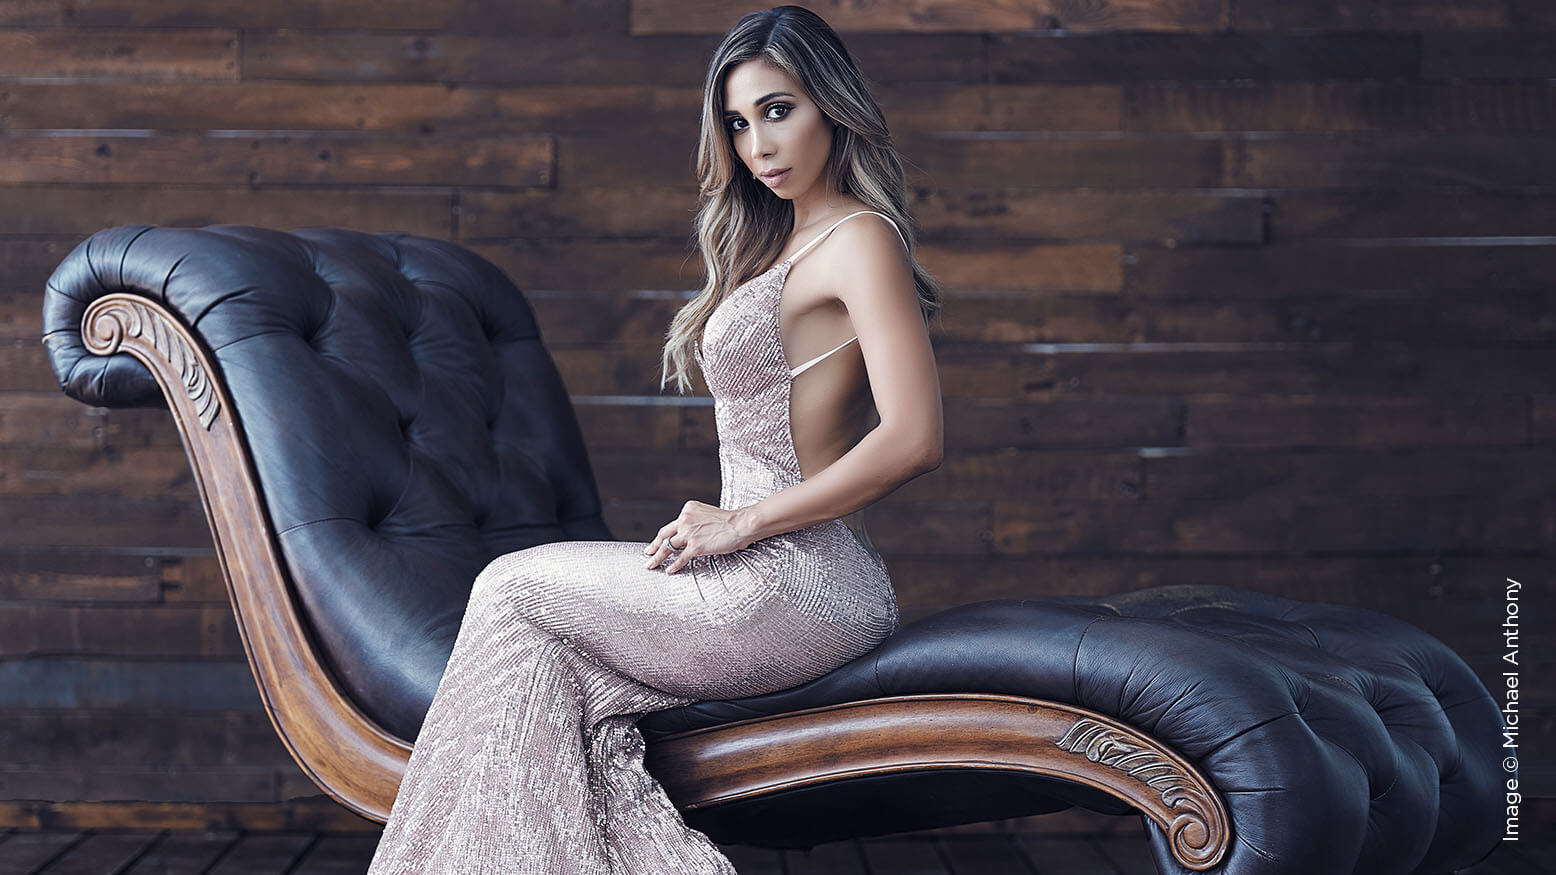
I have always been attracted to the work of Annie Leibovitz, Mark Seliger and other modern fashion/editorial photographers. A long time ago, I decided to incorporate some of the inspiration they have given me into my wedding photography. Everyone who follows this type of work knows that creating studio editorials can be a big production. Getting the best results requires complex lighting setups, large modifiers and a set with either a regal feel or an industrial look. We don’t usually get all that at the local banquet hall.
We started incorporating bridal sessions two years ago to offer our couples something a little bit outside the norm so they could take advantage of everything in our skillset. I encourage our brides to take advantage of this service, but with 50 MAPhoto weddings per year, we definitely were feeling the pinch of the extra time involved driving through L.A. traffic for these shoots.
There are other benefits as well. Not many photographers have a studio, which limits your competition. It’s comforting for clients to be in the studio because they can connect with you without worrying about everyone watching them.
After watching Mark Seliger’s Oscar portraits, I asked my wife, Jen, what she thought about offering this to our clients. It would allow us to do more than one shoot a day, offer a style of portrait that is truly unique and give clients excellent images for their album. We posted a test on Instagram to see if our clients would be interested in this, and it received an overwhelmingly positive response.
In most large cities, there are numerous options for studio rentals. If you have a studio, it should be large and comfortable, with climate control and good seating.
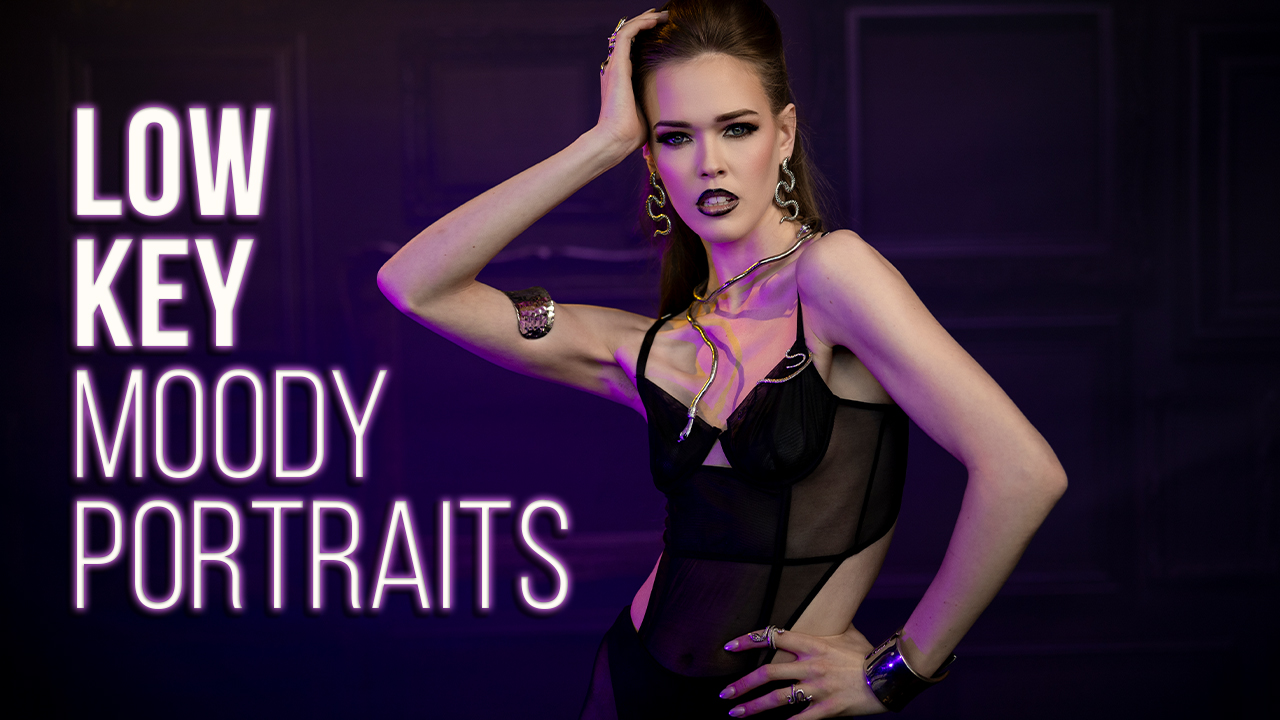
The next challenge was recreating the Old Hollywood feel of these images through lighting. These editorial shoots usually have beautiful soft lighting coming from either a single or multiple directions.
I wanted lighting that could be created with just a few flashes and DIY modifiers so that anyone reading this can take advantage of what we are teaching.
For these setups, we are using two V-flats, which can be constructed easily at home. We also need a white ceiling for this to work; otherwise, you will want to invest in an umbrella. We used the Profoto B1 and D2 monolights, but this lighting can be accomplished using speedlights or other monolights as well.
We chose V-flats because lighting in this type of portrait is soft and large, almost like a window, but controlled so that it doesn’t spill into the areas of an image where you don’t want it.
Setup 1: Key and Fill
For this setup, we are using two light sources: a main and a fill. The first step before turning on your flash is to measure your ambient light. We opted for ambient light three stops darker to reduce contrast. We don’t want to underexpose the light too much, or the image will look washed out and have transitions that are not smooth between highlight and shadow. We used a light meter to get all of our light dialed in.
Next, we added a large V-flat to the left side of the image, where we would be positioning Jen. We opened the V-flat and positioned it so that we didn’t have too much light spill on the background.
Next, we wanted to fill in the shadows on the right side of the frame, so we added a second V-flat behind my position. This time, we metered the fill light to one stop less bright than the main light. This allowed there to be a gradual transition from highlight to shadow. When adding fill light to any scene, it is important to make sure the shape of the light is the same as the main light, which is why we used a second V-flat; if spill is not a concern, you can also fire the light into the corner of the room.
It was important to me to make sure the background of the image remained dark so the viewer’s eye went where we wanted it to go. To control light spill, you can use direction, grids or distance. With V-flats, we used direction of light to push it as much as possible off the background.
Setup 2: Increase Shadows With a Light Cutter
Highlights and shadows are noticeable in editorials. The great thing about V-flats, if constructed correctly, is that you have a white and black side to them, which we will talk about in a second.
With this setup, we kept the same lighting ratio but removed the fill light.
Next, I positioned the keylight off to the left a little bit more to create direction in the light. When doing this with no fill light, it is essential that you keep your subject’s nose pointed toward the light source in order to avoid unnecessary shadows in the wrong parts of the face.
To create separation from the background, I added a light over the head of the subject bounced off the white ceiling. With this setup, I prefer an umbrella, which wraps light around the edges of the subject. For this shoot, I wanted to show that this could be accomplished with easy modifiers. Profoto makes an amazing deep white umbrella that works perfectly for this.
Last, to add the shadow to the right side of Jen, we added a black V-flat opposite the keylight, which cut out any light that would have reflected and spilled onto her because black absorbs light.
There are several reasons to do this. Adding shadow opposite the light increases texture. It can have a slimming effect on your clients. This type of side lighting can accentuate skin texture, so be careful with the type of portrait you are using it for.
Setup 3: Key, Kicker and Top Fill
For this setup, we used the same lighting as in Setup 2, except we got rid of the light cutter and added a light through a V-flat opposite the keylight. We positioned the keylight at a 45-degree angle to our model so that we could wrap the light around her.
When adding a kicker light, there is always a chance of bad light spilling onto the face. The key to getting this right with females is to keep the kicker light off the face—because if it spills over, the light will make the face look larger. (With male subjects, this is a good thing.) In this image, the top light adds separation and fills the shadows created where the two side lights meet on the subject.
The second light adds separation and creates a three-dimensional quality of light.
Posing Expression for Editorial Bridal Images
Editorial-style portraits always have a bit of fashion flair to them. If you are shooting models, it will seem like second nature for them to pose accordingly, but with your regular clients who don’t have modeling experience, it is easy to make them feel uncomfortable; if that happens, your photos will suffer. Your goal, of course, is to make any bride look beautiful, so pay attention to your interactions.
On the flip side, if you ask them to give you a cheesy smile, then you are circling back to 1985, and that’s how you kill this trend of studio bridal sessions instead of reviving it.
You have to be diligent about coaching their pose, giving constant direction. Here are a few things I look for when posing expression.
I often have my subjects squint slightly. It has to be very subtle. This makes the subject look confident and gives the images a fashion feel. It is easy to accomplish this when you have a rapport with your client in the studio, where they don’t have to worry about others watching them.
Exhale through your lips. The goal here is twofold. When exhaling, they have to first inhale, and that makes the chest look full and gives the shoulders good posture. It gives the lips a slight part, which, when coupled with the eye queue I gave above, has very good results.
You have to be meticulous with hair and other details. Dress position and hair placement matter. Adding a bit of motion looks great as well. Try using a fan on the hair.
I’m trying to make studio bridal sessions popular again, but I don’t think doing traditional photography in a studio is the way to do it. Using a bit of fashion flair and great lighting, we will be able to make this trend stick and use it to create beautiful images for our clients.


This Post Has One Comment
Michael, love this style and look. Thanks so much for the great article