Corrective lighting can really set your portrait photography apart from other photographers and make your clients fall in love with the way they look. As a portrait photographer, in general, you need to know how to use corrective posing techniques to make your clients look their best on camera. in this photography tutorial video, I show you a step-by-step process to using lighting and posing techniques to make your clients look their best. These techniques are perfect for in-studio portraits. In this video, Im using the Westcott L60Bs with various light modifiers , but you can use whatever lighting you have.
Equipment Used:
Camera: Canon EOS R5
Lens: Canon RF85 f1.2
Light: Westcott L60Bs
Modifiers: Westcott 1×3 Strip Softbox
Team:
Photographer: Sal Cincotta
Model: Lauren Middleton
Want to learn corrective lighting for your beauty portraits? Let's get to it.
What’s up, everyone? My name is Sal Cincotta. Today we’re going to cover corrective posing and lighting and focal length for your beauty portraits. Now, this is something, especially if you’re a boudoir photographer, clients want to look their best, they want to look their thinnest, their skinniest, and this is our job, to make sure that we’re making the right decisions to make our clients look their best. In fact, this can even be applied to head-shots, wedding portraits, so you’ve got to learn these tips and tricks. We’re going to do it real quick, but I promise you, if you pay attention, you’ll be able to do this as well.
Now, something to keep in mind, your eye will always go to the brightest part of an image. So today we’re going to use light and shadow to control what our eye is seeing, what our camera’s seeing, and that’s going to make the biggest difference in the world. And then we’re going to go into some other tips and tricks, but let’s just get started with it.
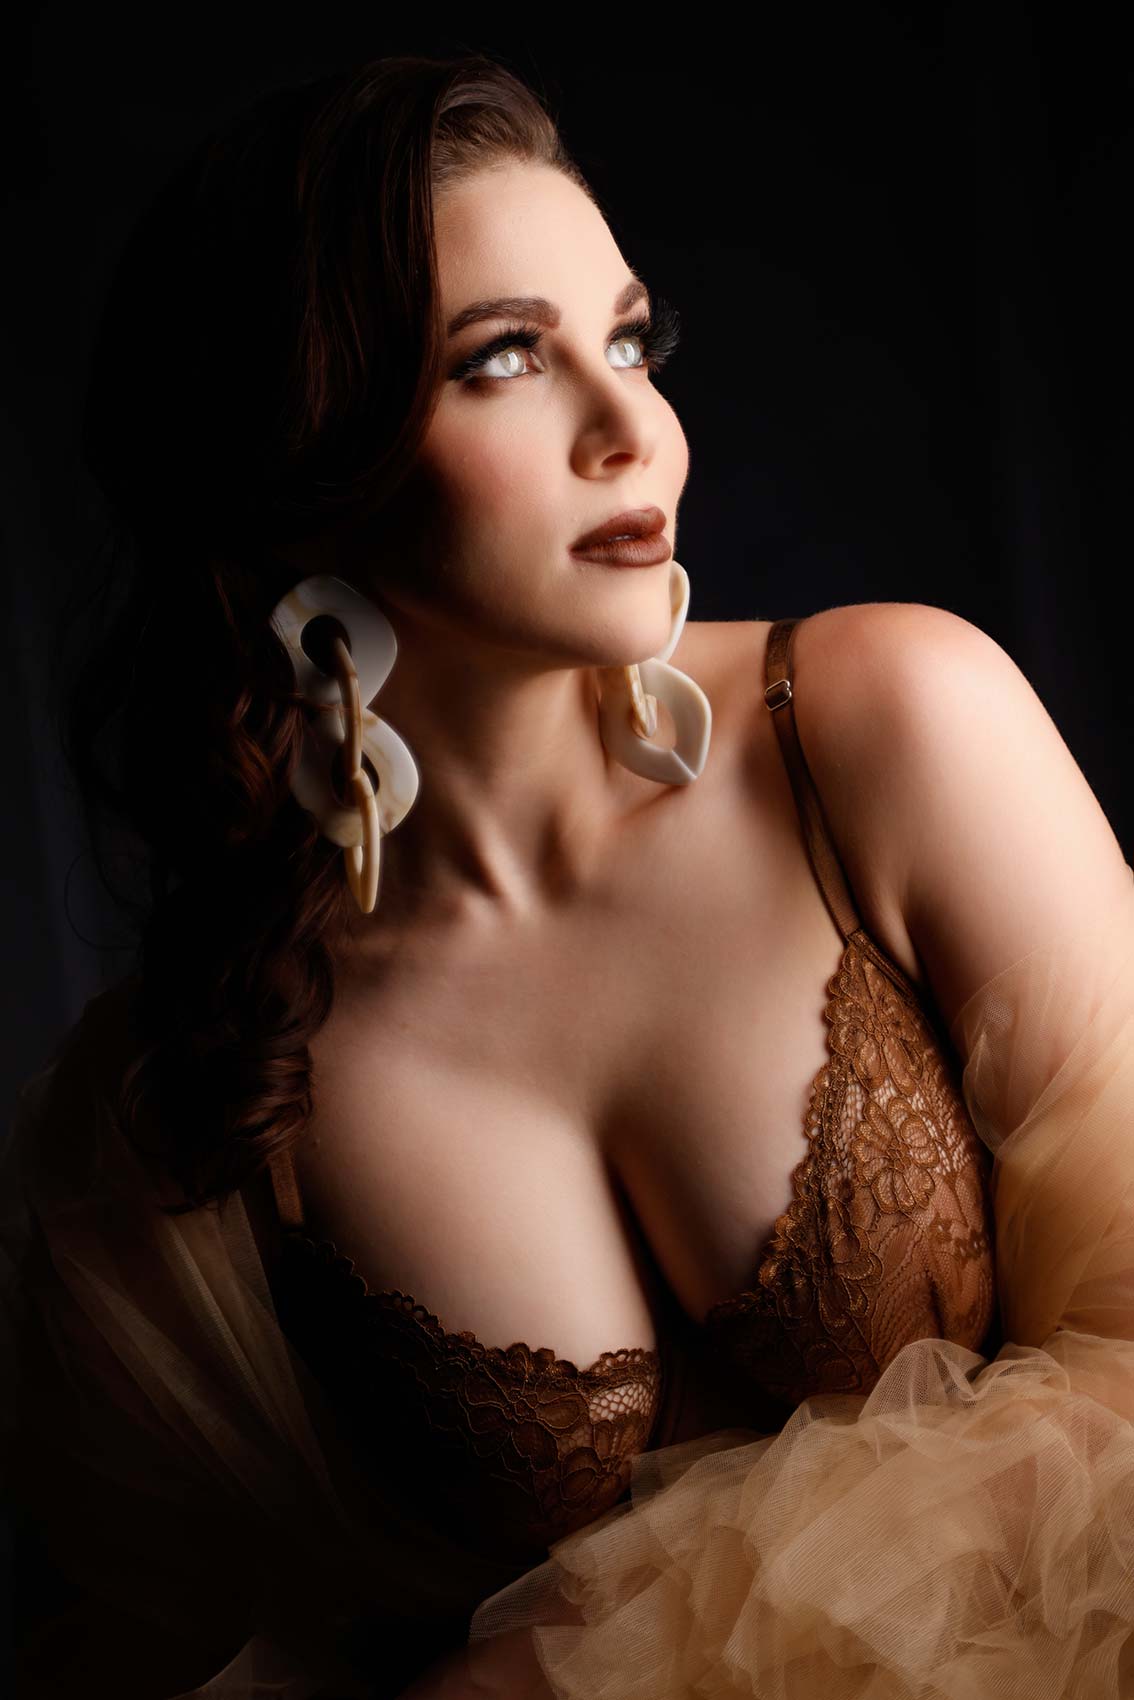
Settings: f/2.8 @ 1/160, ISO 400
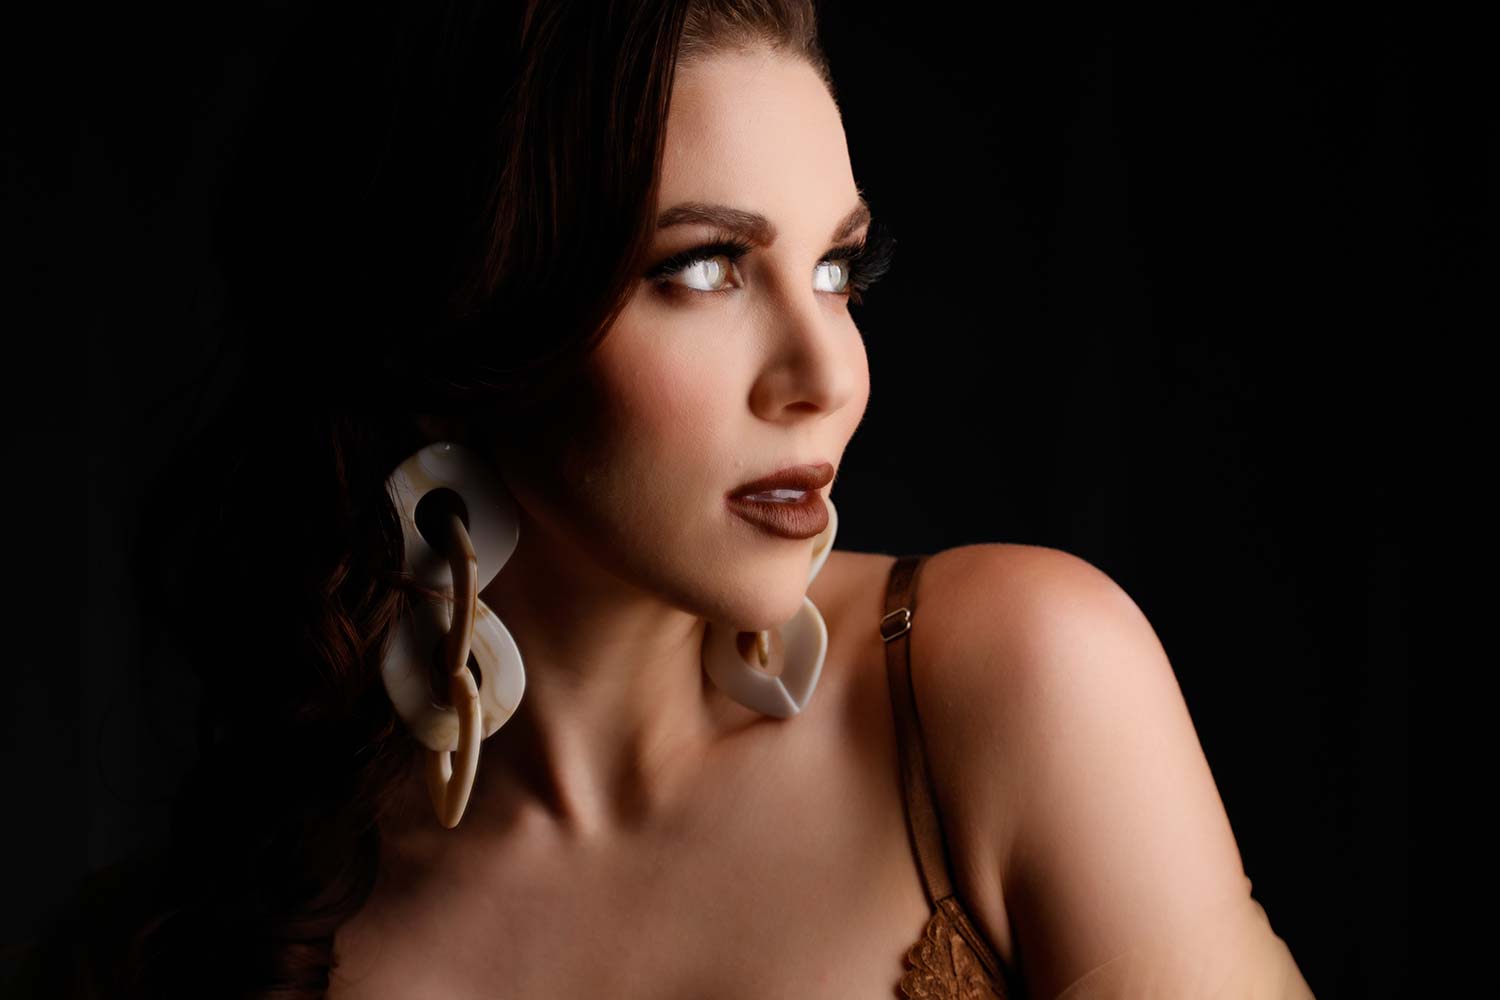
Settings: f/2.8 @ 1/400, ISO 800
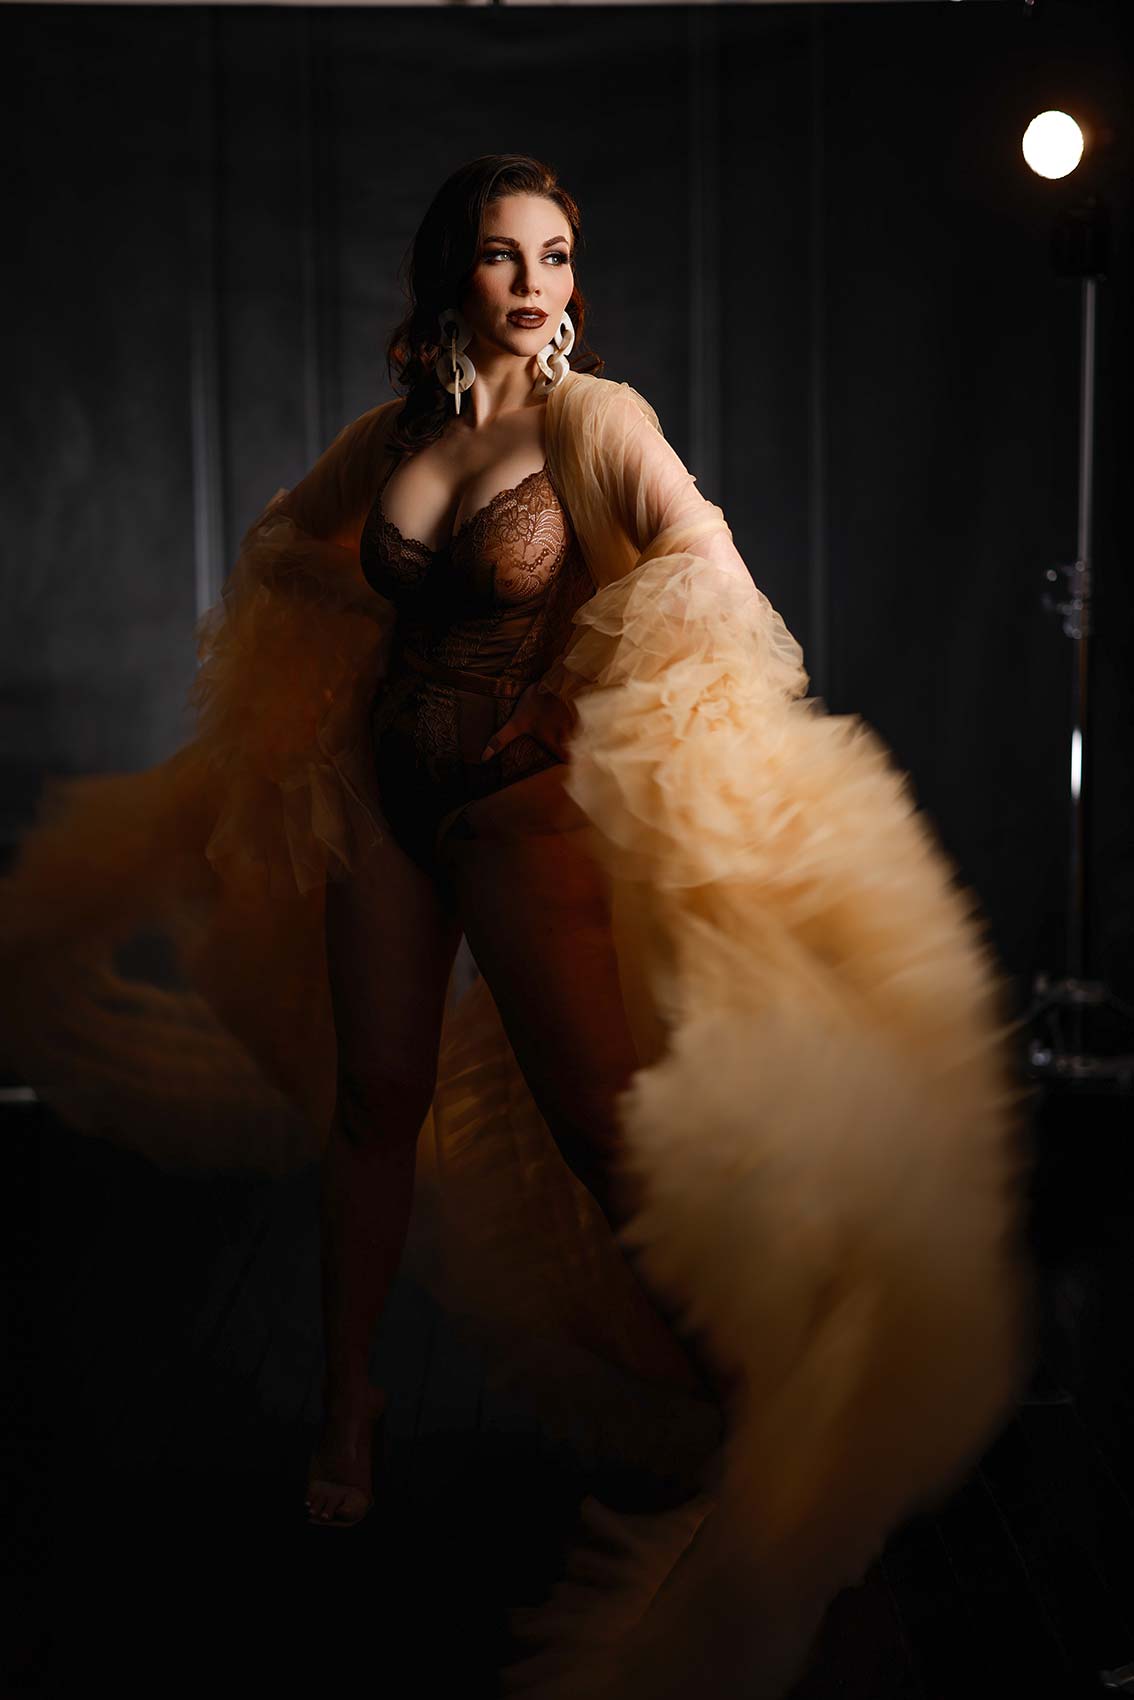
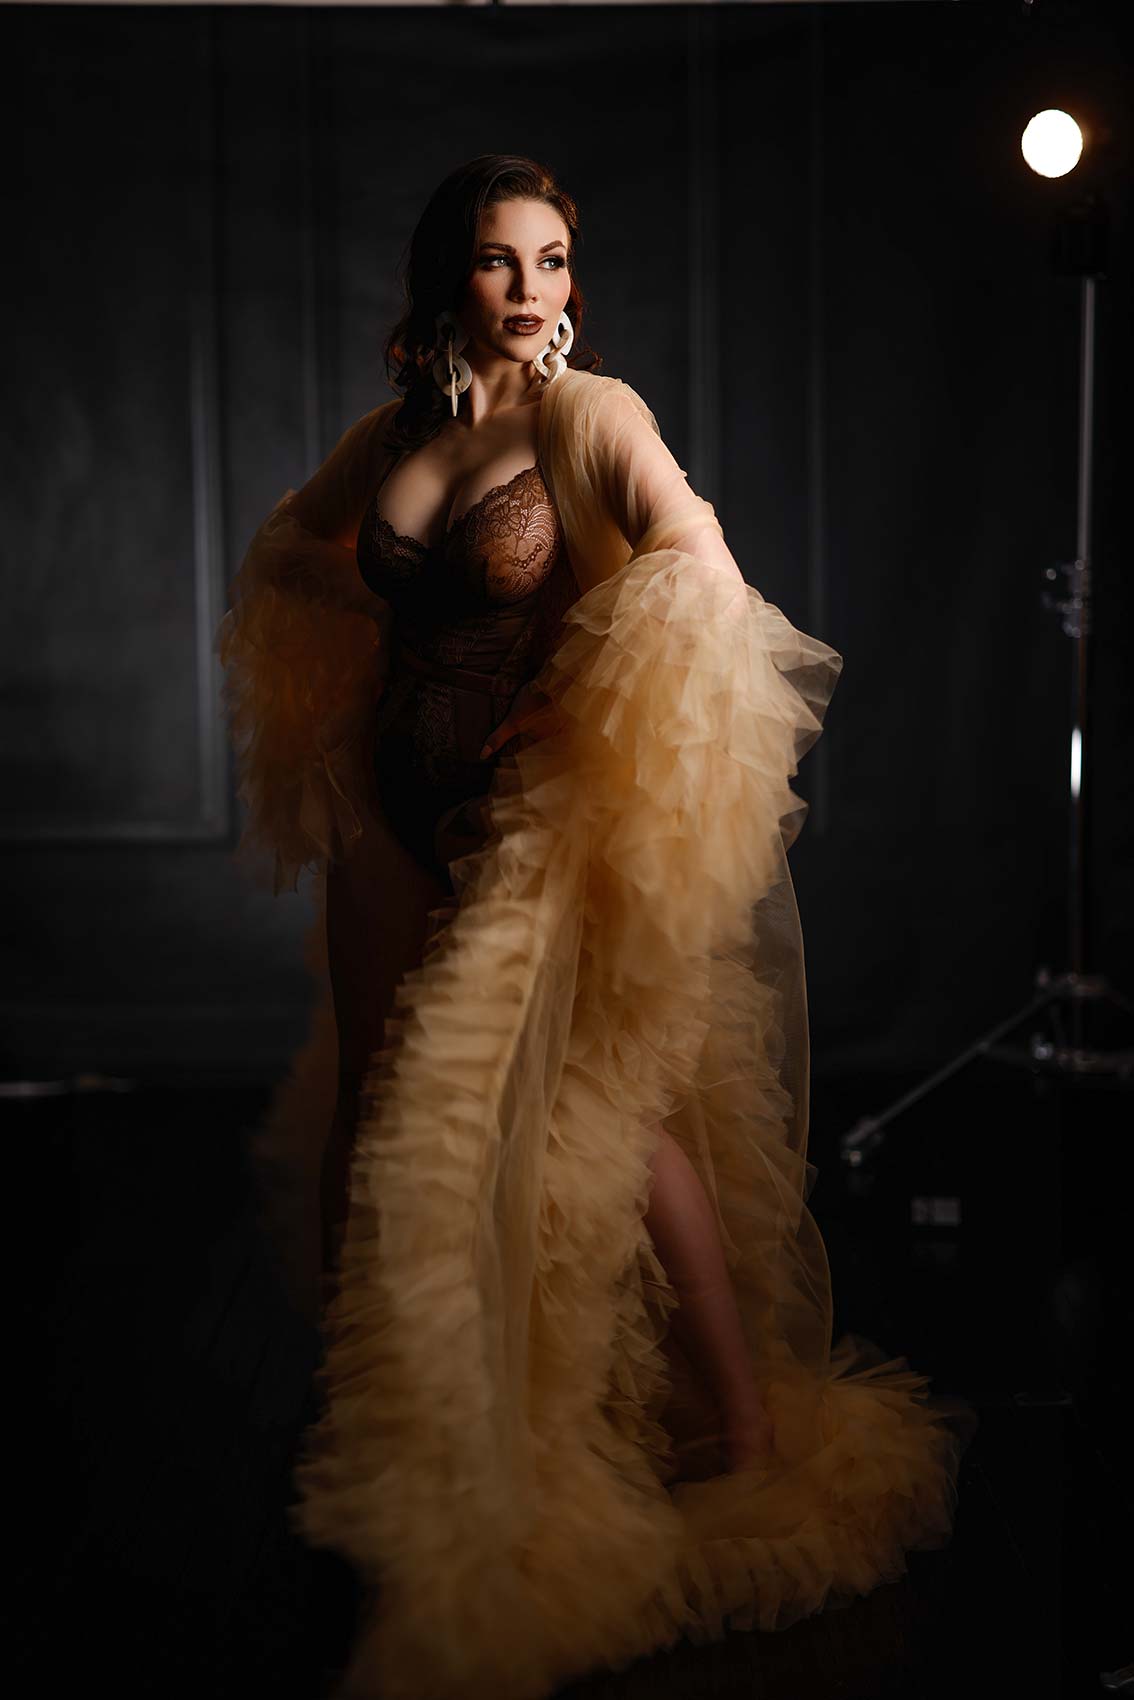
So the first thing I want to do is tell you about the lighting setup that we have. We are using the Westcott L60Bs, and I’ve got a three-light setup here. So I’ve got one light with a one by three strip box, and for the edge light, and I’m going to tell you why it’s on the same slide as the main light in a second here, I’m using another L60-B that is gridded. And to light up the background, I’m using a third light. So we’ve just got three lights set up here. You could do it with one or two, but I think this is most visually pleasing.
Now, something to keep in mind before we get going, shadows are our friends. So the more we light something, the more our eyes are going to be drawn to it. So I’m keeping the main light and the edge light on the same side so that the right side of Lauren’s body stays in shadow. And that’s intentional so that I can hide things the way I pose her, the way I have her hip sitting. It’s hiding in the shadows.
Settings: f/1.2 @ 1/50, ISO 50
Settings: f/1.2 @ 1/50, ISO 50
So the first thing I want to do is show you broad light and short light, and that’s the first step to corrective lighting, if you will, and corrective posing. So remember, your eyes always go to the brightest part, so what I like to do is keep the light on the shortest side of the face. This is what we call broad lighting. This is lighting everything, the broadest side of her face. Her chest is being lit, everything’s being lit with the same light. So it’s going to make her look heavier than she is. Everybody is.
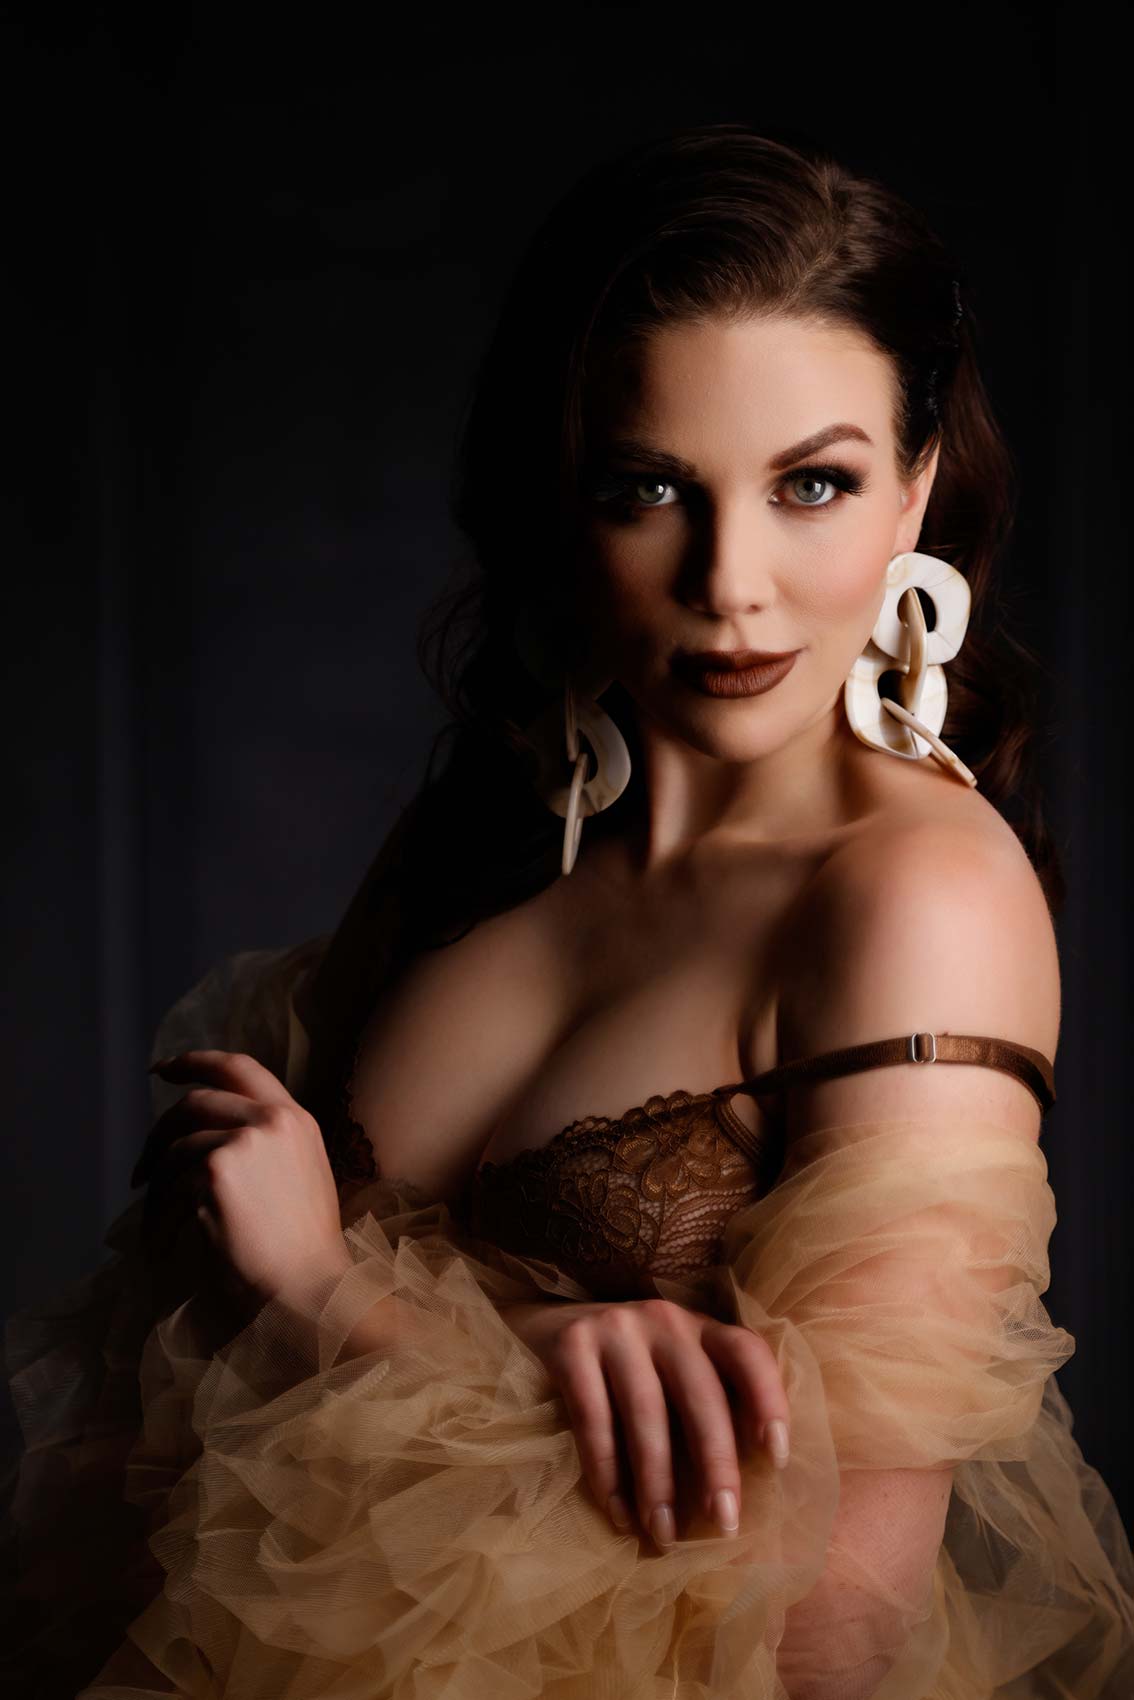
Settings: f/2.8 @ 1/320, ISO 800
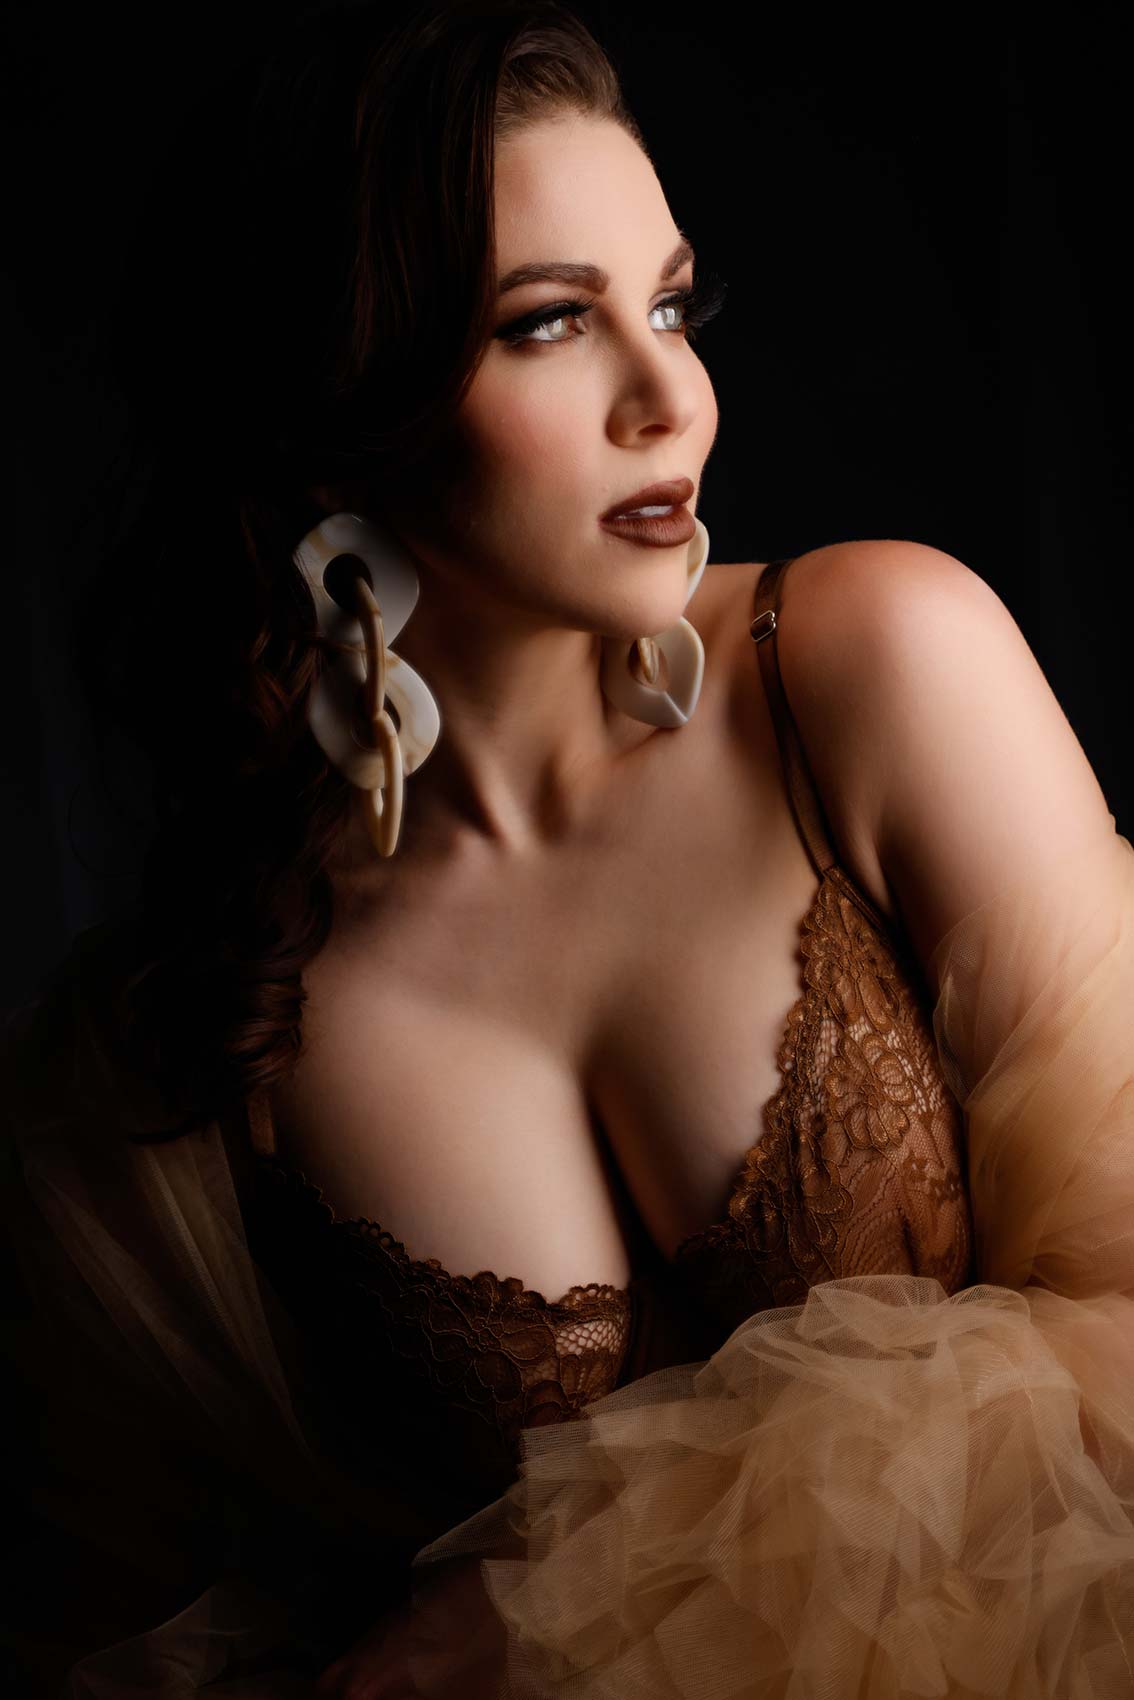
Settings: f/2.8 @ 1/500, ISO 800
And so if you’ve got a size zero model, that’s great. If you’ve got a client who’s a little bit heavier or head-shots or anything like that, we don’t want this broad type of light. There’s a time and a place for it, but typically, if you want to make your clients look a little slimmer, you want short light. Now we’re going to shoot on the side of her face, that has less light on it. We can do things like move the light off to the side. There’s a lot of things we can do. We can have flat light and that’s going to illuminate everything.
What I like to do is change the body angles as well. So we can hide things in the shadows, and then what we’re going to do is bring her face back to camera. Sure, her body’s in the shadow, but we’re lighting up her face. So if somebody’s got a heavy chin, neckline, we’re going to accentuate that. Nobody wants that.
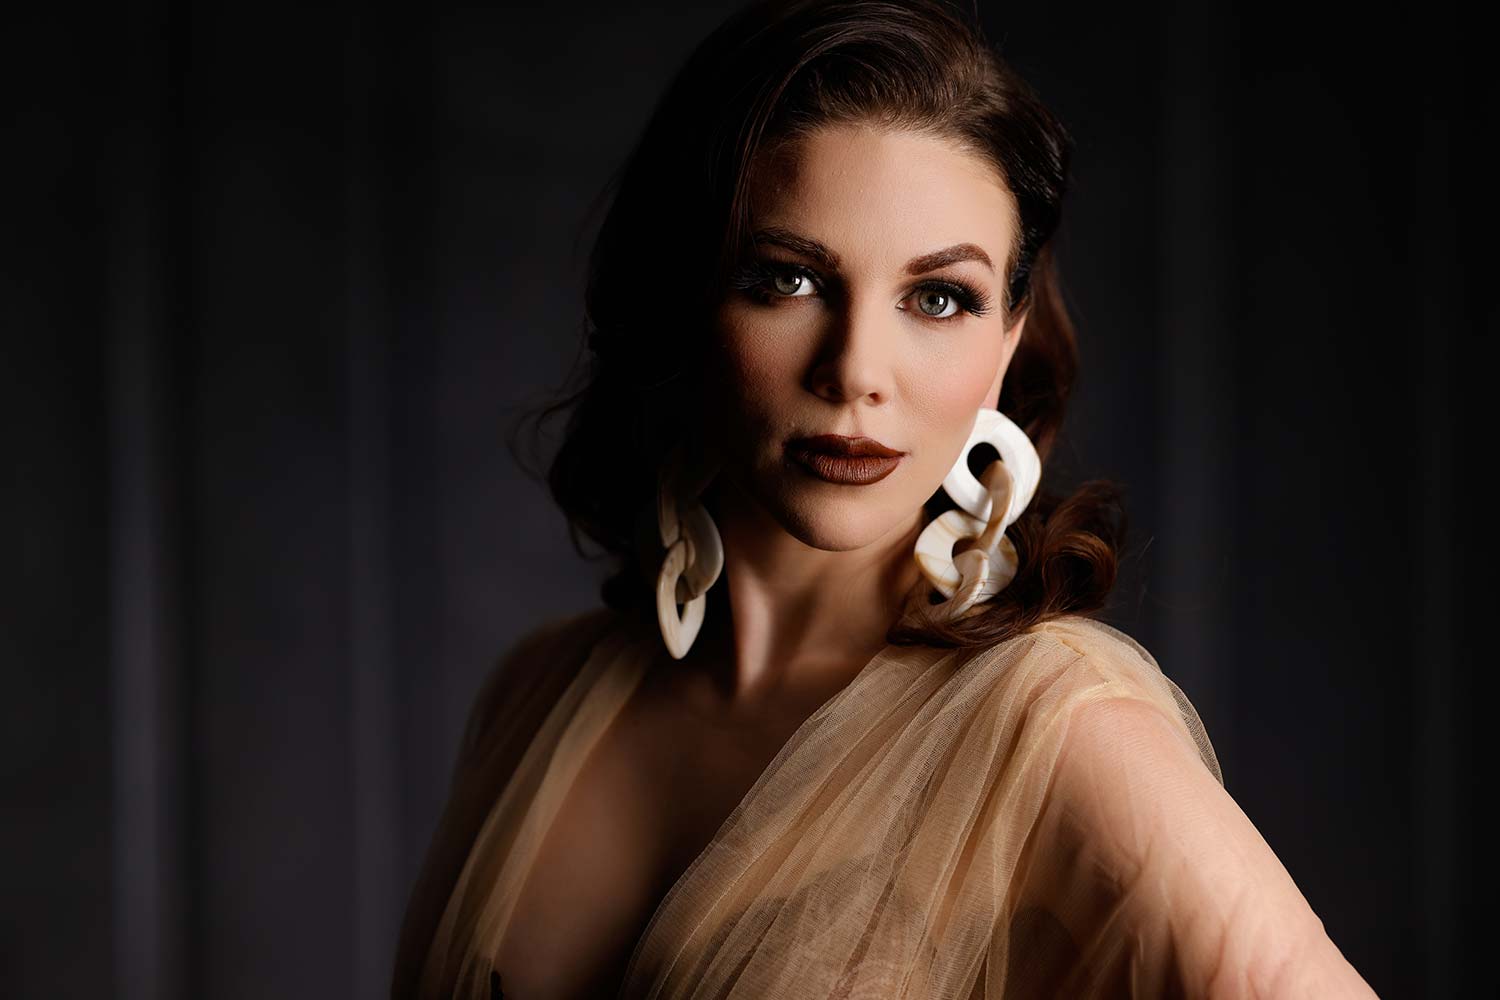
Settings: f/2.8 @ 1/200, ISO 800
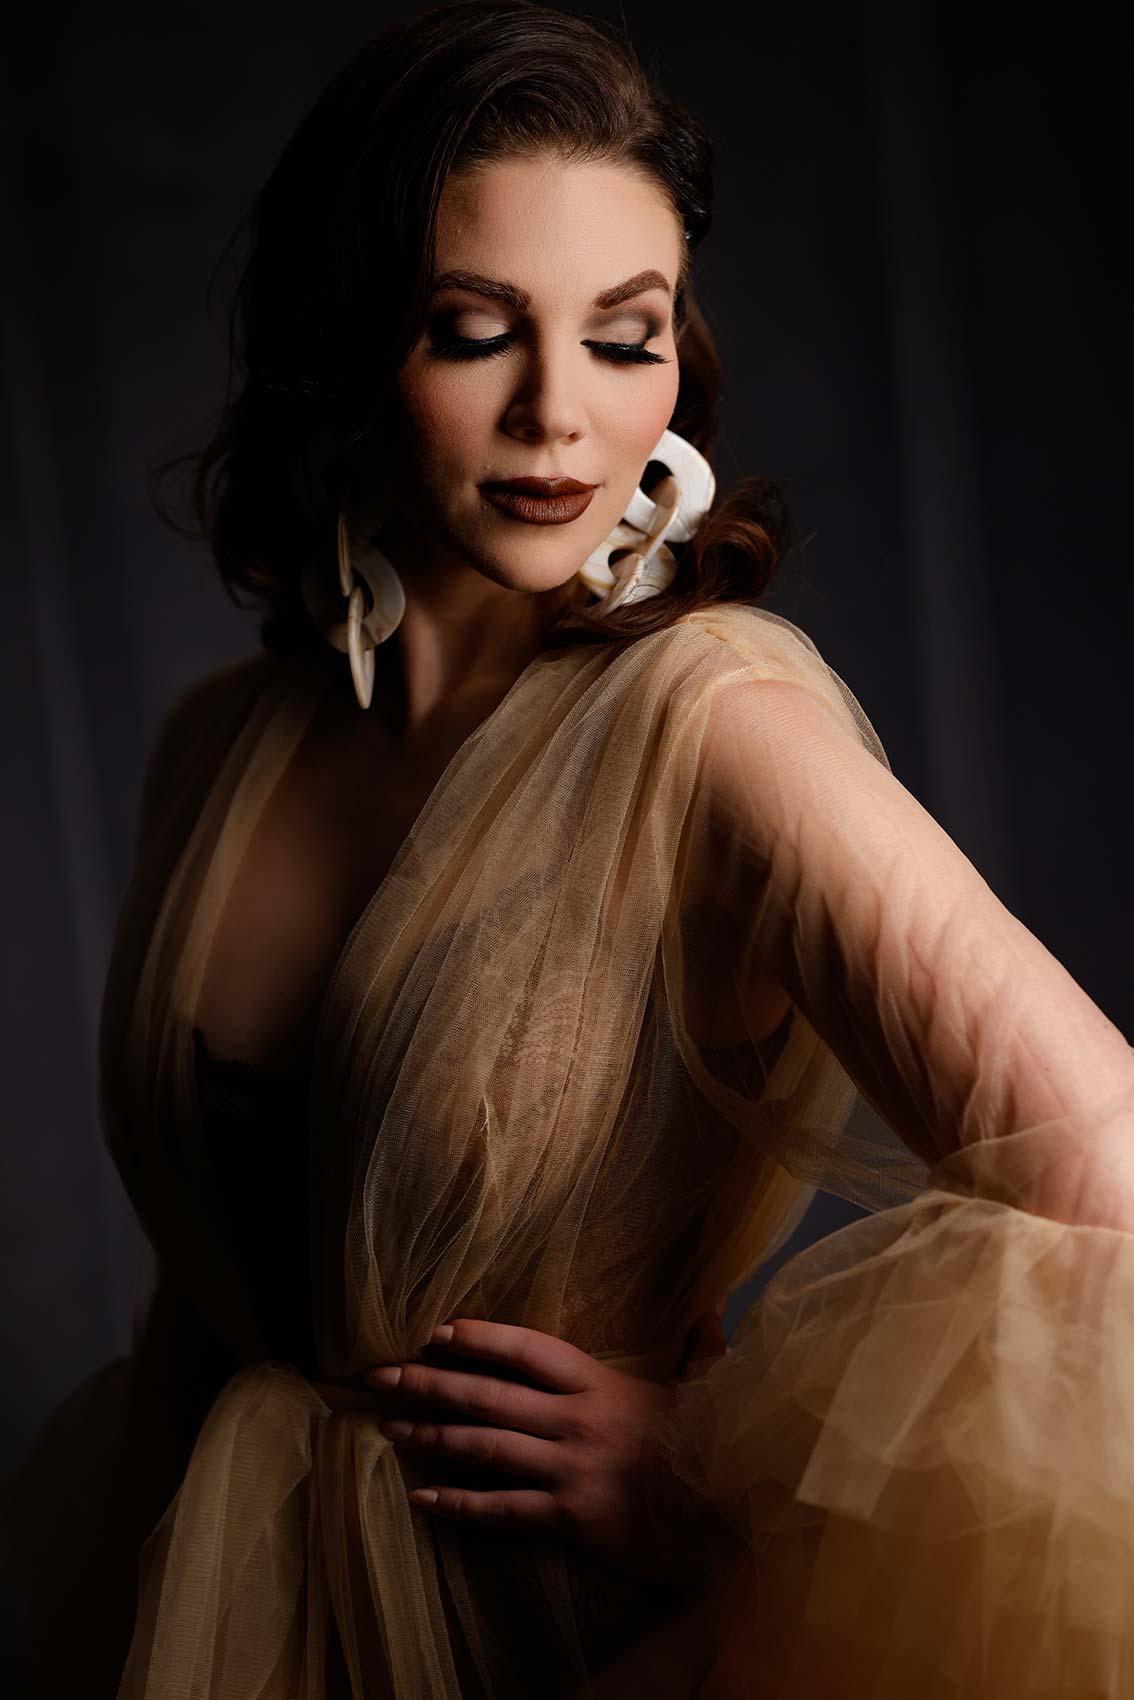
Settings: f/2.8 @ 1/250, ISO 800
So that’s the first thing we can do. Second thing is the way we instruct our clients. So I want to show you guys something. This is really cool to see. So I’m going to show you this two different ways, from the side and from head on. Okay, what’s going to end up happening is you see how we’re creating a double chin? Nobody likes that. So what’ll end up happening is when people put their chin down, naturally it’s going to create a double chin. And I teach my clients to do something I call turtle-ing, which is to push from here, and you’ll see me from the side, chin down, to push out like that. So that’s going to thin out her neck. Now let’s show it from the front. And you’re going to see, it’s very subtle, but this is a huge thing to be able to show your clients. So I highly recommend that you learn how to do this. It feels stupid. And I tell my clients all the time, it’s going to feel stupid, but it’s going to look good on camera.
So those two tips alone, controlling lighting direction and getting them to turtle is going to make a big difference in the way they look. Now, this isn’t just for boudoir. If you’re a boudoir photographer, this is crucial that you understand these two things I just showed you, but I would do the same thing for a bride on a wedding day. So on a wedding day, I would treat this as the window. We all get ready in hotel rooms with our brides. This would be the window light coming in and I would do the same thing. I would turn my bride’s body away from the window light and bring her face back to that window light to create these beautiful portraits. And I would do this no matter their size. It wouldn’t matter. This is just visually pleasing on your imagery and it makes a huge difference in the end result.
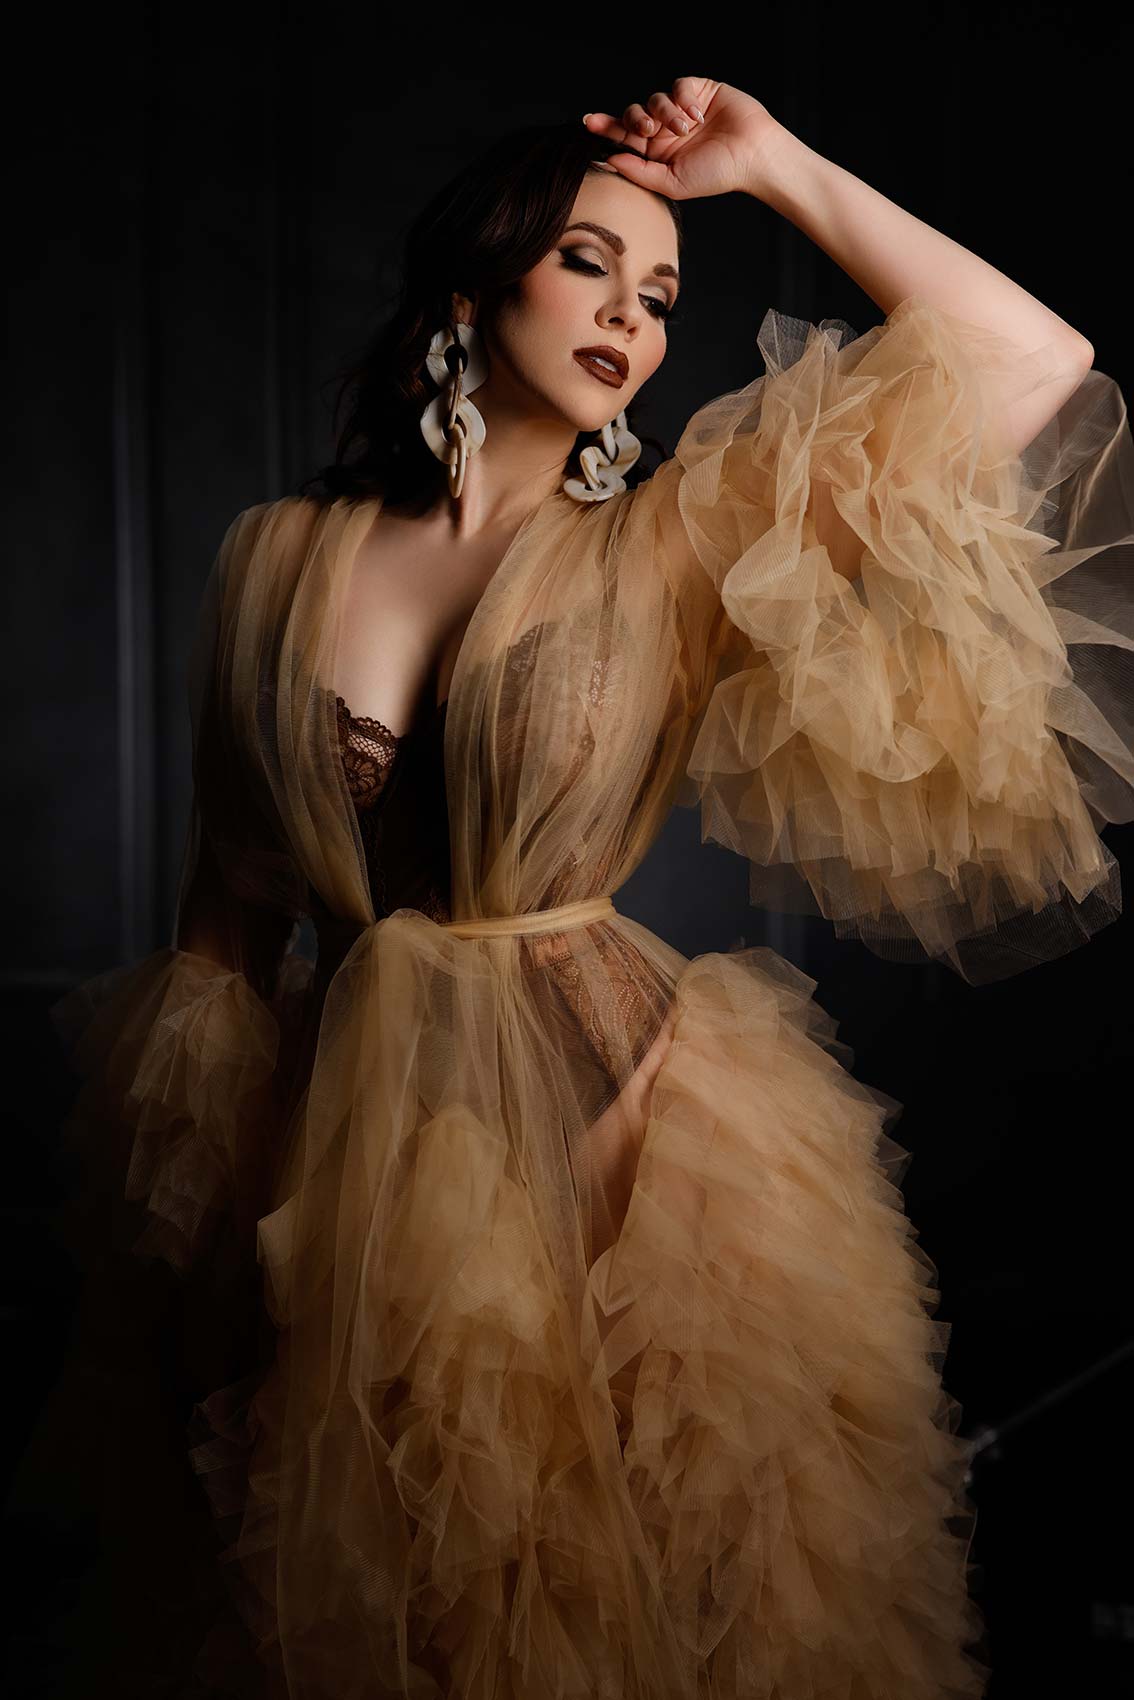
Settings: f/2.8 @ 1/250, ISO 800
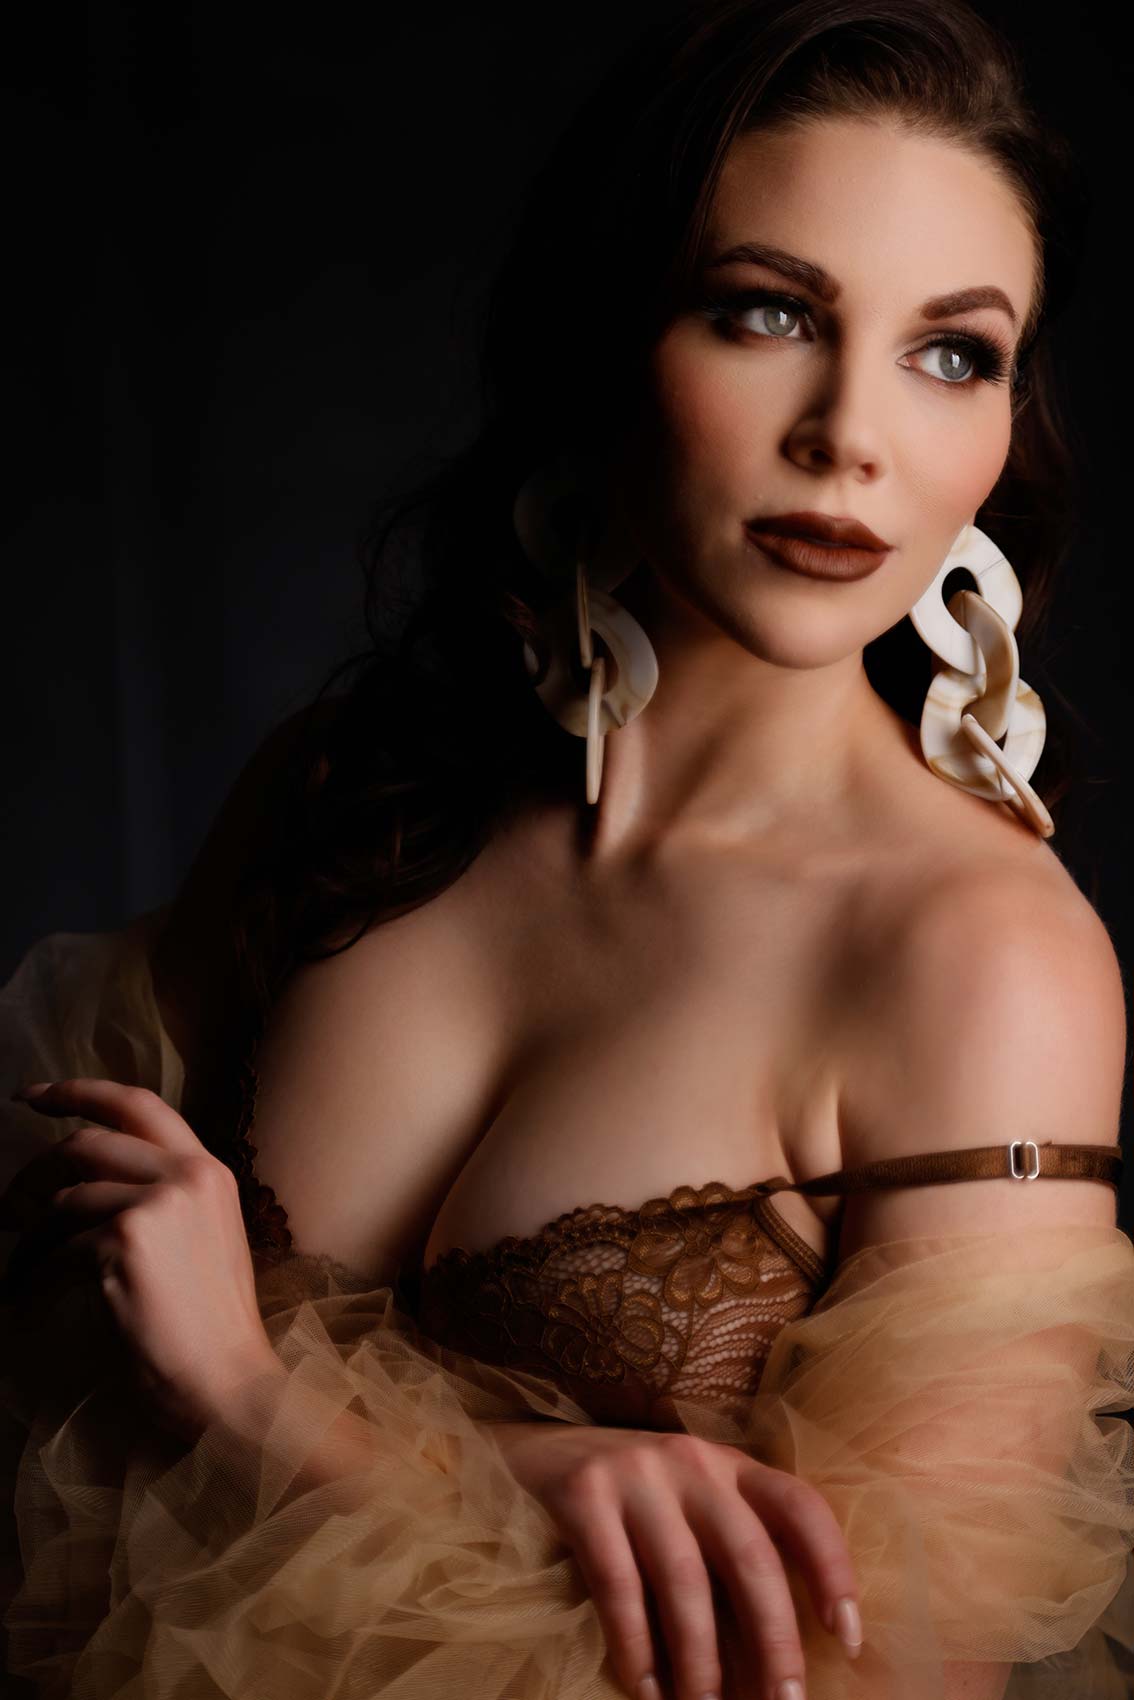
Settings: f/2.8 @ 1/400, ISO 800
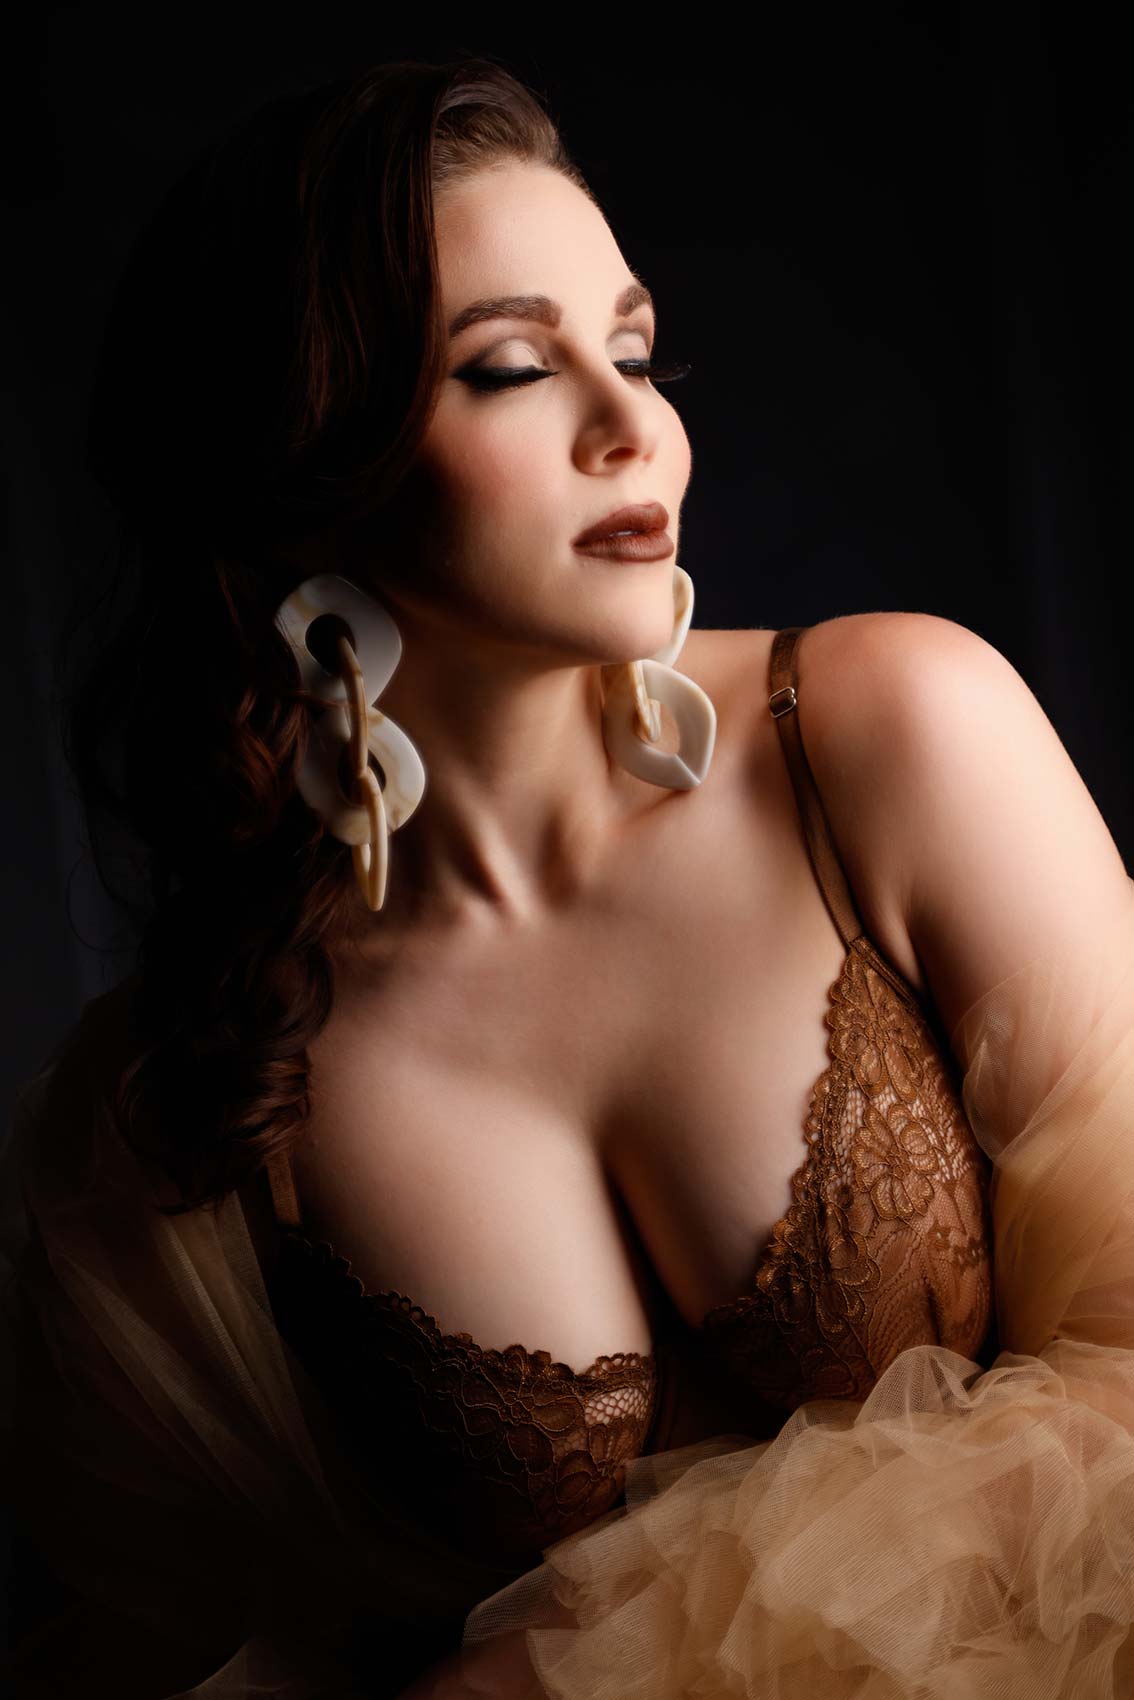
Settings: f/2.8 @ 1/160, ISO 400
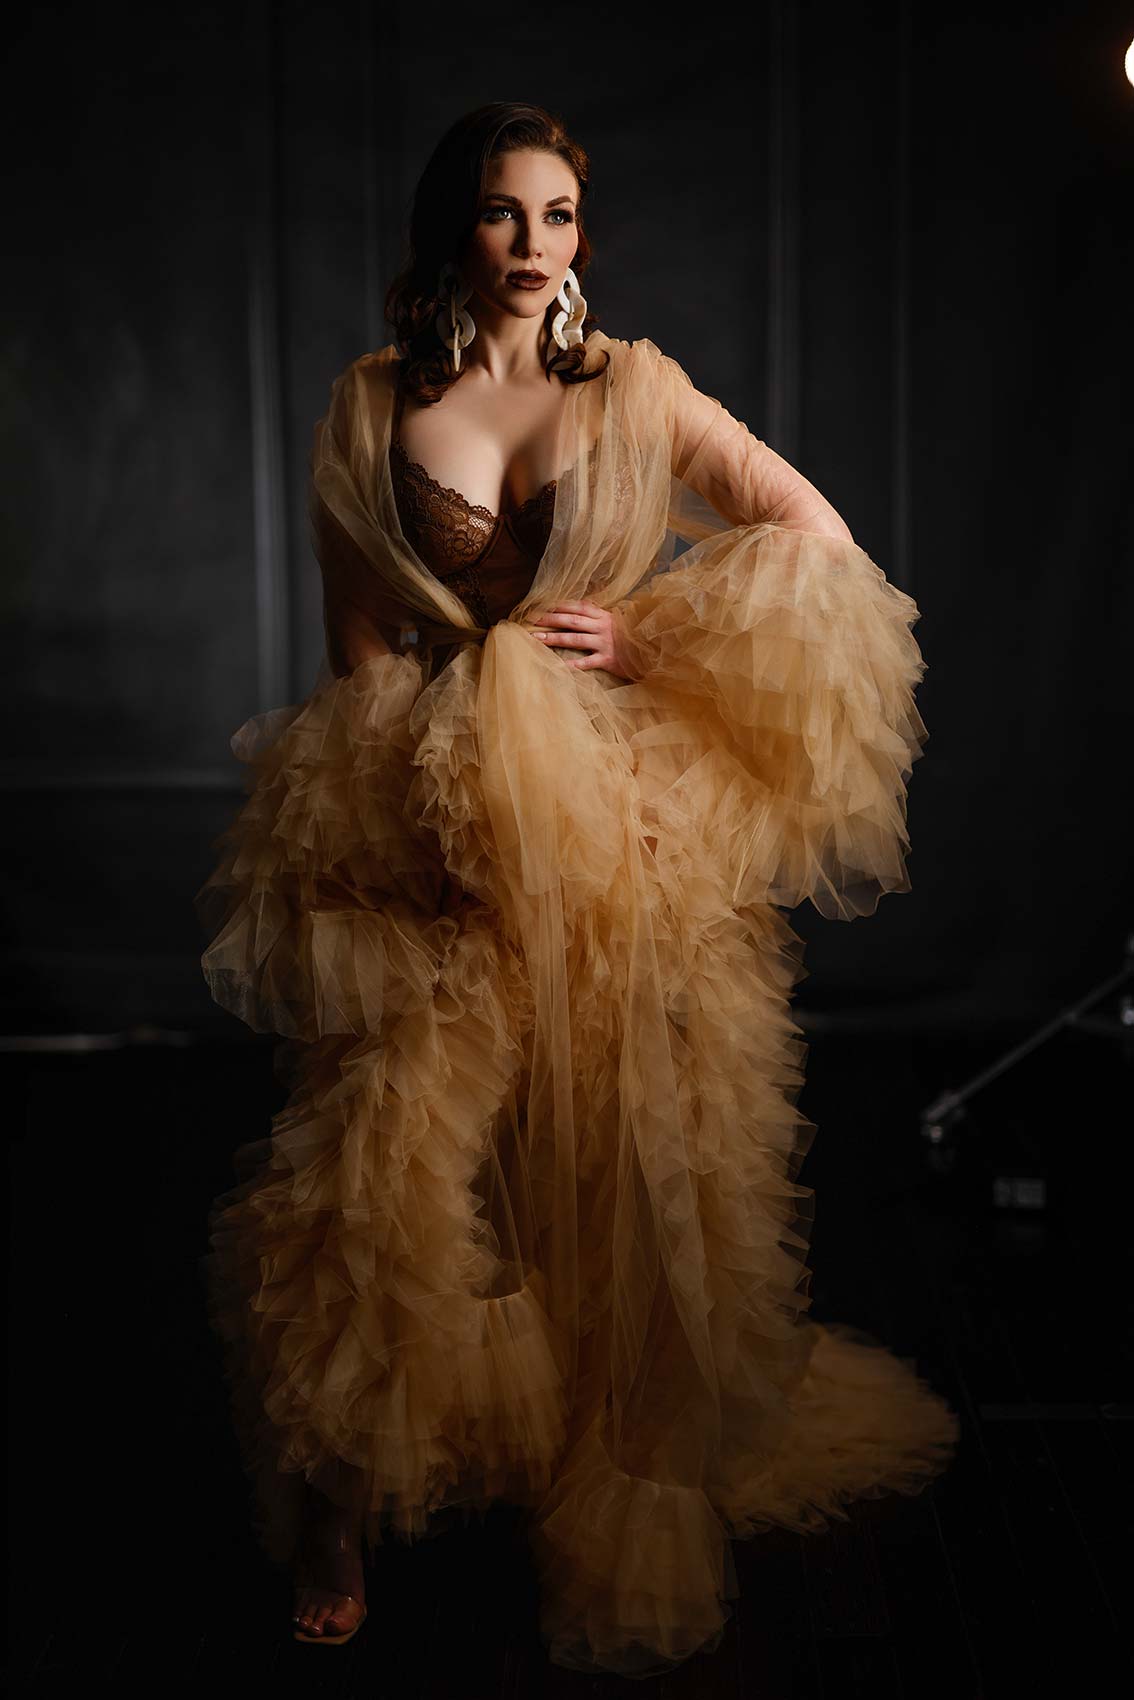
Settings: f/2.8 @ 1/100, ISO 400
All right, so the next tip is wardrobe. Now we can’t always control this. Obviously if it’s a bride on a wedding day, she’s wearing a white dress, right? So you don’t have control of that. But remember, your eye will always go to the brightest part of an image. So if you’re a stylist or you have anything to do with your high school seniors, or maybe it’s engagement photos or stuff like that, the brighter the color, the more attention it’s going to draw to it, again, because your eye will always go to the brightest part of an image. So here she’s in very muted tones. Even though this is a brighter color, it’s in the brown family. So it’s not stark white, it’s brown. And then the undergarment is also a darker brown. So darker colors allow you to hide more things in the shadows, which is another good thing.
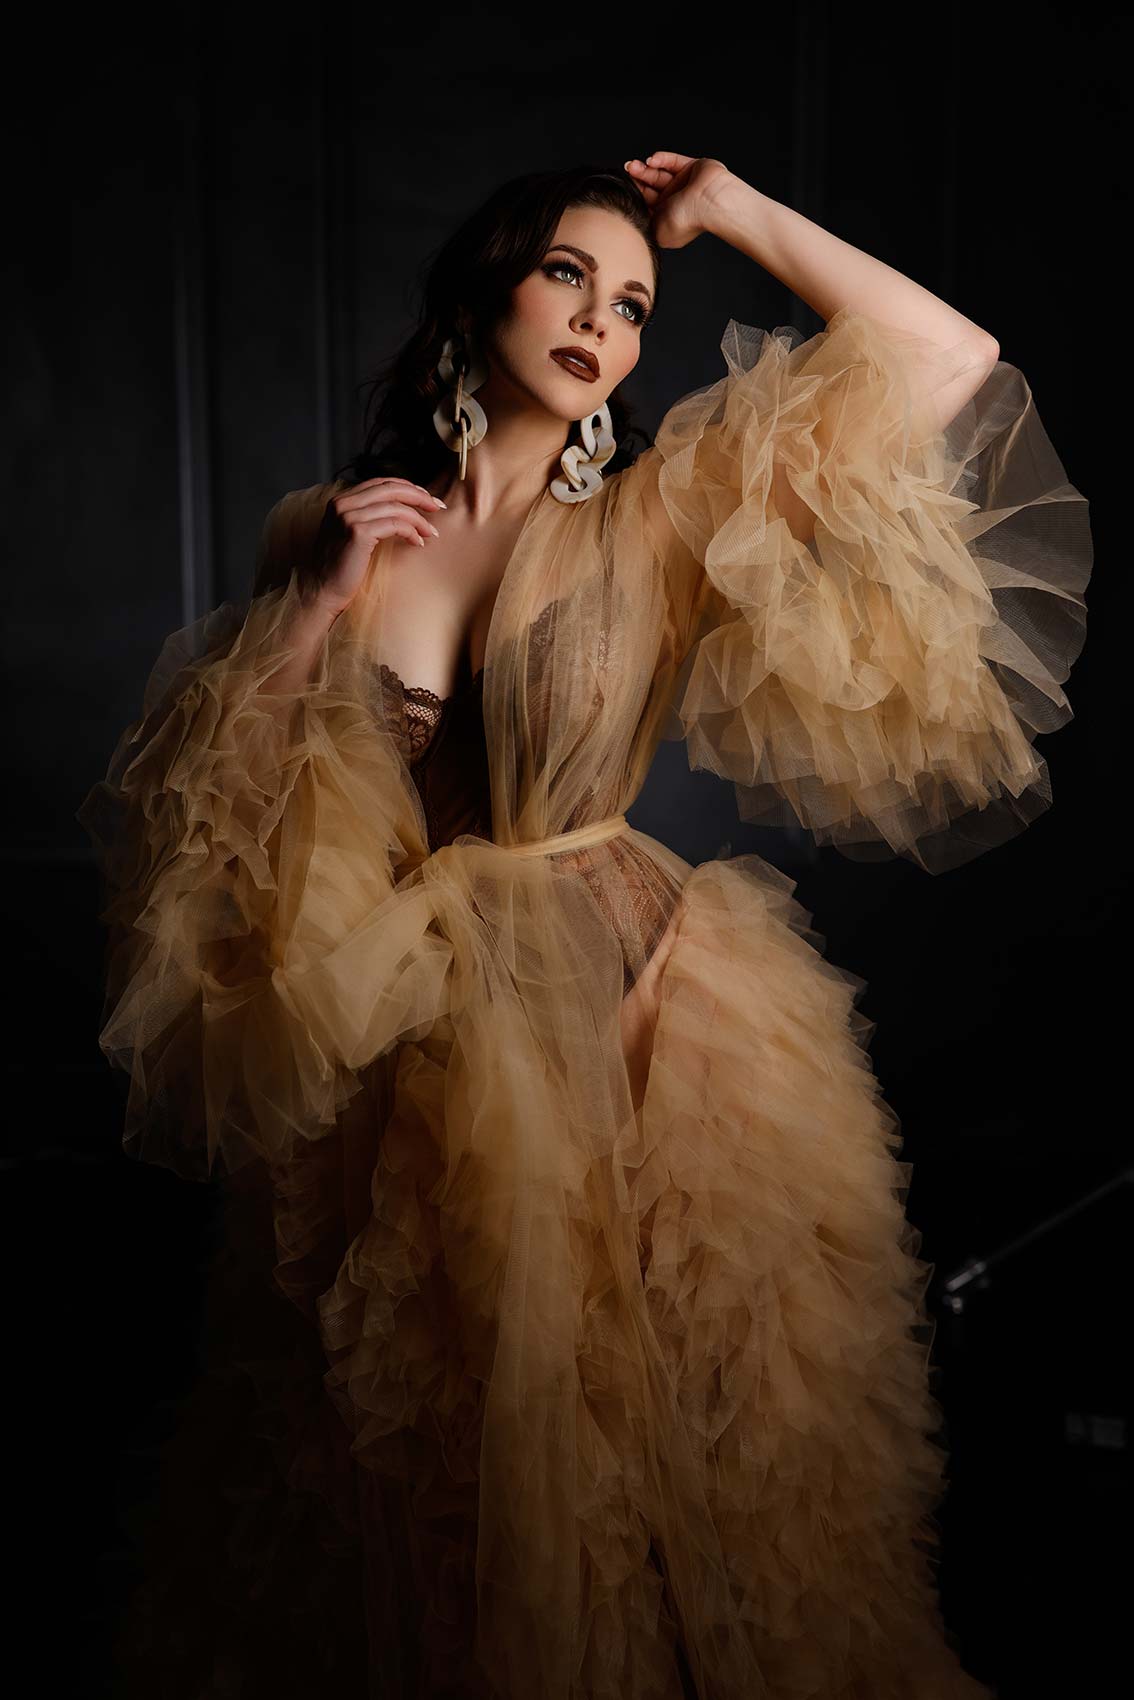
Settings: f/2.8 @ 1/250, ISO 800
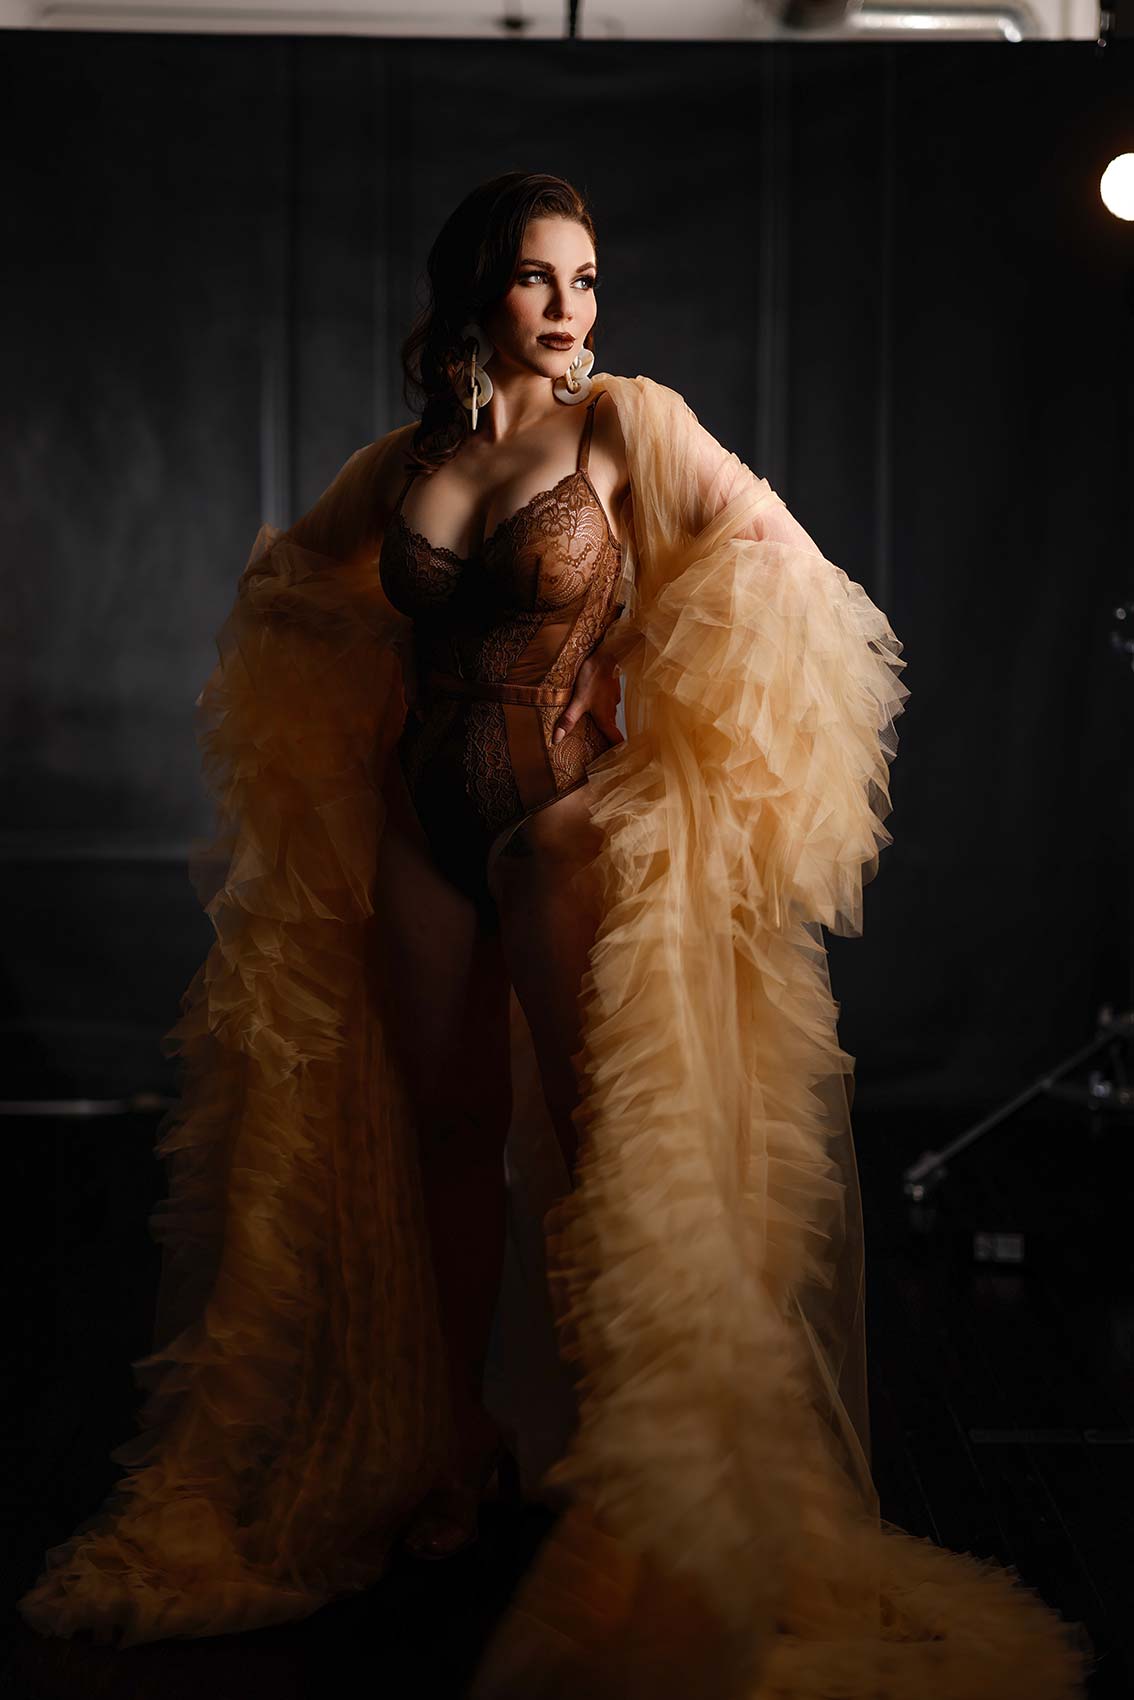
Settings: f/1.2 @ 1/50, ISO 50
And then the final tip I want to give you, and I’m going to shoot this to show you, is your focal length. This makes the biggest difference, and you again have complete control of it as a photographer, your focal length. So the wider I go, 24 millimeter, I know many of you love working with that 24-70 or a 50 millimeter even, but it starts to accentuate all the wrong features for your clients. So it’s going to make their nose look bigger, their face look bigger. Whereas if you start getting into more 100 millimeter, 85 millimeter is a perfect portrait lens, 100 millimeter, even a 200 millimeter lens, obviously you have to go further back, you’re going to start compressing features, and you’re going to again control that final look and make them look their best. It’s much more visually pleasing. Again, if you’re a boudoir photographer, you can’t shoot boudoir with a 200 millimeter lens in a hotel room if that’s where you’re doing it.
So you just have to know how to do all these things, and let me show you the difference between shooting this with a 24 millimeter and shooting this with an 85 millimeter or a 100 millimeter. I’m sure you’ll agree, the difference is quite dramatic.
50mm
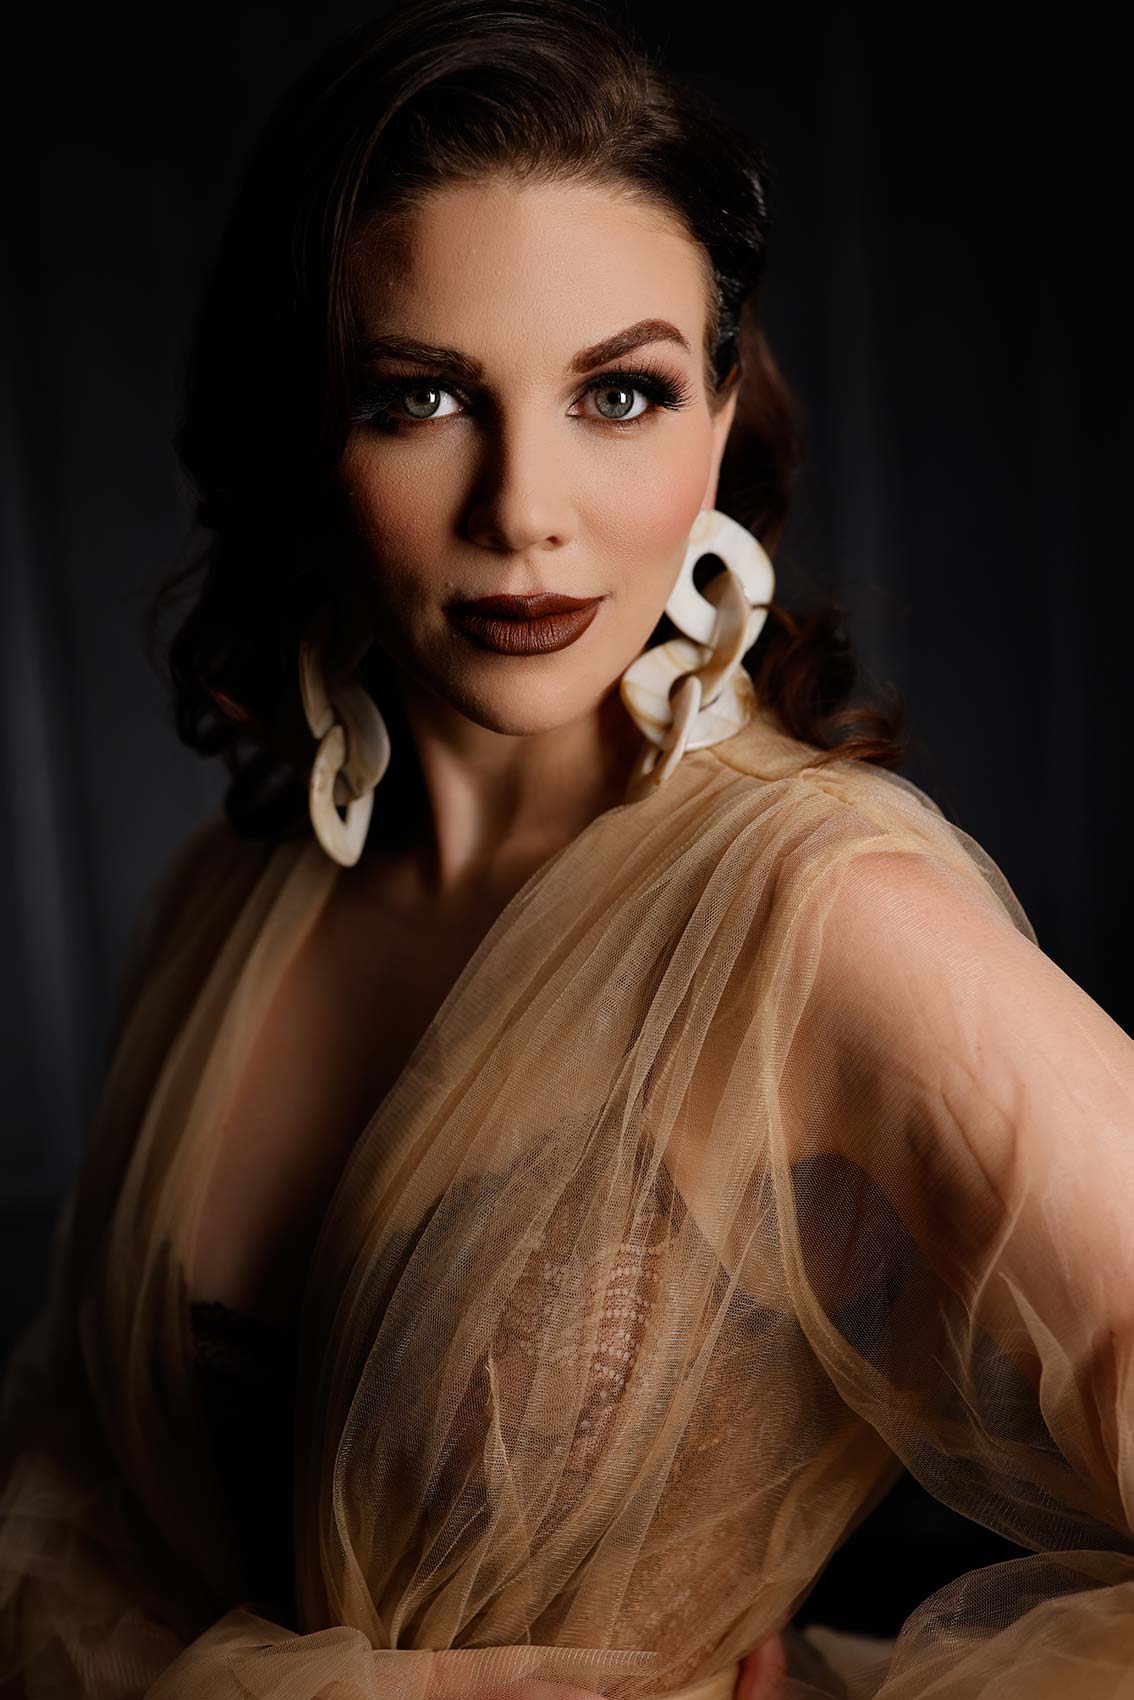
Settings: f/2.8 @ 1/200, ISO 800
85mm
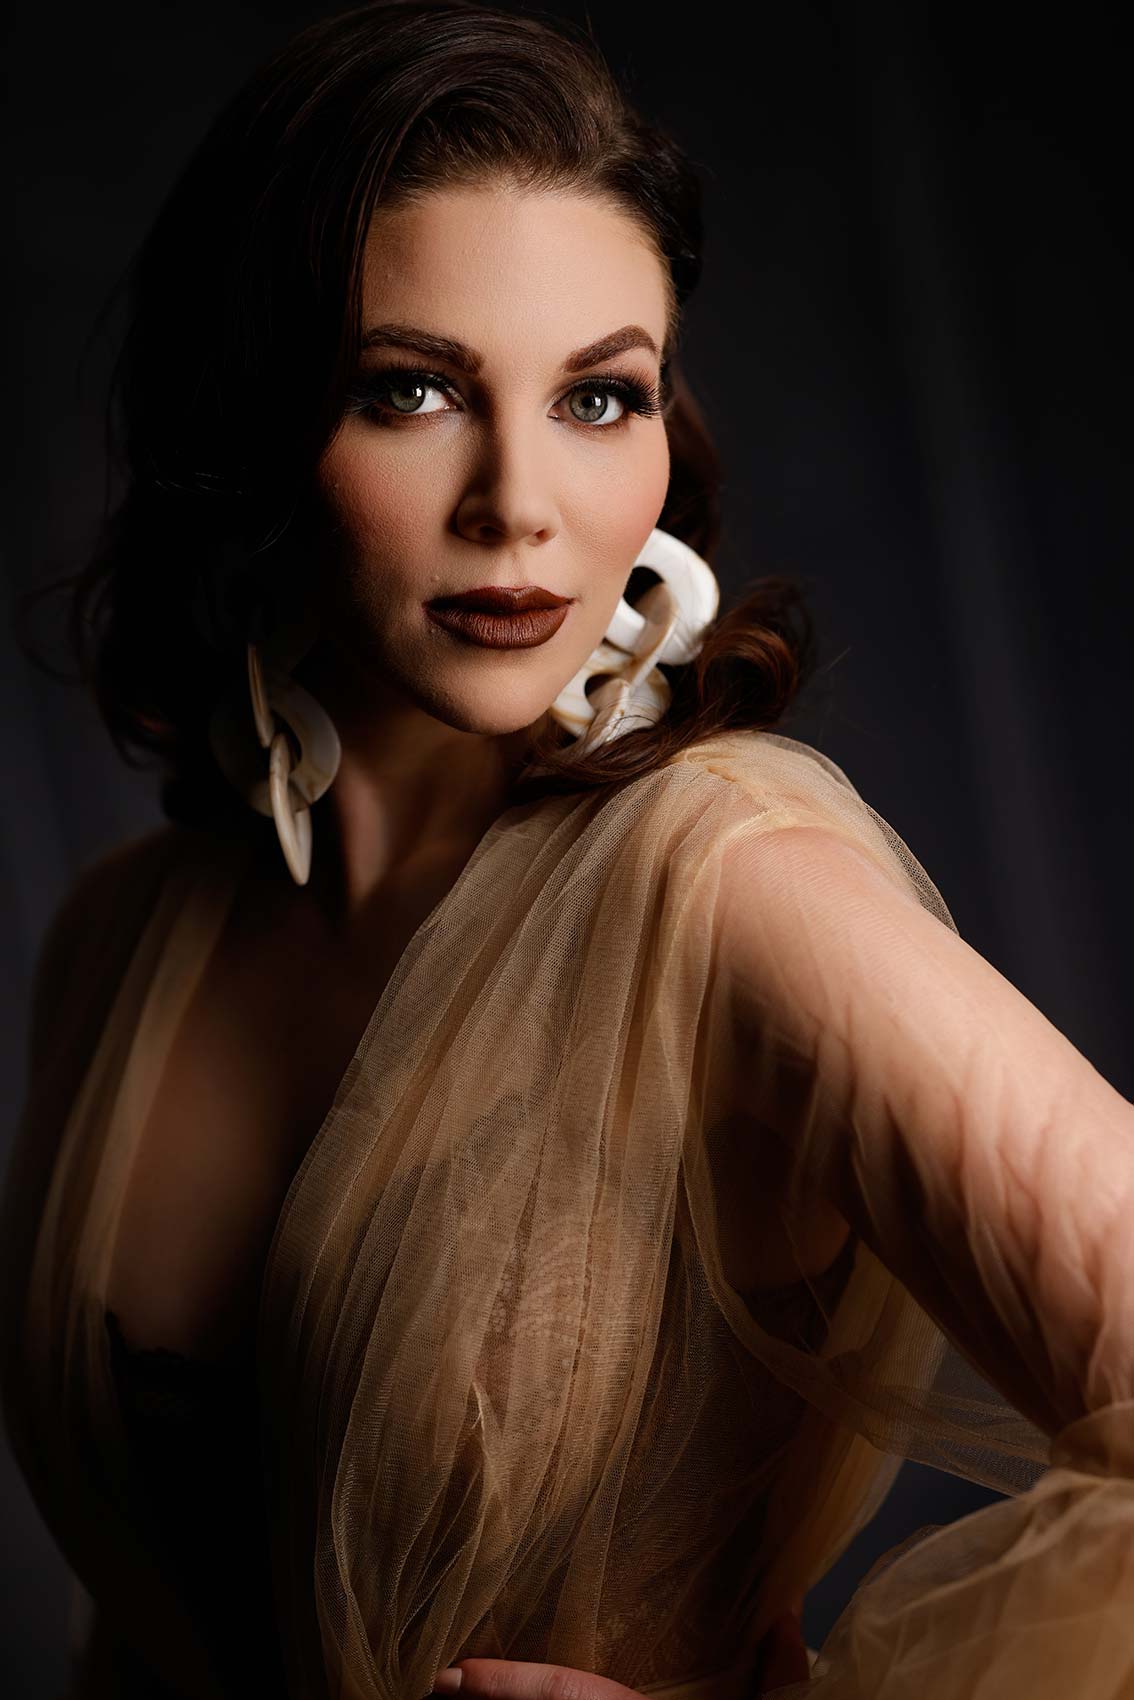
Settings: f/2.8 @ 1/200, ISO 800
100mm
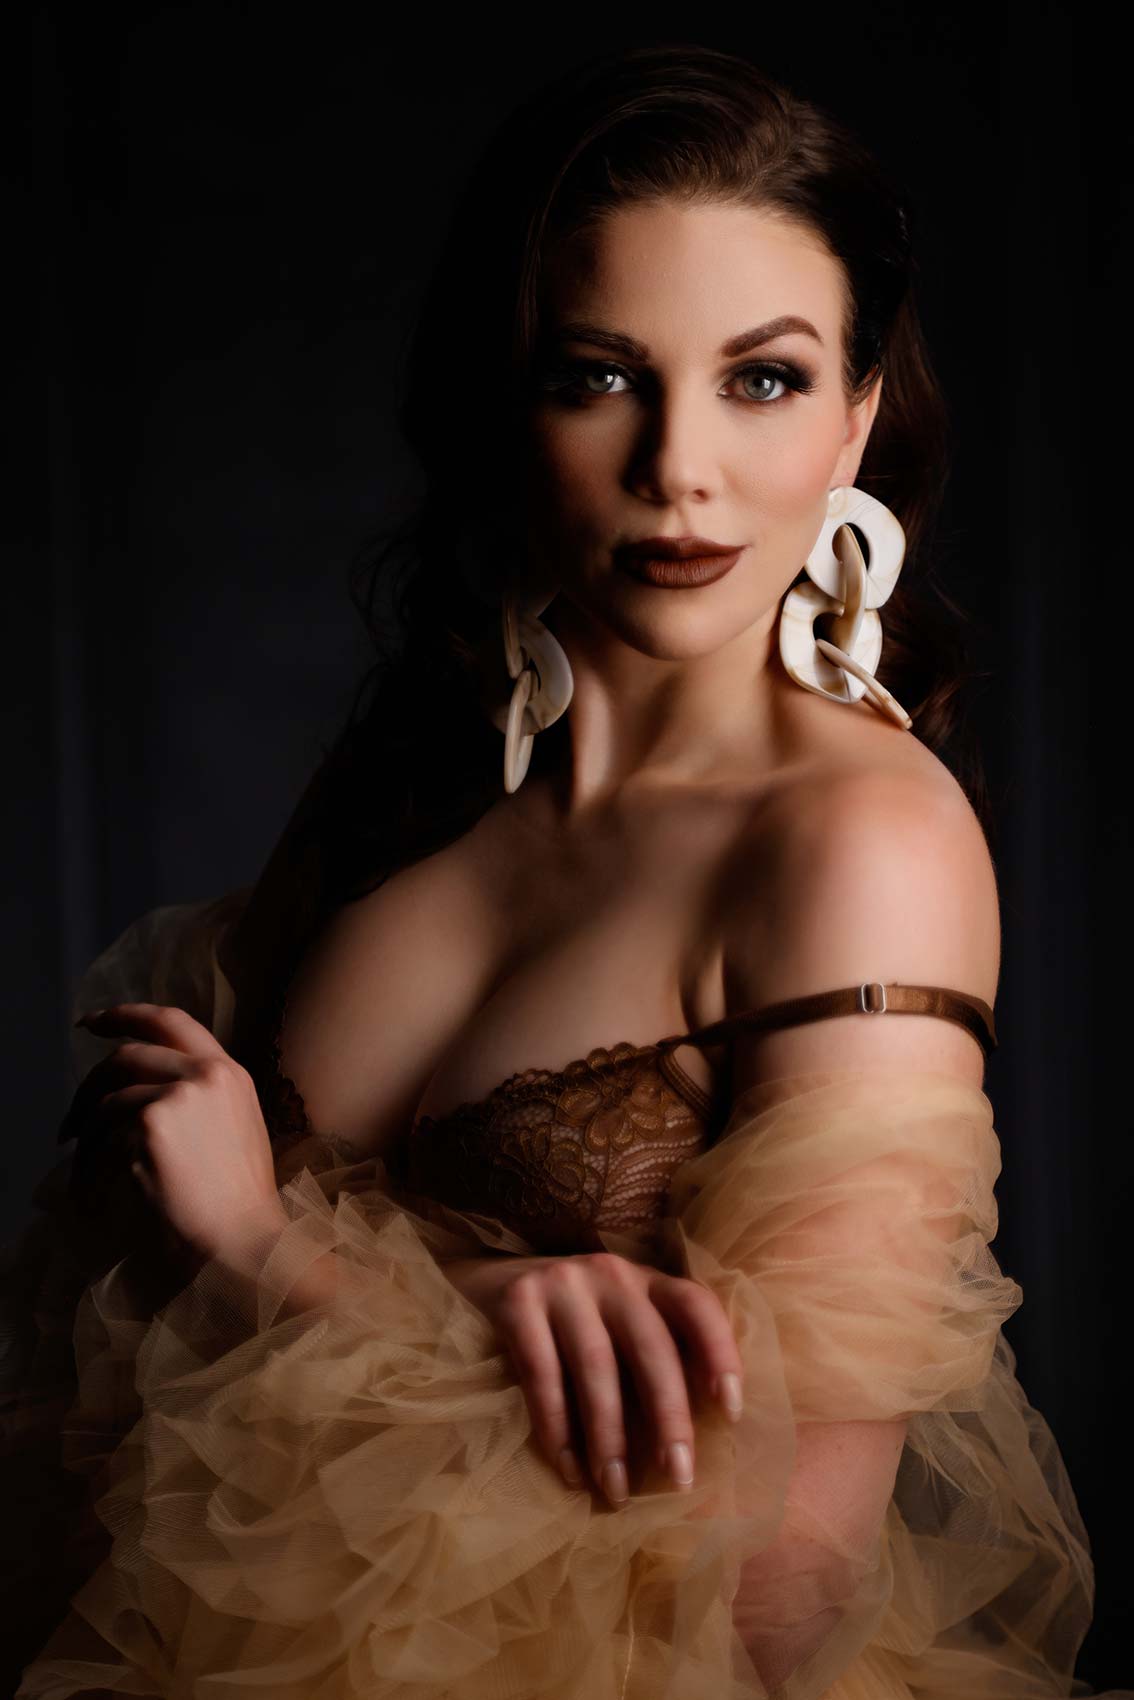
Settings: f/2.8 @ 1/320, ISO 800
These are the choices you have to make when you’re working with your clients, but this is what they’re paying you for, right? To be experts. I do like the 100. I think that ends up photographing really, really well. So you guys will have to let me know in the comments. Hopefully this has helped you, especially if you’re a photographer and you want to help your clients look their best. Again, this applies to head-shots, weddings, boudoir, any kind of corrective posing you want to do. It’s super easy with this setup. It doesn’t have to be just studio lights. You can do it with strobes, obviously indoor, outdoor. You can do it with natural light. You control this with the way you are posing and shaping your client’s body. And remember shadows, that’s where you hide the shit. Hide it in the shadows. We’ll see you in the next video.


