
Ready to take your photography lighting to the next level? In this previously recorded live webinar, in our photography studio we go through some simple techniques for using continuous lighting for boudoir photography to create some epic portraits. Personally, I love continuous lighting because it allows you to see exactly what you are doing in real time.
Equipment Used:
Camera: Canon EOS R5
Lens: Canon RF 28-70mm F2 L USM
Light: Forza 60C
Team:
Photographer: Sal Cincotta
Model: Kristina Lin
Hair & Makeup: Brandi Patton, ReFine Beauty
What’s up everyone? My name is Sal Cincotta. Before we get started, we’ve got two beautiful models today. They might look a little familiar if you watched the Creator series. We’ve got Christina behind me. So, let’s get serious for a second and talk about the setup. Here’s the breakdown of what I’m working with today: I’ll be shooting tethered so you can see everything in real-time. I’m using the Canon EOS R5—not the R2—with a 28-70mm lens.
However, I want to spend just a couple of minutes to explain my thought process on lighting. In my opinion, boudoir photography is exploding everywhere right now—it’s become mainstream. About 10 or 15 years ago, when I started to introduce boudoir here in the Midwest, it was always looked at. Everyone was like, “Eh.” It was just that brother, eh. I can be hip sometimes. Anyway, it was always that kind of thing, and now it’s become more mainstream, whether it’s after COVID or for whatever reason. If you’re a boudoir photographer, you’re probably thinking, “Shut up, Sal, don’t teach this stuff.” But the reality is we need to elevate what boudoir means. Now, my personal philosophy—and you may or may not agree with me, which is okay either way—is that I don’t like the term boudoir. I’d rather expand the category to be more along the lines of beauty.
I think when you expand the category to beauty, what ends up happening is that you broaden your appeal beyond just twenty-somethings. Typically, you have two main audiences: the twenty-something bride-to-be, who’s getting a gift for her fiancé, and then the 40 to 55-year-olds experiencing a midlife crisis, with kids out of the house. That’s totally cool, and there’s plenty of money to be made in both.
The bigger picture is that if you change your vernacular to beauty, it can be everything from boudoir to beauty portraits. What we’re finding is that the 55 to 70-year-old demographic doesn’t want to be in lingerie, but they do want to be sexy and maybe have a stylized shoot. So, is that boudoir? By definition, probably not. But this is where we can all expand the market. You’ll have clients who want traditional boudoir and others who want full beauty.
All that to say, this idea of being in a hotel room with natural light spilling in or just doing high-key light portraits—I think everyone’s doing that, right? It’s this kinda light and airy style, and not that it’s necessarily light and airy, but in the wedding industry, everyone who didn’t fully understand lighting was doing it.
What I want to challenge you to do today is to think a little differently about how you light your boudoir portraits. Consider including some color, including different backdrops, and stylizing them a little bit more. If you can do that for your clients, your work will stand out. Flash can be overwhelming sometimes, and introducing gel with flash can be overwhelming sometimes. What ends up happening, though, is that when you’re using continuous light—which is really what I want to talk about today—what you see is what you get. It’s super simple.
Let me show you what we’re using today. Let me just unplug it. This is the main light we’ll be using today. This is a Nanlite Forza 60C, which comes in a three light kit. So no matter where you go, you’re going to have it in this kit. It also serves as a nice little seat while you’re working, if you want to be a little lazy.
And you can go full RGB or just bicolor, where you are going from about 5,500K all the way down to probably twenty-something hundred. This allows you to choose between a warm orange look versus daylight balance. These lights are very portable; they can handle batteries or be plugged into the wall, making them very usable. I’m going to show you all that today. But I really think this is a great kit if you’re shooting in a studio or a small space. I have no idea how much it is. By the way, I’m not here to sell you this lighting; I’m just showing you what I’m using.
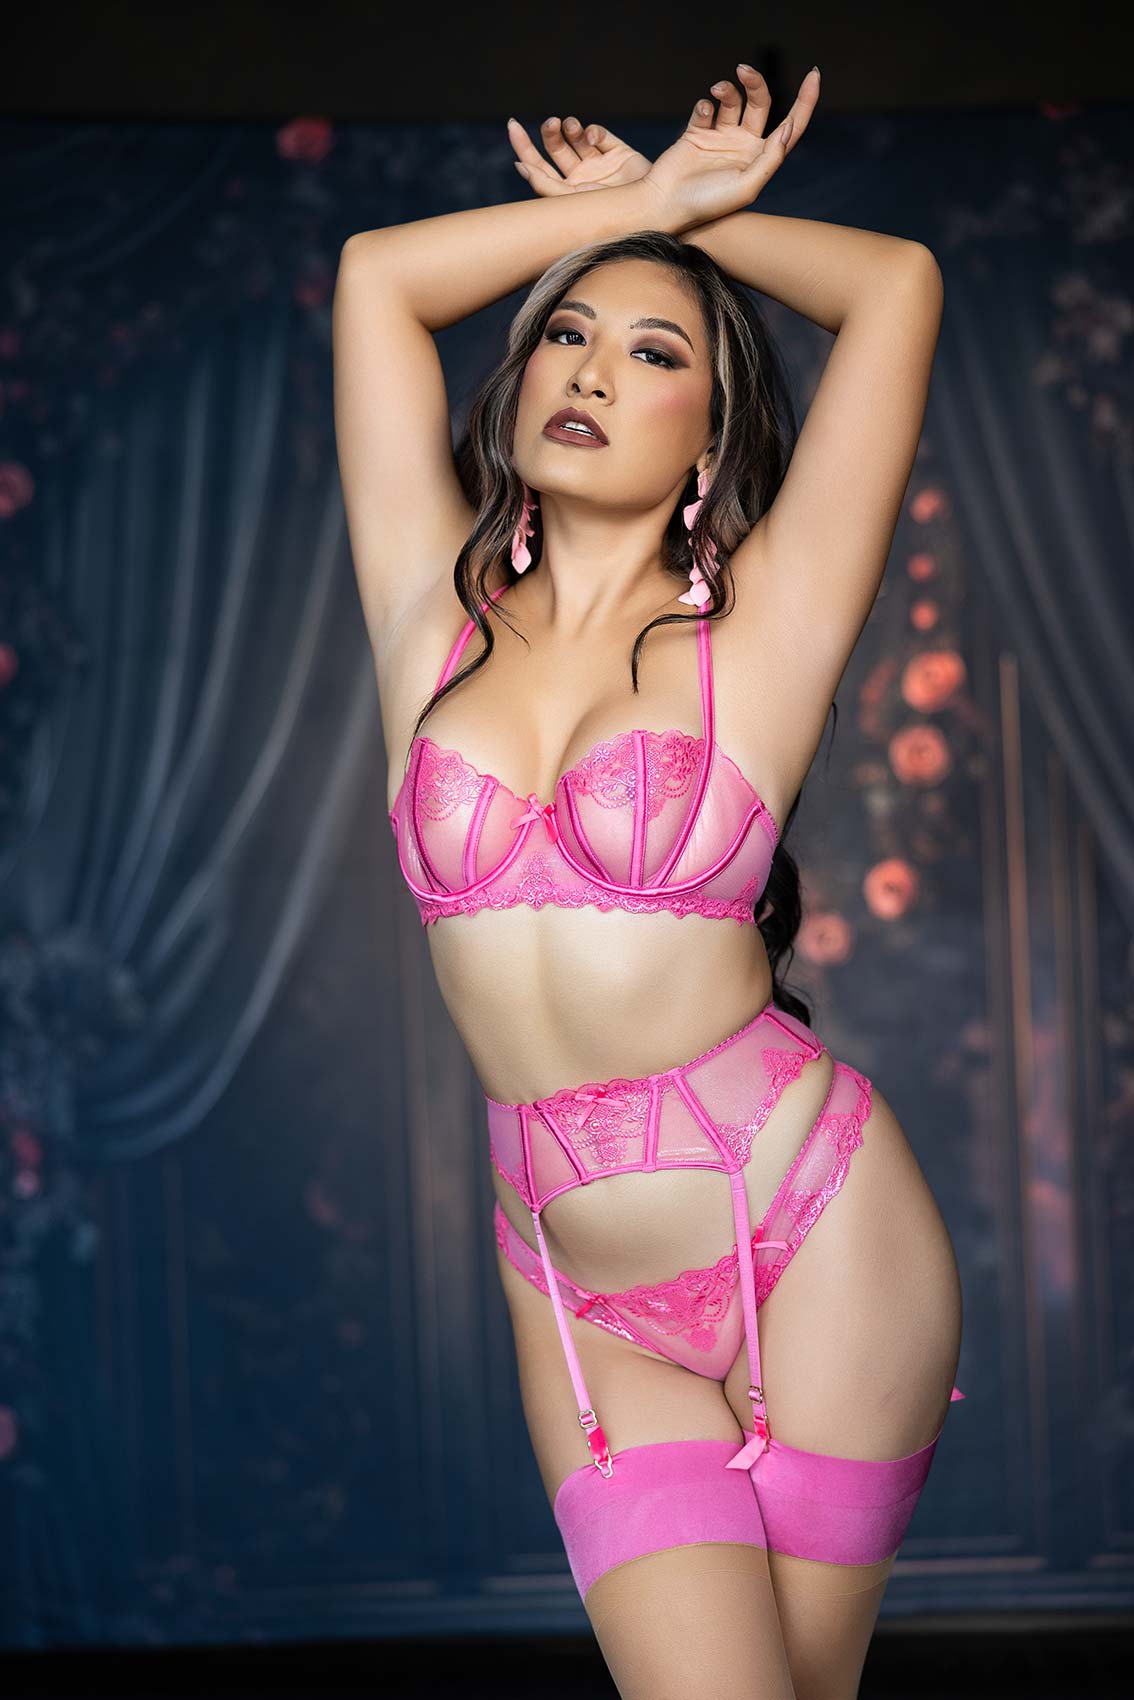
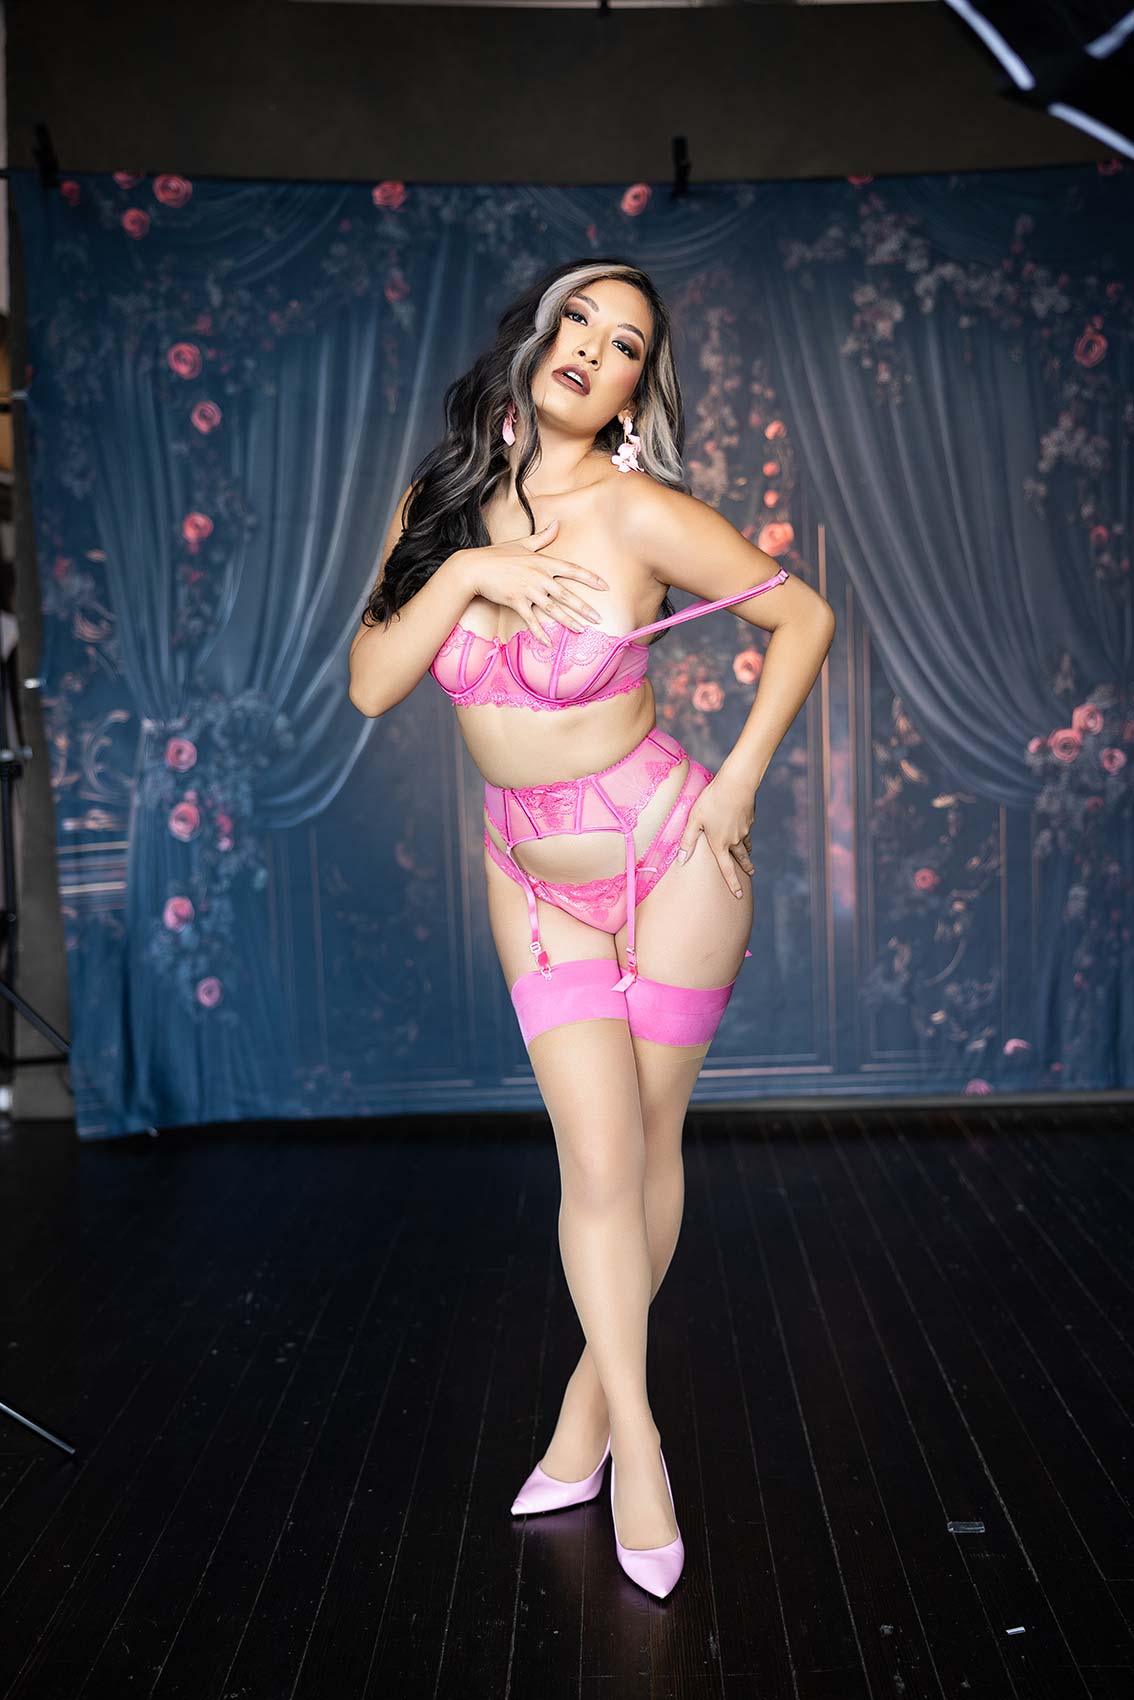
All right, so what we have here on Christina is just this one light right now. I’m using an octabox for the Forza 60, and we have a grid on it to really focus that light. If I want it to be a bit softer, we can soften it up a little bit. I’m going to have this right in here on her, and I want it to be somewhat directional. I don’t want this light to be flat on her face or have it off to a 45.
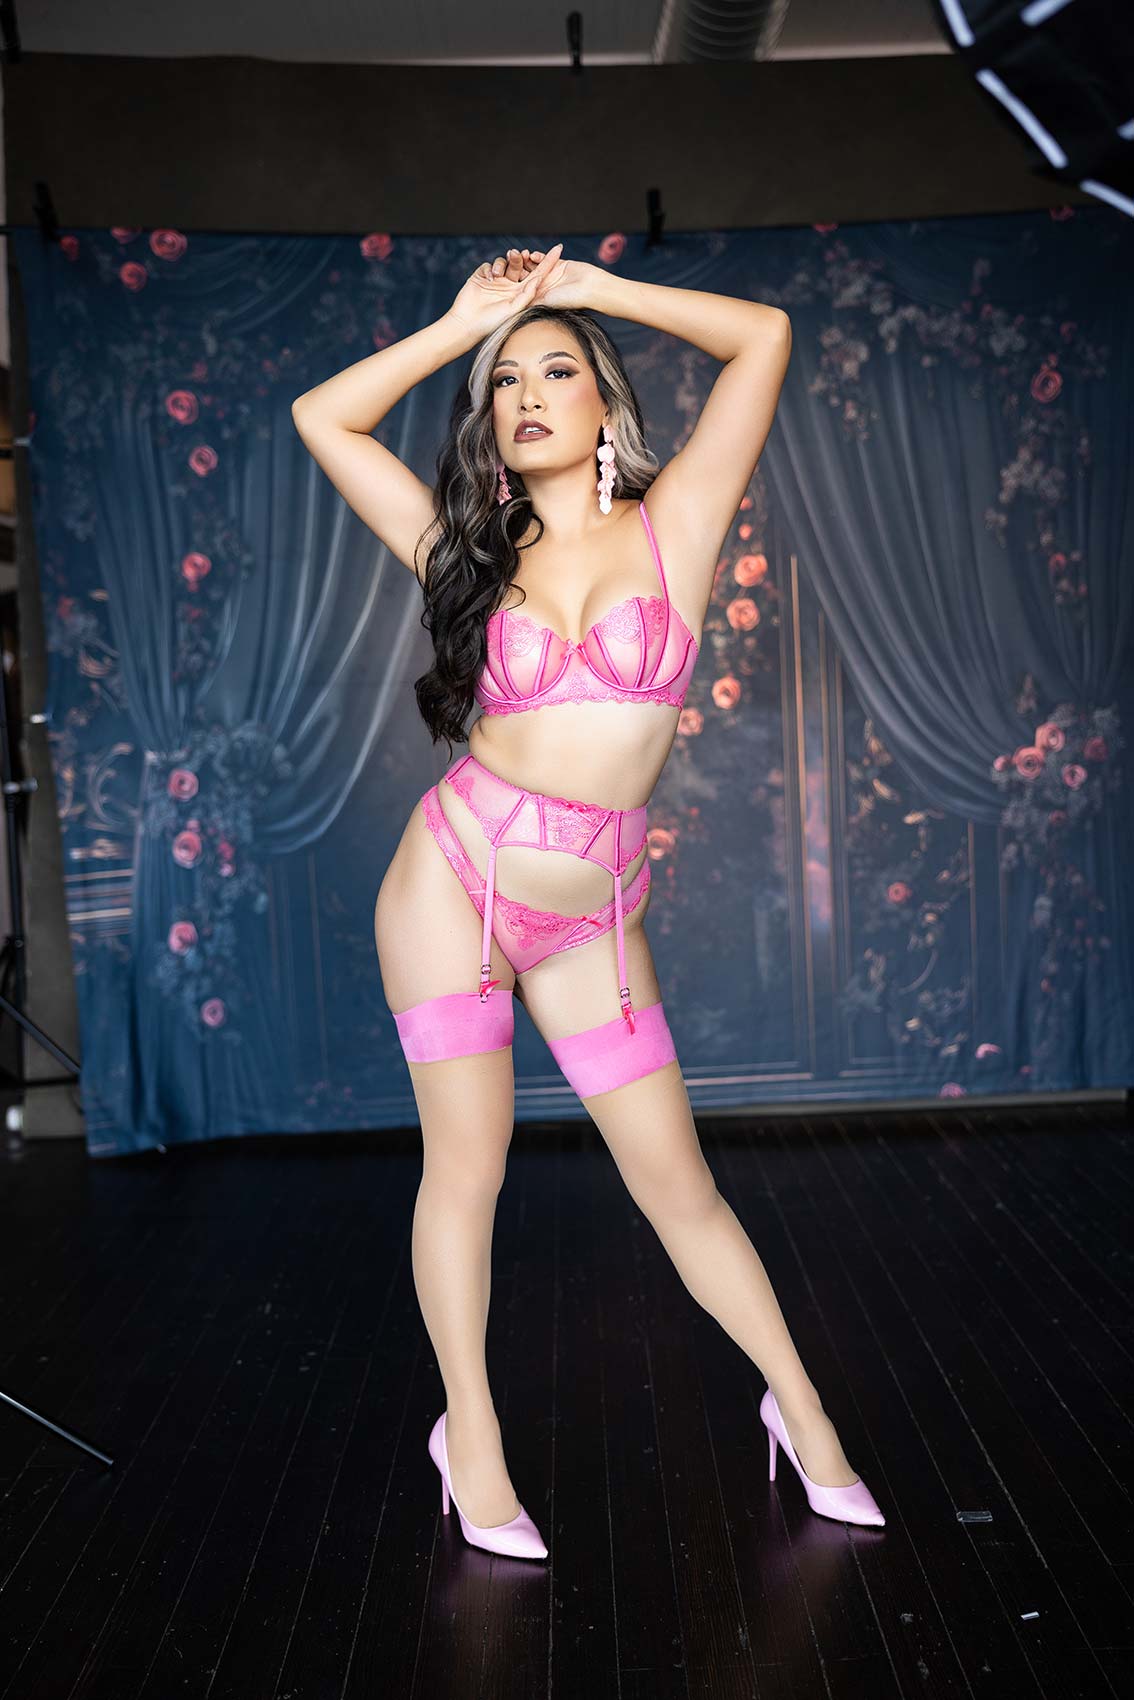
Also, let me show you what backdrop we have for this. This is from Intuition Backgrounds; this is their Lauryn, a 10 by 8, and it’s on fleece. When it comes to backdrops, I like fleece and I like fabrics. I find that canvas materials, there’s too much sheen on them, and they get too much shine. You should be able to see, both on this camera and when I’m taking pictures, when you’re hitting the backdrop with light, the fabric absorbs that light, and I just think it provides a really good image.
All right, here we go. This is a really simple one light setup. Again, I got a 28-70 lens. And what I’m going to do here is take this kind of tight shot of her for a test shot. Okay, so the backdrop is going to be cool. By its nature because it is a cooler blue. And I like that. That’s what I want. Let’s keep working through this. I just want to take this shot, and I’m going to circle back to it.
Settings: f/2 @ 1/320, ISO 200
Settings: f/2 @ 1/250, ISO 200
Settings: f/2 @ 1/250, ISO 200
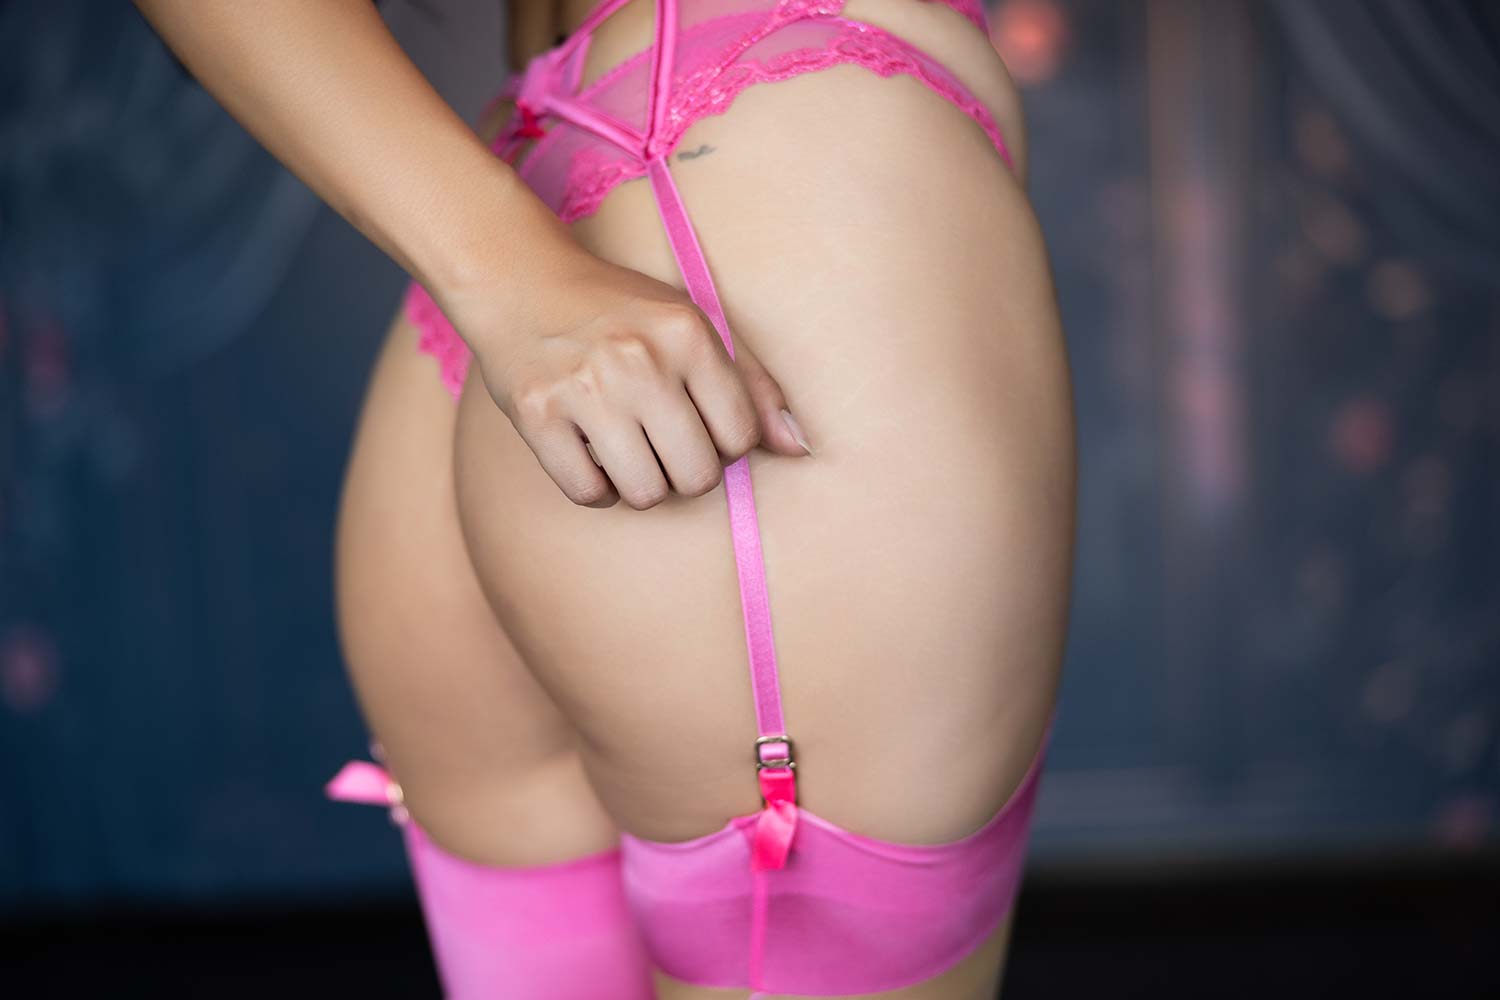
I always hear photographers say they can’t sell wall art to their clients. And I know this doesn’t have the background, it doesn’t have anything else there, it hasn’t been edited, all that other stuff. But the point is, if you want to sell wall art to your clients, you’re going to have a very difficult time. And this isn’t my editing preset. I’m just trying to kind of show you some things we can do here to really create something that might have a different look that somebody might be willing to put on their wall.
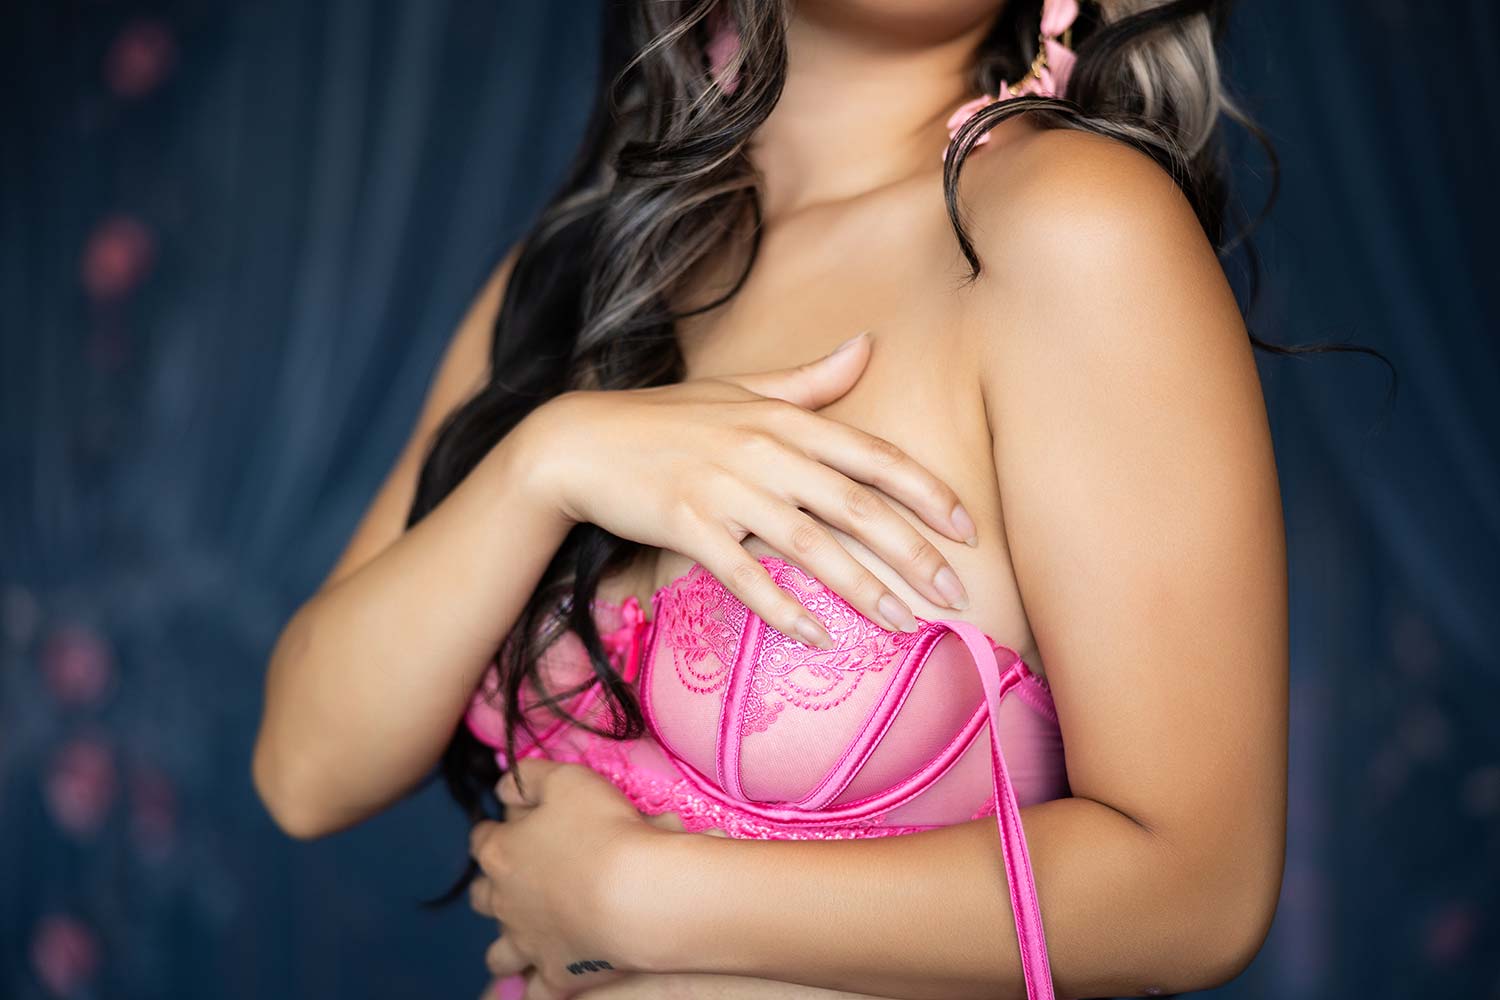
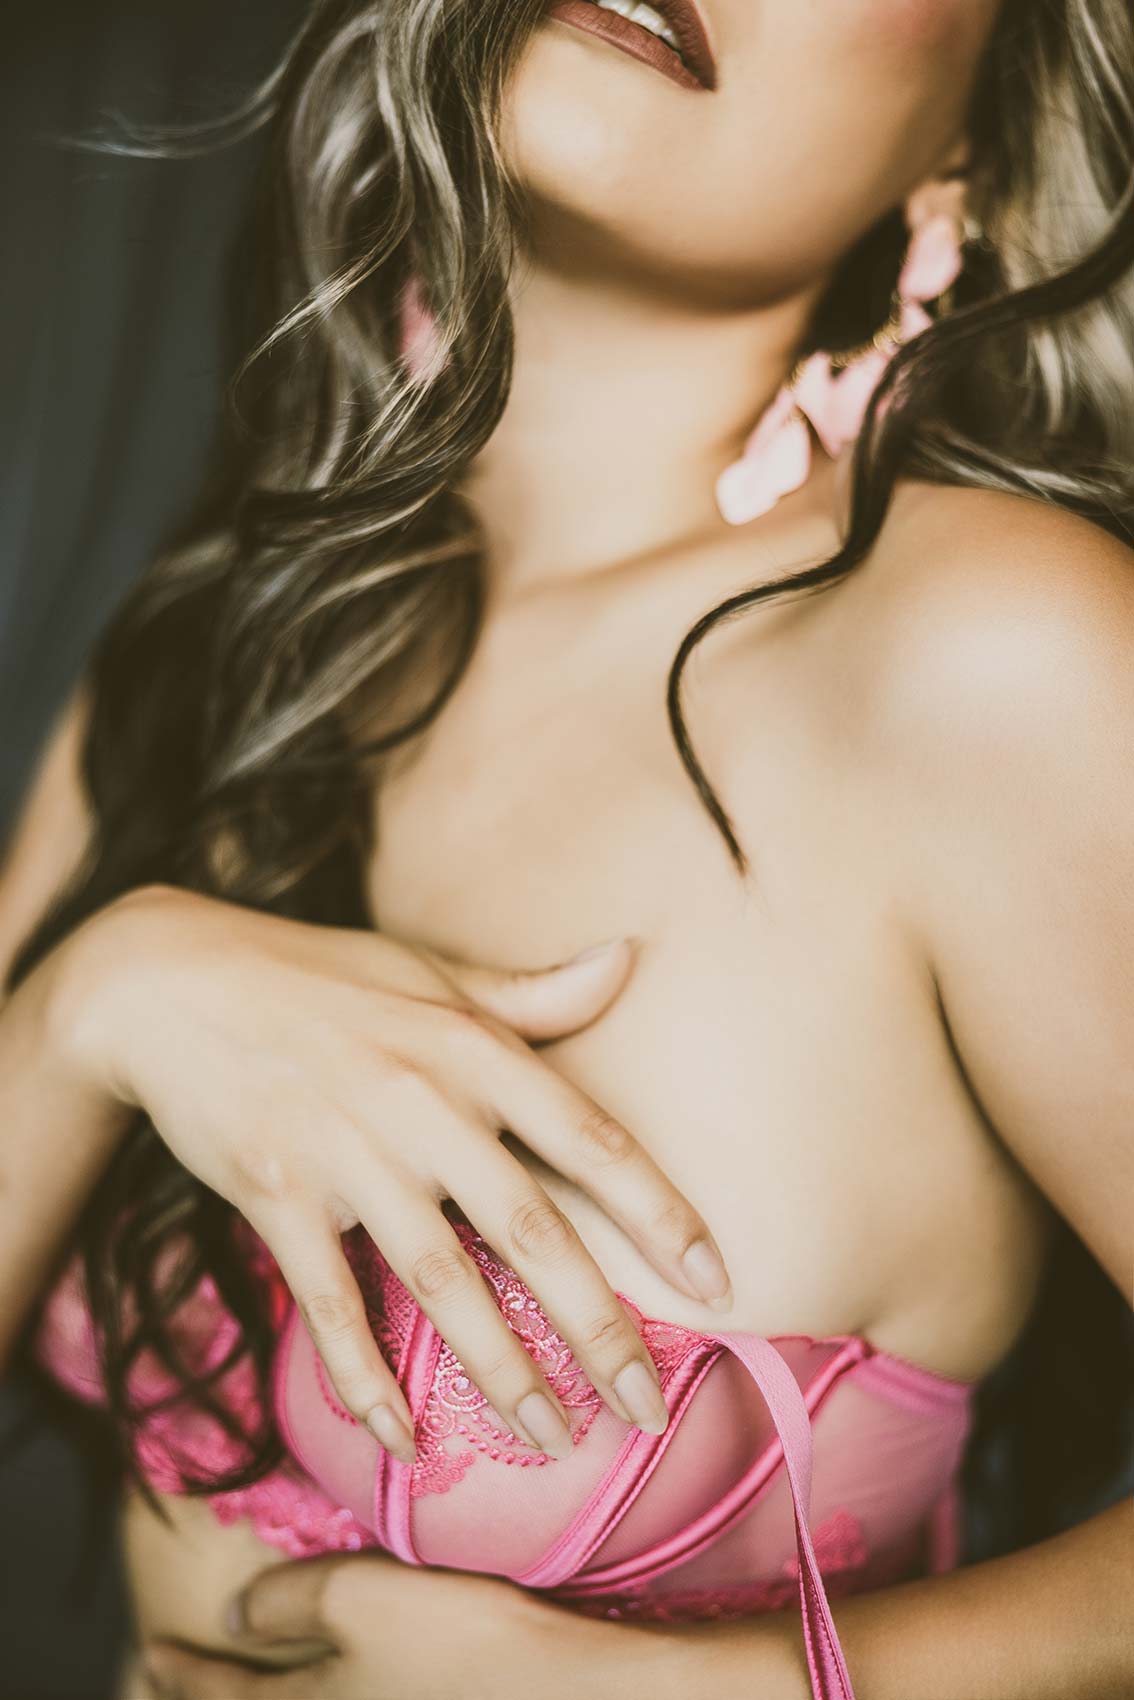
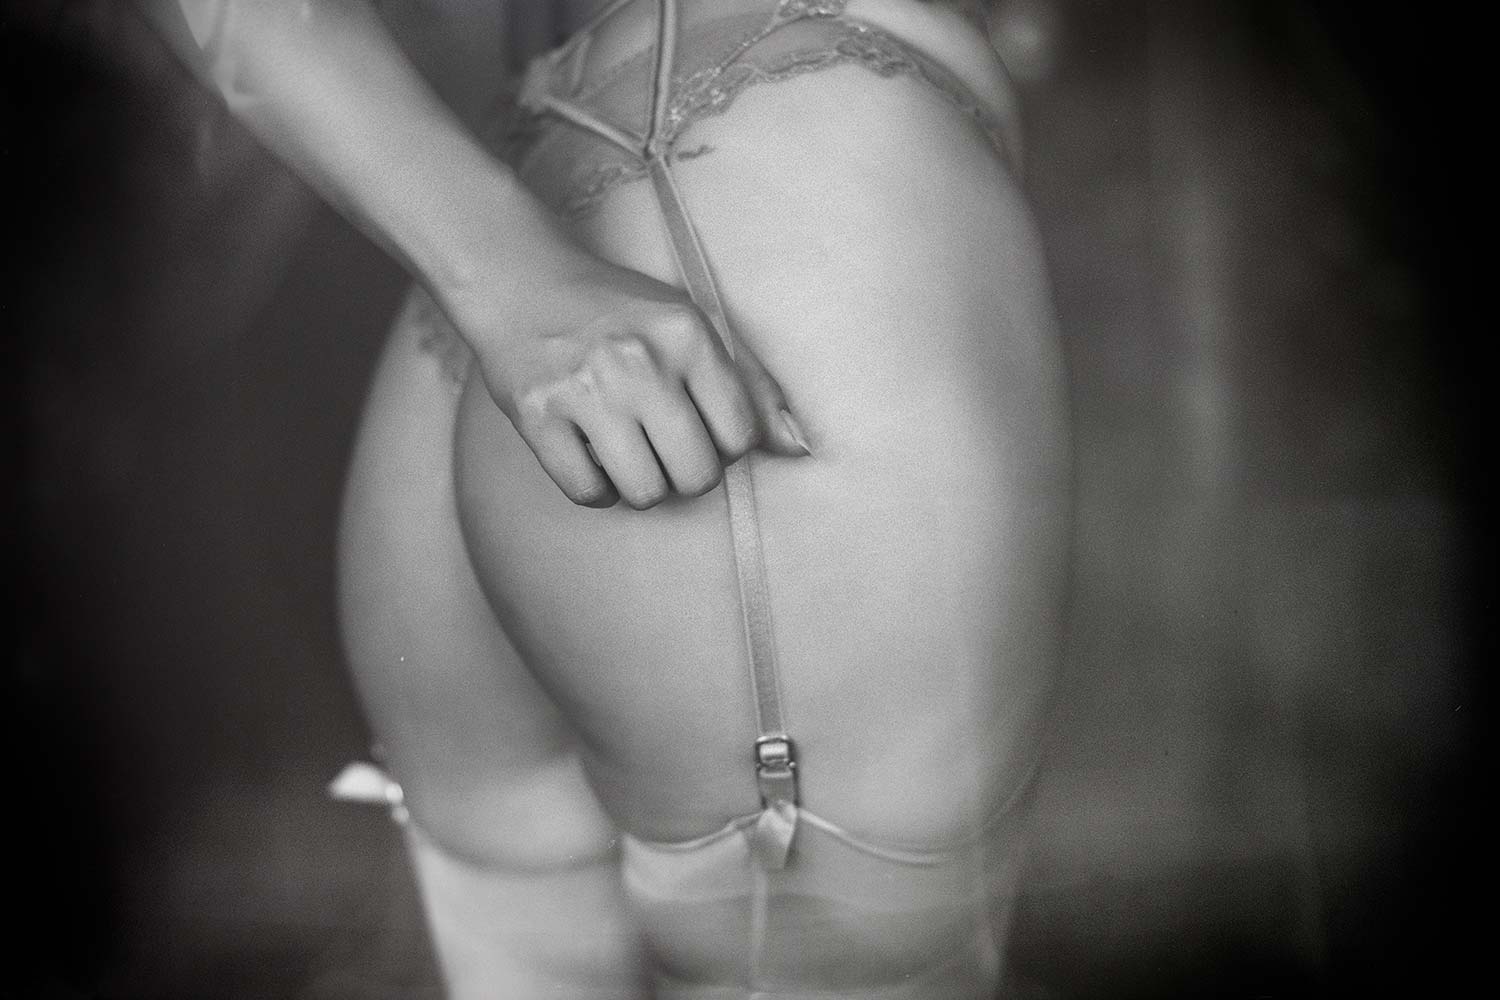
Would I shoot it differently? We’re moving fast, right? So what I’m saying, is that when you’re trying to sell wall art to your clients versus just handing over a digital file, shooting body parts, it’s going to be very difficult. Again, everything’s an 80/20 rule. It’s going to be very difficult to get a client to go, “Yeah, I want a 30 by 40 picture of my butt or my chest on the wall.” My wife just went through a boudoir photo session, Alissa did. She got these beautiful pictures of her. Where are we putting this in our house? So our parents come over, and we’re like, “Hey,” I’m saying to my father-in-law, “Check out your daughter, smoke show.” It’s just weird, so we would never do that. Shoot the details and work on those body parts and see them for what they are in that black and white.
Settings: f/2 @ 1/250, ISO 200
Settings: f/2 @ 1/250, ISO 200
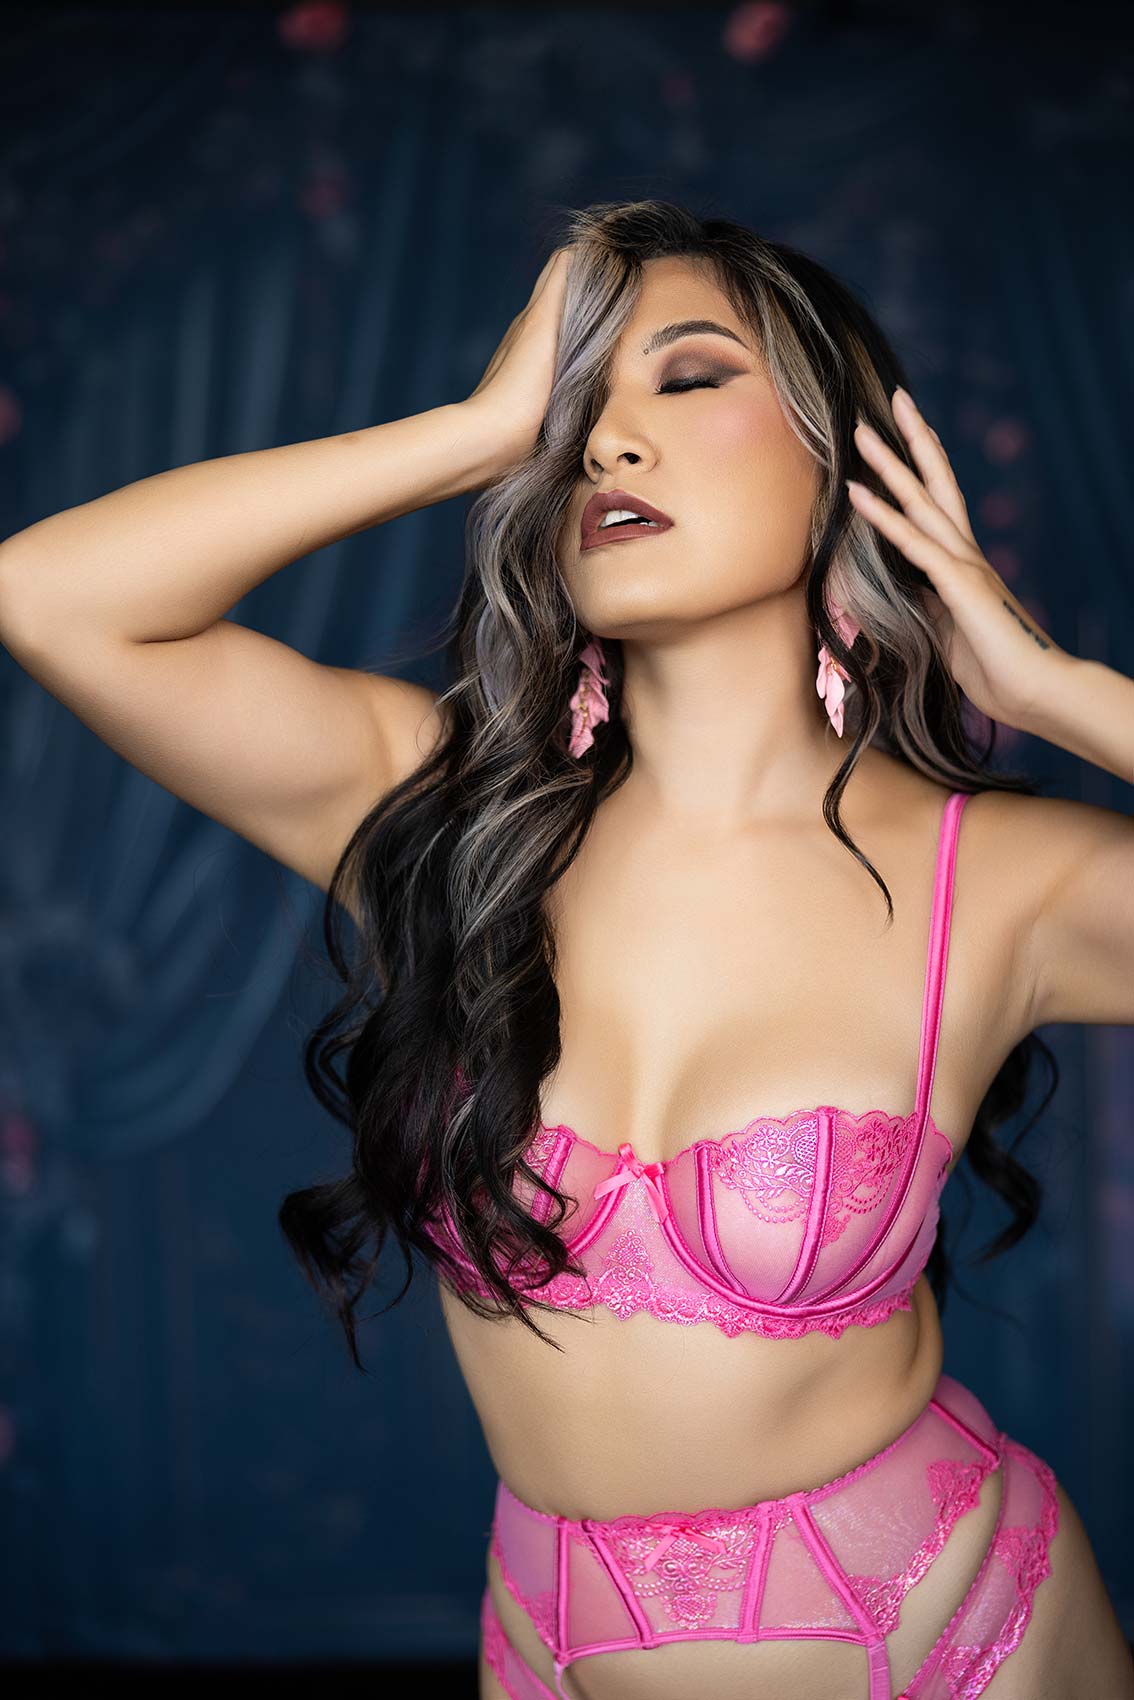
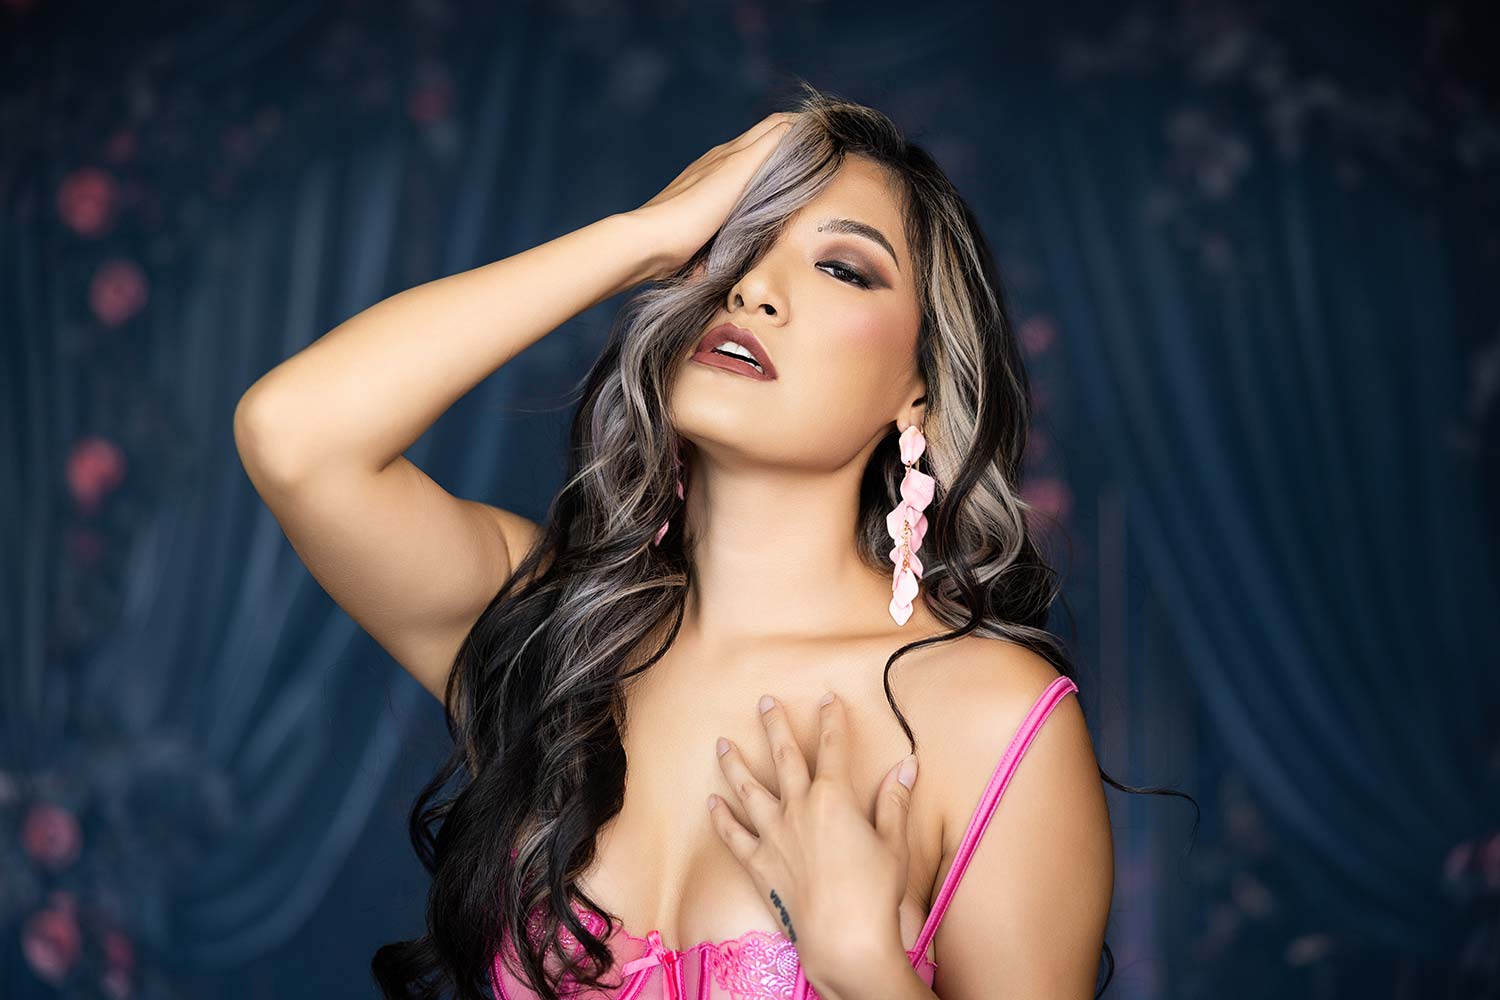
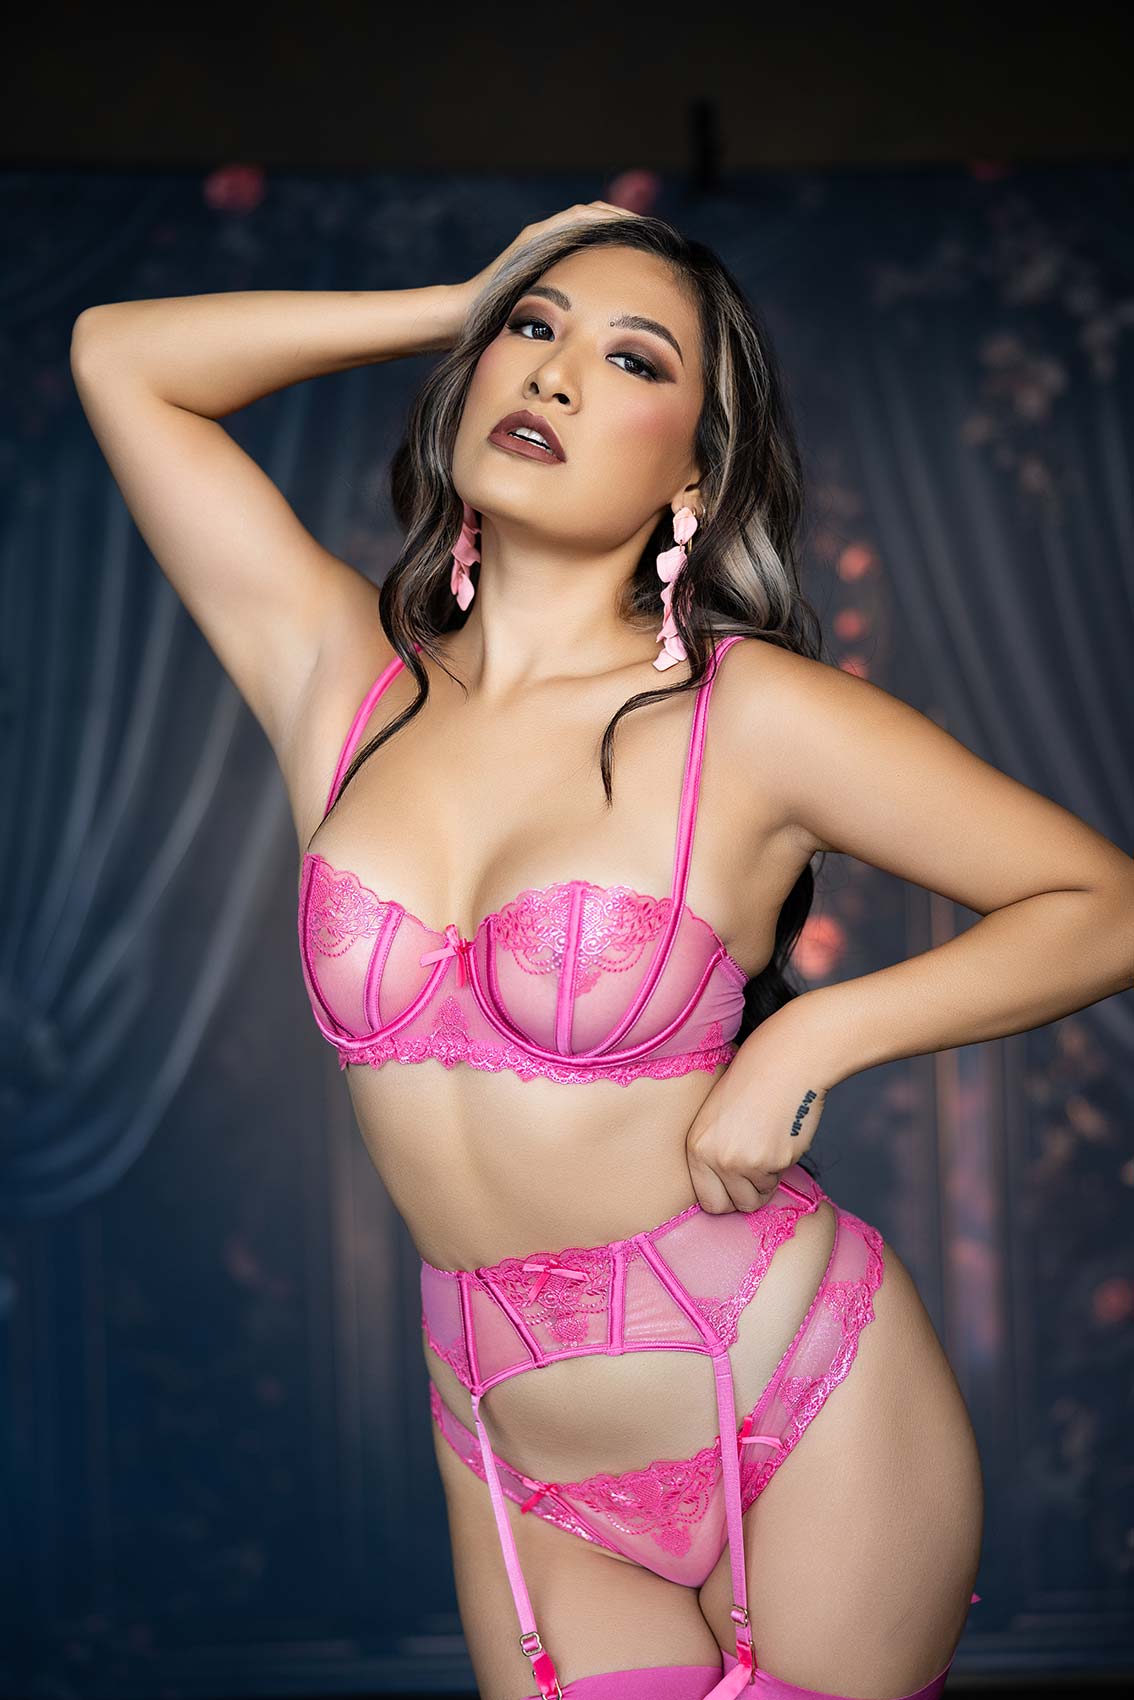
All right, let me keep going here. So now what I’ve done here is I’ve added a second one of the sixties back here, and the color temperature is set to 3,300. And what this is going to do, I don’t know what it looks like on the video camera, is give us a nice warm glow. I’m going to show you two lights. It’s so easy to set up and move around.
Okay, so now we’ve got this. This is a favorite look of mine. Just with that little second light, we’re getting that natural little flare into the camera. We’re getting a nice little edge light on her. Everything’s looking good. Let me show you another way that we can use this light to warm things up. I just take this light, I turn it around, and I’m firing it just right into the background just to create a little bit of a vignette there. Imagine you’re working with a client now. Rather than tripping around with strobes, and you know what it’s like when you’re working with strobes, even myself, I’ve been doing it for years, when I’m working with strobes, the first shot doesn’t go, so it’s test shot, test shot, test shot, and then panic sets in sometimes, right? And then you realize you had your camera ISO set wrong or something, and you’re just freaking out. With continuous light, I love that what I see is what I get. It’s just so much easier to work with that.
So now, I’ve just turned that around and let me turn up the power a little bit. I’m firing this on the background just to create a little bit of a warm wash on that and a little bit of a vignette it should give us here.
Settings: f/2 @ 1/320, ISO 200
Settings: f/2 @ 1/320, ISO 200
We’re creating this kind of look with just a simple, two light setup, standard color balance, right? We’re not even creating a color wash or anything like that, which we’ll move quickly and do. And I want to make sure I’m getting a mix of horizontal and vertical. So see, she’s giving me a detail and I want to get that detail.
Settings: f/2 @ 1/200, ISO 200
Settings: f/2 @ 1/160, ISO 200

Settings: f/2 @ 250, ISO 200
Settings: f/2 @ 1/250, ISO 200
So, all too often, the business model for boudoir photography, and again, this is probably another webinar or video where we talk more about the business, is to shoot and send them off for coffee or dinner and then come back the same day, or worse, you’re editing real time. I don’t subscribe to that, and I know I’m going to get a lot of heat from established boudoir photographers. I’m used to it at this point in my life, whatever. The point is, that to me, it is not an experience. You have to think about what you’re trying to sell to people who have money to spend. A person who has money to spend is busy. That’s why they have money. They’re working all the time, they’re doing things, that’s why they have money. They don’t have a trust fund.
I don’t have time to basically commit to two hours early for hair and makeup, a two to three hour photo shoot, go get coffee or dinner and then come back and then another hour and a half, two hour presentation. Even if I’m off on some of those numbers, the point is, it’s a six to eight hour commitment when it’s all said and done. That, to me, and my wife who went through this, is not an experience. The better experience, to me, would be to let them go off and schedule them to come back in a week later, two weeks later. Have them come back in to a champagne toast or something along those lines and a big reveal.
Now, those images, they get sent off. So we send this all off to Evolve Edits, let them retouch every picture. Before you lose your mind, what does every picture mean? So every picture, to me, means we are showing the client probably 15 images per outfit. If we’re talking like a set, we would shoot three to five outfits, depending on how you want to set it up, and then you would show them 15 images per outfit. So all 15 would be fully retouched. Now the client, as they’re looking at their images, they are seeing fully, professionally edited images. Sure, some of them you can use a program like Evoto, but the reality is images need to be touched.
Let me give you a perfect example of most clients who come through. You have them in lingerie. You want to know what’s going to end up happening? Their face and their butt are going to be two different colors. A hundred percent. The face and butt are different colors. Why? Well, it’s like my butt, it hasn’t seen the sun in probably 53 years. So it’s normal, it’s expected. What are we doing to fix that? A tool like Evoto is not going to fix that, right? Now your client’s looking at it, your eye always goes to the brightest part of the image. If you’re a boudoir photographer, check some of your work, right? I’m not talking about if you’re photographing an African-American or Indian, or somebody who’s more ethnic and darker skin. I’m talking about the average client. There’s always going to be two color differences. And then if they’re wearing their makeup differently, there’s still going to be two color differences. Don’t discount what I’m saying.
I would rather they see them fully polished. This way, as they go from image to image. They’re not going, “Oh, I look great in that one, but that one you didn’t retouch quite as much.” I don’t want them to know the difference. I want them to, as far as they’re concerned, everything is, that’s how I saw you that day. That’s how your makeup was that day. I had my skinny lens on that day. That’s what I want them to feel and experience, because I want to deliver an experience to my clients. I’m not selling digital files. We are selling an overall experience and that’s her takeaway.
So, in an unpolished image, Christina is beautiful, but there are things we have to clean up here. I would never want her to see that image or a variation of it—a simple edit. That’s not what I would want her to see. So I get it.
There’s a bunch of you out there who are just naturalists, and you’re like, “Well then that’s not really the client.” Look, our clients are coming to us for a level of fantasy. You know who else is not your client? When you say, it’s all natural, your client does not naturally run around with their butt up in the air for boudoir photography in lingerie around their house. Obviously, there’s a level of fantasy and a level of escapism. So, give them the full experience of all that.


This Post Has One Comment
Love how you break down continuous lighting for boudoir photography! The “what you see is what you get” approach makes it so much easier to work with, especially for those of us who aren’t fans of the endless testing with strobes. The simplicity of the two-light setup with the color adjustments really brings out the mood, and I totally agree that adding some warmth to the background can make such a difference. Also, your point about expanding the boudoir category to beauty is spot on. It’s all about making the experience personal and accessible to a wider range of clients. Thanks for sharing these tips!