Colorful Lighting with Gels with Matt Monath
Saturating your photos with colorful lighting can be a showstopper. When blindly scrolling through Instagram or quickly flipping through a magazine, it can instantly catch the eye of the viewer and make them pause. That’s part of the reason I’m drawn to it, and why I’ve spent the last 10 years experimenting with gelled lighting as I’ve established a signature photographic aesthetic. Whether I’m shooting celebs or product, there are a few techniques with gels that I use to create imagery that is vivid, intentional and bold. If you’re interested in experimenting with gels, here are some tips that may help you out.
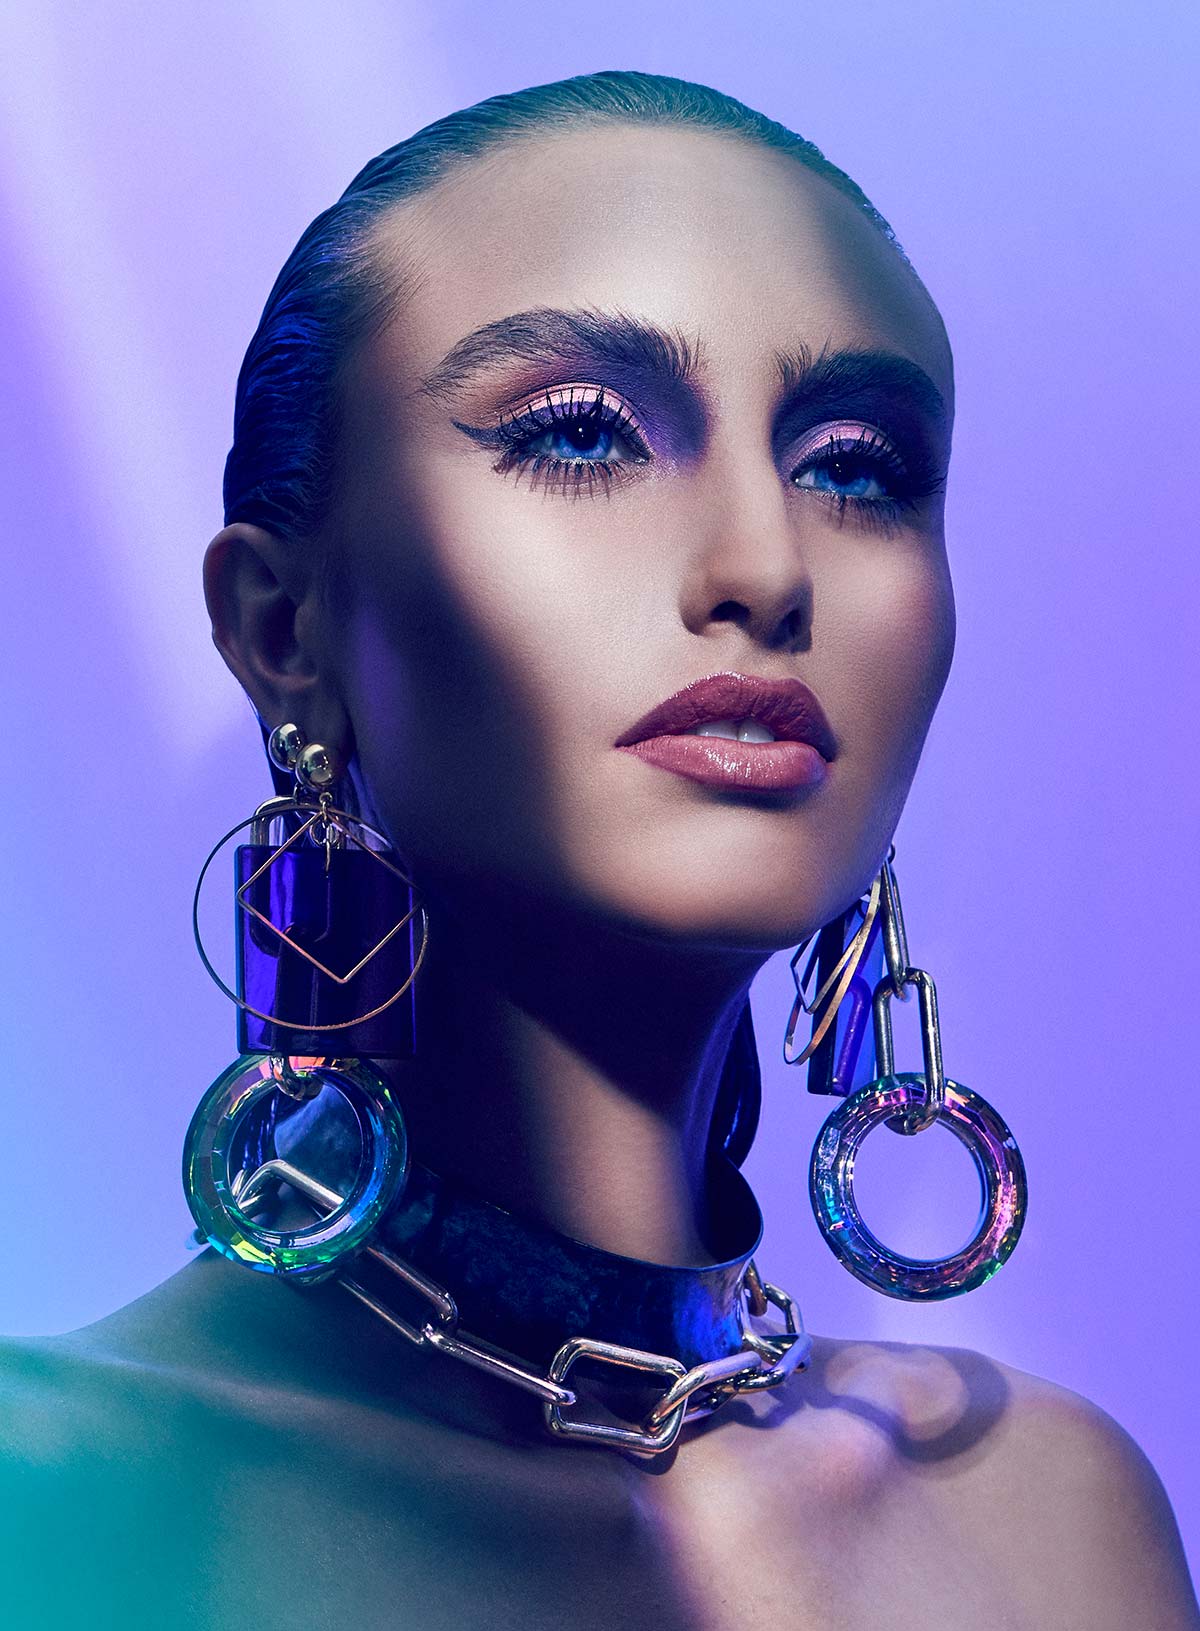
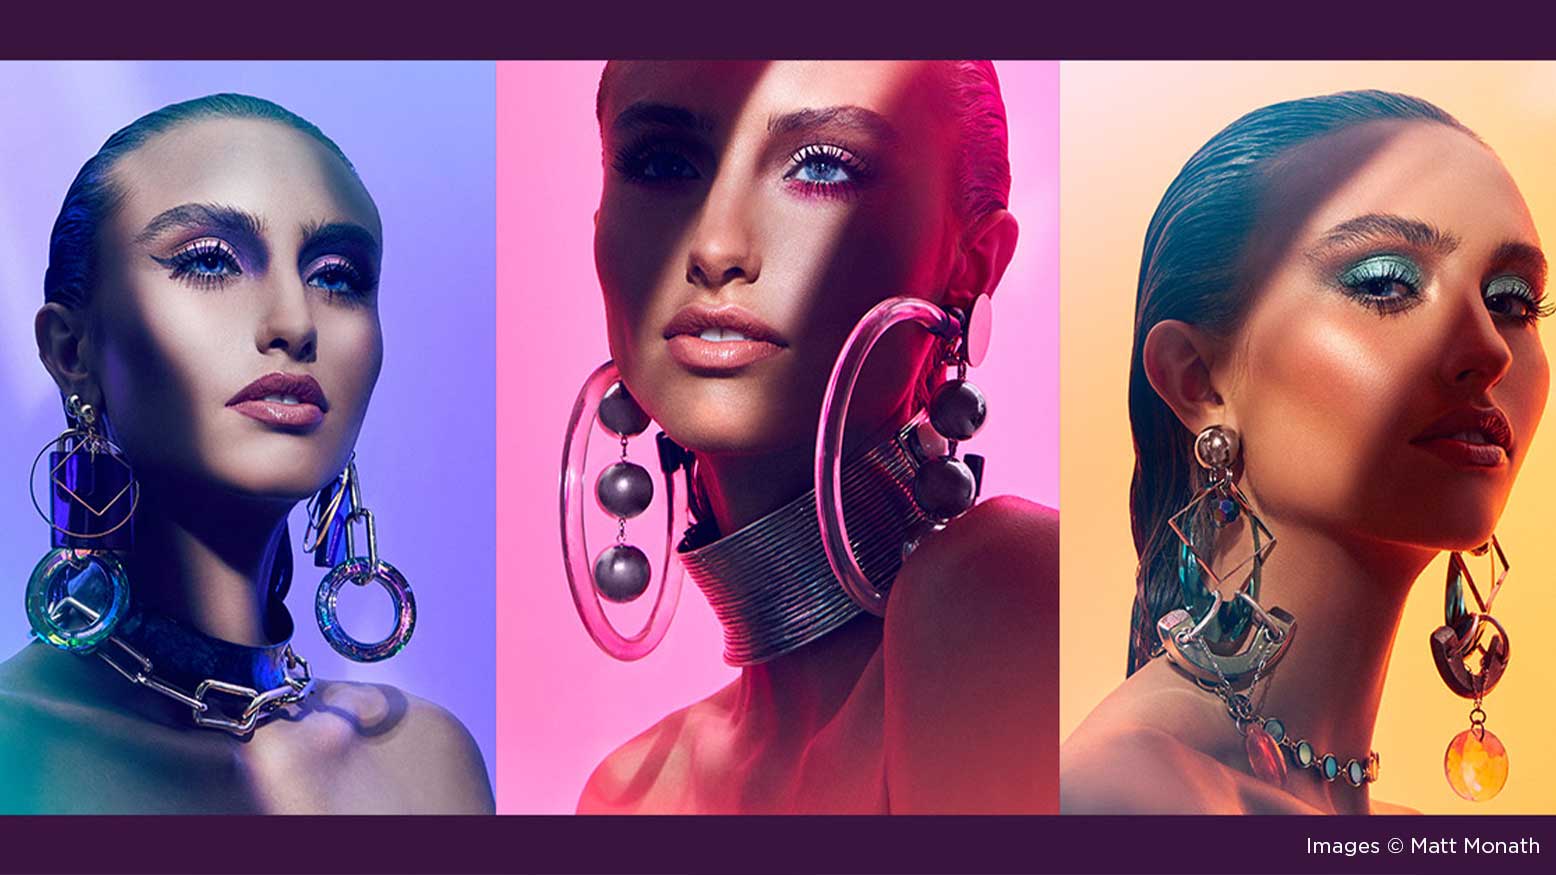
We’ll go over techniques for using up to three gels, but using only one gel can still pack a saturated punch. In fact, some of my favorite images were created with just one gel. Take a look at the series of images below, featuring BB Jean in my “Colorshade” beauty editorial. While the images are quite saturated, the color effects are soft and subtle on the subject. To accomplish this effect, the trick is to diffuse the gel through a silk or a diffusion panel, which really makes the gel glow. Blast it through the diffusion from directly behind it, or at three-quarters behind the subject. In these specific shots, my key light was blasted through a cucoloris, which created patterned illumination. You may see a cucoloris (or a cookie) used to imitate light shining through window blinds or other patterned light. In this instance, I used it to give a controlled key light and therefore deeper shadows, so the diffused gelled light in the background would wrap around the shadows even more.
Let’s talk about flares with gels. When I want to create a colored flare effect in portraits, I’ll utilize one gel on a light as a kick light, placed three-quarters behind the model. By intentionally allowing the light to point directly at the open lens, I’m hoping to get a flare effect that spills directly into the frame. I’ll shoot without a lens hood, which encourages capturing a flare effect, as seen in the two images below of Clara McSweeney. Lens hoods are meant to cut out flares, so we’ll leave that out of the equation for this technique.
I also love creating a flare effect that may imitate a sun flare. See the image below of Coralie Porrovecchio, where I placed a light with a golden orange gel behind the subject and aimed it at the camera. The perk of pointing a light directly at the camera is that the flare may even cover up the actual light or stand in the photo, which means there could be no need to remove the light or stand from the image in post. That’s a plus, for sure.