Boudoir Photography Using Natural Light

Can you be creative with natural light when it comes to boudoir photography? I think you can. You just need to use the light for your portraits in a big and soft way. Have you ever tried creative boudoir photography using natural light? Posing is also very critical for the final results. When it comes to posing your portrait photography clients – especially boudoir clients – over communicating is crucial.

Equipment Used:

Camera: Canon EOS R5
Lens: Canon RF 50mm F1.2 L USM
Light: Natural Light

Team:

Photographer: Sal Cincotta 
Model: Lauren Middleton
Hair & Makeup: Brandi Patton, ReFine Beauty

What’s up everyone? My name is Sal Cincotta, and today we’re going to talk about boudoir photography using natural light.

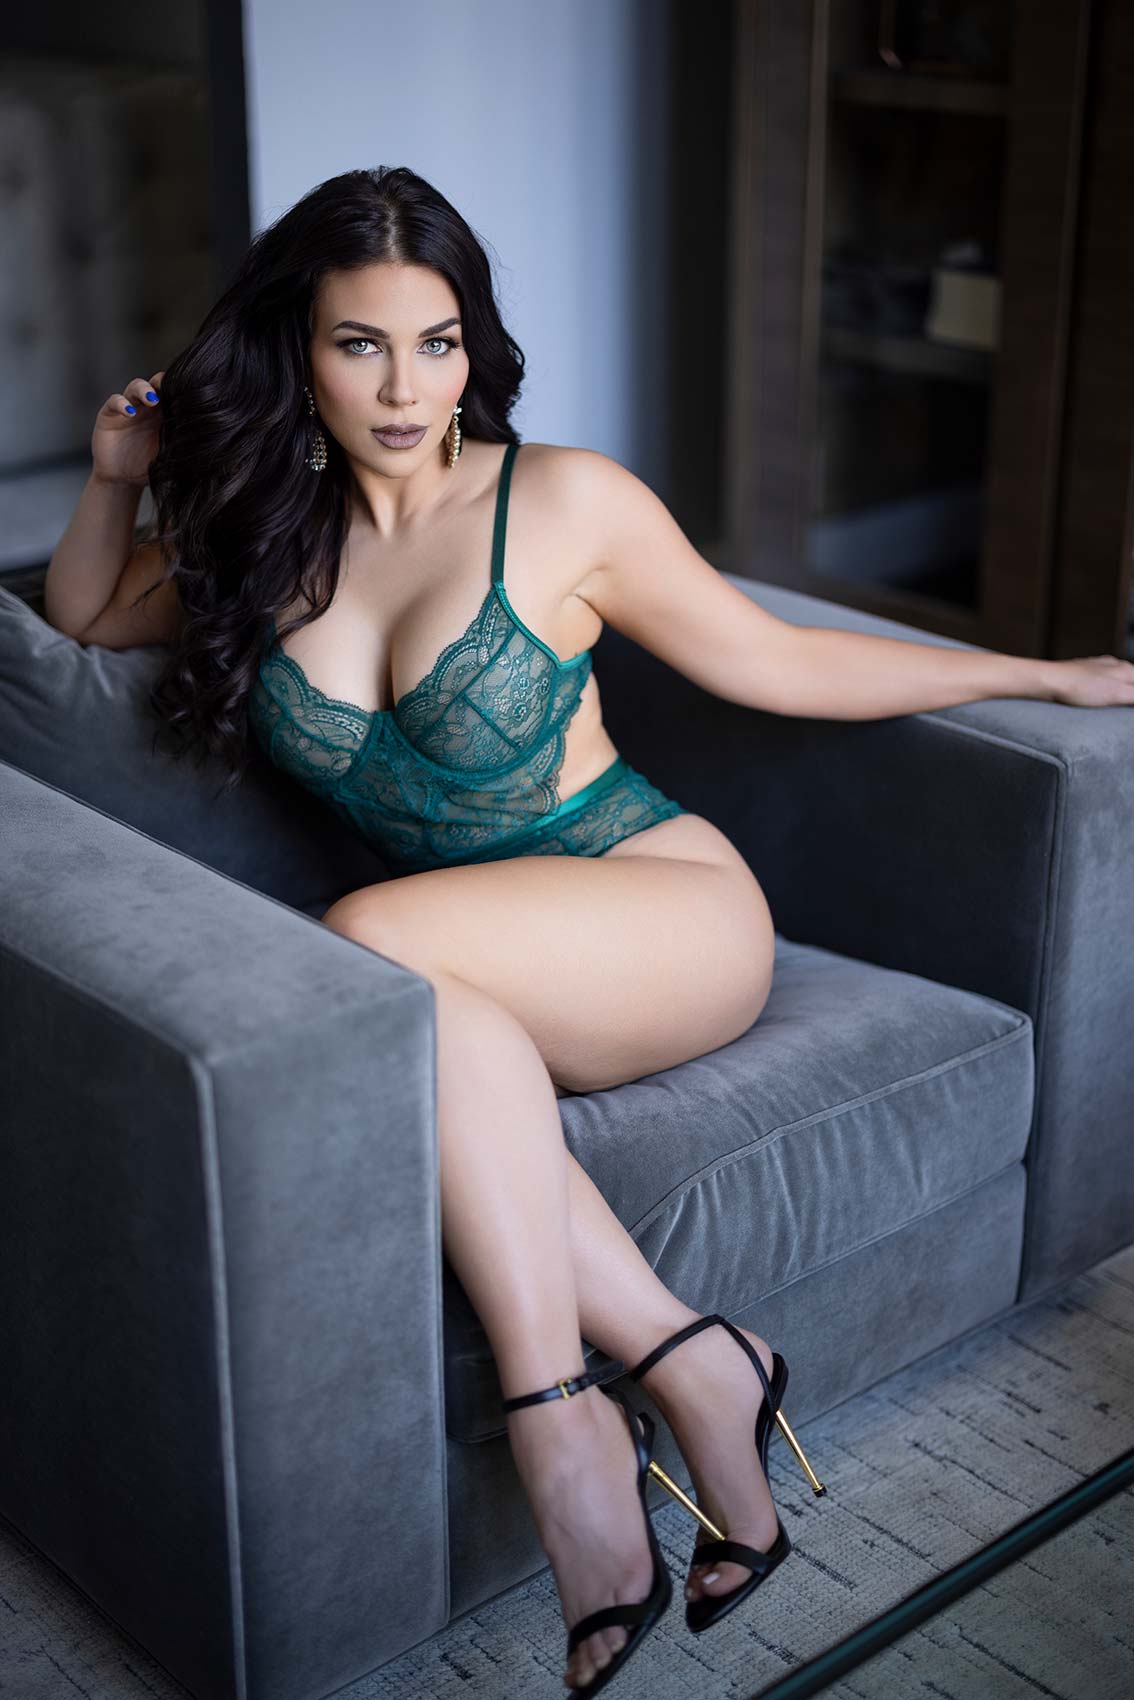
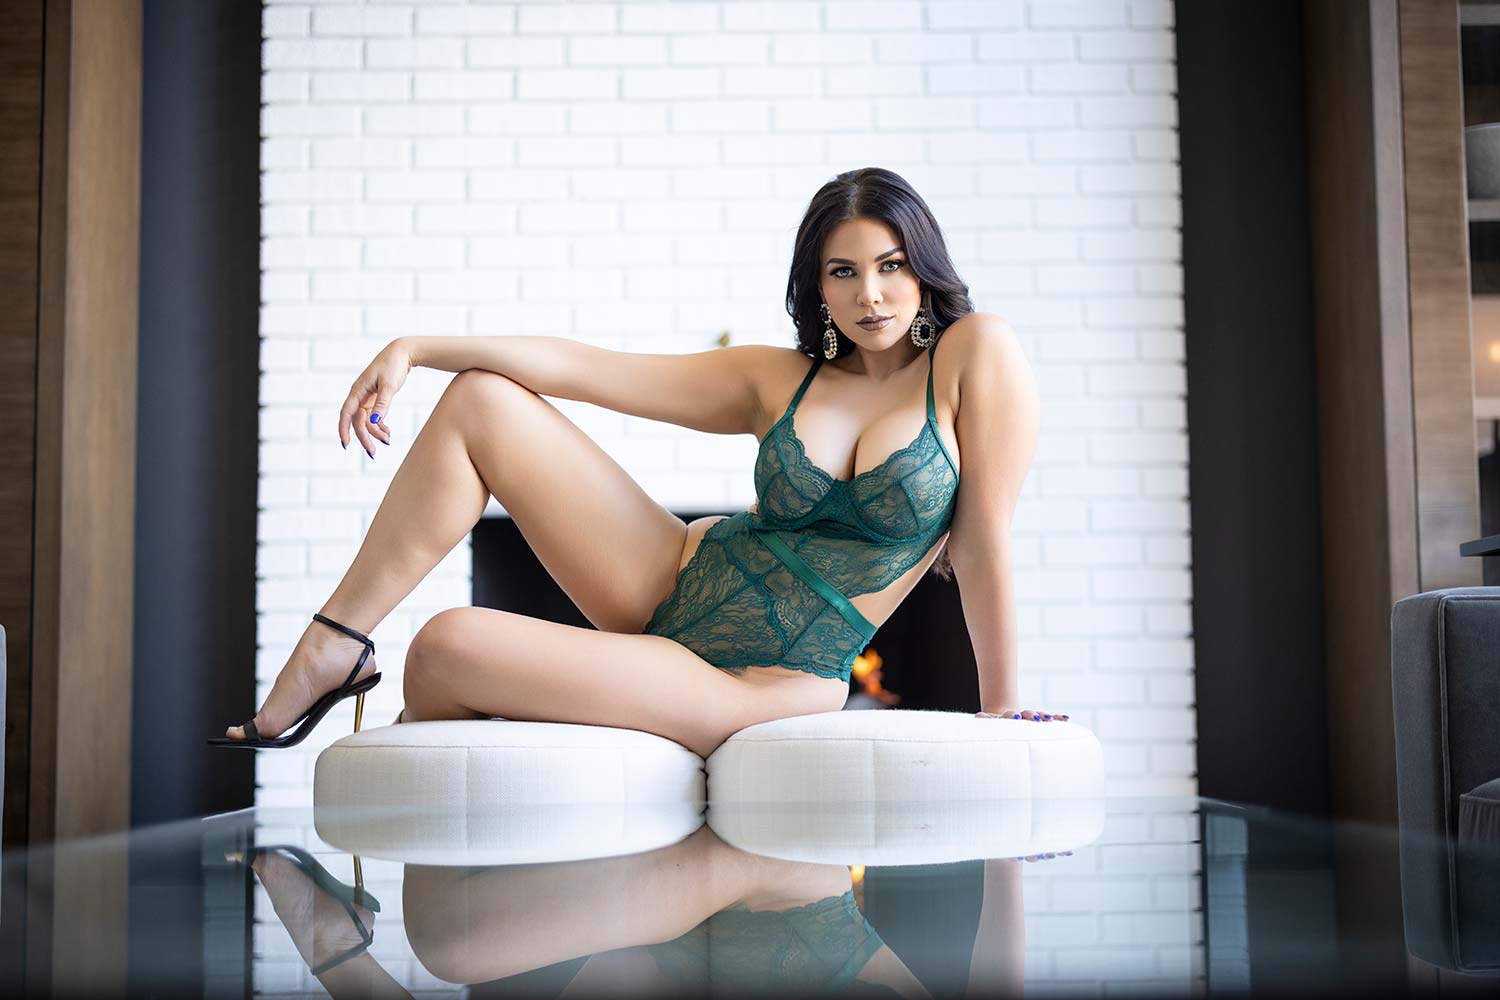
All right. For me, of course, it’s all about the scene. When you’re doing boudoir, yes, boudoir tends to mean bedroom scenes, but I’m so over that in my career and I promise you and your clients are too. I love to do things that are more environmental in nature. Yes, hotel rooms are great, homes are great, sets are great.

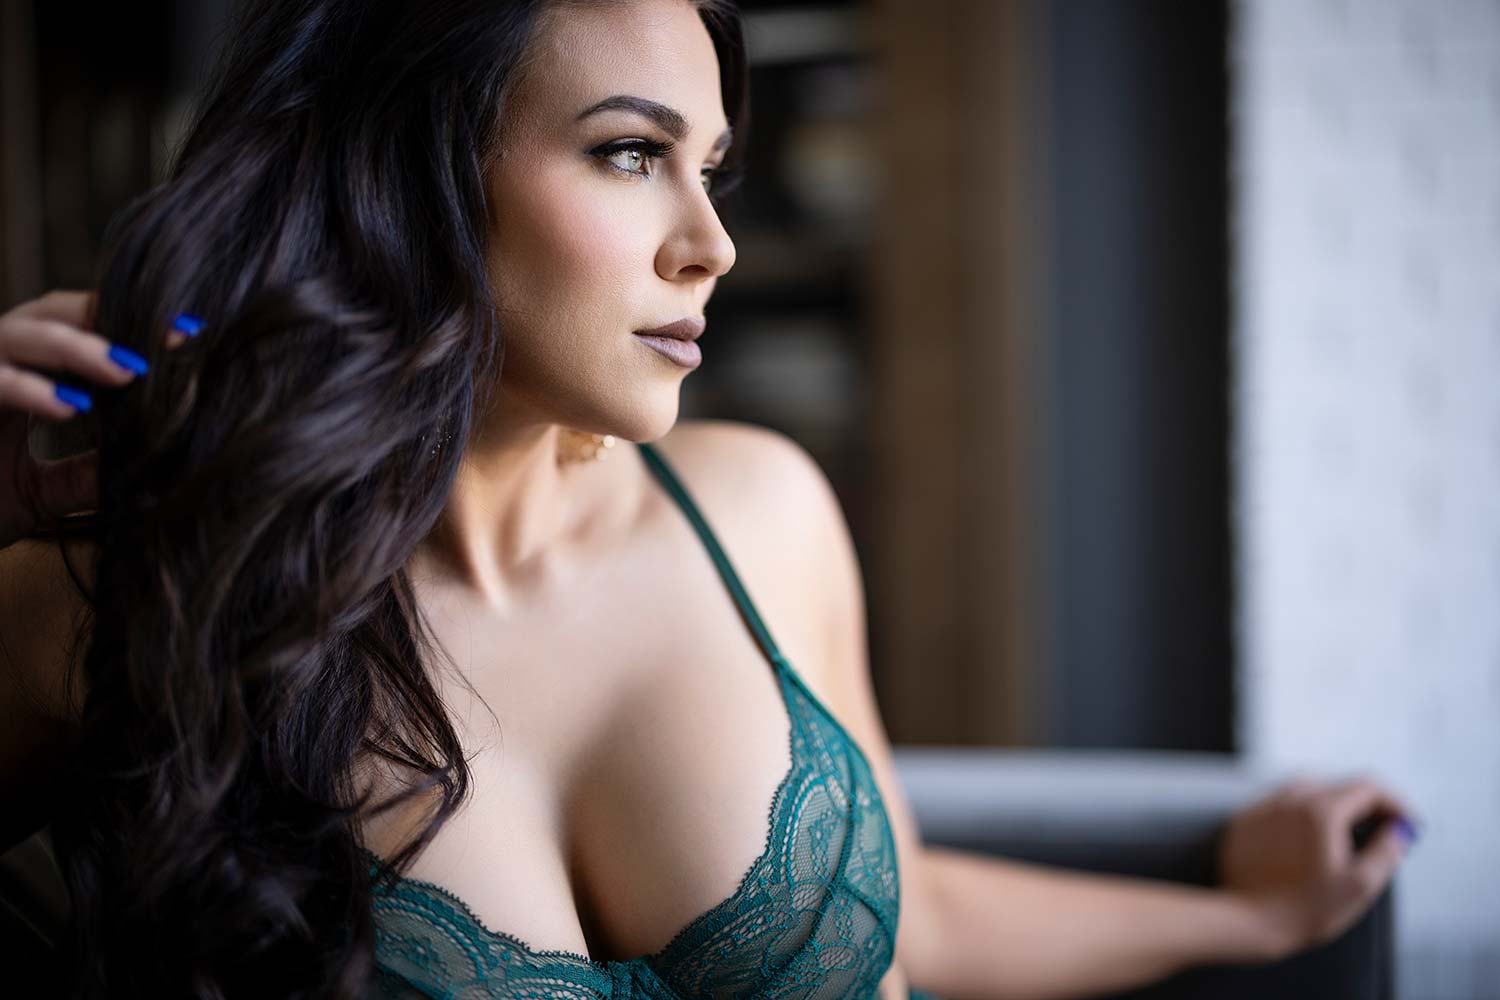
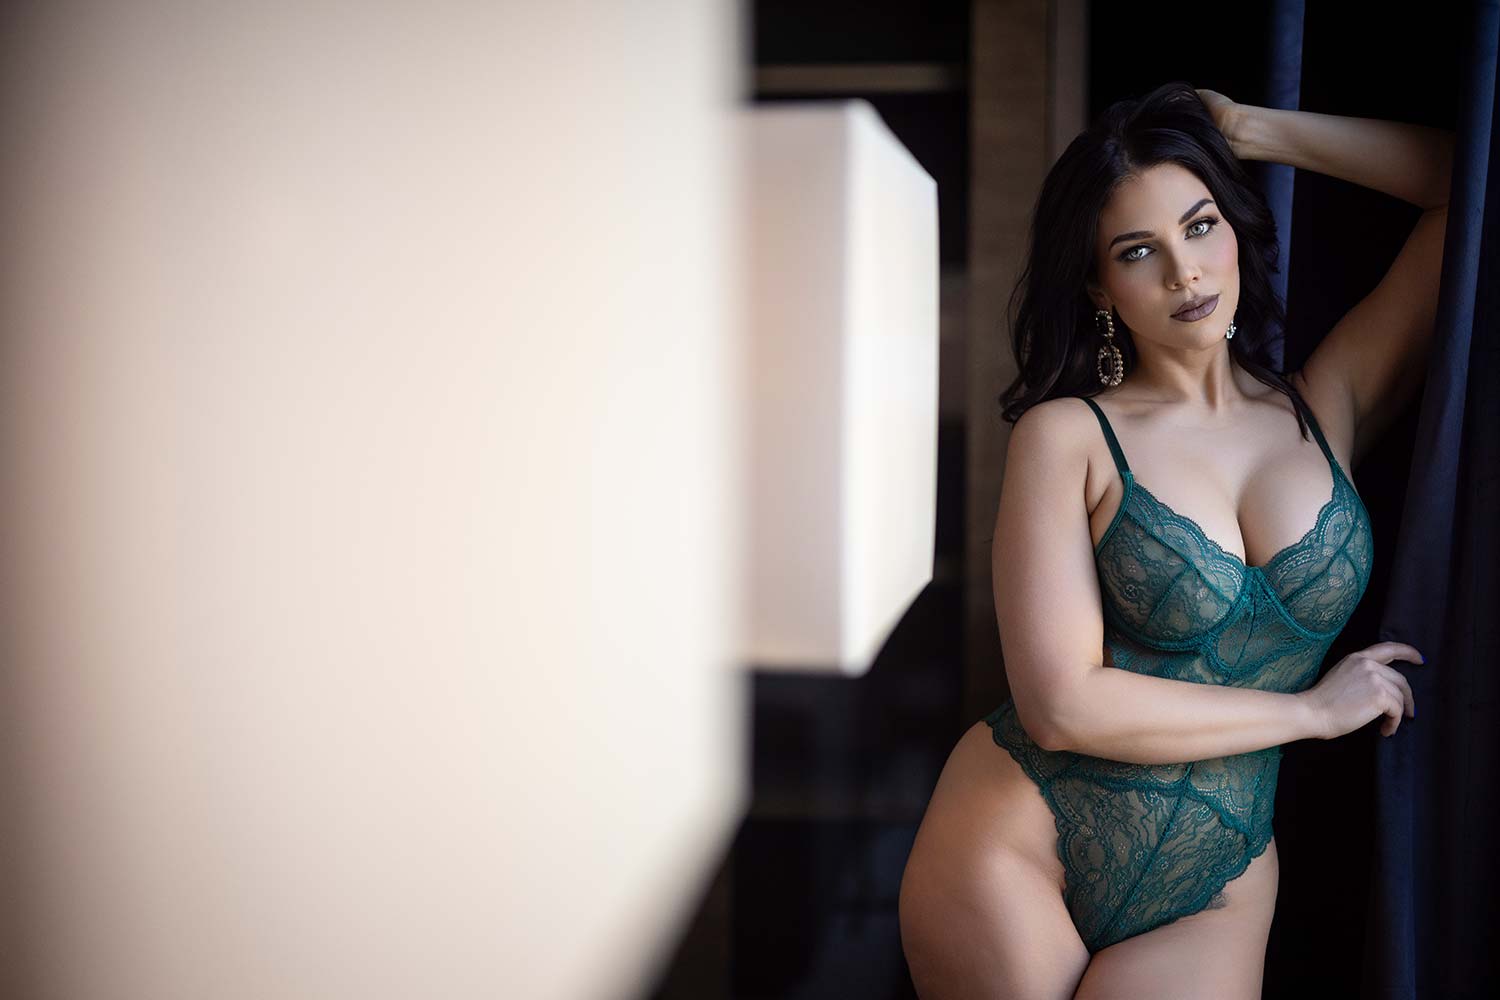
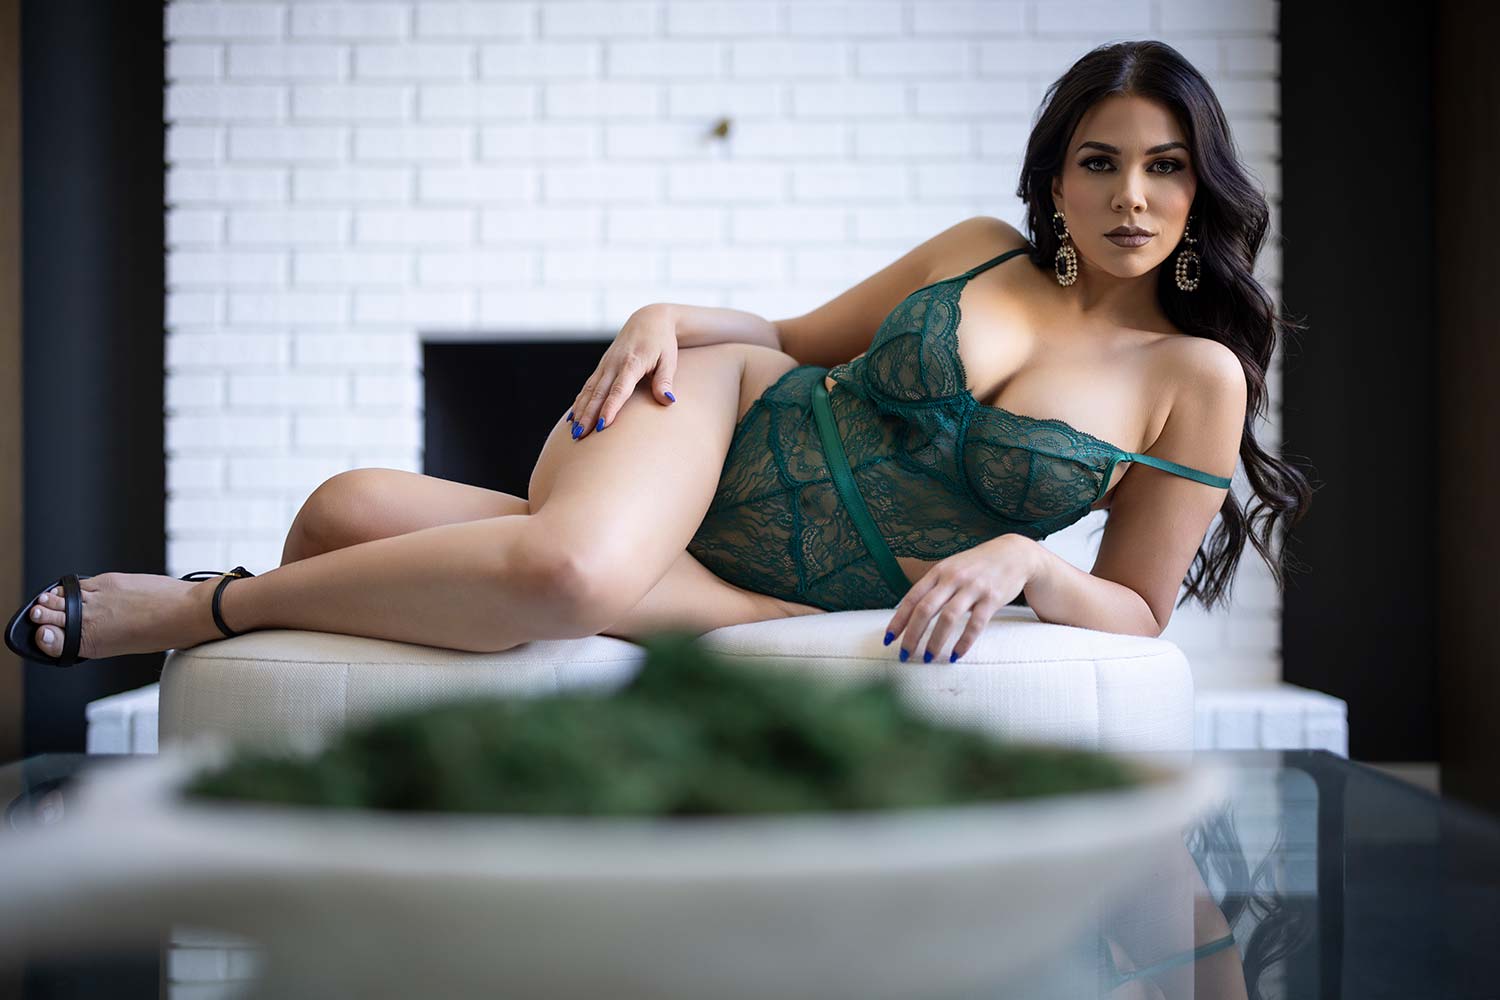
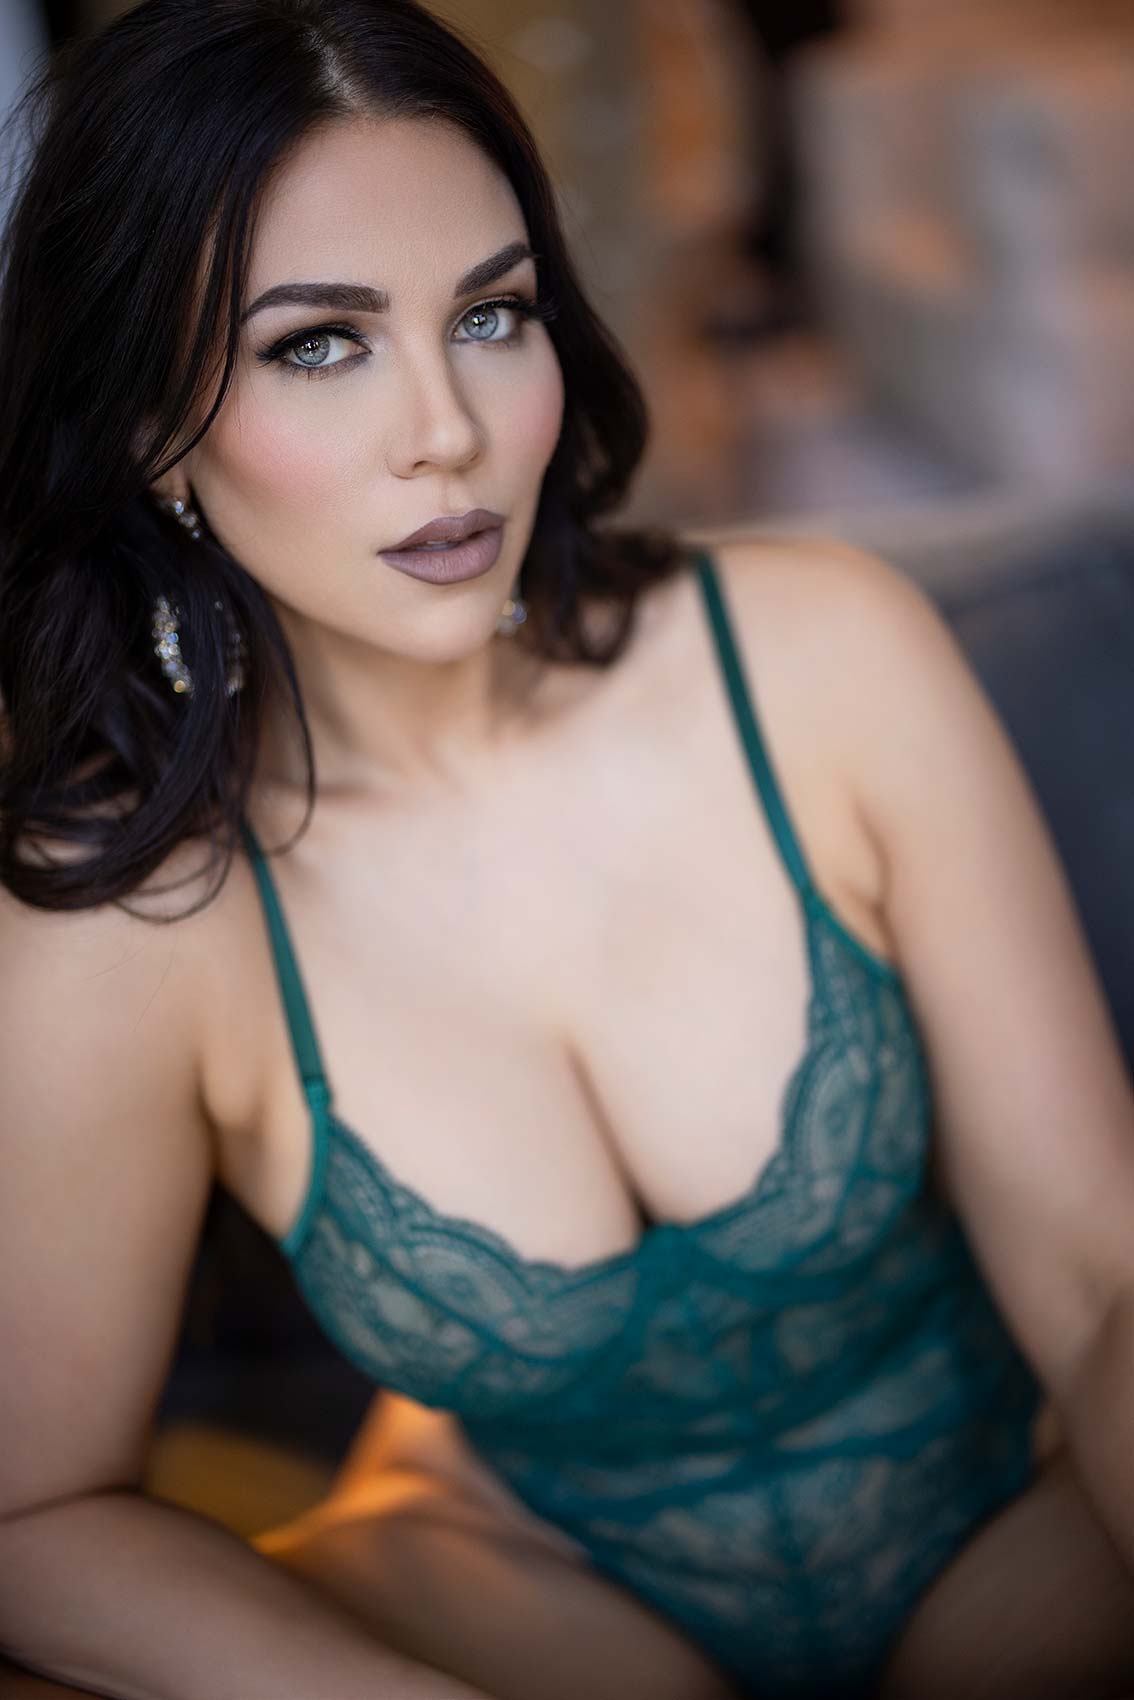
For this one, we’re using our living room here. You’ve got a bunch of natural light coming in, so we’re going to work with that, but in a more creative way. What I don’t want to do is just put somebody in the room, start shooting. Yeah, that’s easy, but you have to understand when you’re working with natural light, it’s directional, so allow it to be directional because when it comes to boudoir shadows are our friends.

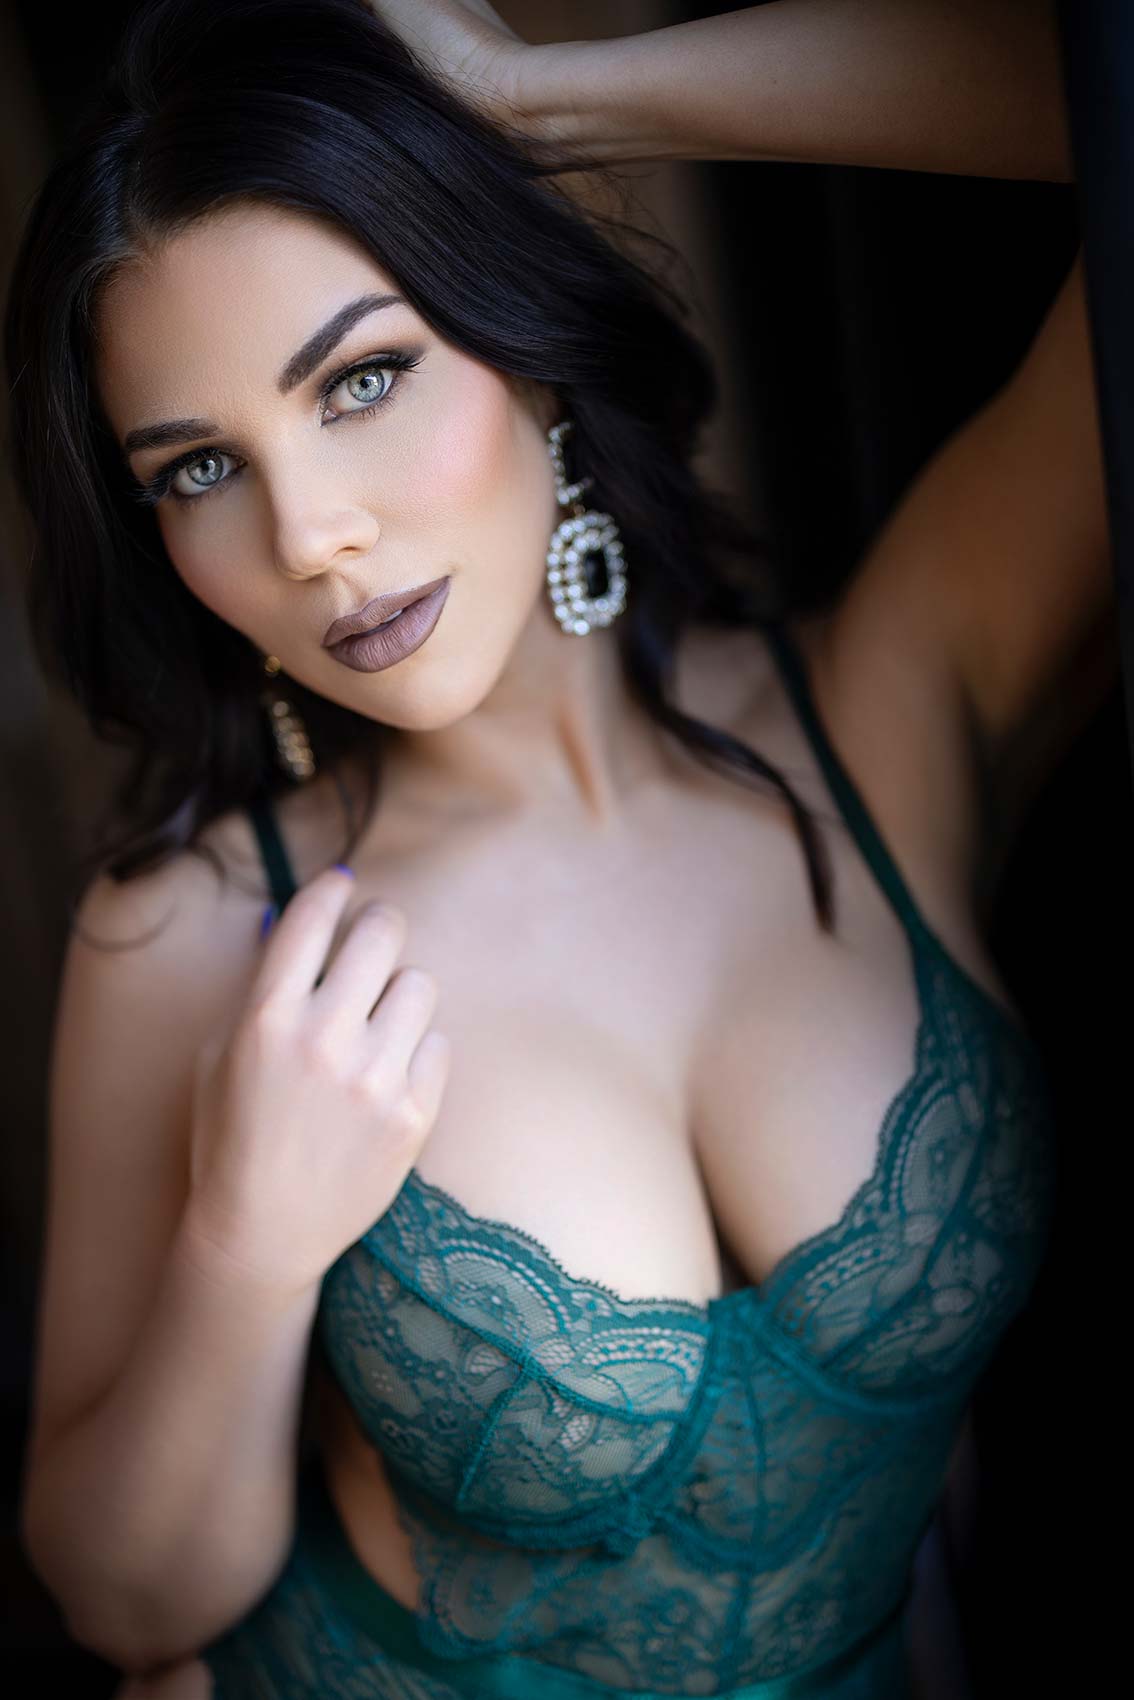
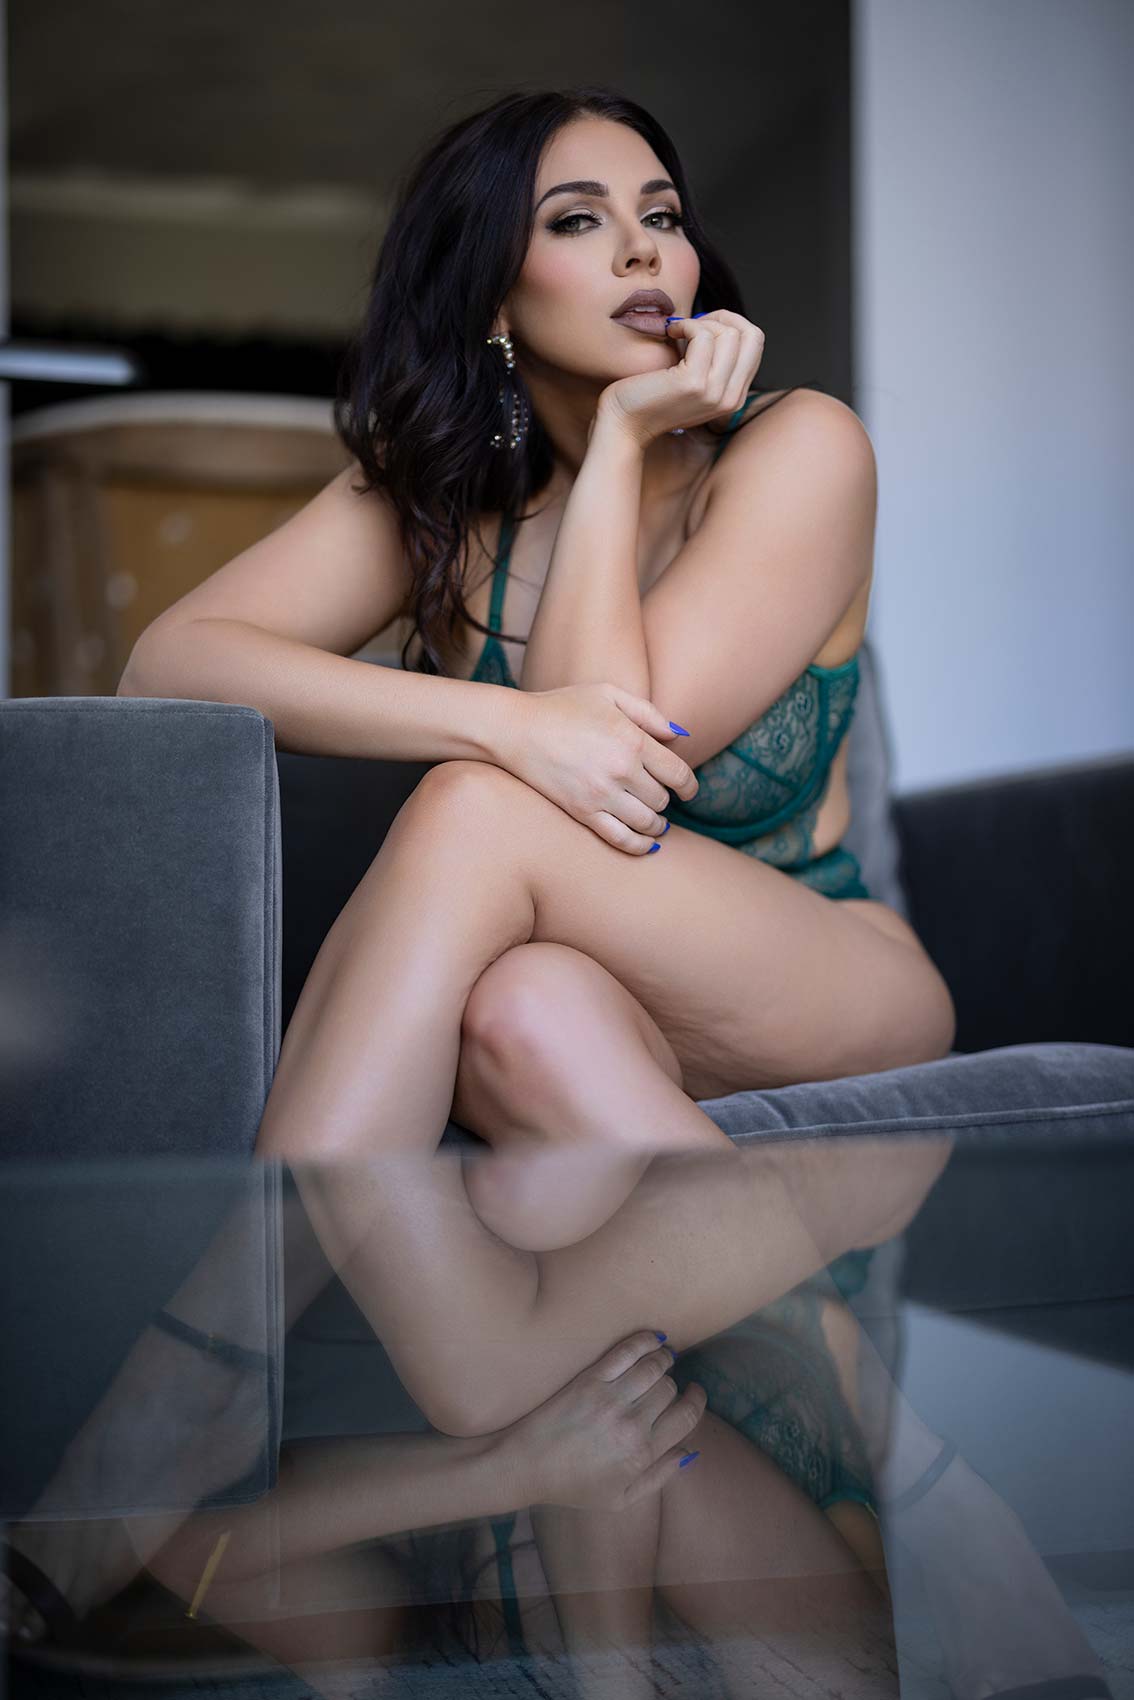
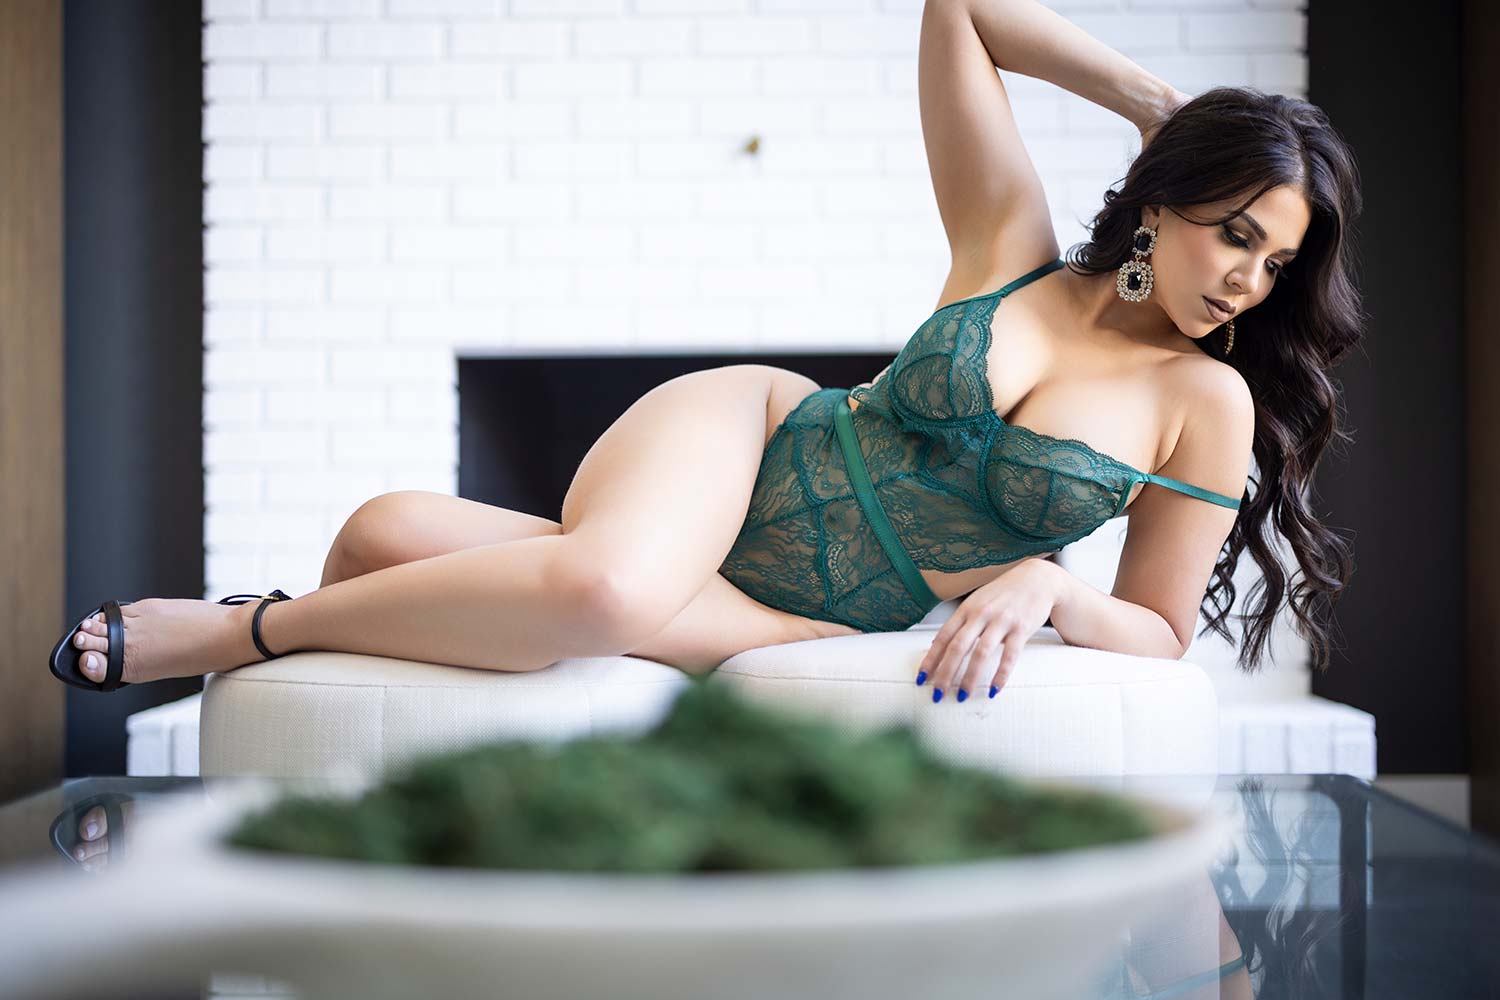
We want to hide things in shadows. We don’t always want to put everything with very flat light. Use shadows to shape their body, shape their features, and ultimately create a more stunning image. Let’s get to it.

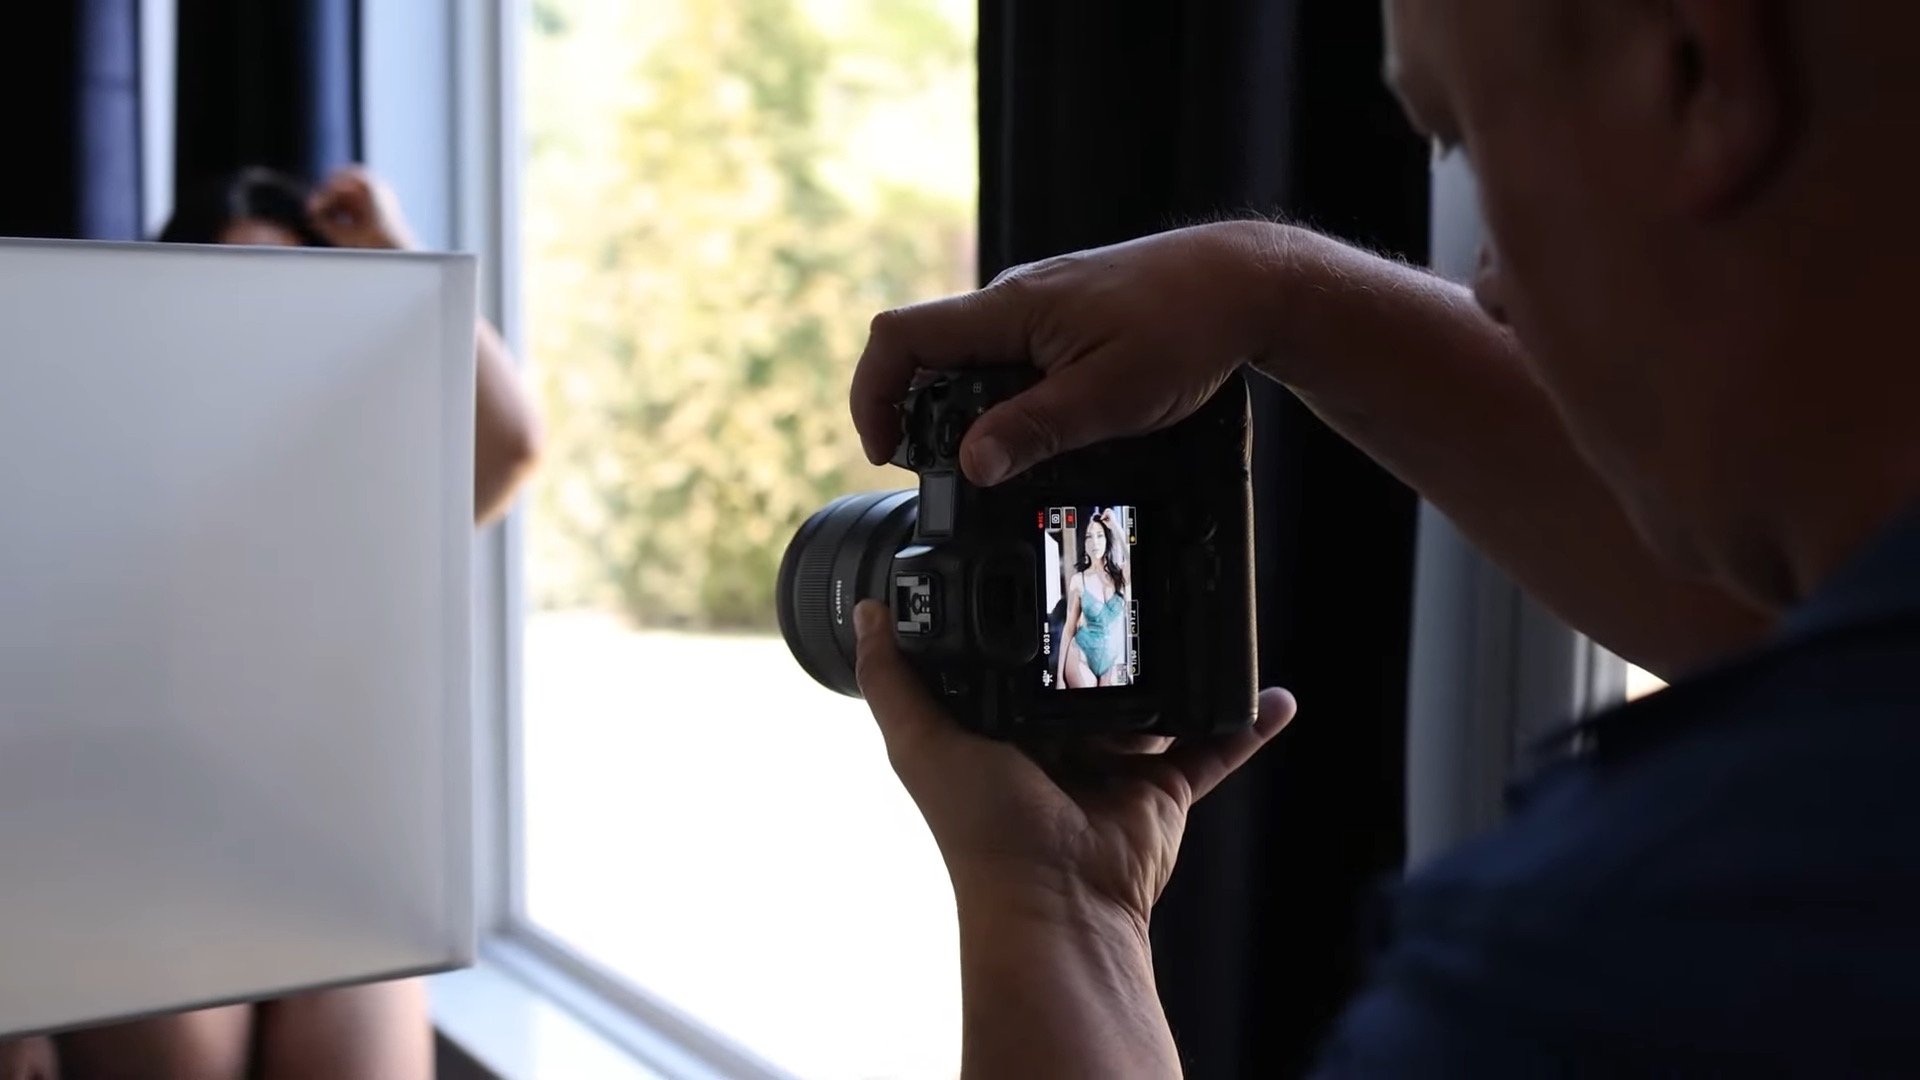
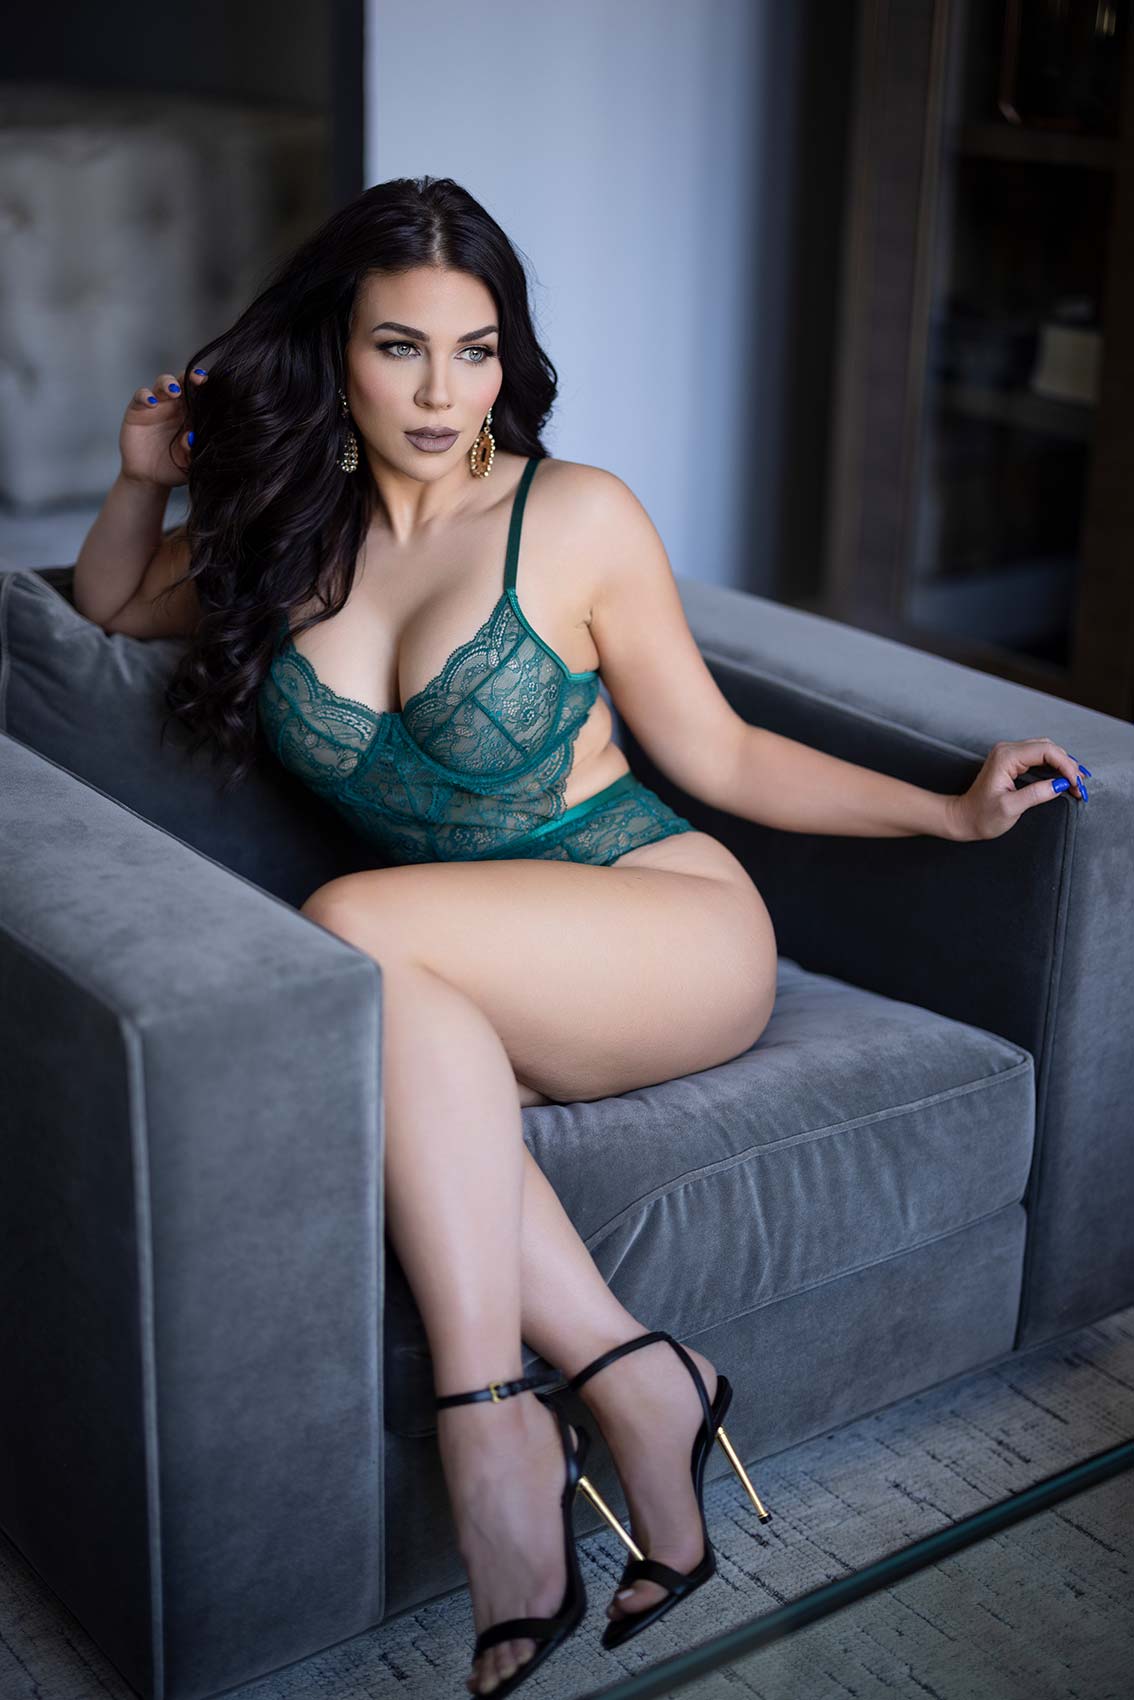
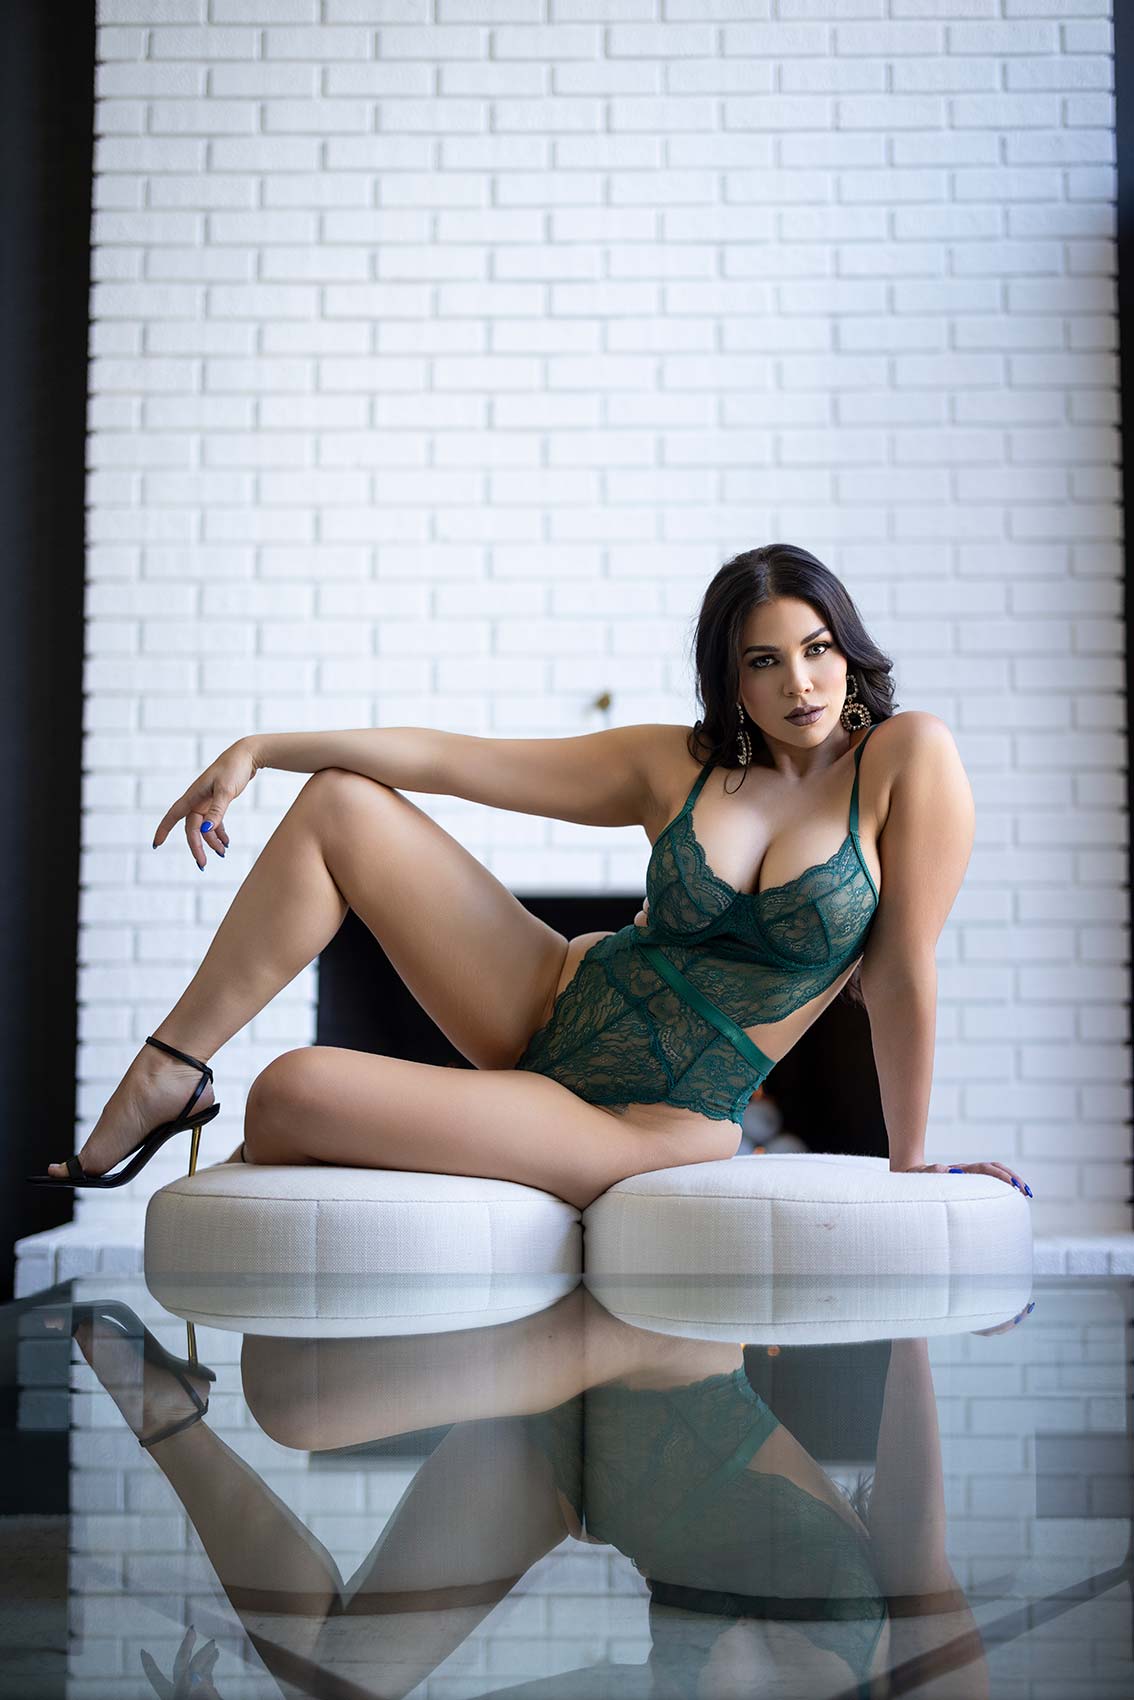
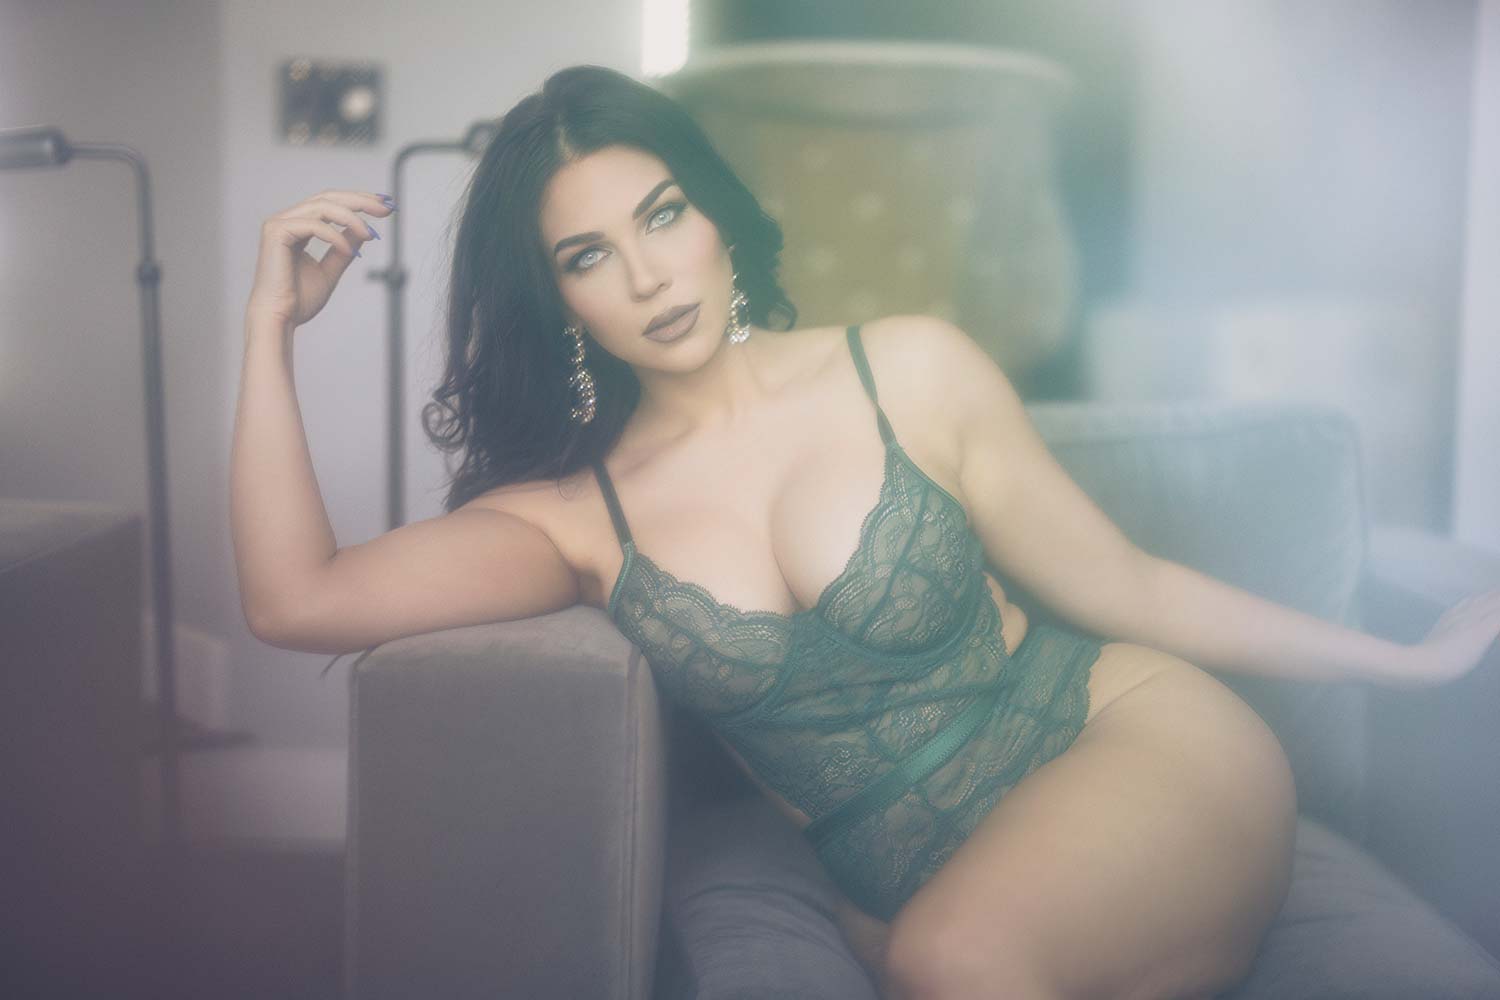
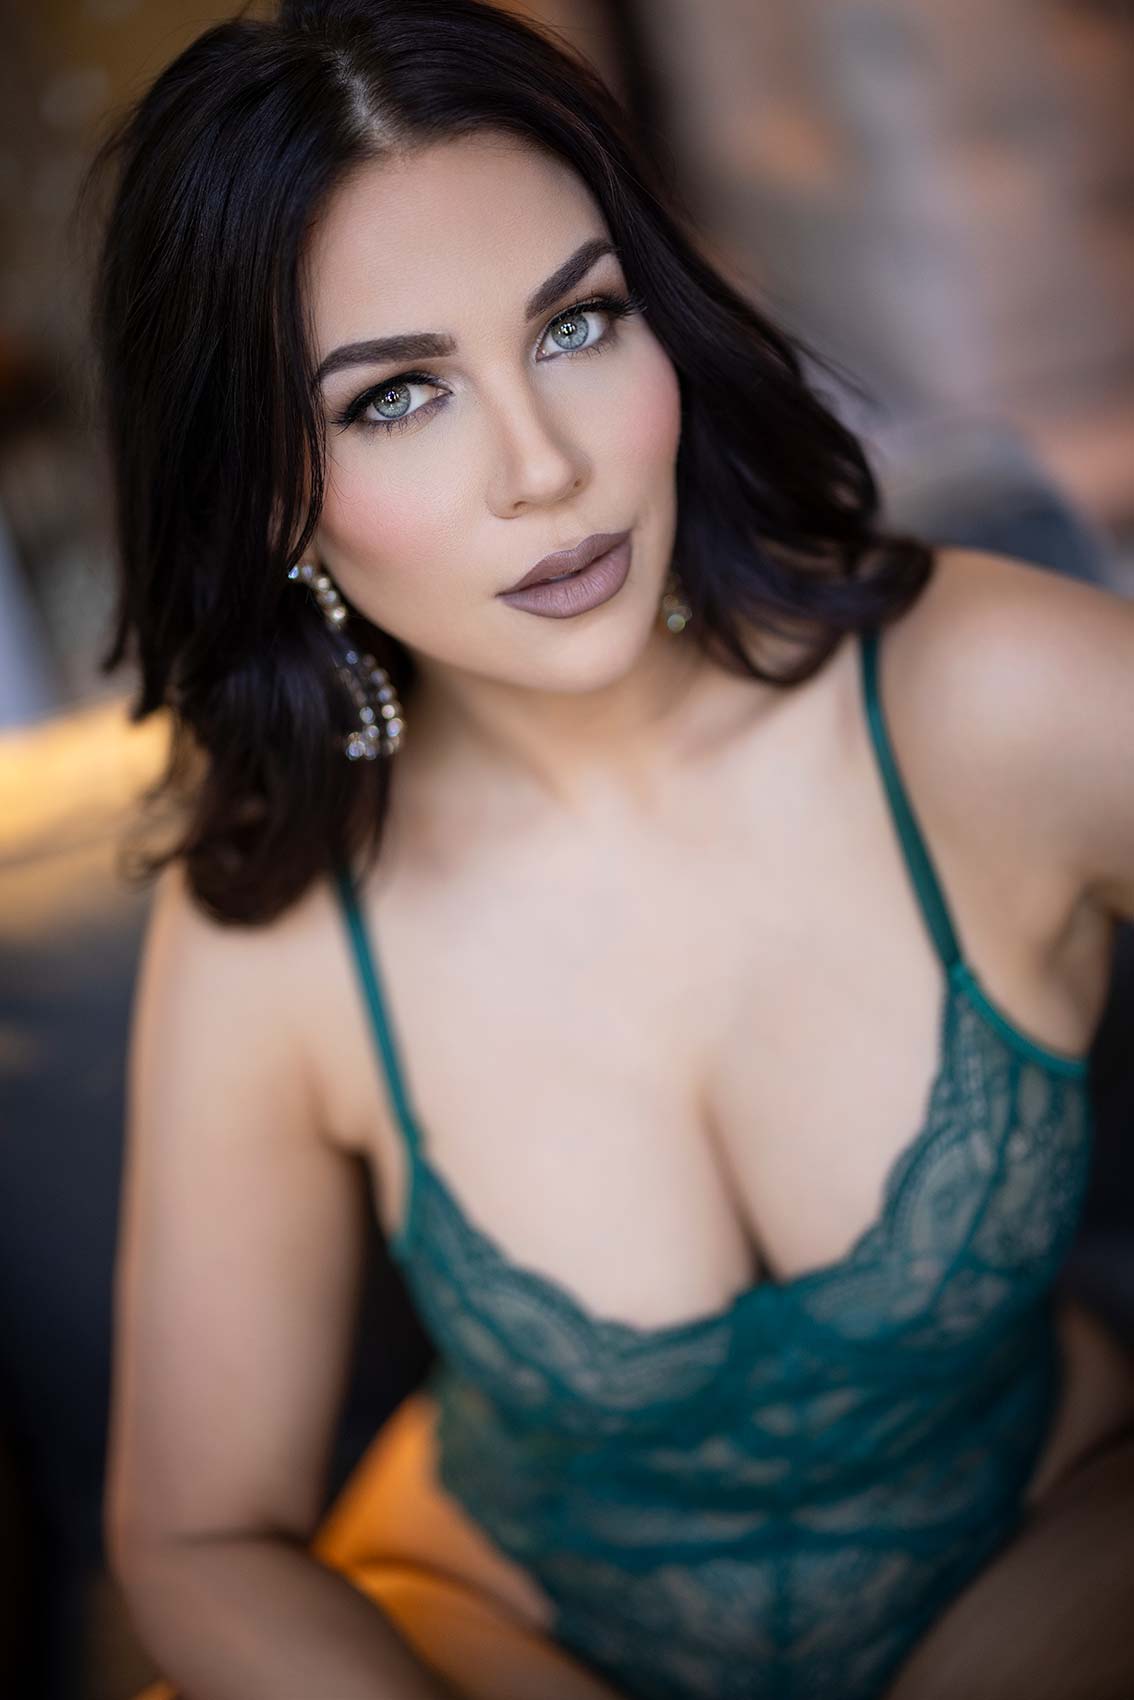
Lauren, let’s get you into the scene here. All right, I’m going to stop you right there. Through my eye, what I’m seeing here is I’ve got this big window light, camera right, pushing into the scene. A lot of things that you can do here to shoot. This is your angle that you choose. 

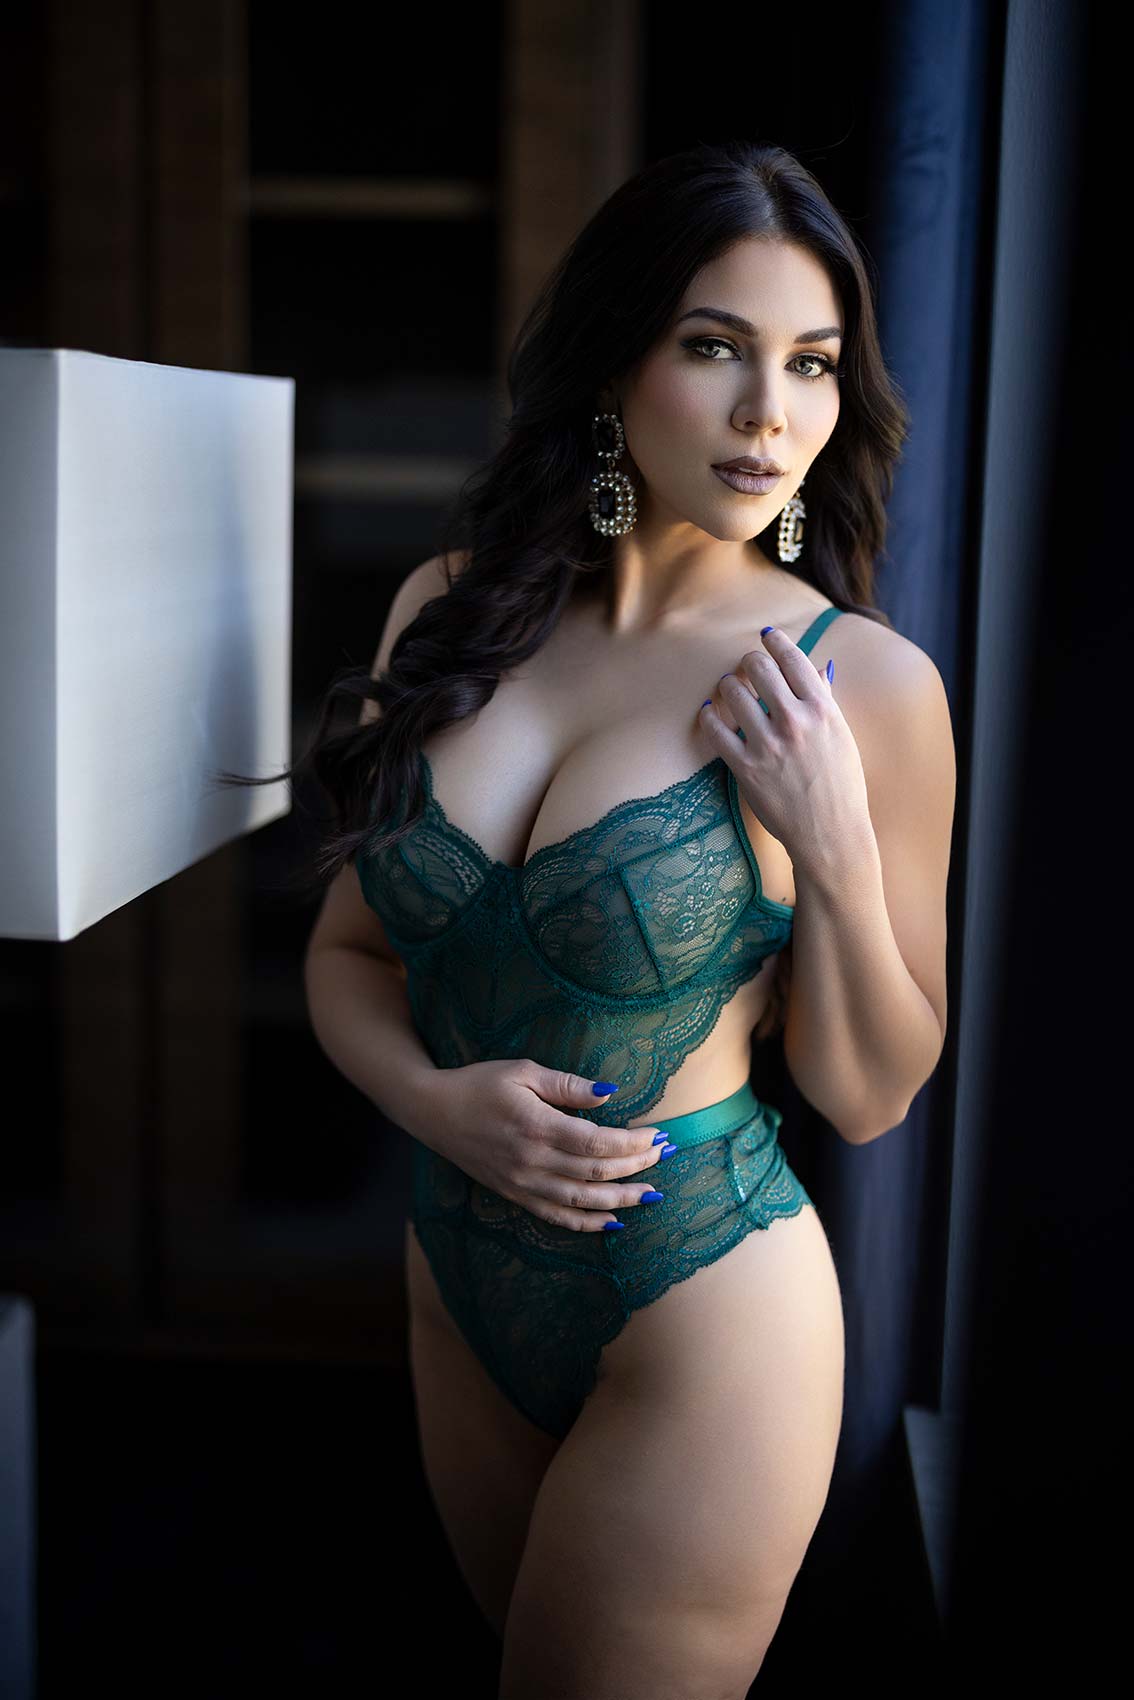
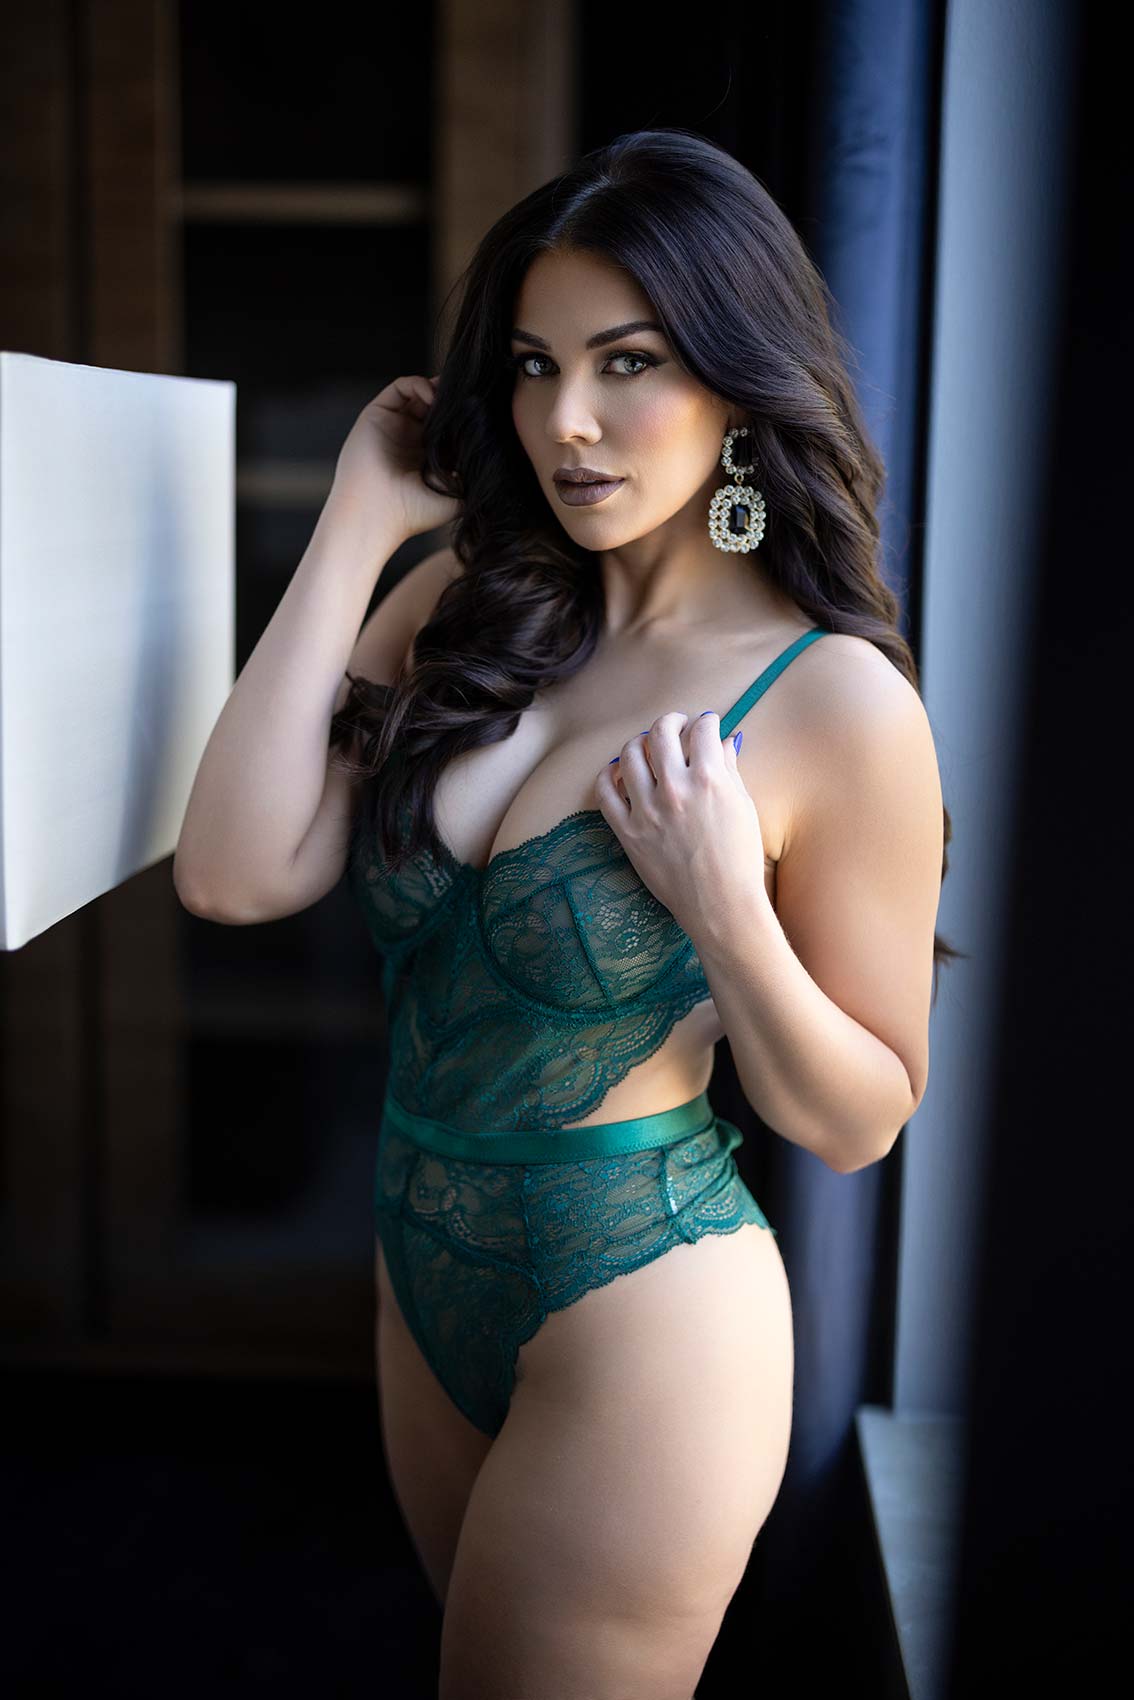
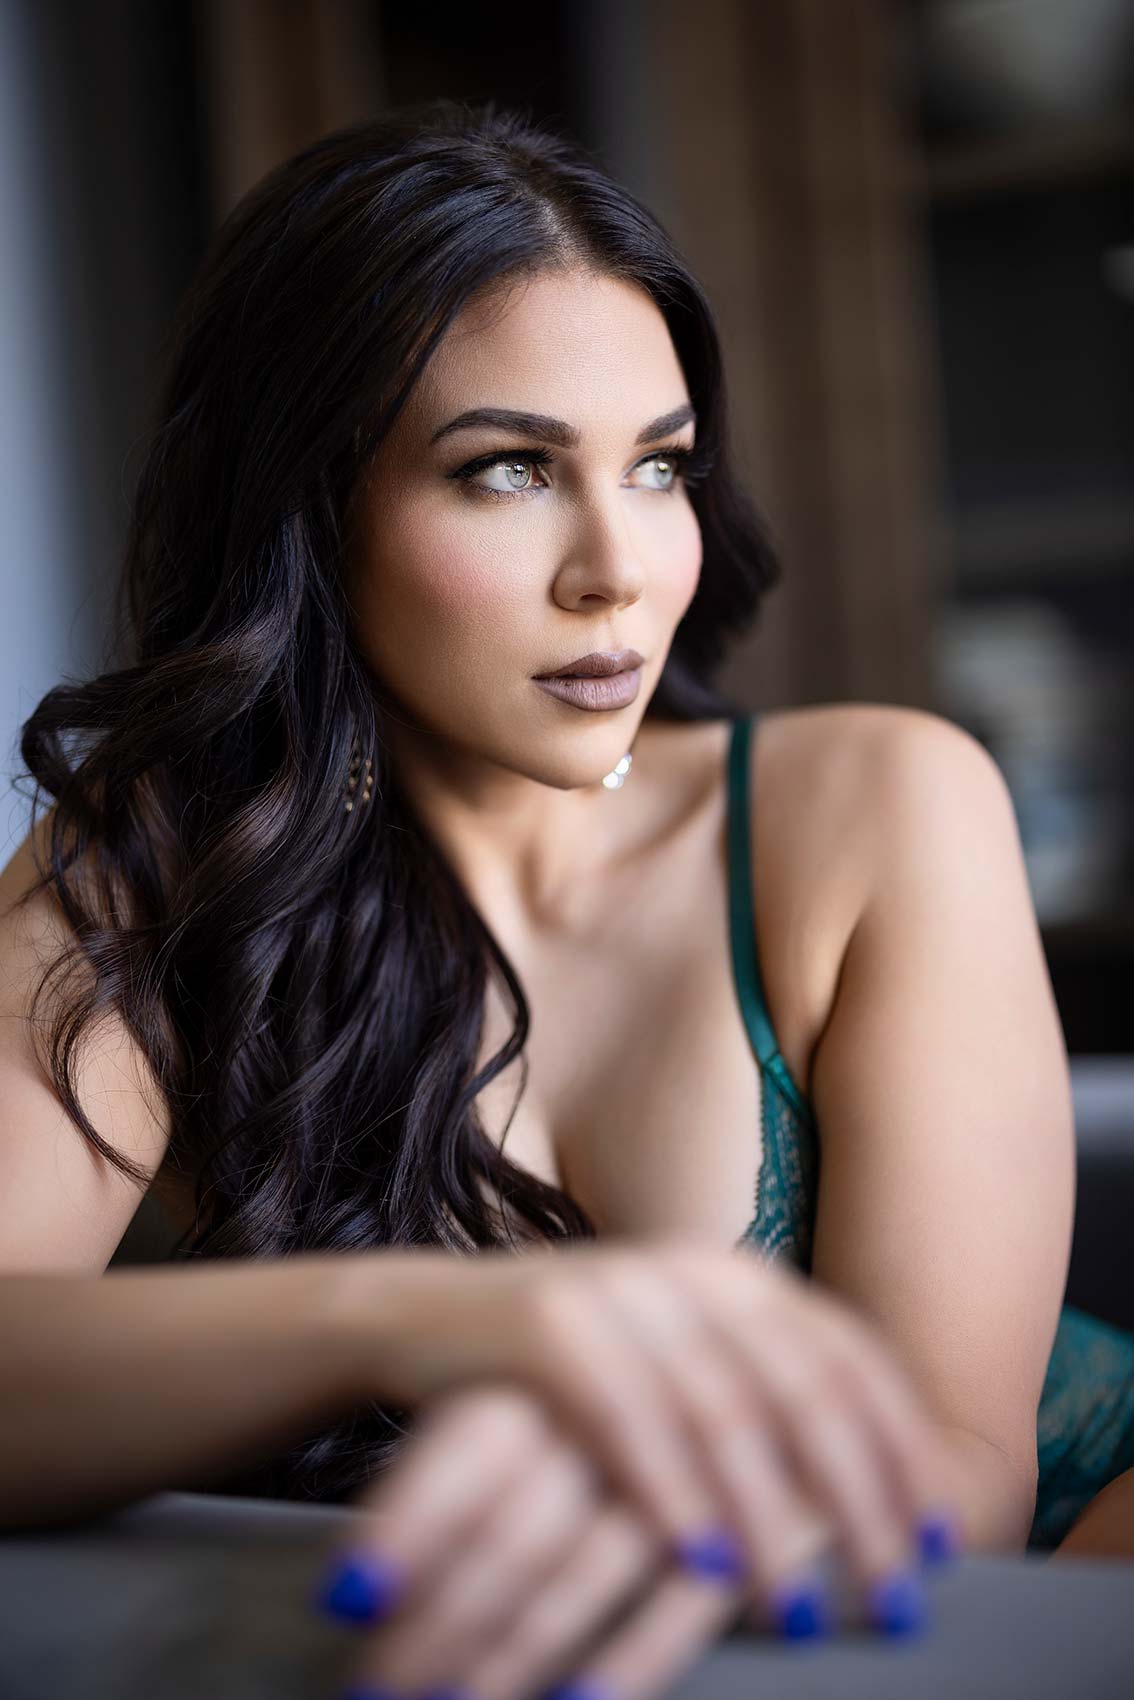
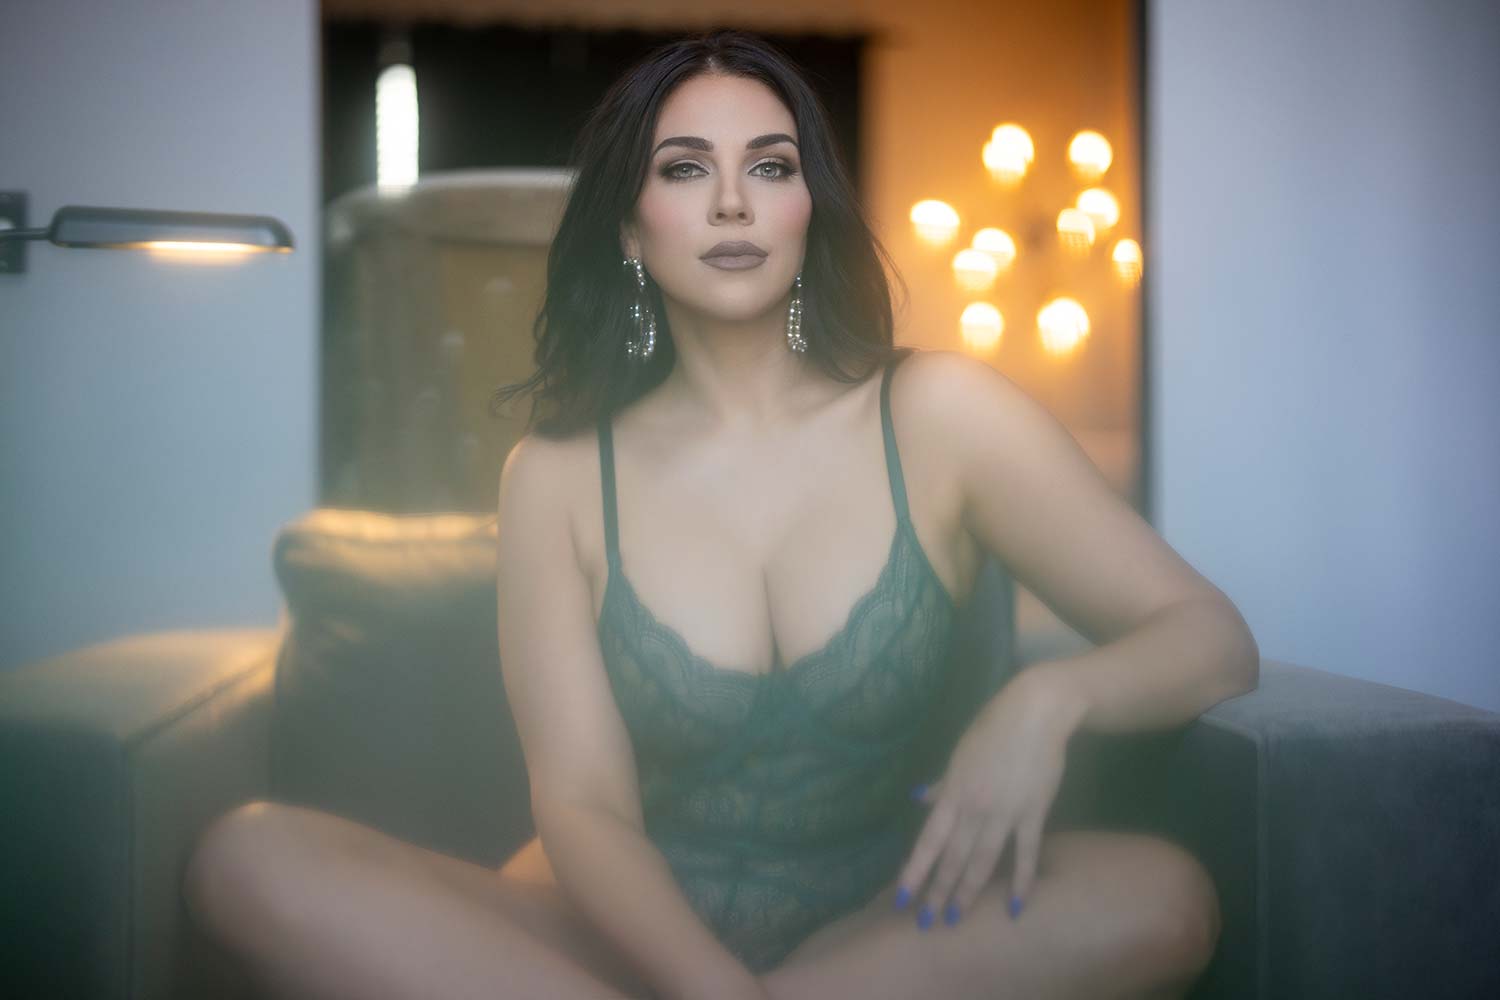
This window… Your eye is going to go to the brightest part of an image. I want her to be the brightest part of the image, and so if I stay here at this angle, you’re going to see this bright part out here. You may have to overexpose it, it’s ugly, it’s not part of the image. What I’m going to do is slide here and frame up using the curtain here to get it.

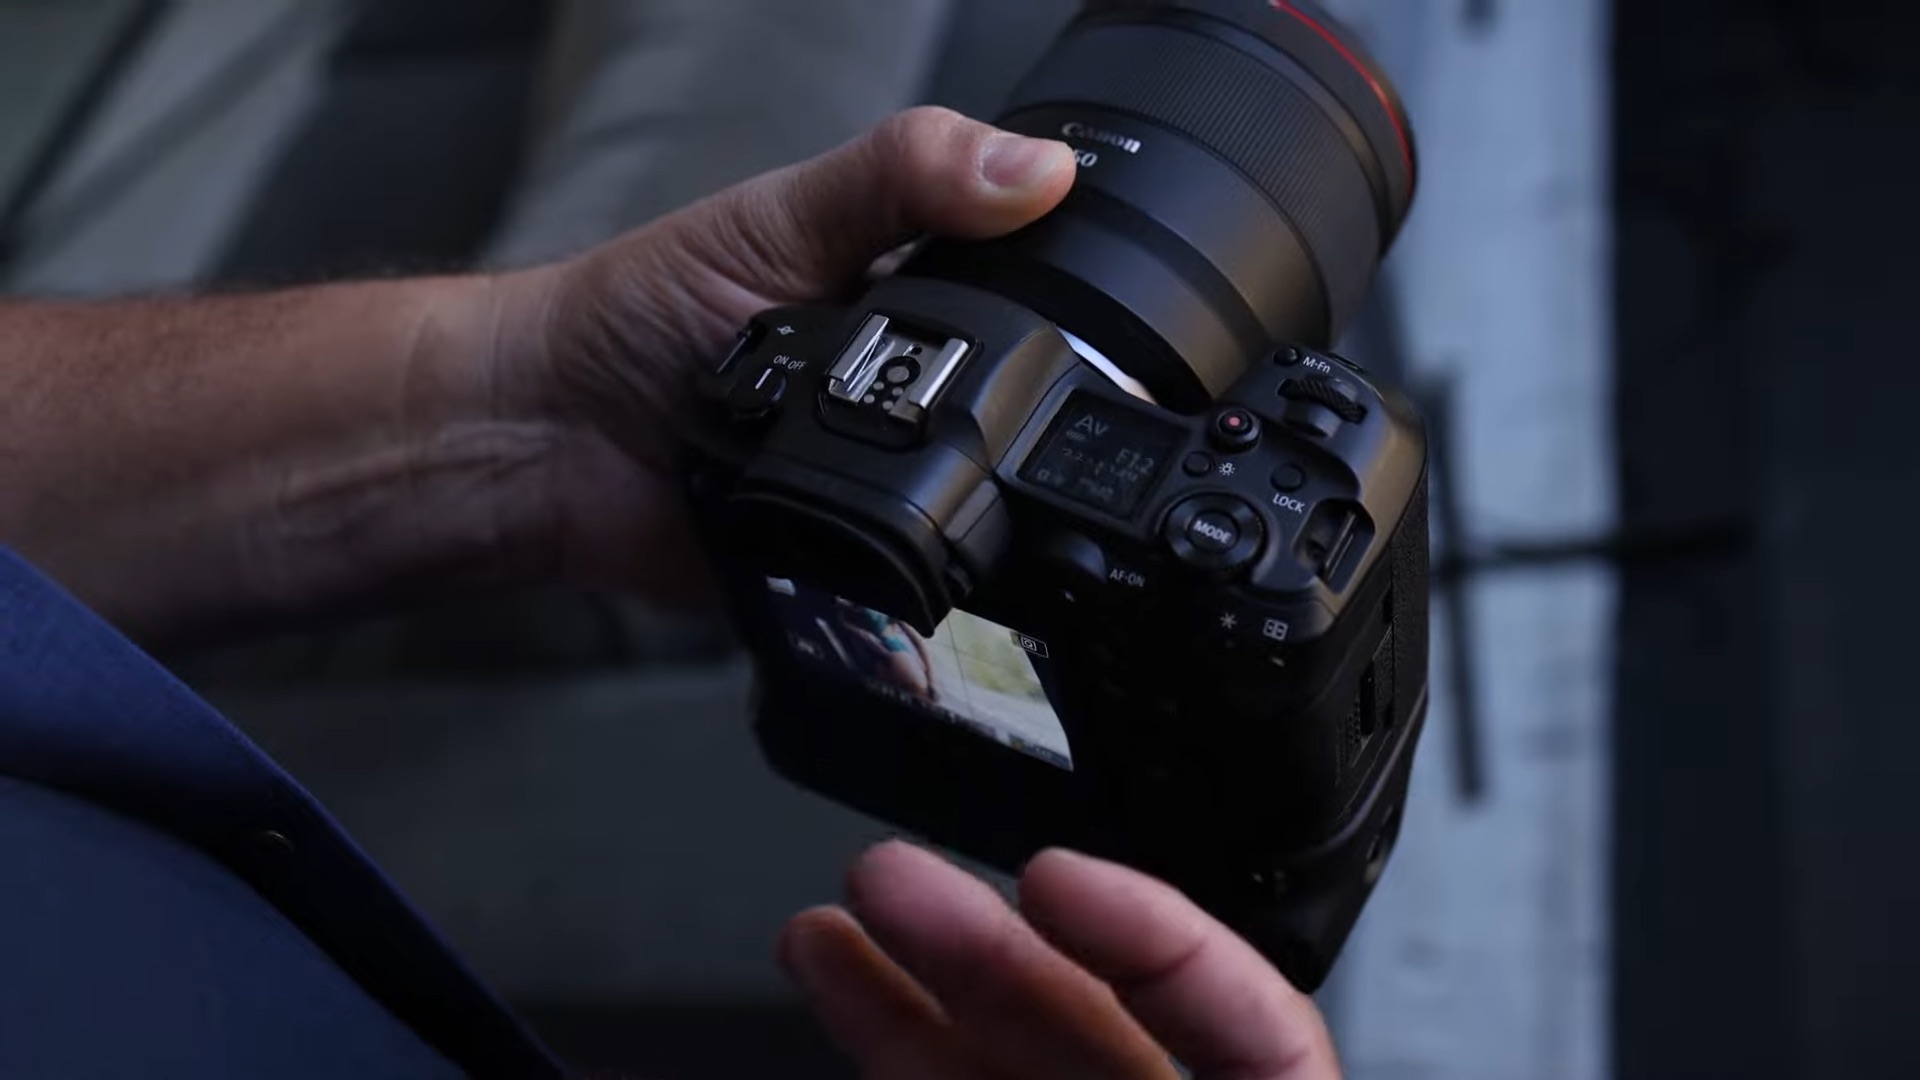
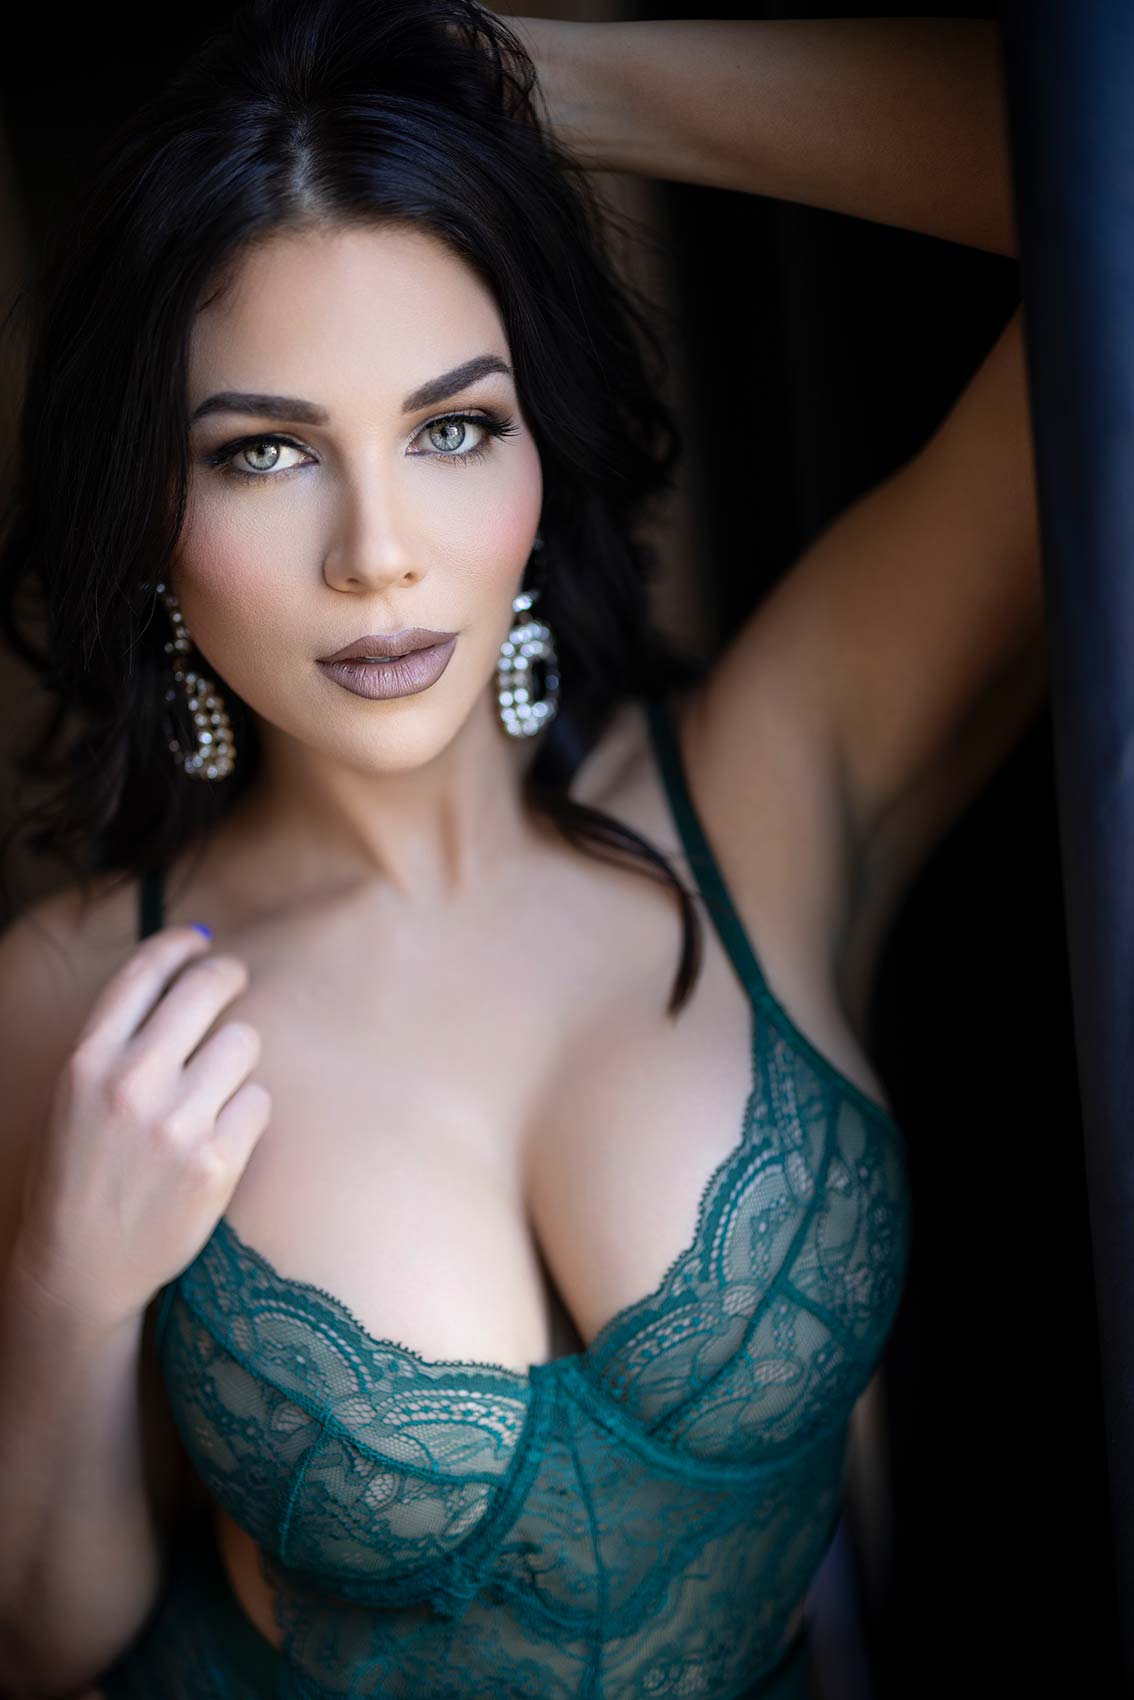
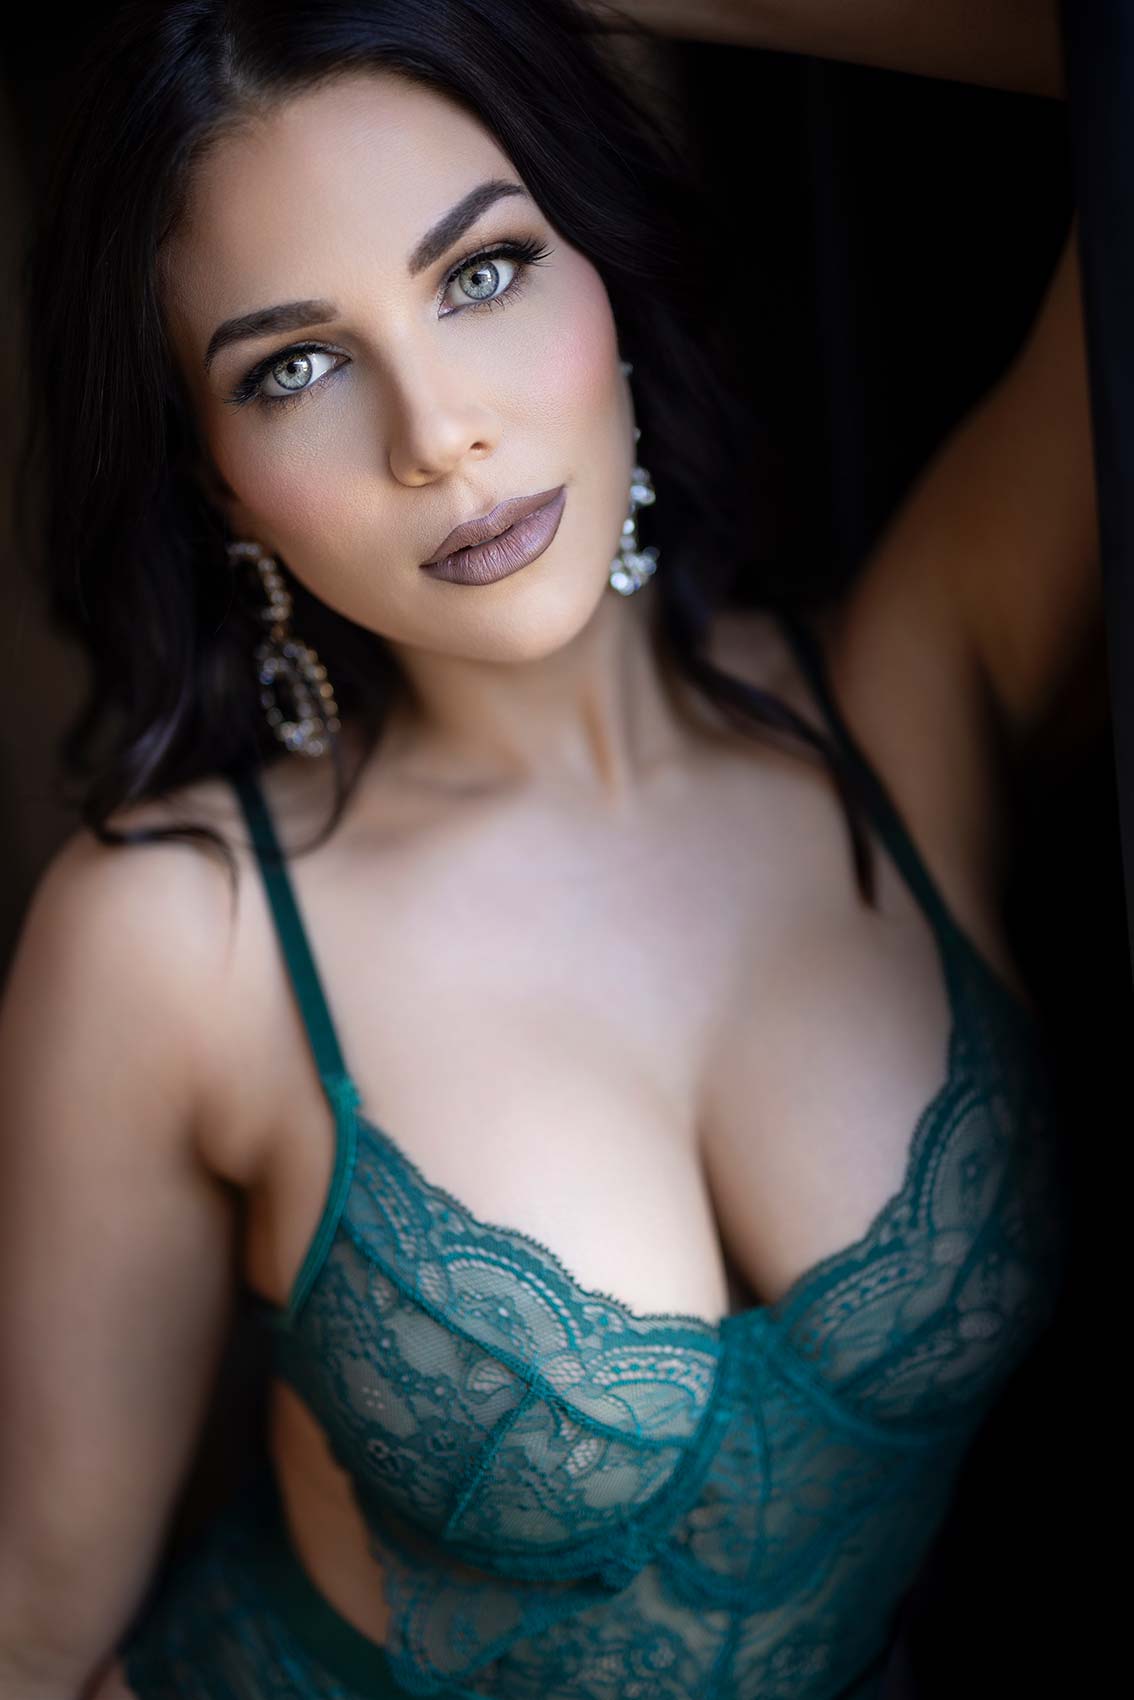
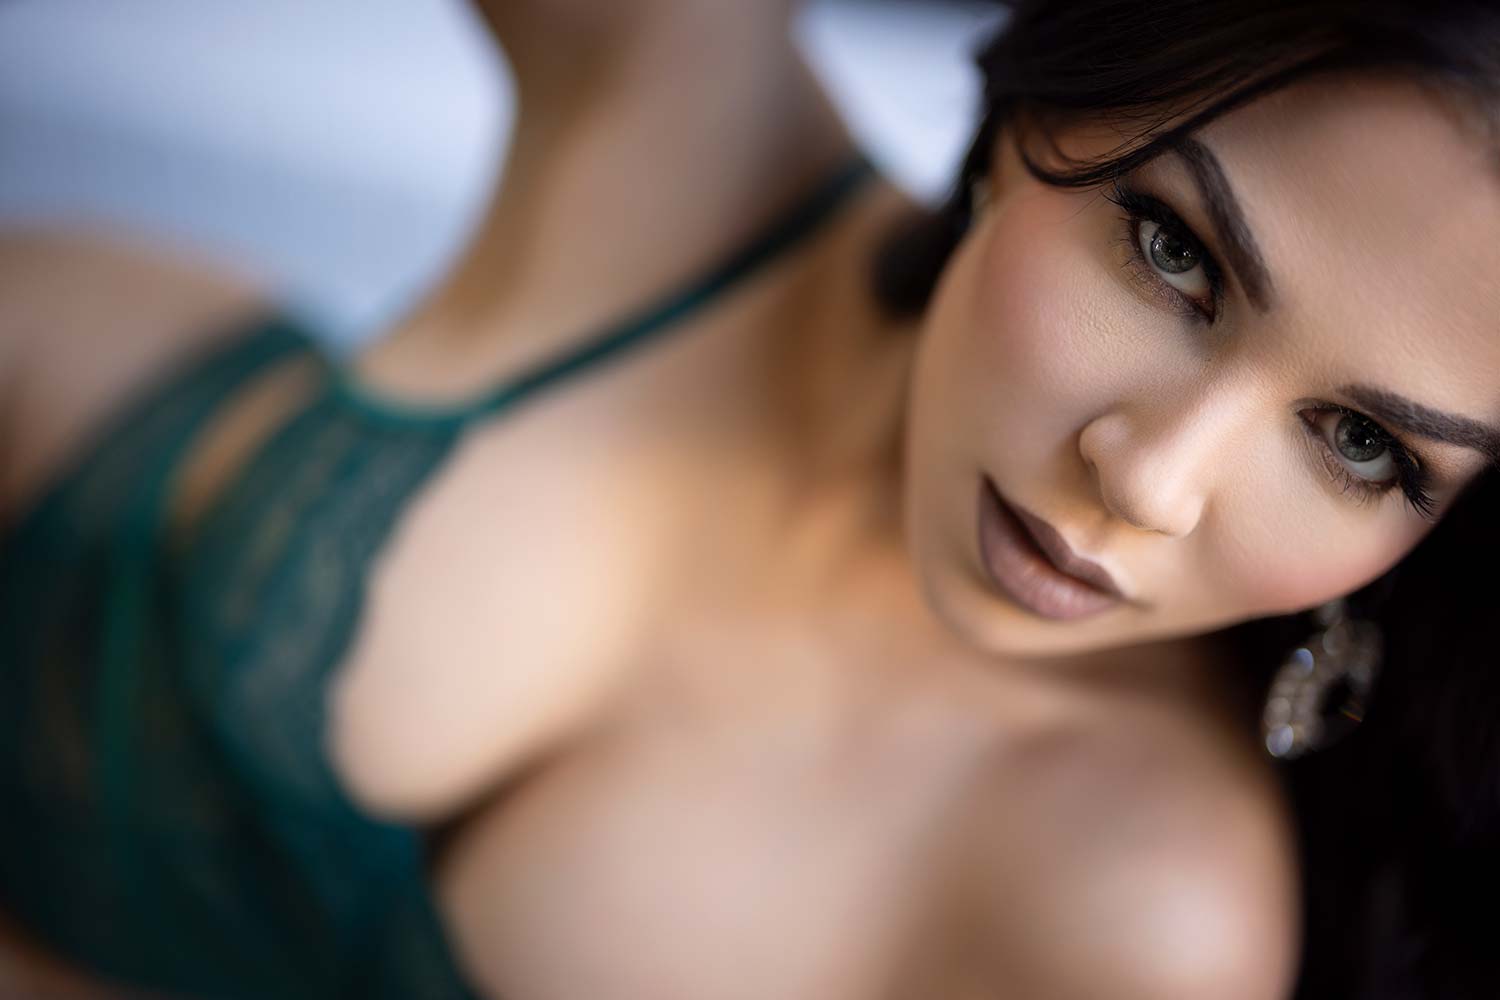
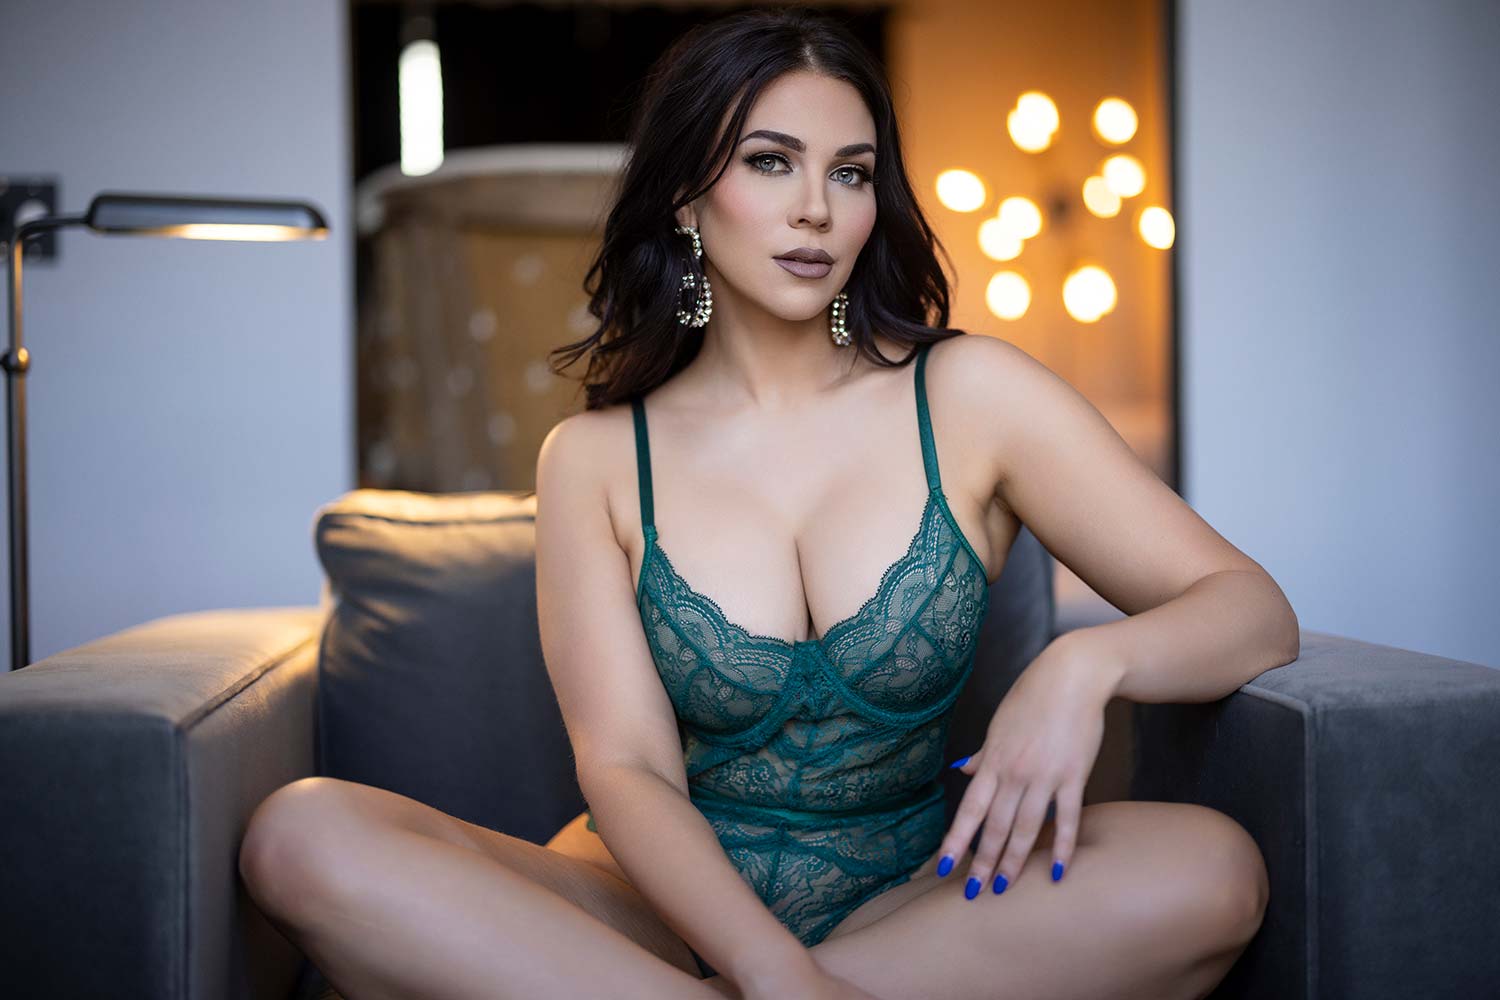
For this, I’m using a Canon R5, and a 50 millimeter F1.2. I’m going to shoot everything wide open, 1.2. The reason I like shooting it F1.2, it’s going to soften up the skin naturally and it’s going to have some really nice soft fall off, which is what you want for these types of portraits.

Settings: f/1.2 @ 1/3200, ISO 640
Settings: f/1.2 @ 1/1600, ISO 640

Now what I’m going to do here real quick is I want to get into the habit of creating reels for social media. Built into these cameras today, you all have video function, we’re just not using it. On the Canon R5, if you can get in here and see you’ve got that red button. You can actually program that red button to start recording video, even though I’m in stills mode.

What I can do here is now I’m going to switch to vertical and just push that red button and I’m immediately going to start filming video. Now I just need a couple of seconds here, you can do this for your clients, where I can get now reels, 10 seconds, 5 seconds from all the different scenes. It’s really easy to put together in a program like CapCut.

Here, I’m going to start getting some video. With that video, you’re going to want a little bit of action, and I’m going to do a couple of scenes here. I’m going to come off this lamp shade. Here we go.

You don’t need to do much more than that. Now you’ve got some video and as soon as I hit stop, I’m right back into photo mode. For what it’s worth, I’m filming at 60 frames per second so that when I play it back, it’s going to be in slow motion and it’ll have a nice ethereal kind of feel to it.

The other thing I’m going to do is I’m going to turn on these lamps. What it’s going to do is give us some depth with that. Instead of just seeing white here, it’s going to give some warm tones on the left side while we’ve got natural 5,500 Kelvin, call it, coming off the right.

Settings: f/1.2 @ 1/500, ISO 100
Settings: f/1.2 @ 1/400, ISO 100
Settings: f/1.2 @ 1/4000, ISO 640

You’re seeing how we’re just in one spot here and we’re working, really doing some cool stuff here. You can see I’m really using this curtain to block.

Settings: f/1.2 @ 1/320, ISO 100

Just in that first scene, standing by a window, again, if you’re in a hotel room or in a studio, typically you’ve got this natural light coming in. Now that’s north light, so it’s nice, big, soft. What I’m going to do now is move her back into this chair, and now the light source is going to be a little bit bigger, a little bit softer for her, and I’m going to pick a different angle where I’m working with the light now.

In the first scene it was a little bit more directional, albeit still soft, but here I’m going to be working with it a little bit more direct on her. Because of the shallow depth of field, this light is just stunning on her.

Settings: f/1.2 @ 1/125, ISO 100
Settings: f/1.2 @ 1/160, ISO 100

Now I’m going to come in here again, let’s get something tight on her. I love her just looking away and just getting this profile. To me, this is going to look great in an album.

Settings: f/1.2 @ 1/100, ISO 100
Settings: f/1.2 @ 1/200, ISO 100
Settings: f/1.2 @ 1/160, ISO 100
Settings: f/1.2 @ 1/100, ISO 100
Settings: f/1.2 @ 1/60, ISO 100
Settings: f/1.2 @ 1/100, ISO 100
Settings: f/1.2 @ 1/320, ISO 400
Settings: f/1.2 @ 1/160, ISO 400
Settings: f/1.2 @ 1/500, ISO 400
Settings: f/1.2 @ 1/640, ISO 400
Settings: f/1.2 @ 1/800, ISO 400
Settings: f/1.2 @ 1/500, ISO 400

All right, everybody, that’s a wrap. Hopefully you love the images that we’re creating, but hopefully you can see how just getting in a simple room with really simple open light from outside, again, natural light where you can just use the room to your advantage, move your subject around, create some interesting poses for your client. Hope you love it. Let us know in the comments which one was your favorite. Trying to think which one ends up being my favorite. We’ll see you in the next video.

Leave a Reply

Want more content like this?

Check out our recent posts

yt thumbnail dramaticlightingonlocation

Dramatic Lighting On Location

Ready to take your off camera flash to the next level? In this photography video tutorial, I show you how to use the Westcott FJ400 to light your subject up and create dark and dramatic portraits for your clients.

Read More »
yt thumbnail outdoorportraitsusingreflector

Outdoor Portraits Using a Reflector // Westcott Fusion

Harsh sunlight? No problem. You can create stunning portraits with nothing more than a reflector and clever use of blocking techniques. In this photography lighting tutorial, we use the Westcott Fusion which gives us several variations for lighting control.

Natural light photography doesn’t have to be flat and boring. Using a reflector can add dimension and that pop of life into your subjects eyes. If you have ever wondered how to use a reflector for outdoor photography – this video is for you.

Read More »