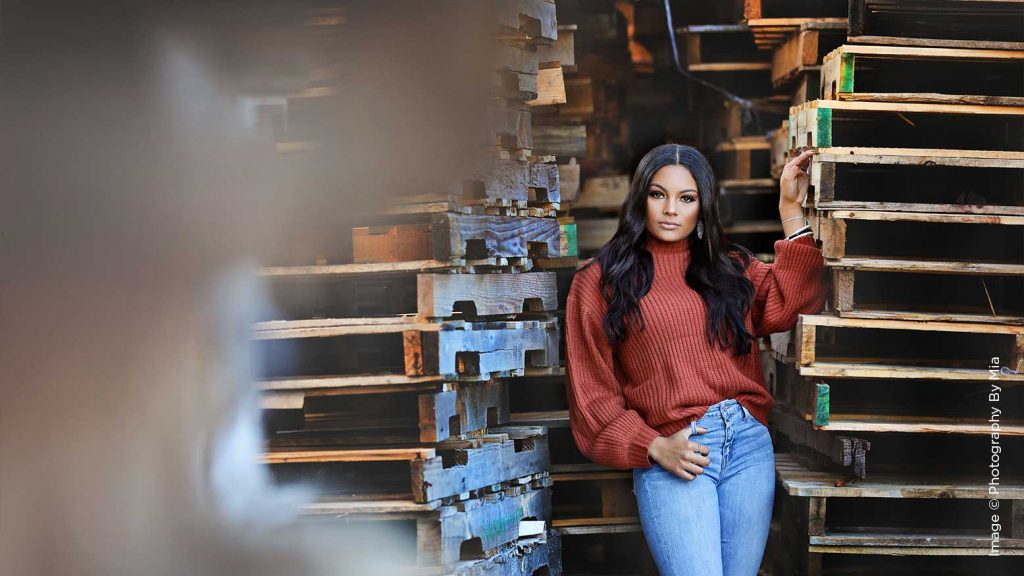
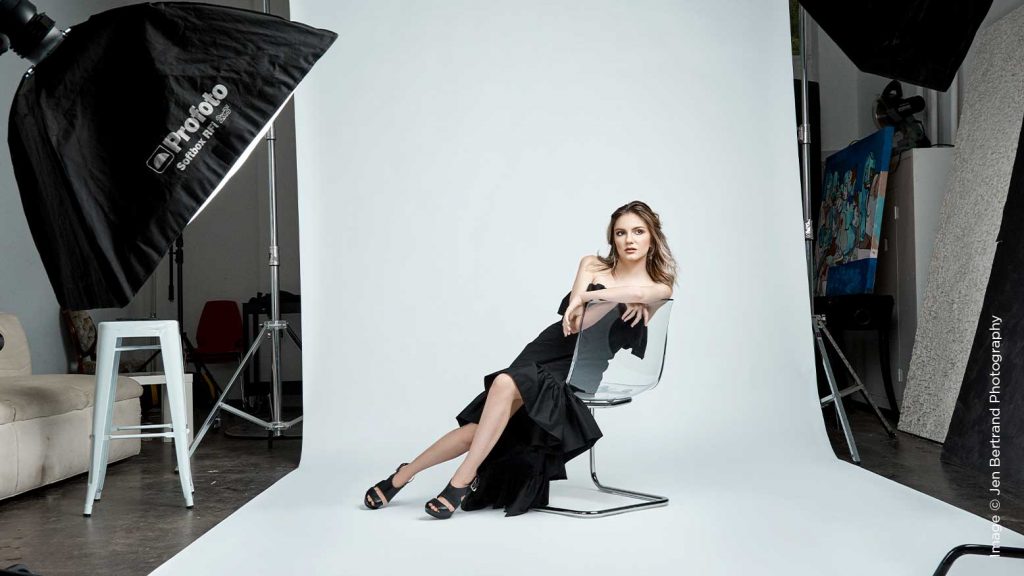
Rock Your Styled Shoot
The first thing you want to do is come up with your purpose. Why do a styled shoot? Is it to build your portfolio? To get a chance to shoot at a certain venue or work with certain vendors? Is it to get published?
With Adobe’s recent October 2020 release of Lightroom Classic v10 comes the replacement of Split Toning with a new Color Grading tool. This is the tool many of us have been waiting for in Lightroom, and now we no longer have to go into Photoshop to utilize it.
You can create your own magic anywhere you want with a battery-powered light and a small softbox or umbrella. When shooting outside, I love using the sun as my hair light and a softbox as my main light. No matter how bright the natural light is, placing the sun behind your subject will either create a subtle rim light on a cloudy day or a brilliant one on a sunny day.
As photographers, one of the things we gravitate to is light. Makes sense right? Light is the foundation of an image. How you use light is what starts to help you develop your identity as a photographer.
In essence, you could say that out of Covid came some really good news for our businesses. This situation has offered us a way to expand our services while presenting to us a new demand within what I feel was becoming a stale industry pre-pandemic. Pivot and discover.
Working from home has become the new normal for many of us in 2020. I’ve always loved the challenge of setting up a studio in a small space. Small spaces do not mean that your work or abilities will suffer.
So many elements and considerations go into the physical aspects of posing, from facial expression to the point of the toe. It’s all important, but that’s not what I am going to cover in this article. I won’t bore you with the usual posing tricks and principles taught in most basic photography blogs or tutorial videos on the internet.
Back in July I wrote the article on five tips for shooting the Milky Way.. In it we covered the basics of shooting this beautiful piece of our galactic home. I talked about gear, planning, safety, settings and how to set your focus for tack-sharp stars. Now I’m going to explain how to add a human subject into your Milky Way images.
Let’s start with the why. Why would you ever want to shoot in high-speed sync? Well, for starters, we have to understand a little about our cameras and how they work. In order for flash and cameras to work together, they have to be working at the same speed. Think about the light coming from your flash like a car speeding down the highway
Inspiration can come when you least expect it. As photographers, we are visual artists. We express ourselves through our camera and the images we create.
In today’s competitive landscape, quality online photography training and education is priceless to your growth. Unfortunately, most publications contain a ton of fluff. No real meat to their content. Not at Behind the Shutter. We are committed to the photography community and improving professional photography by providing current, insightful, and in-depth educational content.
Training topics include photography lighting techniques, photography off-camera flash tips, photography posing guides, photography business concepts and marketing strategies, Facebook for photographers, boudoir and glamour photography training, high-school senior photography concepts, IPS (In-Person Sales) strategies, family photography, Lightroom tutorials, Photoshop how-tos, and much, much more.