
Beauty retouching is fun and easy with Luminar Neo. This is one of several tools I personally use in my editing process. I love how easy this tool is for editing your images. Quick, easy, fun and creative are the words I would use to describe my editing. In this quick Luminar Neo Tutorial, I will show you my editing techniques for working some recent portrait images I created. One of the things to keep in mind while watching is a term I like to refer to as “season to taste”. We all have different editing styles and different taste. Work on and find the ones that work for you and your business.
Get 10% off your Luminar Neo purchase by redeeming the user code CINCOTTA.
What’s up, everyone? Welcome back to the channel. Today we’re going to do something a little bit different, a little change of pace. We are going to edit some of our pictures that we’ve taken recently using Luminar Neo.
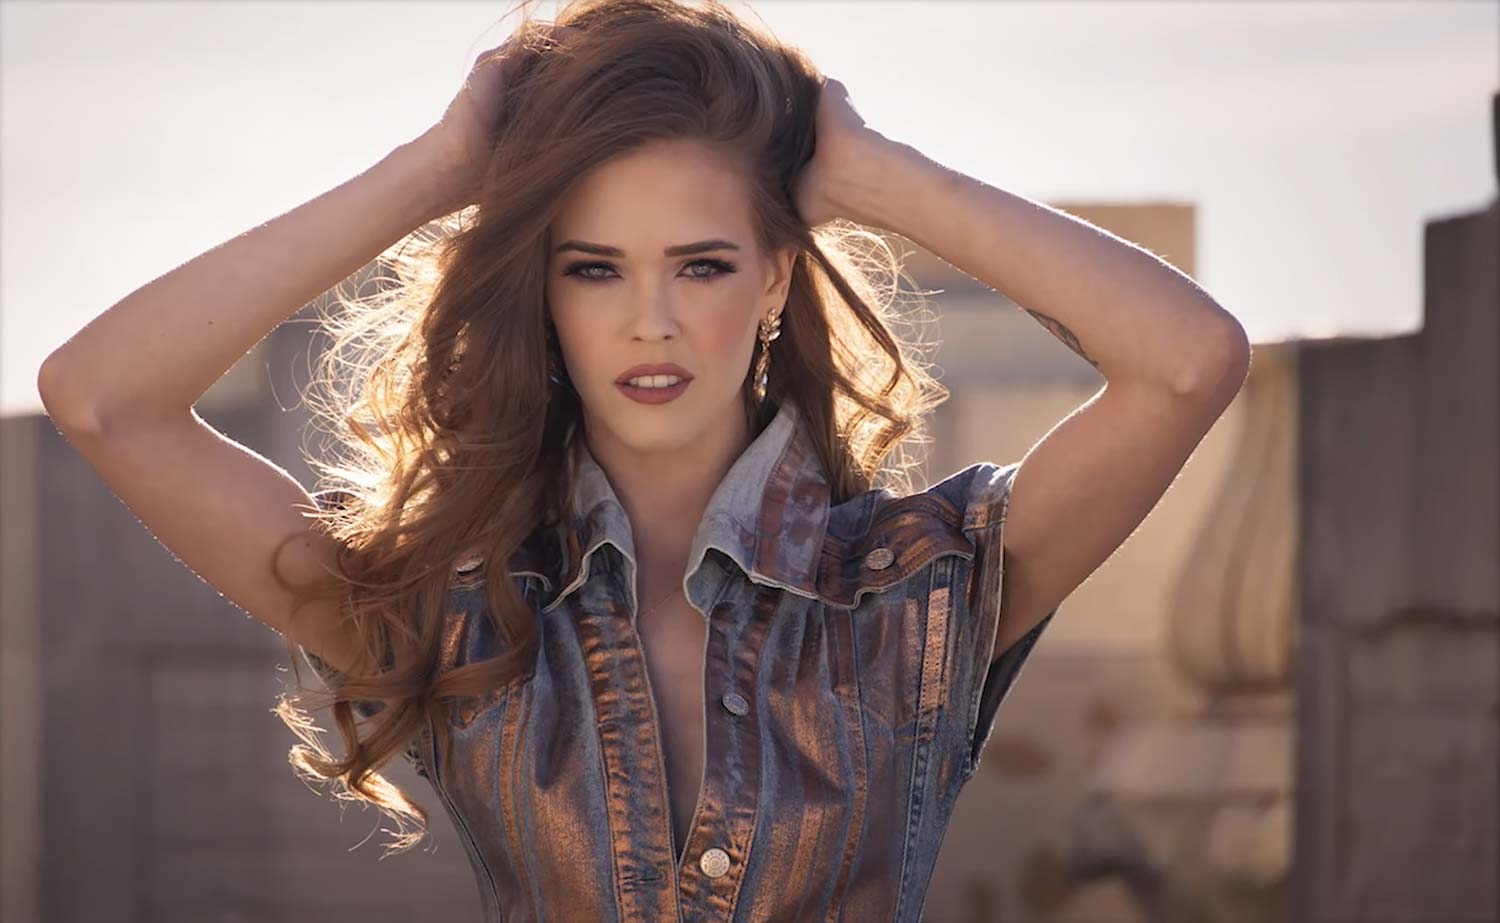
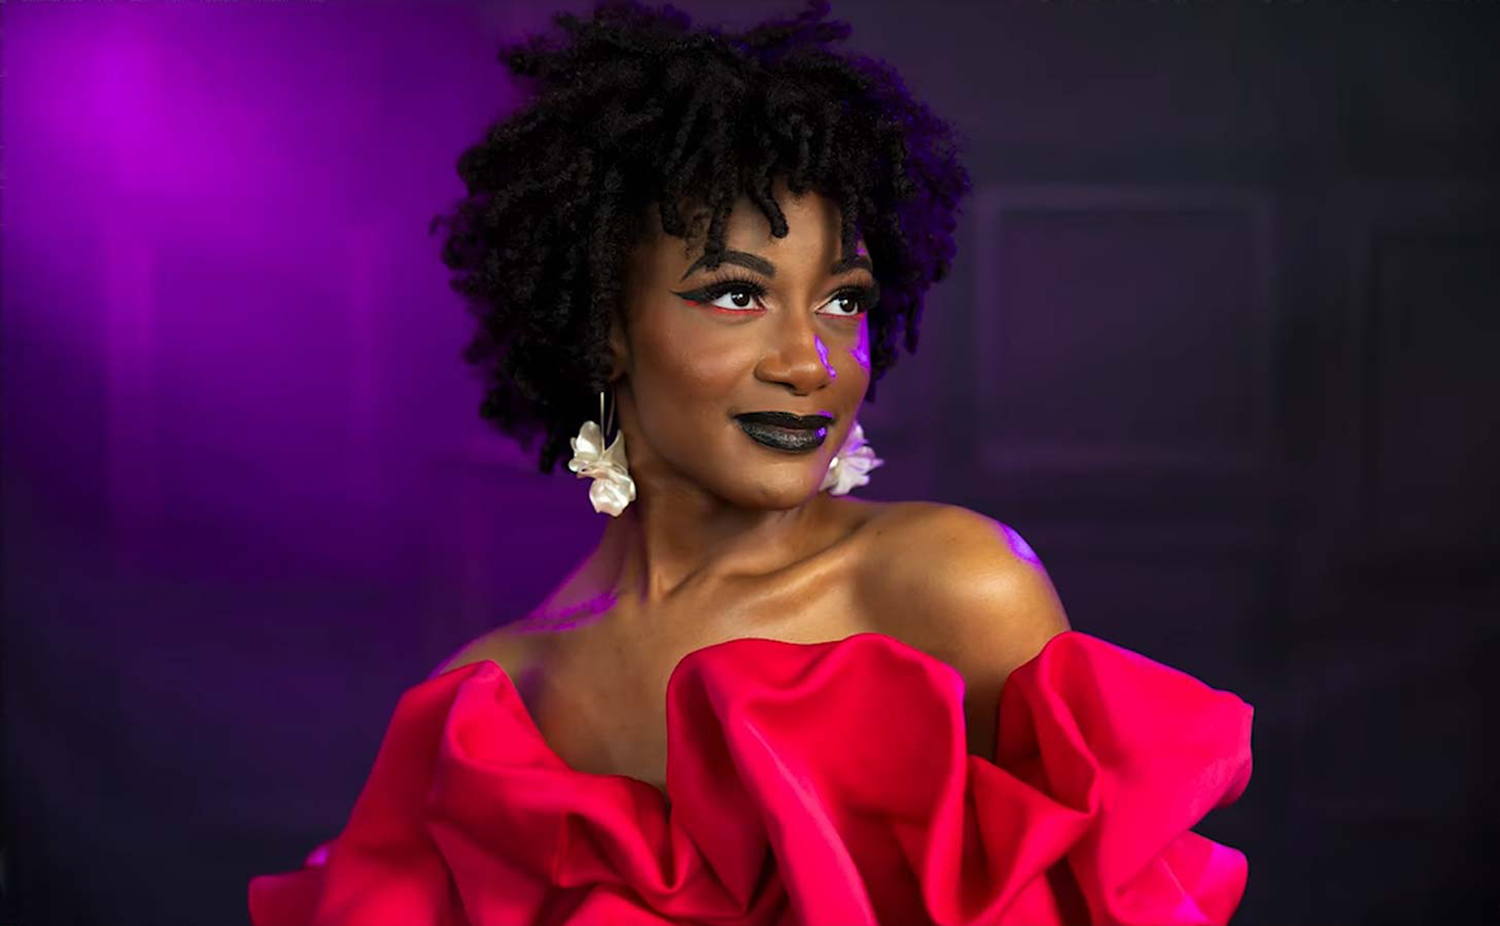
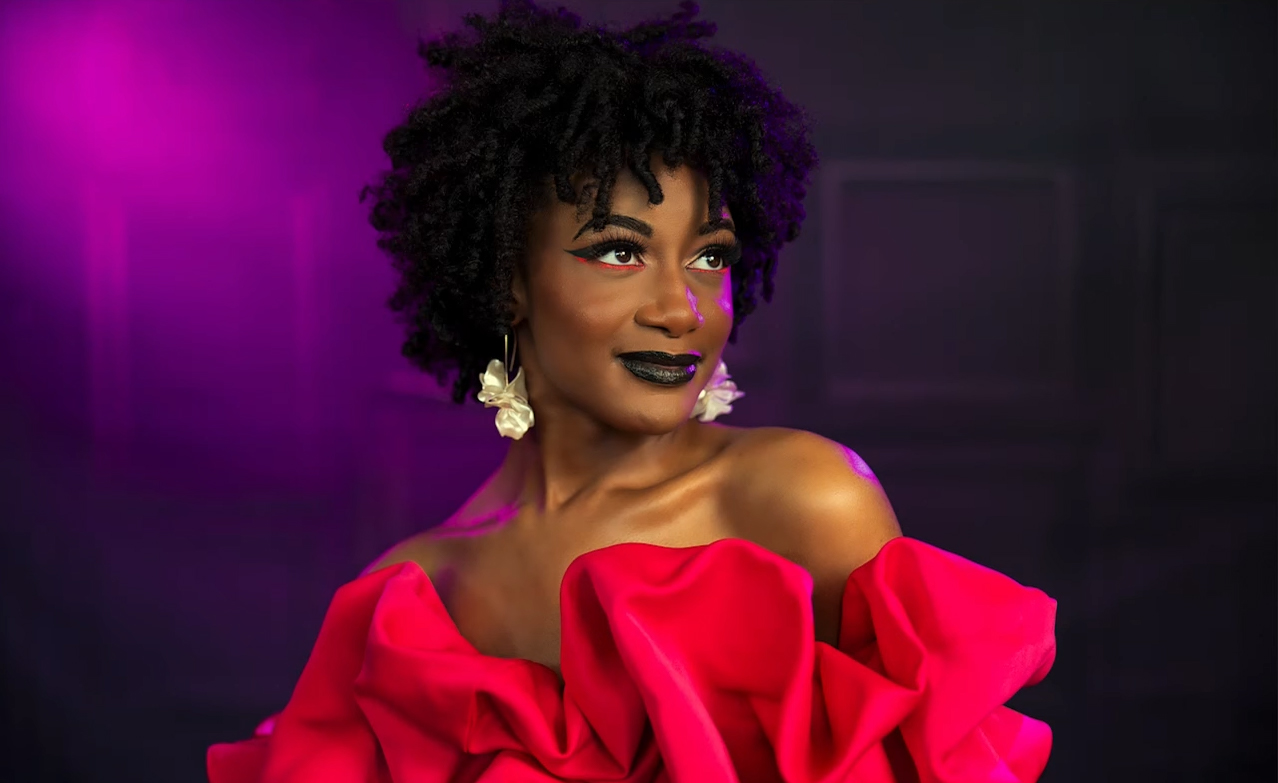
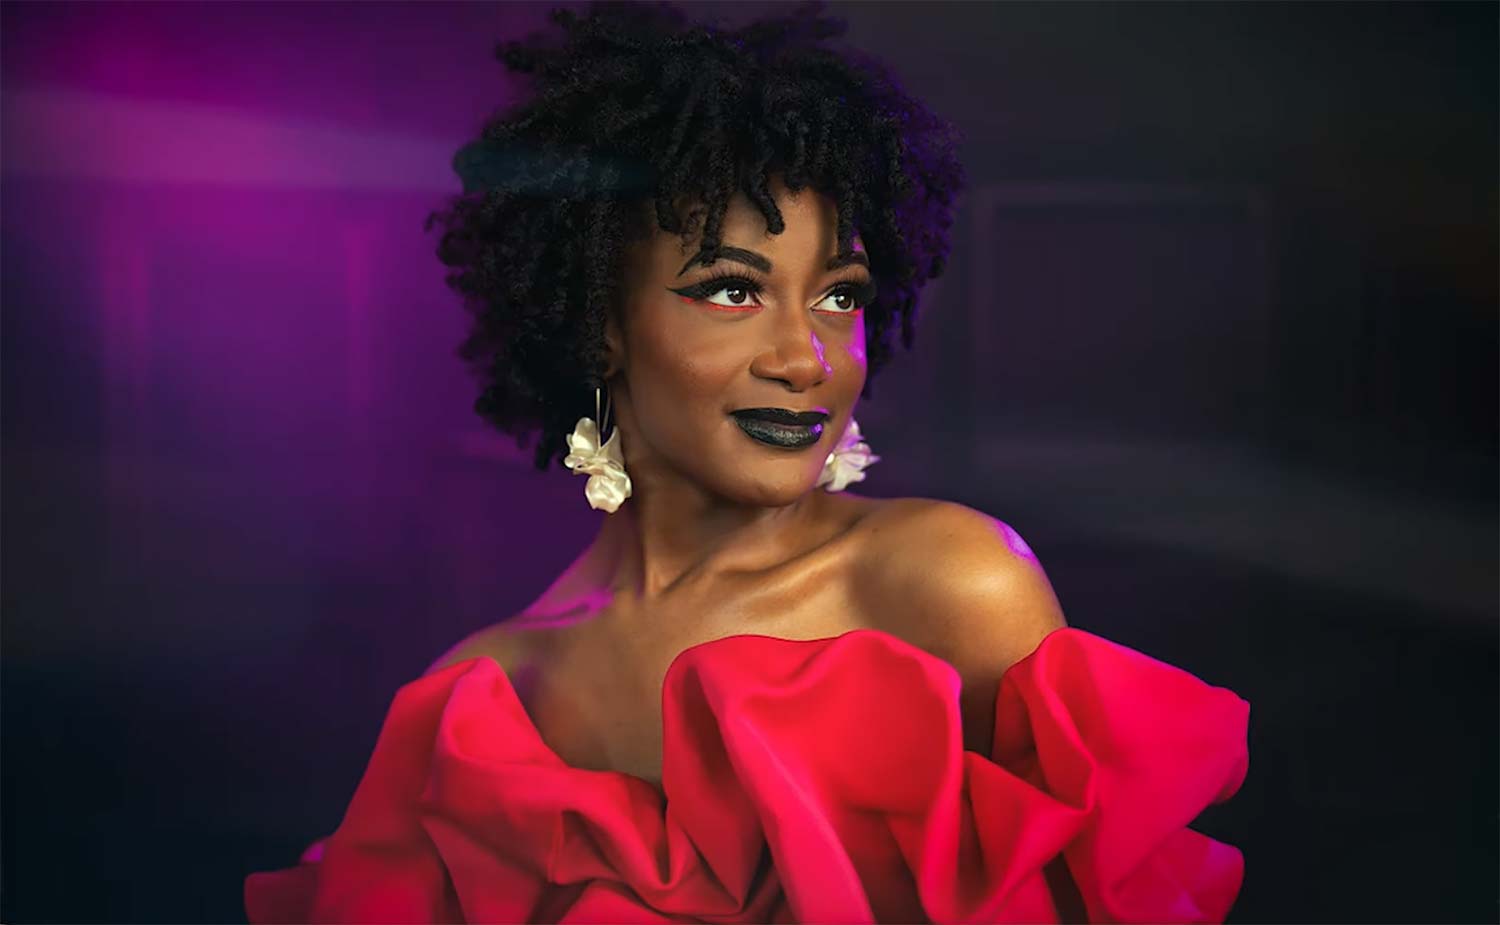
So, all I want to do is take you through real time. I haven’t edited this shot yet and I will show you how I would work with the tool to get a nice retouched and stylized photo. So, without further ado, let’s jump into it. This is a photo I took recently of Violet. She’s one of our models, we’ve had her on the channel a million times. In fact, you’ve probably seen this particular video. This is a RAW file, straight out of camera in Lightroom that we’ve brought on into Luminar Neo.
Original Image
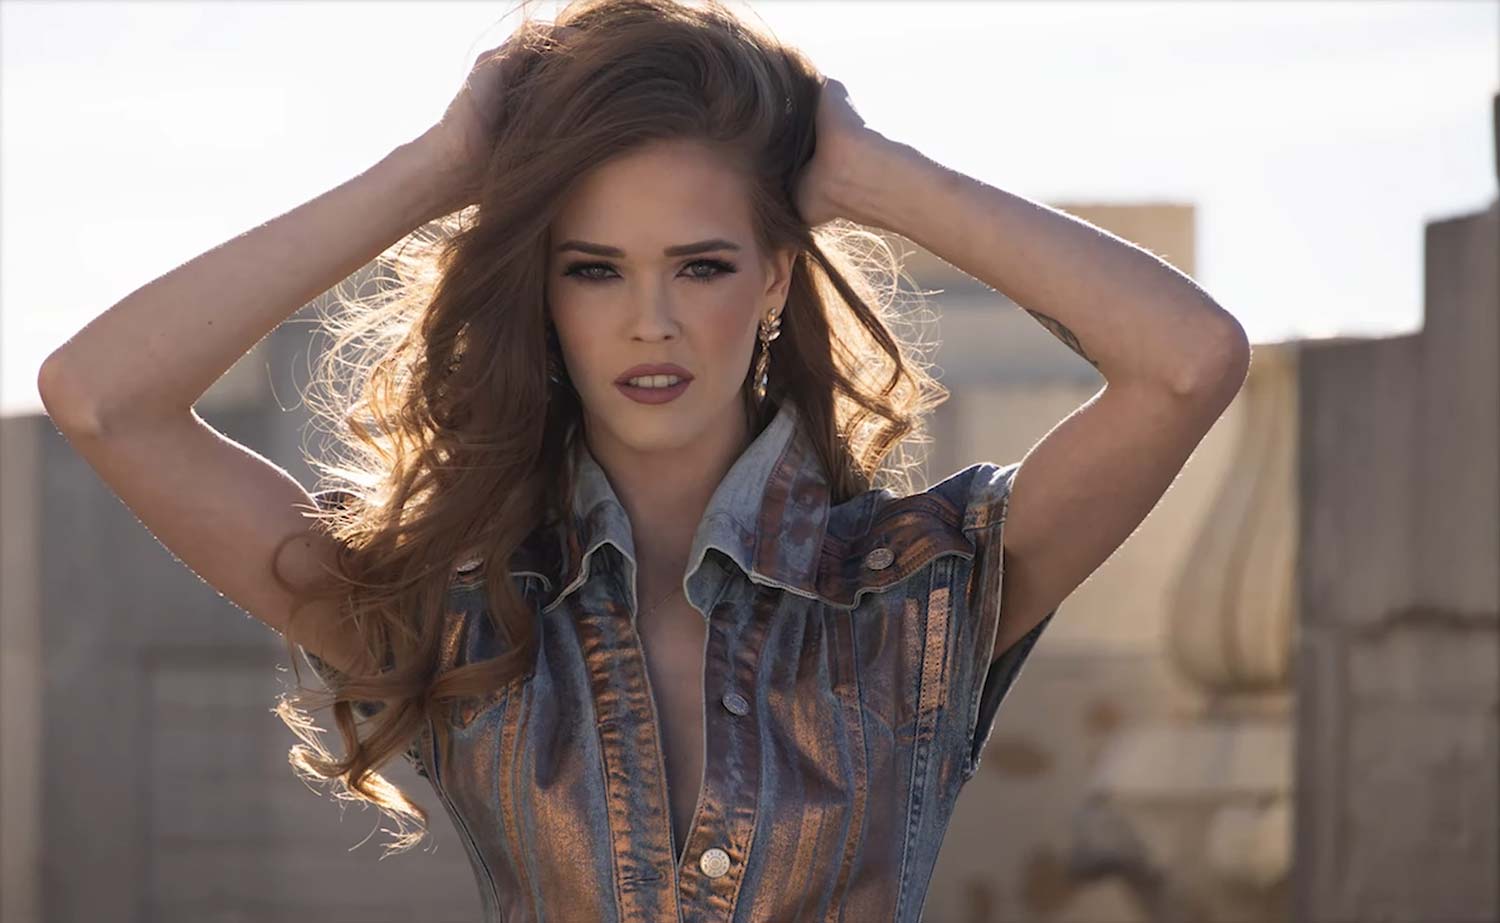
So, one of the first things we want to do is hit “edit” here up top. I like to start working, is skin first, face first. Then start messing around with the tonality of the image, things like that. Everybody’s going to have their own preference, so let me just show you how quick and easy it is to do things like that. I love this Relight feature where it’s going to make what’s closest to the camera a little brighter. And then what it’s going to do is we can make what’s further away a little bit darker by using AI. So, we can darken the background, brighten up the foreground, things like that. You see how that reverses out, just using it that way? This is straight out of camera. Now, we’ve got a little bit of darkness in the background. We can finesse that a little bit more as we go, but I’m just working with this right now.
Relight Feature
No toning, no matte. Let me just jump right into the face here. And I want to give a little bit more face light. There’s no need to slim her face. We’ve got eyes. This is where we want to zoom in, for sure. And what I always want to do is just mess with this. I love the Iris Flare here, enlarge her eyes just a little bit. So, with all this stuff you’ve got to be real careful with less is more. So, you can see she’s got a lot of redness in her eyes. They were doing hair and makeup, it was windy up there. So, I just want to get rid of some of that redness there. Eye Enhancer. I love the way that looks. But, what we really have to do is zoom out, fit to screen, just to get a sense, make sure it’s not overdone. And I really do like that.
Improve the eyebrows. All it does is really darken the eyebrows, it’s a cool feature. Now we can jump over to the mouth. Again for this, I’ll probably zoom in just a little bit, just so I’m looking closely at what’s being done. We can do some teeth whitening, lip darkening. I like that. Lip redness? Nope. Too much. Don’t like it. What about some saturation? I really do like that. Again, really easy to see on and off. You just click here. It just gives her face a little bit more pop. Now, what I’m going to do is just mess with some skin. Again, this is where I’d rather be closer. I always say season to taste with skin softening.
Face Retouching
In this particular case, a wedding day or something like that, you typically will have good hair and makeup done for the day. But, maybe you don’t, so a little bit of skin softening goes a long way. It’s got defects removal here using AI, but she doesn’t have a lot of defects in her skin, so we’re probably not going to see that. Body, we can add some shaping here. This isn’t going to be as powerful as maybe going into Photoshop. This is not one of the features that I would use, but it’s just something to keep in mind if you want to give the body a little bit of a nudge, like just a nudge and little taper. But, with Violet we don’t need that. Now, what you’re seeing here is a base image, if you will. But, the reality is her eyes look good, body looks good, right? Overall the image looks good and we can see here if we just want to look at before and after, we’re making all these subtle changes, but it looks really good.
All right. So, now what I want to do is darken the overall image. Give it a little bit of a vignette. So, we can come in here, just start darkening down. What I like to do is just go ridiculous with it, because what this is doing is showing me what it’s going to look like. And so, it’s heavy-handed, but bear with me here. So, we’re lifting the inner light. I want the inside of the image, our subject, to be brighter and the outside, the vignette, to be darker. And I like doing it very heavy-handed, because now what this is allowing me to do is select here, where I want to move this. So, you see this? That looks about right, versus the vignette just being dead center. So now, we’re going to pull off this a lot to just get it there, where we want to look. And you can see now. I want her face popping a little bit more than the rest of the image.
So, when we look at the beginning, the bottom part of the image is a little bit brighter. Top is a little bit brighter, but now I’m getting to her face.
Vignette Feature
Now what I’m going to do here is, we’re at a place where I want to be a little bit more creative with toning and mood. So, there’s a couple of things we can do here. Toning’s really cool, because we can do split toning. So, for example, if I wanted to hit shadows, again, same thing. I’m going to crank up the saturation level, and then what do I want in the shadows? Maybe we want this purplish, it matches with her outfit. So, I like this, but again, obviously completely heavy-handed, and that’s just so we can see the effect.
Now, once we’ve got it to where we want it, now I’m going to start pulling back on this where it’s not so obvious. And if we look at before and after, you’re seeing how we’re getting those tones. Now, I’m going to go to highlights. Same thing. This allows me to see what’s being affected. And I want skin tones to just be a little bit more orange. So, we’re going to go with an orange purple. And then what we’re going to do is pull back on this. So, that would be zero and that’ll be where we want it for amount, but we can also pull back on saturation a little bit. And if we look at the before and after, that gives us a really nice pleasing shot that is better than straight out of camera would be.
Toning
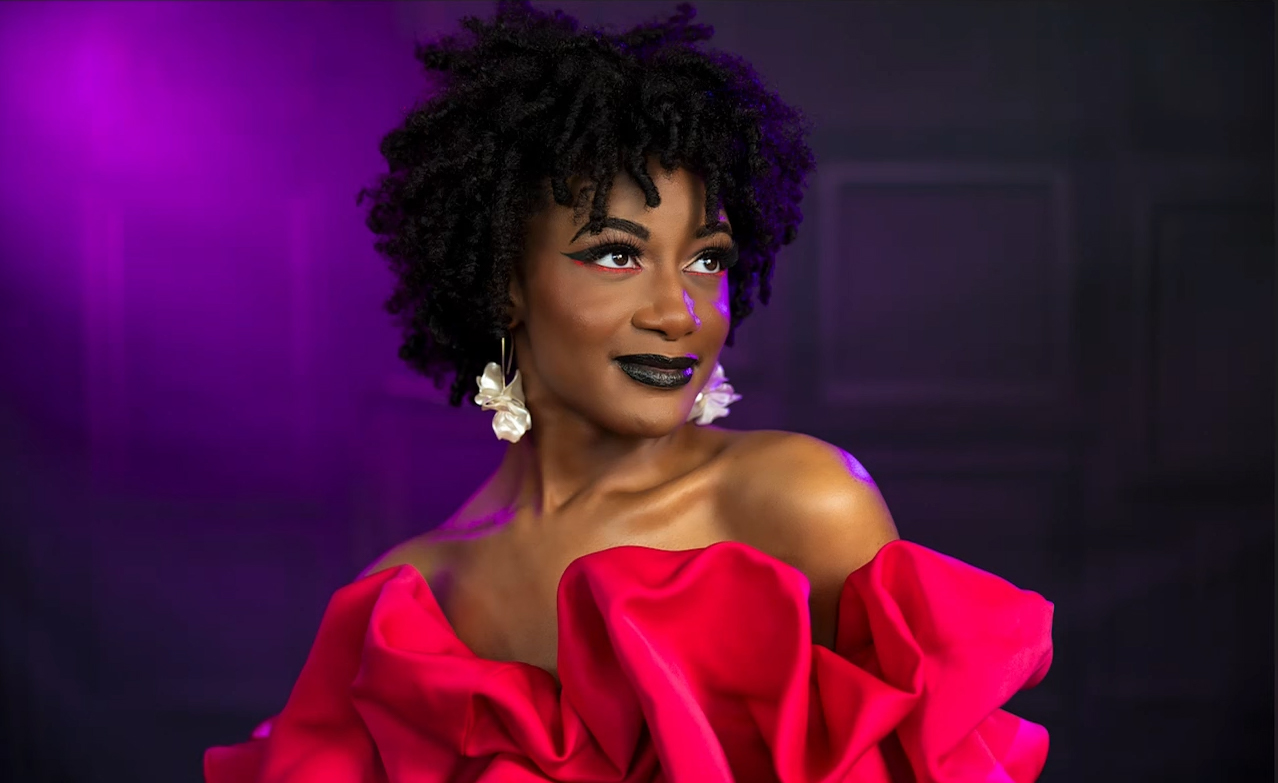
So, you saw straight out of camera. This allows us to go from, “Hey, this is what you shot” to a very soft, subtle, finished image. Super easy to do, handful of clicks to be able to do that. When it comes to editing this stuff, we don’t want to post to social media just straight out of camera. I’ve never been a fan of that. I know there’s a lot of photographers out there who are just like, “I’m a naturalist.” That’s great. Good for you. Most people don’t want to look like it just came out of camera, whether that’s hair and makeup, retouching, body shaping, or just overall toning of an image. You want to develop a style and a look for your images that becomes somewhat recognizable. I think that’s so important. And with a tool like Luminar Neo, you saw how easy it was. Handful of clicks. I do like to experiment with that stuff to find a look that I like.
Before
After
And then, at a certain point you can start saving these as presets, so that you are working on other images. You can create layers, but you can copy this over to other images and then you could just start finessing and really doing things that give your image a better look. So now, I’m just messing with a little bit of structure. So, if we want to give that background detail a little bit of boost, that’s looking good. Editing is like anything else. It’s season to taste. Everybody likes their own thing when it comes to editing. And I think it’s so important to find a set of tools that will help your work stand out.
And in this day and age, there’s so many tools out there. I would honestly say that if you look at my computer or what we use in the studio, if I find a tool out there that does one thing for me, and it’s going to help me be more productive, I’m going to buy that tool. It’s just truth right there, because I know what I’m using that tool for. I have yet in my career to find a single tool that does everything I need it to do. It just doesn’t work that way. And maybe that’s why a lot of our images have such a unique look, because I’m pulling a little bit from this one, a little bit from that one. Does it take a little bit more time? Of course it does. But, I think in the end you end up getting really good results out of it.
So, let’s edit another image here. This is a recent high school senior photographed. Also had her on the channel. For this image, again, let’s start the same way. This is a RAW file we’re working on, but let’s start the same way with skin. Now, one of the things worth highlighting here, and I think they do a great job with it, I’m going to crank up the skin. You’re still seeing skin texture. So, the technique they’re using is masking, AI masking. And that’s going to give you a one-click edit, some shine removal here, and then skin defect removal, just in case it’s seeing real big blemishes, things like that. So, all that’s AI driven, but you’re maintaining skin quality there. And that’s always important when you’re doing any level of retouching. Because the minute you start losing some of this pore detail, things just look fake.
And nowadays, almost every single tool, no matter how much you crank it up, it ends up in a pretty decent spot.
Original Image
Something to keep in mind, almost every single client that we have come through our studio, not one is telling me to back off skin smoothing or skin retouching. Every filter they’re using on Instagram, TikTok, Snapchat is including that. So don’t hate the messenger on this. This is just the reality of the world we live in. Now, if you choose not to do any of that for your clients, that’s your call. But, you have to realize that the term “season to taste” is not necessarily always our taste, it’s our client’s taste. What do they want? What are they looking for? What’s going to make them feel more comfortable? So, I’m not judging you, I’m telling you, try to be careful of how far you take it. Make sure there’s a level of realism to it when you’re working on that.
All right. Let’s keep moving this image. So, we’re on the face. We’ll go to eyes. We can enlarge the eyes just maybe a couple of percent. Always makes them pop a little bit more, especially depending on what lens you shot them with. A little bit of Iris Flare. She doesn’t need any eye whitening. We have no eye whitening on this picture. Eye enhancer. You can see that’s given us a little bit more brown lift in her eyes. No dark circles. See what that does? Nothing. We can improve her eyebrows, but they already look pretty good. All right. Mouth. Lip saturation. We’ve got a darker lipstick, so we don’t really need much else there. No teeth whitening.
Face Retouching
Now if I zoom out of this, we’re in a decent place regarding her face. If we wanted to add some Bokeh to the background or Bokeh, we can increase this. I’ll crank it to 100, just so you can see what happens. It’s going to look really bad, but just to give you a sense. So, it really blurs out all that detail. But mostly, you can look at the masking that was applied. Pretty good for what you’re trying to do. I don’t think we want to remove that much of the background. The background’s already blurry enough from the way we shot it. But, if you didn’t shoot it that way, this adds a little bit of element there.
Bokeh Feature
So I want to show you something different in here. We could do some detail. This is just a little bit of sharpening. I don’t want to overdo this. Gives it a little pop, though, so it’s not bad.
And you see how I’m working within the tool? The tool does a little bit of everything for you, as well as color correction and things like that. But, this might be a really good image for some toning. What’s baked in here, or mood I should say, is they’ve got some LUTs. So, this is basically a lookup table for values, for color and tone, all that other stuff, so you can see what we’re getting here. I like Rosa. Ooh, this is a really tough one. So, if we go Rosa and we just look at before and after, really pops the color in that. But if we go … What is that? Sina? It’s cool too. I like the purples that this adds to it. I think the first one. You guys will have to let me know, but let’s go Rosa. I really feel like that looks good. So, that’s really good mood and toning.
Rosa
Original
Sina
Now, let’s vignette this a little bit. This becomes one of those things where we can say, “What’s nearer to us?” Brighten that up. So, you see what it’s seeing is nearer to us. And what’s far from us, let’s darken that down a little, and let’s give her a little pop. So now we’re getting that tonal range difference where she’s popping off that background a little bit more.
But, something else really cool built into the tool. If you click over there on layers, we can add some light leaks that are baked into the tool. Let’s see if we add this. What’s that going to look like? I don’t love it. Let’s try a different one. Ooh, what does that one look like? So many choices. So, now that we’ve done this, I don’t know if I like it, we can change the mode type just like you would in Photoshop. And you’re going to have to find what looks right. What if we try something like this?
So, we’ve got overlay, soft light, difference, subtract. So, screen looks like it’s going to be the one. Now we’ve got screen, but we’ve got to pull this back a little bit just to add a little bit more something to the shot that we can do there. Just like if you were shooting through a crystal or something. It should just be really, really subtle for that. If you don’t like that, I could always remove that layer. But, if we go back and we look at this, I don’t hate it. I don’t know you guys. Let me know what you think. Very subtle. Maybe you love it, maybe you don’t. But let’s keep working this just a little bit more. You could always delete that layer.
Light Streaks

Now what I want to do is add some Matte. Matte’s a pretty fun thing to do. I wouldn’t take it to 100%, but I like a little bit of that matte finish. It’s very Instagram looking. If you pull back on the contrast, fade a little.? You just got to get this to the way you want. Purple’s looking cool.
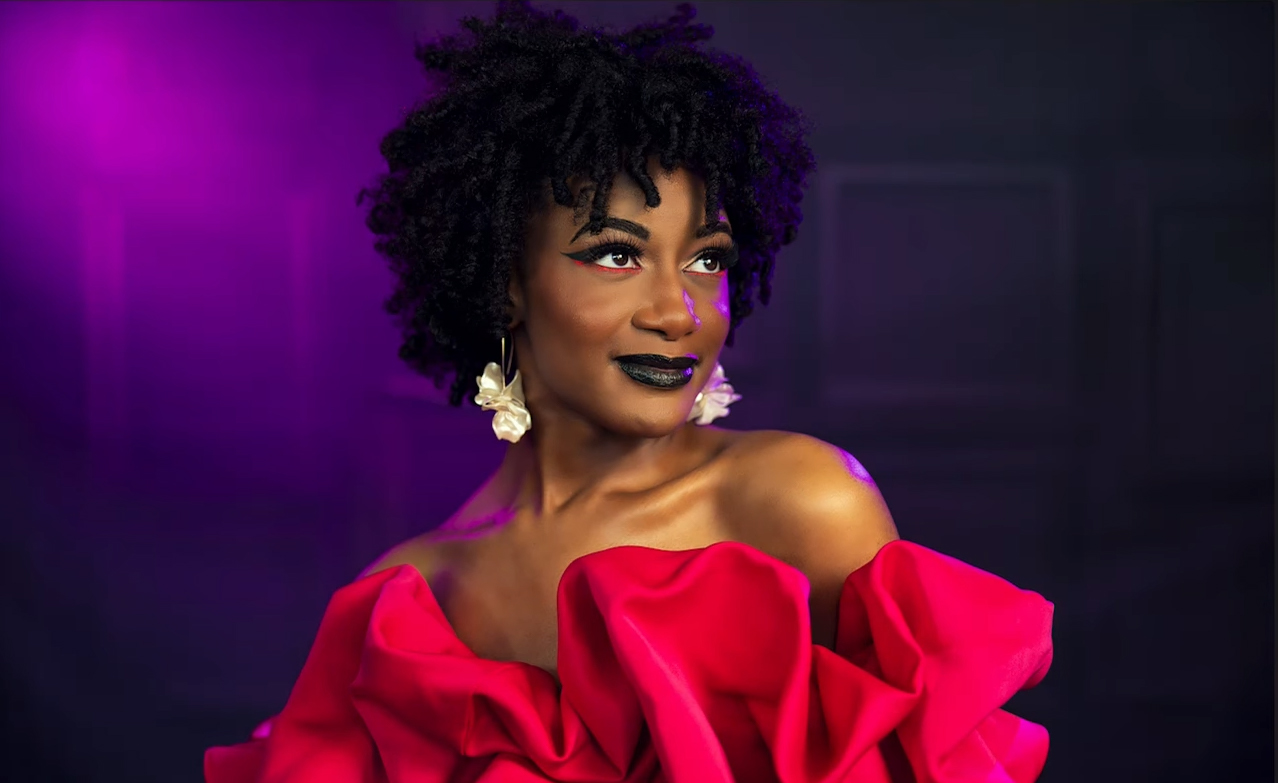
Okay. So, what I’m looking to do now is just give this a little bit of a look for the final image. Now, let me do one more thing. I’m going to add another vignette to it, round this off a little bit. Choose her face, so we have it up here like that. And then, if we’re looking at before, straight out of camera, what I saw and then after. Maybe you love the flair or you don’t? I don’t know. It’s like shooting through crystals. I’ve been doing that a lot here recently.
Before
After
Hopefully you guys enjoy the video and that gives you some really cool ideas for how to edit portrait photography with Luminar Neo. Really cool tool, powerful tool, to get you from a RAW file down to a final image that is worthy for your clients and worthy of putting online in your portfolio or social media. We’ll see you in the next video.
Get 10% off your Luminar Neo purchase by redeeming the user code CINCOTTA.


