
Beauty Lighting Made Easy with Michael Corsentino
Want more information on this article? Get access to video content and additional supporting images. Launch the August 2017 issue of the magazine by logging in or signing up for a free account. Shutter Magazine is the industry’s leading professional photography magazine.
Defining Beauty Lighting
In beauty light, there are several tried and true tools and techniques guaranteed to create gorgeous light every time. In this article, I demonstrate the basics of beauty lighting, lighting pattern and fill light options, introducing accent lights and best tools and techniques to get the job done right.
At a bare minimum, to create beauty light, you’ll need to start with one keylight above your camera position angled down toward and directly in front of your subject. It’s typically a strobe modified with a beauty dish (more on this later). Next you’ll need fill light to open up the shadows created by the keylight under the subject’s chin and eye sockets. This can be either a reflector (silver, white or, in rare cases, gold), or a second strobe modified with a small strip box or softbox. The fill source is placed below the subject’s face, waist, etc., just outside the frame and facing up toward the keylight at relatively the same opposing angle. This over-and-under lighting pattern is known as clamshell. It’s a classic beauty light technique that creates a flattering, even and forgiving effect.
The reason for this is the relative lack of direction from the key and fill light sources, which are essentially creating a flat light. The less directionality a light source has in relationship to a subject, the flatter the light it creates and the fewer shadows it introduces. Shadows are great in many portrait scenarios but not with beauty lighting. The goal is to minimize the skin imprecations, wrinkles, large pore structures and facial lines that shadows can easily accentuate. The flatter the light, the more forgiving the light.
Tools of the Trade
You’ll need a few essential tools. The first is your keylight source. I recommend a strobe or hot shoe flash. While great for many applications, constant light sources aren’t ideal for beauty portraits because they’re typically shot tight, which can cause the subject’s pupils to dilate. In beauty, large pupils are preferable over the small dilated pupils you get with a bright constant light source. So you’ll also want to avoid using an overly strong modeling light on your strobe.
There are all sorts of modifiers you can use, but for the best results, you’ll want to use its namesake modifier, the beauty dish, the majority of the time. Specifically designed for its ability to produce flattering beauty lighting, the beauty dish delivers soft, even light with moderate contrast and falloff. The light can be further softened using a diffusion sock placed over the front of the dish. These reflectors are available in a variety of sizes and with white or silver interior finishes. For the softest effect, I use a white interior beauty dish with a diffusion sock. My go-to is the Mola Softlights 22-inch Demi reflector with a white interior. For those of you working with speedlights, Mola also offers the optional Lumi bracket for hot shoe flashes.
The easiest way to work with a beauty dish above your camera is to use a medium to heavy light stand with a boom arm and counterweight. This way, your stand is off to the side and you can easily position and adjust the dish above the camera as needed. My brand of choice is Kupo Grip; these stands are rock solid and very reasonably priced for the performance they deliver.
To create fill light from below a strobe, use a reflector. I start with a white-surfaced reflector and work from there. If I’m not getting enough reflected light, I switch to a silver reflector for more output. The distance between the reflector and the keylight also plays a role in the amount of fill created, so adjust as needed.
If you’re still not getting the fill light you want, use a second strobe for fill instead of a reflector. This allows you to precisely dial in the amount and quality of fill light desired. My fill strobe is either on a floor stand or boomed in from the side using a C-stand with a grip arm for easy vertical adjustments without getting in the way of the camera. Keep in mind each fill source will create a second catchlight in the lower half of the subject’s eyes. I like to keep this subtle, but it’s completely subjective. The source you choose will impact the brightness of the catchlights, and the modifier used will dictate their shape and contrast. Typical modifier choices include softboxes and strip boxes. I use either an Elinchrom 2×2-foot softbox or 14×35-inch strip box.
Accent Lights
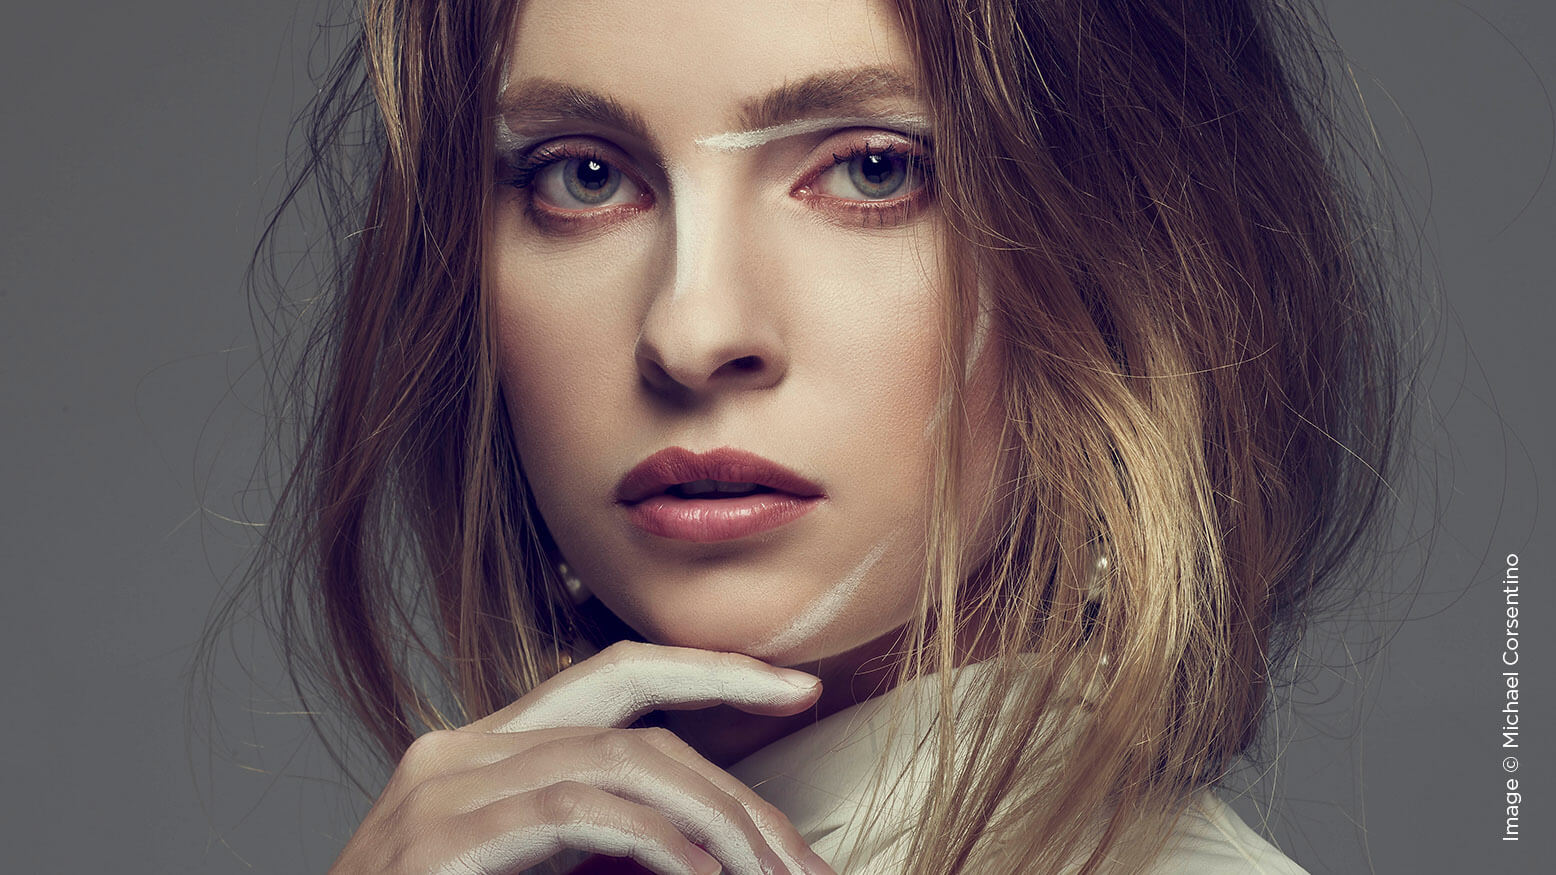
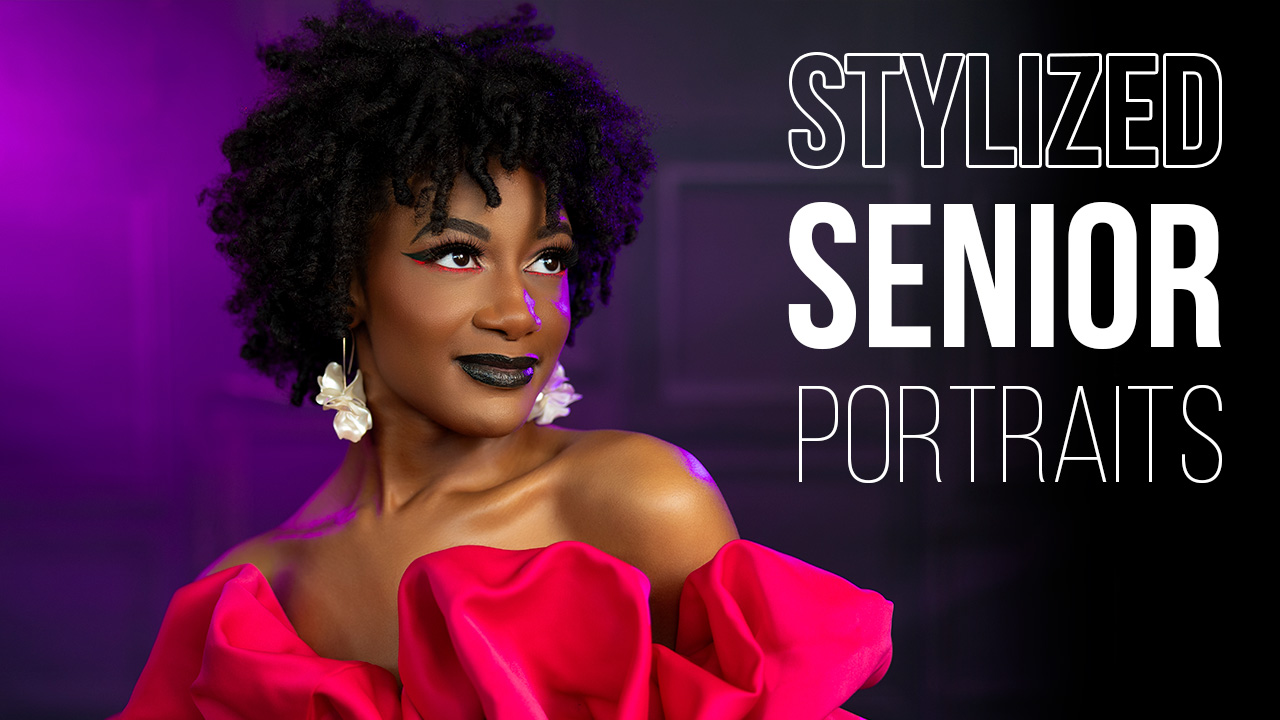
So far I’ve covered the basics of beauty lighting. You can see that it doesn’t take a ton of gear to create and that there are plenty of options. The next step—and a surefire way to amp up your beauty lighting—is the addition of accent lights. In the sample image included for this article, I’ve added two accent strobes, one left and one right, to act as sidelights. These were each fitted with a 14×35-inch strip box and a LightTools 30-degree soft egg create grid. The grids helped channel the light exactly where desired, while illuminating any unwanted spill onto the background and other areas. Typical modifiers for accent lights include the strip boxes used here, as well as reflectors, reflectors with grid spots and gels.
Again, as with fill lights, you have a lot of options. It really all depends on the quality of light you’re trying to create. Obviously if you’re after a softer look, you’d be well advised to look at softboxes/strip boxes to modify your accent lights, while a harder, more contrasty look would necessitate smaller reflectors with silver interiors.
Lens Choices & Tripods
Beauty images usually show three-quarter length or less of the subject, as opposed to a photo showing the subject’s entire body. For this reason, I opt for longer lenses in the 80mm to 200mm range, depending on the camera format and system. The other best practice is using a tripod or studio stand. This is something that took me a while to get used to, but now I wouldn’t want to work any other way. A tripod or a studio stand allows you to easily create a consistently composed series of images. If you’re handholding your camera, there’s just no way to be as consistent frame to frame. This becomes important when you’re producing images where text for mastheads or magazine spreads will be added, or for images intended to be used in a series, such as layouts and composites.
Post-Processing
Beauty images are close to the top end of the retouching food chain, second only to cosmetic advertisements. This kind of attention to detail requires a considerable amount of time and skill to execute professional results. If you’re not a retoucher, consider hiring one. They’re worth every penny. When I have the time or the project doesn’t have a budget for outsourced retouching, I use an inexpensive Photoshop plugin by Retouching Academy called Beauty Retouch. It’s an awesome timesaving tool that I couldn’t do without.
For this kind of retouching, you’ll want to master a technique called “frequency separation.” But that’s a topic for another month. Have fun and get after your beauty lighting chops. Post your images to the ShutterFest Facebook page and tag me—I can’t wait to see what you come up with.


This Post Has One Comment
Pingback: Advanced Beauty Lighting - Behind the Shutter