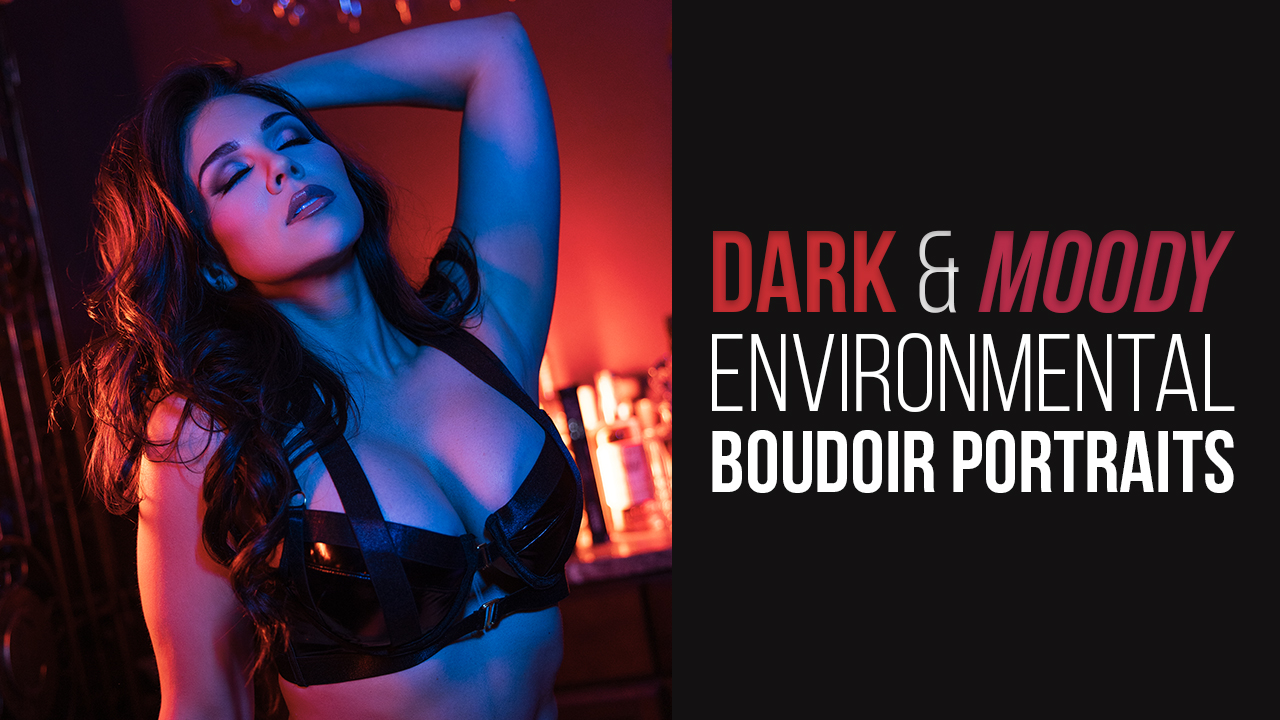
Beauty & Boudoir Lighting: Do I Go Natural or Artificial? with Amber Jones
Want more information on this article? Get access to video content and additional supporting images. Launch the January 2018 issue of the magazine by logging in or signing up for a free account. Shutter Magazine is the industry’s leading professional photography magazine.
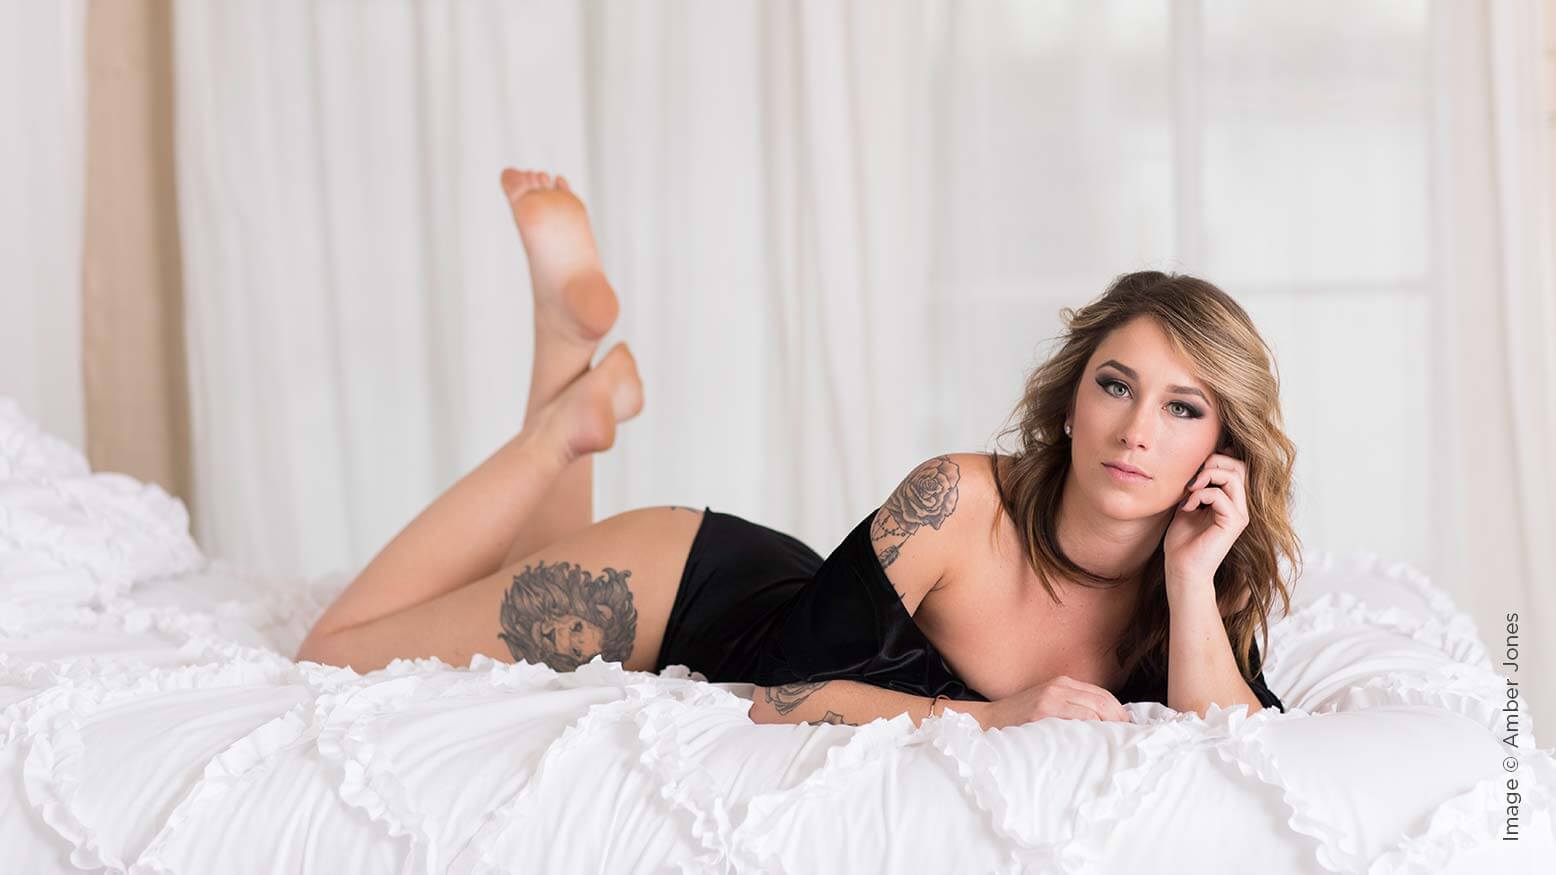
When I found my new studio, I fell in love. It has huge factory windows on the second floor that give me privacy. I have north-, south- and west-facing windows. As we all know, being a professional means delivering a consistent product. When I moved into my studio, I found myself using only natural light because it is so beautiful. I know what time of day and quality of light I need for any photo my clients might pick out as a favorite. But what happens when you have a dark, dreary day, and your client wants that hard-light look?
Have no fear…the strobe is here!
You have a few options.
1. Speedlights
I rarely ever use speedlights in my studio for a few reasons. They’re usually packed away for my wedding reception lighting, and I don’t have many large modifiers for them. But I did use them once for a shoot with MagMods.
2. Constant lights
I love my Ice Light 2 by Westcott. I can just screw it onto a light stand and add a little fill or backlight if I need to.
3. Studio strobes
This is my go-to. I started in photography right out of college and saved up for two Elinchrom lights. I used them all the time when I didn’t have a studio with natural light. Then they stayed in a box for a couple of years, coming out only for business headshots. Then I heard about Profoto lights, and I had to have them. I do a lot of on-location shoots and didn’t want to rely on electricity, so the versatility and the high-speed sync of the B1’s won me over.
When I first got them, I didn’t use them for studio work, just my weddings and location shoots. Then I found myself busier and needing to book shoots into the evening and on days that didn’t have the type of lighting my client wanted.
I fell in love again with studio lighting because of the consistent look it allows me to create. I love that I can keep it simple.
Here is my go-to lighting:
- Two Profoto B1’s
- Profoto 5-foot octa—I love the soft quality of light
- Mola beauty dish with grid and sock
- Two PhotoFlex 2×4 softboxes—I use these for body shapes and rim lighting
- One 2×3 PhotoFlex softbox—I use it for fill (think clamshell lighting)
- Impact parabolic umbrella with diffusion panel
- V-flats
- Insulation board
- White seamless paper
I shot almost every image you see here with a 85mm 1.2 lens, and two images with a 50mm 1.2.
My Setups for Boudoir Lighting
- My brides now want to do a boudoir shoot as a gift for their soon-to-be husband, and many of them want silhouette shots in front of a window. I have a veil in my studio because I don’t want to have to deal with the wrinkled veil clients shoved into a bag. If your client brings her own veil, beware of the wrinkles and warn her to steam or hang it up. The wrinkles will show up in photos, and it doesn’t look good.
The behind-the-scenes shots (launch the digital magazine to view all the examples in this article!) show the veil with the parabolic umbrella silhouetting the subject along with the final image with the parabolic umbrella and a final image in front of a 6-foot window.
This is a fast and simple image you can create for your clients that will most certainly make it into an album.
- Beauty headshots are something I always want to shoot while my boudoir clients are in the studio. They are classic and beautiful but not revealing. They make for great social media posts and add-ons that your clients can give as desktop prints.
The two examples are of my model with the window behind me and the 5-foot octa replicating soft window light in the same spot as the window. I am using high-speed sync so I can use a low aperture.
- People love big, soft, flattering window light. If you don’t have big windows or the light that is coming through your windows isn’t pretty, bring out your strobes and create it. I aim my light into a 9-foot white seamless roll. I used one with high-speed sync for this example. If you need extra light, bring in another one.
The first example uses available light in my studio. The second uses available light and a reflector, which you can see camera right. I use insulation boards from Home Depot for large reflectors and prop them against a ladder or light stand.
The third example is a behind-the-scenes photo using white seamless paper. The fourth is the finished image.
- The full-body shot is very important in boudoir. Whether you are using window light or strobe, choose your lighting modifiers to enhance what you want the eye to be drawn to.
In the first example, I used window light to illuminate her whole body against the gray background. That made her legs too bright. I had two options: Use a flag on the bottom half of the window to cut down the light or burn down the bottom half of the photo. In the second example, I used a beauty dish as the keylight and the octa for fill to keep the viewer’s eye focused on her face.
- When you are done doing full-body shots, go in for a tighter shot. I guarantee that you will not be disappointed. It’s clean and crisp—and who doesn’t love a good catchlight.
- Here is another example of a beauty dish as the keylight and the octa as a fill. I placed the octa farther away and slightly behind her to eliminate the shadows that the beauty dish created on the wall. This same image can be created with brighter window light, but you may not always have it.
- This shoot took place on a mostly dreary New England day, but the sun came out for a short while. When you see the light, take advantage of it. Windows are behind the camera and slightly to the right.
Experiment with your lights. Whether you want to use strobes to replicate window light or produce an original look, be creative. Test shoots are the best way to try out your new camera gear, new lighting or a new idea. Testing on a paying client can be disastrous. Find your muse and ask her back for a new-gear test.
I can’t wait to see you and your experiments at ShutterFest 2018!

