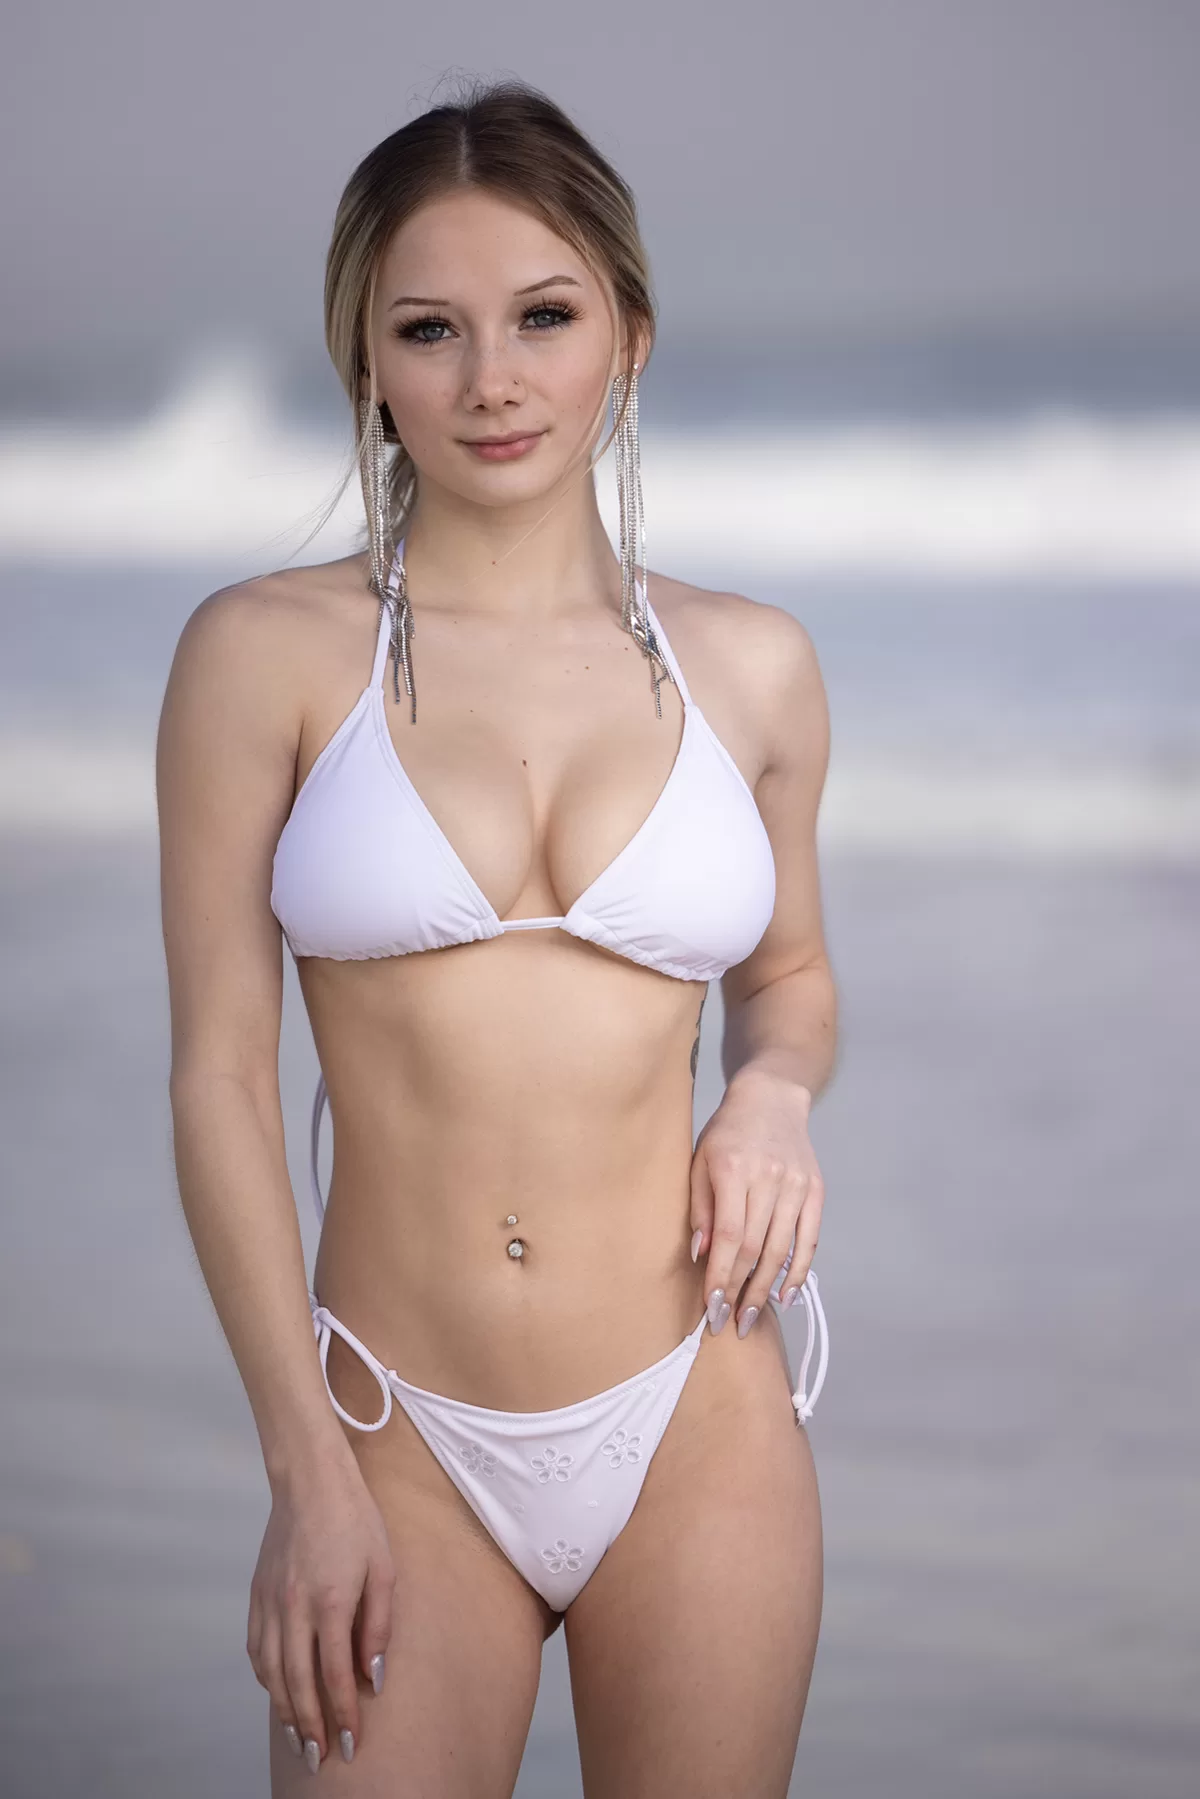
Natural light vs strobe. Let’s get to it…
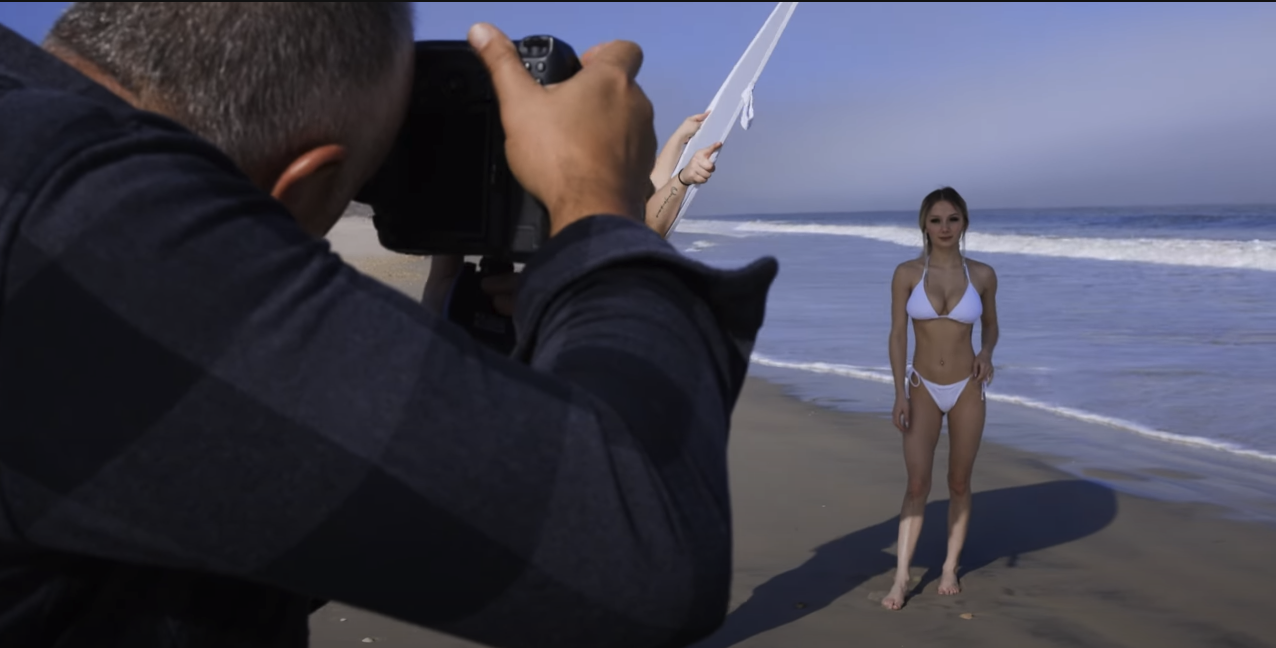
For this photoshoot we’re on a beach, and it’s about 2 in the afternoon. Typically this is the time of day photographers do not want to be out just because of the harsh lighting condition. We’re going to shoot Anna two different ways. We do have some harsh light coming off my left, so we’re going to work with natural light and then we’re going to do strobe, see the difference between the two. Alright, now let’s do some cool shit.
Equipment Used:
Camera: Canon EOS R5
Lens: Canon RF70-200 Lens
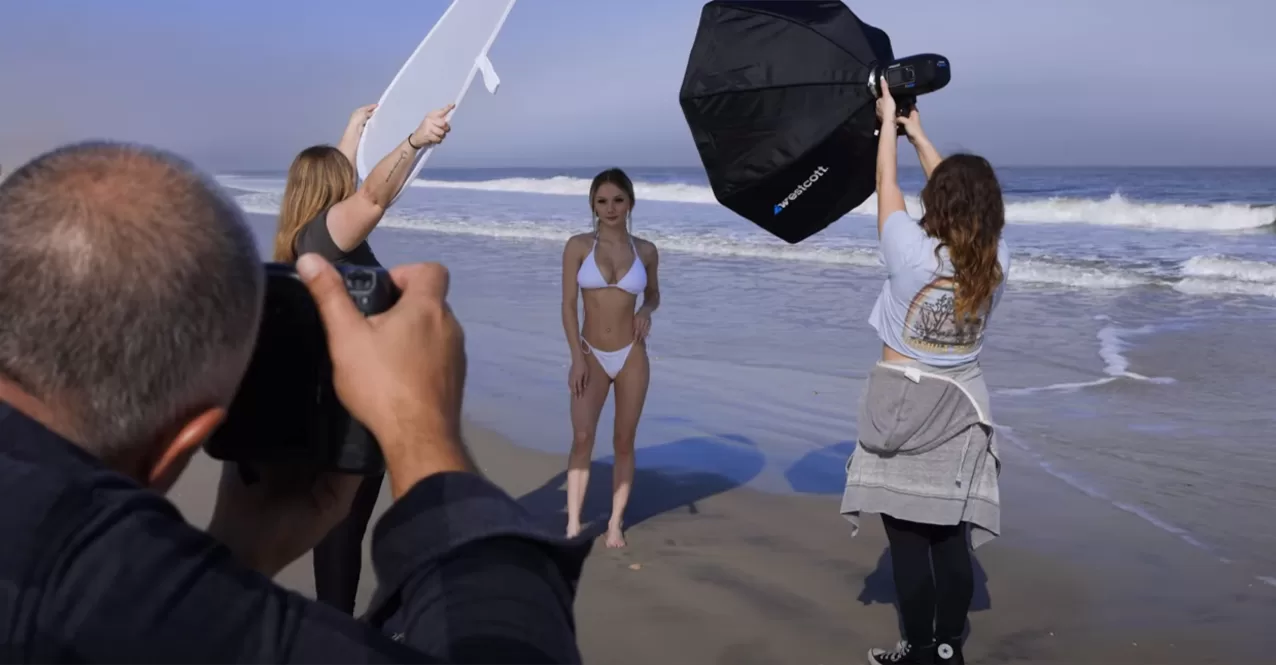
Lighting: Westcott FJ400, Westcott Rapid Box Switch Octa-L
Team:
Photographer: Sal Cincotta, @salcincotta
Model: Anna May, @z.axxa
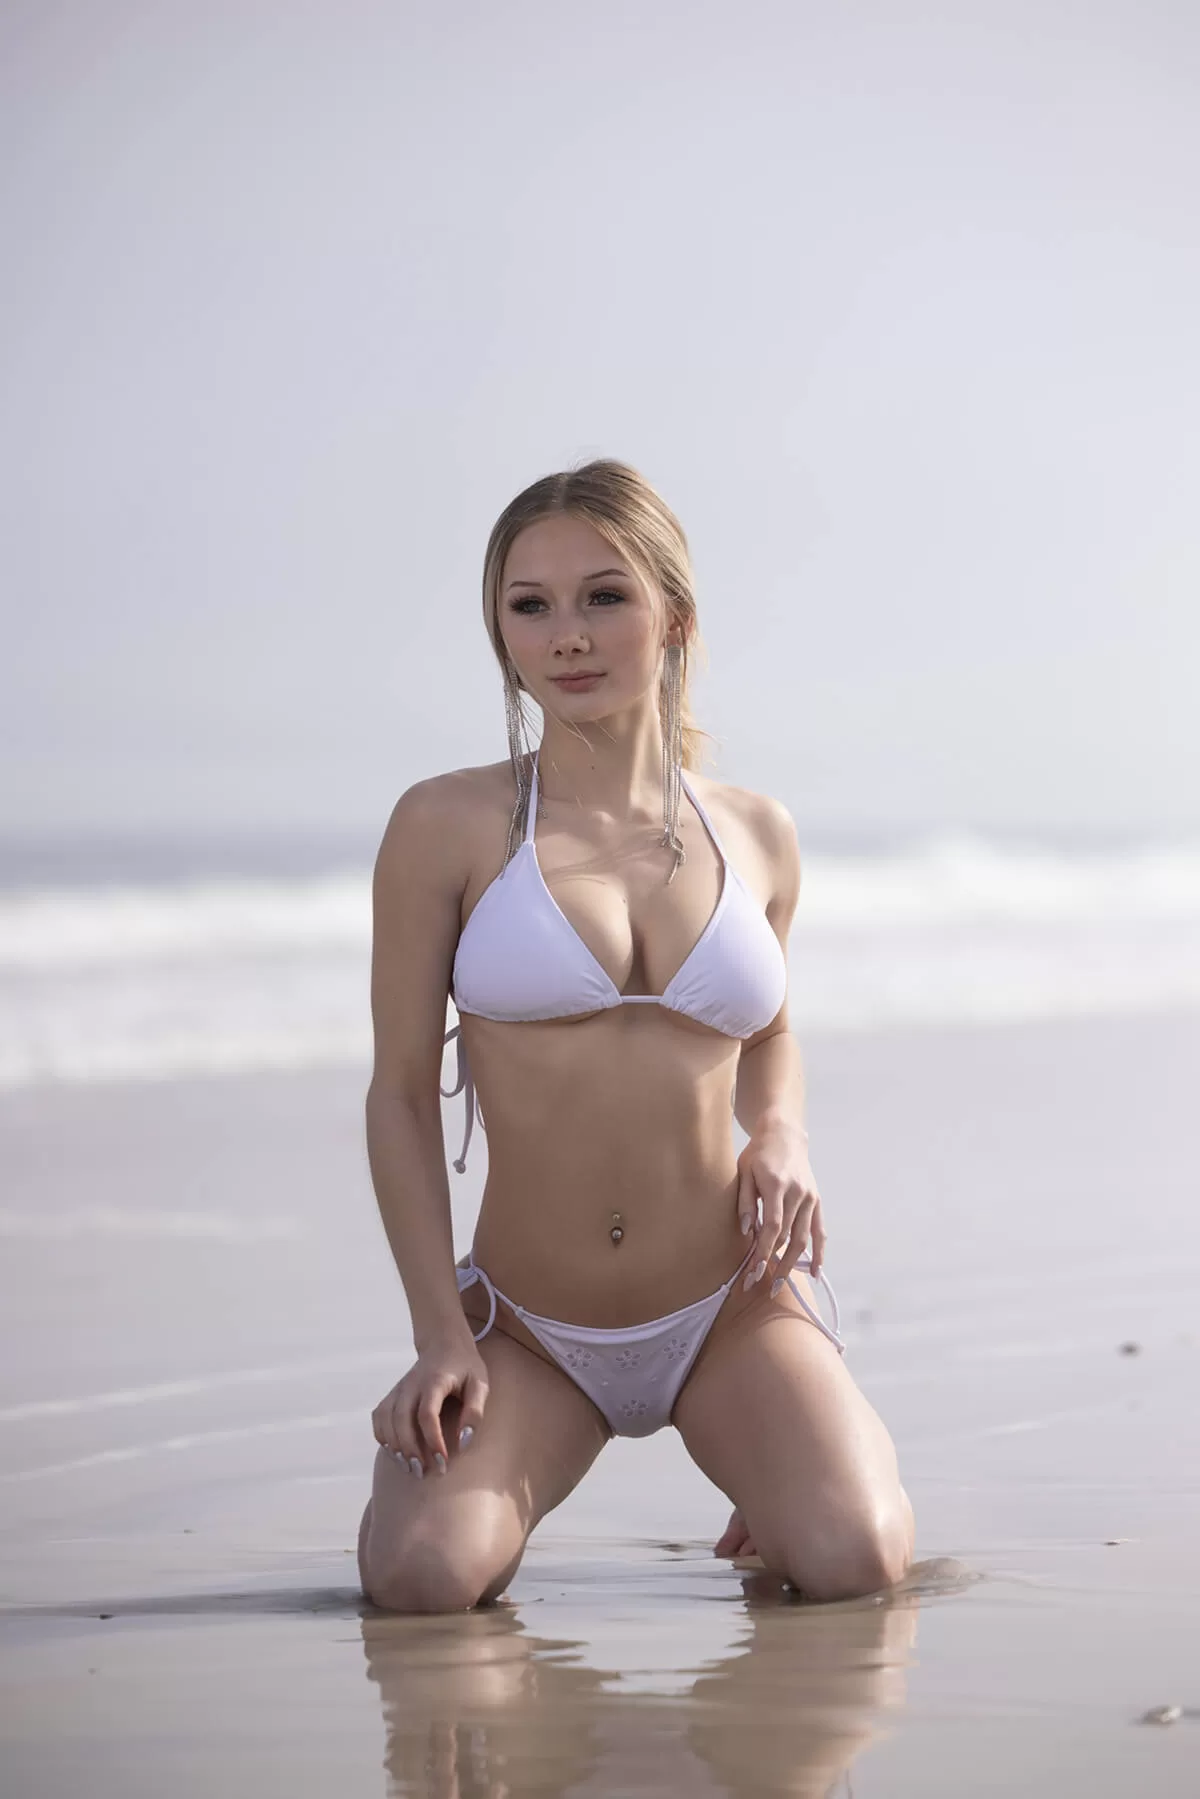
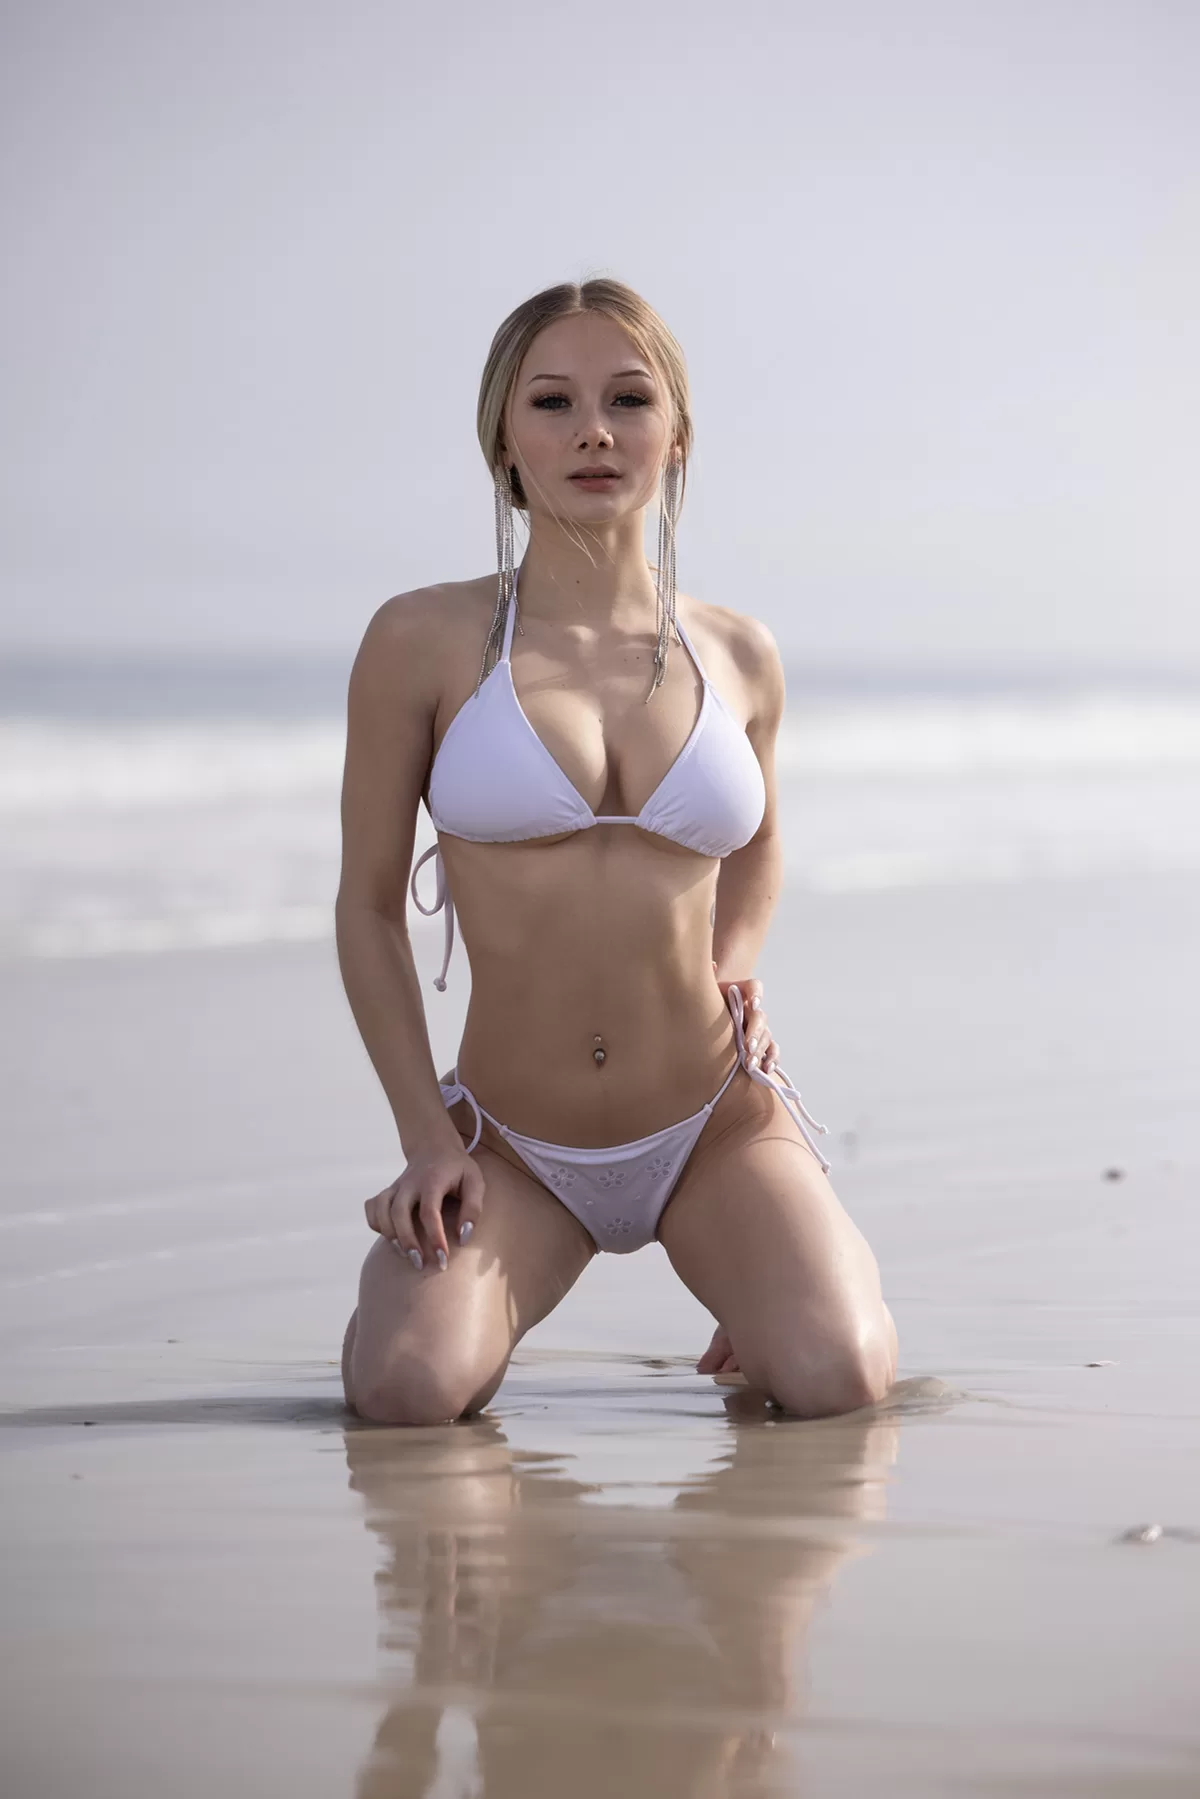
Final Images
(Straight out of camera)
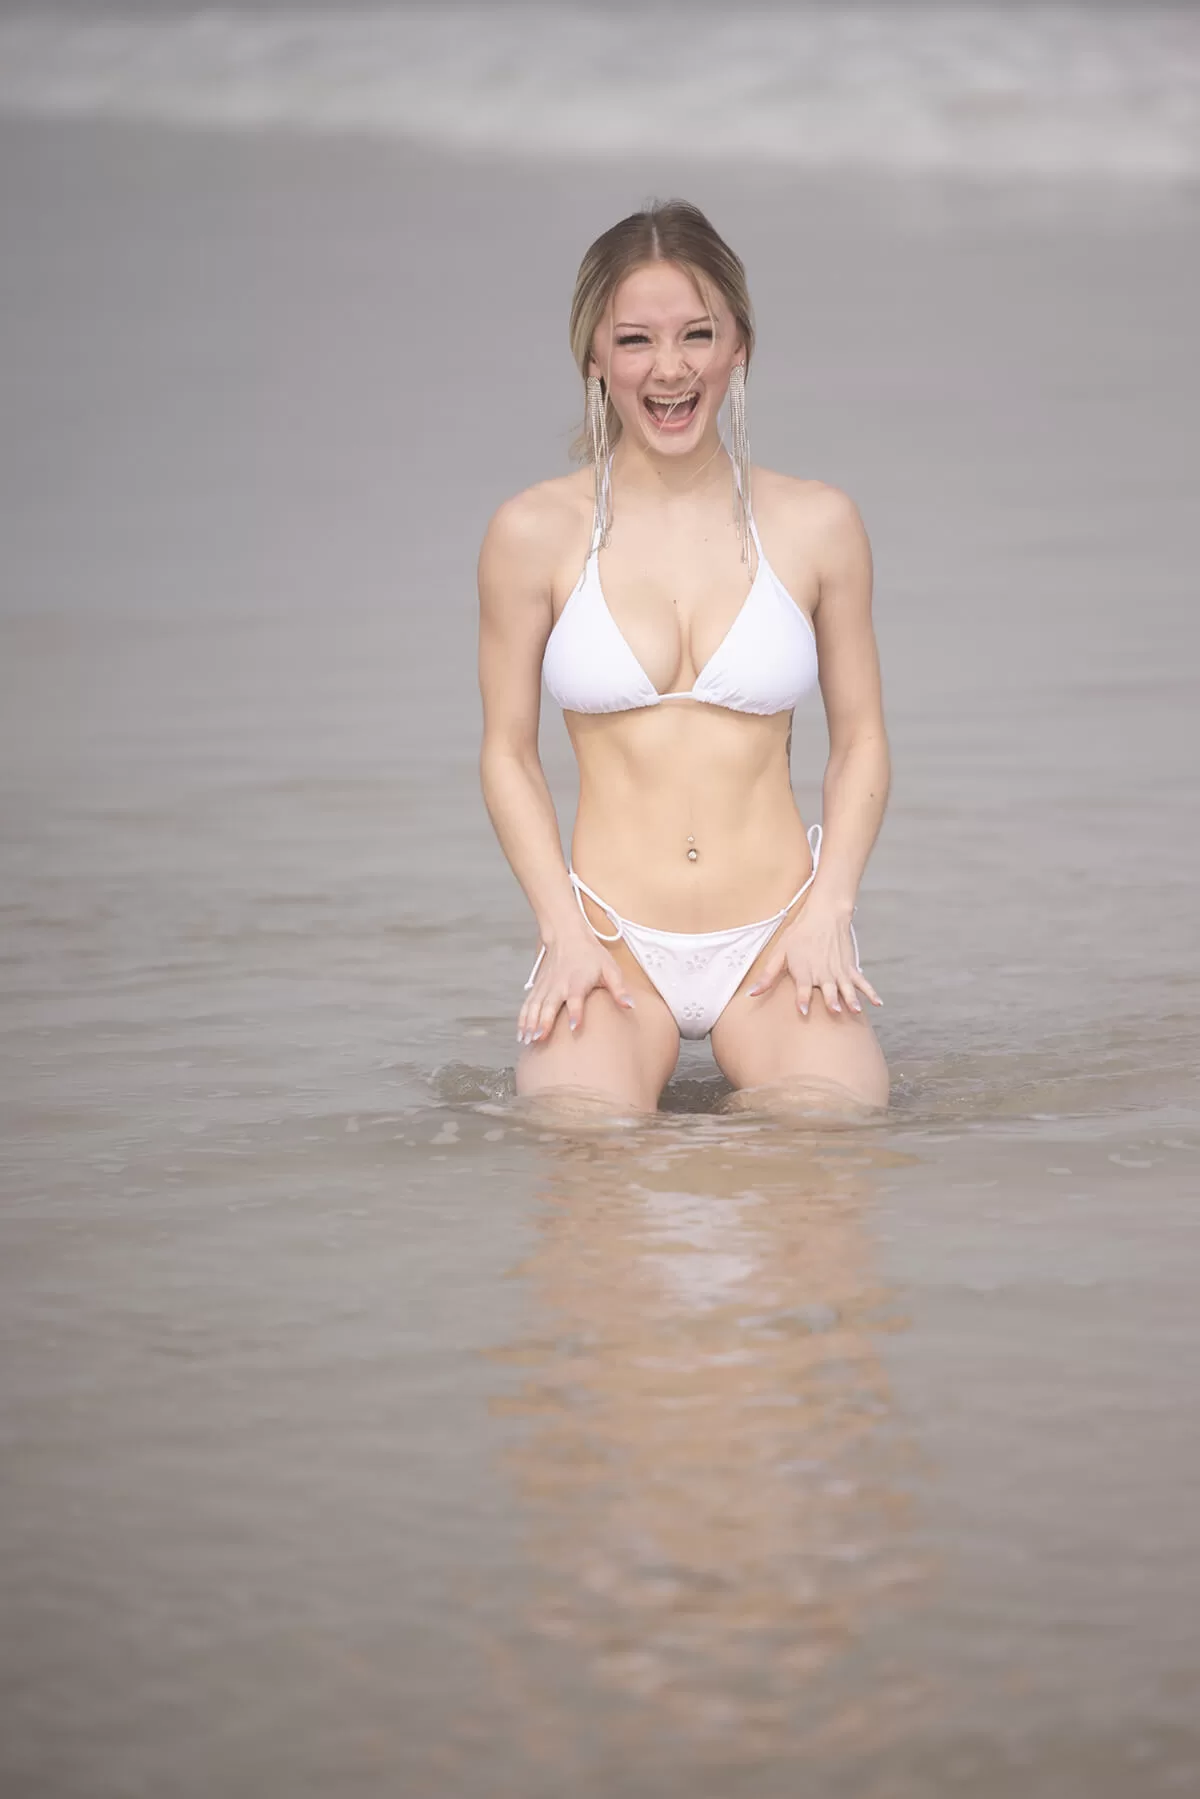
Natural Light
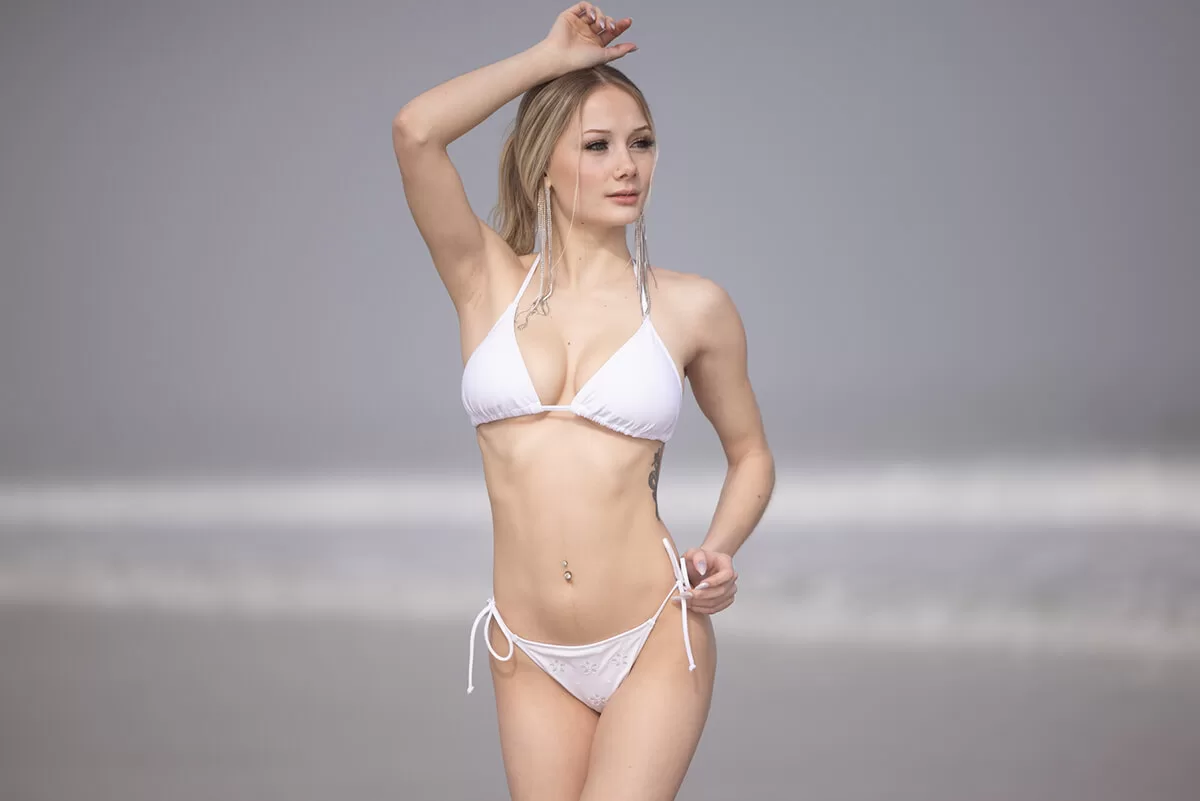
Settings: f/2.8 @ 1/5000, ISO 100
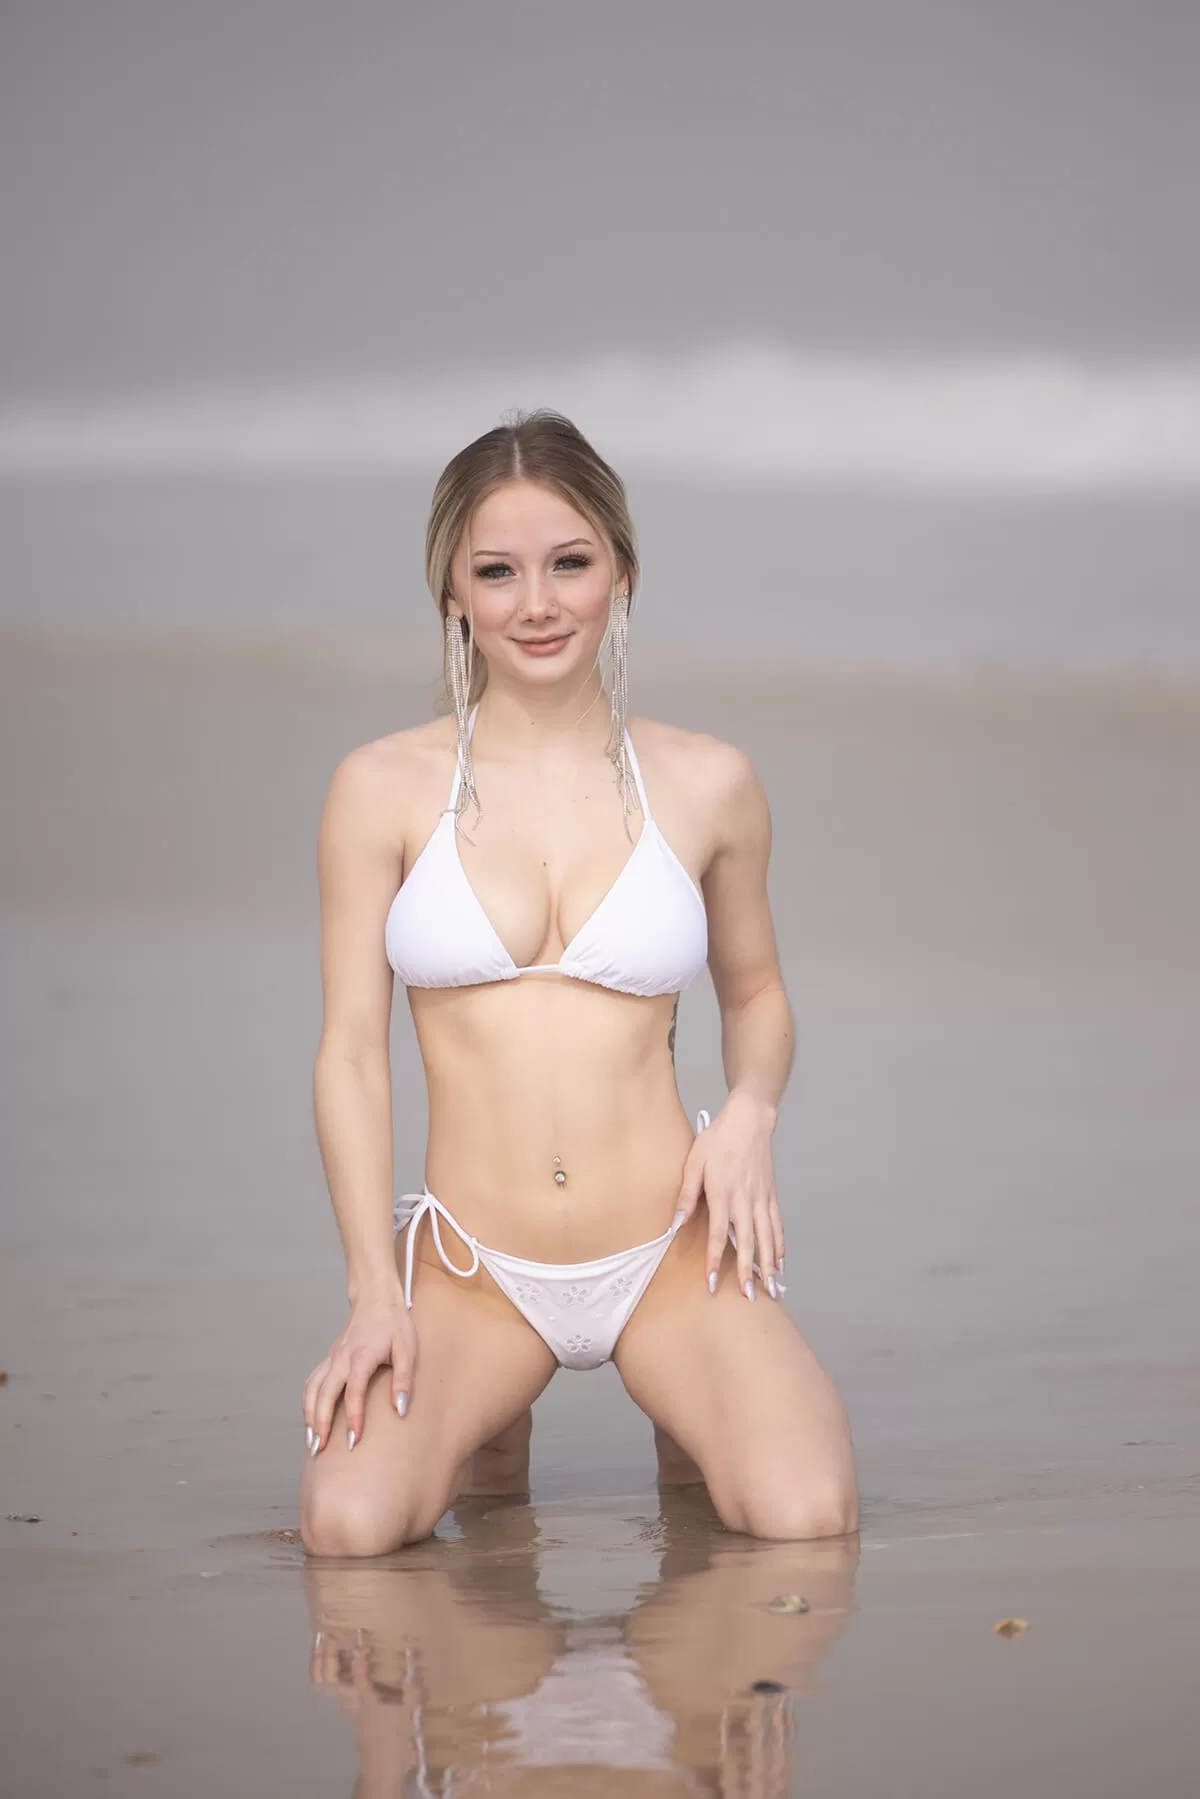
Strobe (Fill Light)
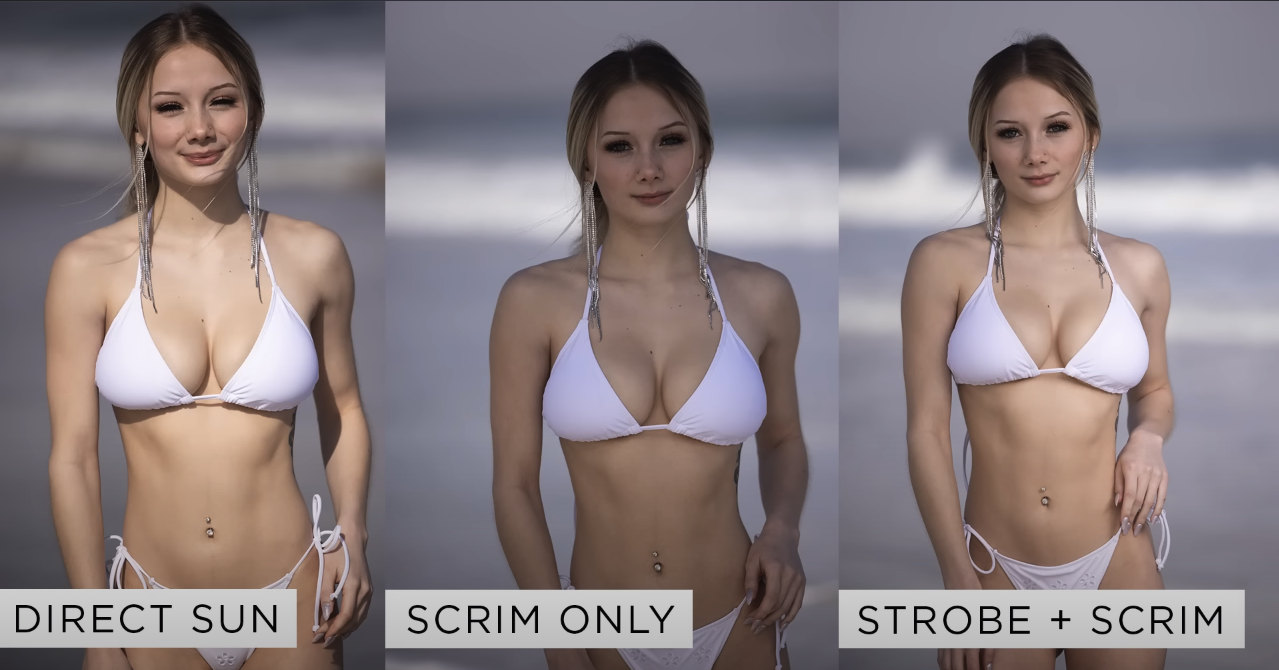
All right. Now we’re going to try something even that I wasn’t even planning on doing… Im going to show the progression of the light being added. We will start with natural light, then add a scrim to control the harsh light, and then to finish it off we will add a strobe with the scrim to give it a polished look. What do you think about the results? (pictured below)
