Artistic Retouching With Photoshop with Aham Ibeleme
Retouching is an art just like painting or even sculpting. In all honesty, my retouching process has always been all over the place. I don’t have one set “golden brown” tone that every single one of my images conveys. I always seem to start from scratch with every retouching process. It’s never the same for two projects. One could look barely retouched today and another heavily color graded tomorrow.
My choice of retouching application today is Photoshop because of the creative control that it allows me. Retouching with Photoshop can be daunting but it quickly becomes a walk in the park when one knows what they’re doing, and of course, this comes with years of experience. I remember when I first started learning to edit my photos. I started off with Adobe Lightroom at the time and loved its ease of use because I could install and almost effortlessly slap on presets to my photos and not have to do anything else after that.
I soon realized, however, that I wanted more out of my retouching. I needed to be able to do frequency separation, for example, but couldn’t with Lightroom. So I decided to take a leap of faith and venture into the belly of the beast. At least that was exactly what I thought of Adobe Photoshop at the time. I was utterly terrified of that thing. Why did it have so many buttons? What’s with all the layers? Why do I have to arrange these layers into groups? Can’t I just apply presets like with Lightroom and be about my business? Suffice it to say that my retouching game never really took off until I mustered the courage to properly learn Photoshop.
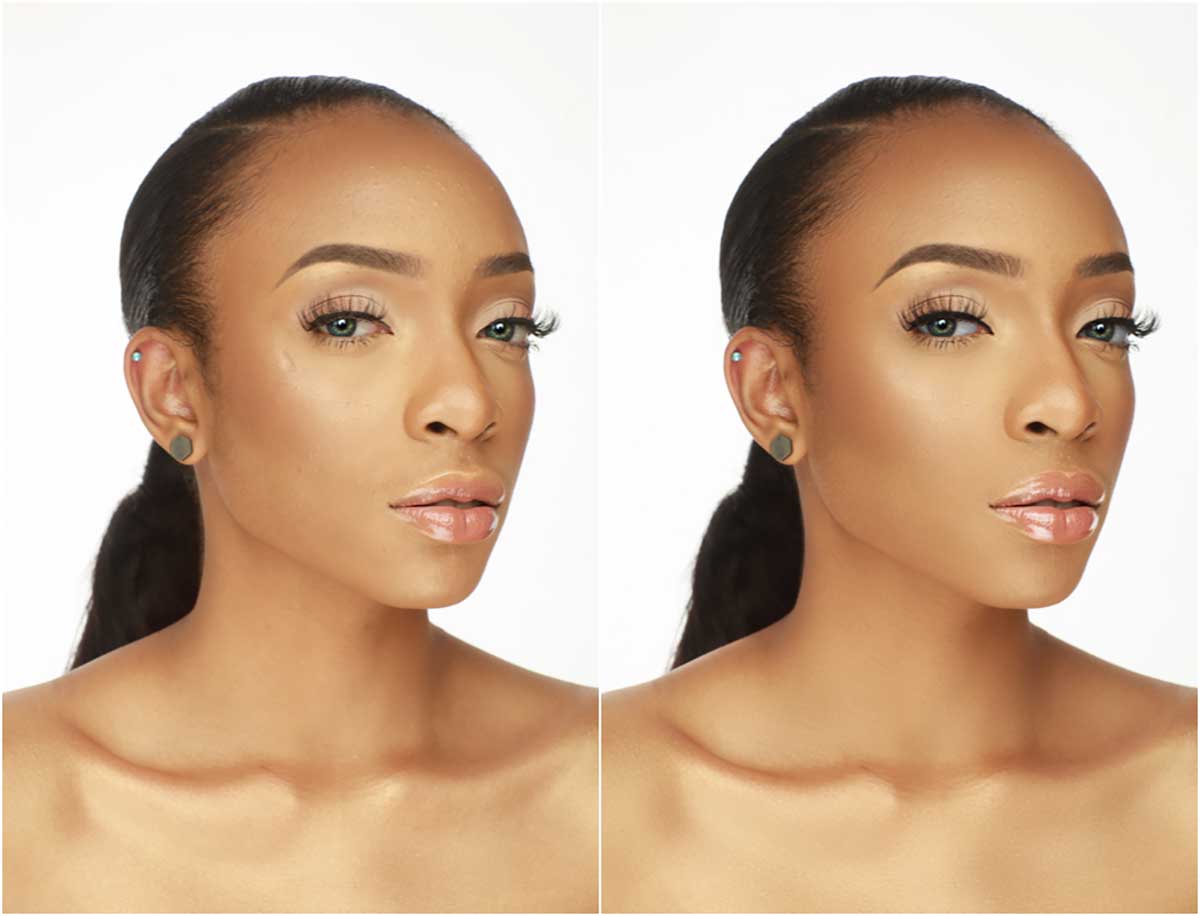
I taught myself Photoshop and became quite the master at it. I can’t retouch anything without Photoshop. It’s my go-to application for retouching. I’m a portrait photographer and most of my retouching caters to portrait photography in a way that makes it cinematic yet painterly, so I tend to lean towards color tones that push that artistic narrative. A lot of my photos have a teal color grade. Early on in my career, I was a frequency separation buff. I was obsessed by it and I used to do a lot of headshot portraits just so I could do frequency separation on them. I also shot a lot of beauty portraits back in the day. I quickly got bored of it, however, and moved on to other styles of retouching.