As you can imagine, not all lights are created the same. In this video, Amaran 200x S vs. Nanlite FS-300B // Which is right for your photography?, we check out both light sources to help you decide the best fit.
While this is not an exhaustive list of tech specs—you can read those online—this is a little more practical in a hands-on see, touch, feel. The unit puts out great light, but is it worth the hefty price tag? Let’s find out.
Equipment Used:
Camera: Canon EOS R5
Lens: Canon RF 28-70mm F2 L USM
Light: Amaran 200x S, Nanlite FS 300B
Team:
Photographer: Sal Cincotta
Model: Alonna
Hair & Makeup: Brandi Patton, ReFine Beauty
What’s up, everyone? My name is Sal Cincotta. Today we’re going to compare the Amaran 200x S to the Nanlite FS-300B.
All right, so let’s pause for a second. I am a professional photographer. I do video, obviously, and I was looking for a light that I could use both in the studio for some portrait work, a versatile light, and something I could also use for YouTube video content creation. So, maybe an interview light or something like that. That’s how this started. I went online, started looking at reviews, and the Amaran has a ton of glowing reviews on both Amazon and B&H. Everybody loves it. It’s by Aputure. But I’ve used Nanlite, and I’m familiar with Nanlite. So I wanted to compare the two lights and see what it was all about.
Amaran 200x S VS. Nanlite FS-300B Comparison
I’m going to take you through what I’m looking at here, my comparison test, and then we’re going to do a little photoshoot. But before we get started, let me just give you some of the specs straight up.
So, we’re getting seemingly more light out of the Amaran, but there’s about a $110 price difference. Now, for those of you who are photographers and watching a video like this, you might start getting confused with terms like lux, lumens, and watts per second. Without going too much into that, lux is basically how much light is hitting a given surface area at a distance. Lumens is how much output or brightness is there.
So, if you tend to get a little confused with the nomenclature, what I’m going to do is measure this in f-stops, because as photographers, that’s how we usually work. I’ll set the lights at the same distance, full power, and we’ll see what we get.
Disclaimer: There is an important point to clarify regarding the lux measurements stated above. The Amaran 200x S is a 200W light, while the FS-300B is 300W. On paper, there’s no reason the 200x S should be putting out more light than the 300B. The difference is due to the reflector. The Amaran comes with a narrower degree reflector, which results in higher meter lux data. However, using the Amaran reflector can create a hotspot, while the Nanlite FS-300B gives a more even spread of light.
Build Quality and Durability
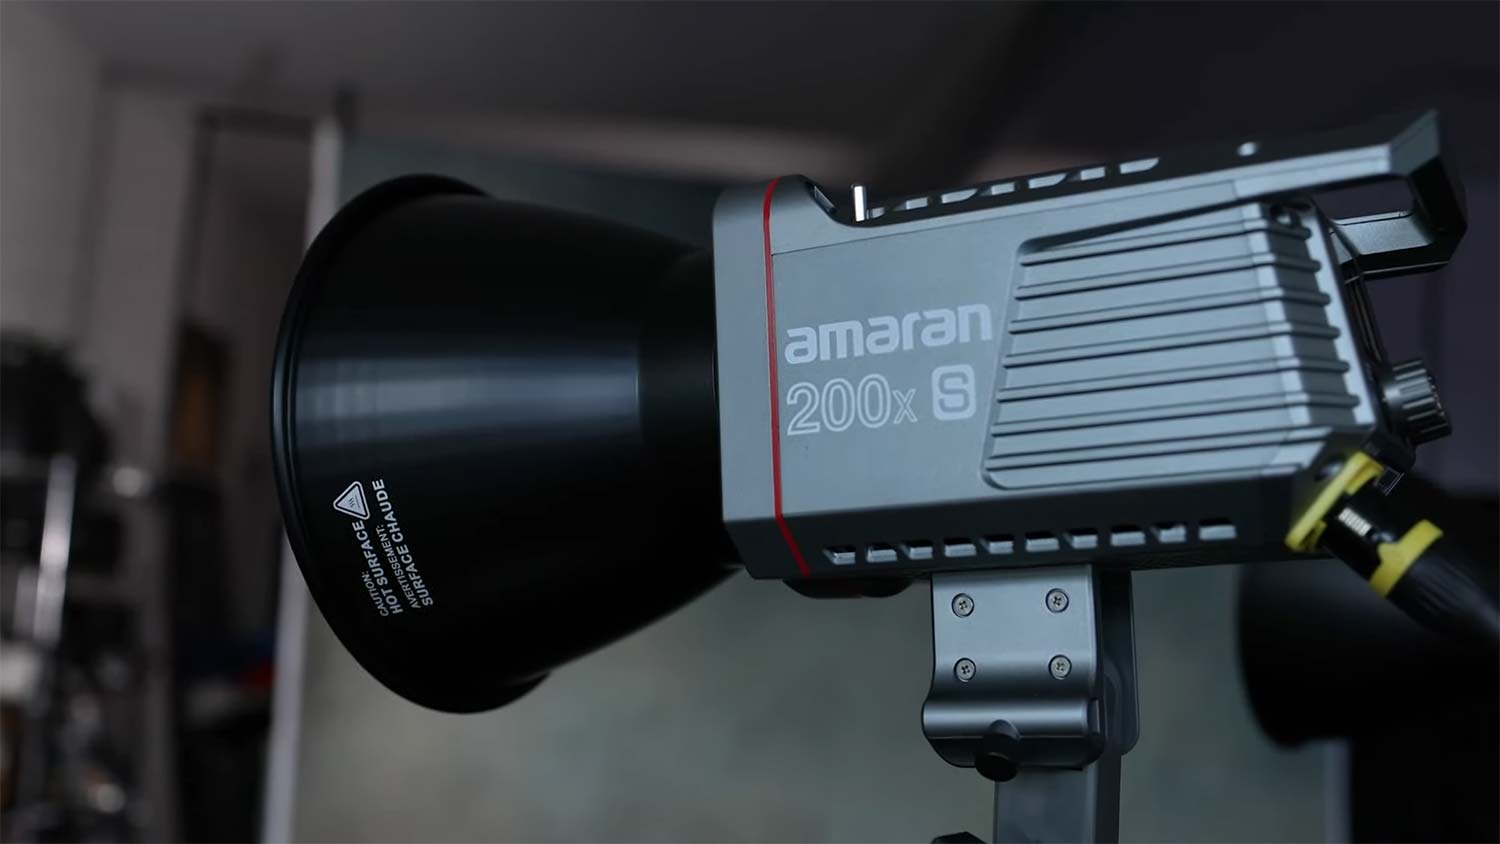
As I opened the box, the first thing that jumped out at me was the build quality. Honestly, disappointed is the only word I can use. For a light this expensive, the yoke of the Amaran is actually plastic, which really surprised me, especially given all the glowing reviews. This could be a point of contention over time. Now, there are replacement screws included, so I guess if you break it, you can replace it. But for this price, I was really surprised that the yoke was plastic.
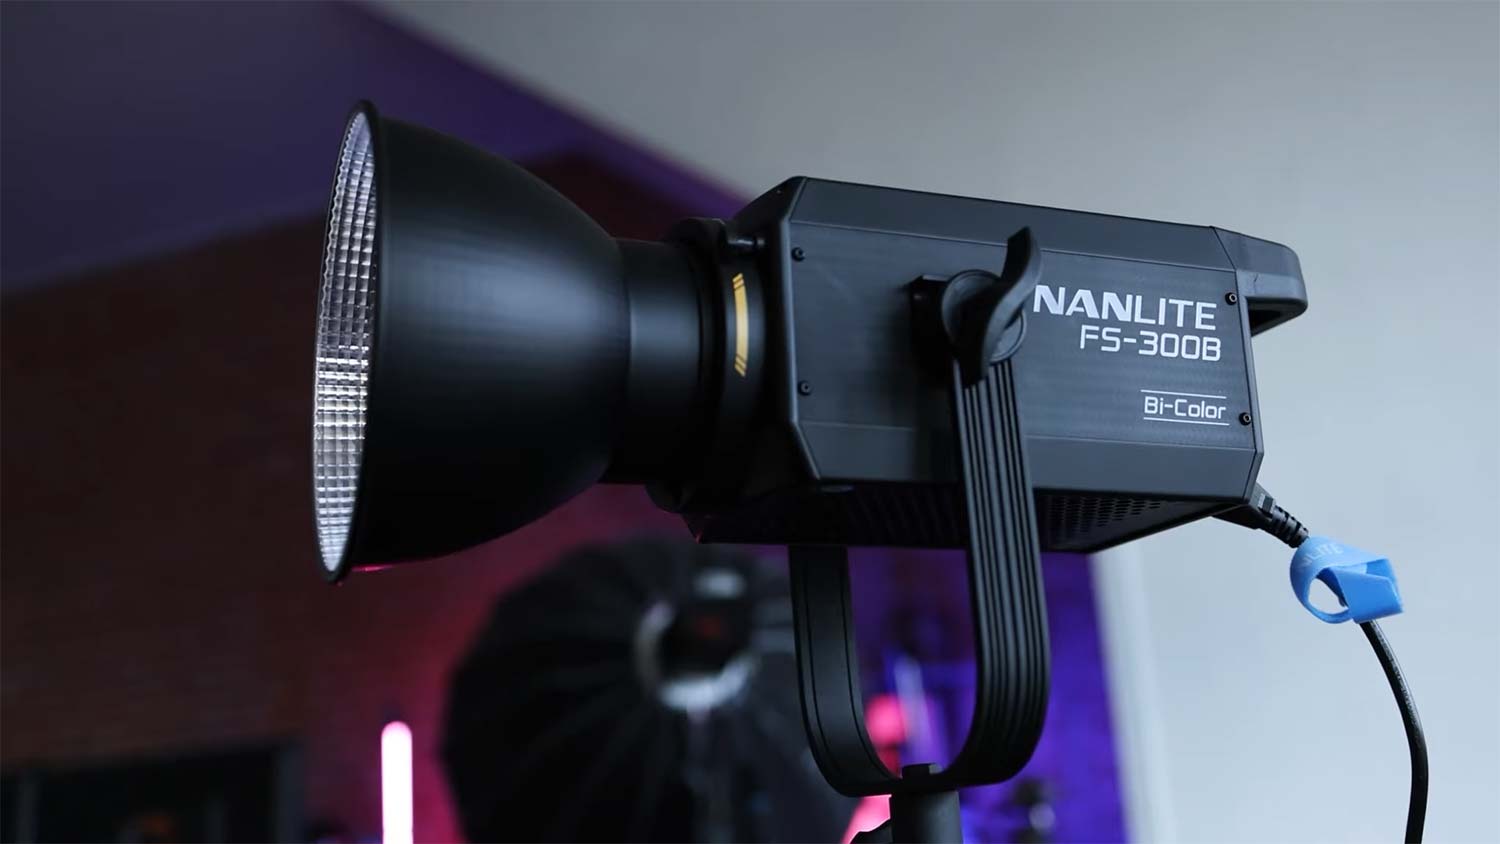
Now, compare that to the Nanlite. The yoke here is metal, so it’s much more durable and feels higher quality. Right out of the gate, I noticed a significant difference in durability. I don’t think this is subjective. Anyone who holds both lights will immediately notice the difference. The Nanlite has a more professional layout in terms of the yoke, while the Amaran looks more like a strobe I would use for my flash photography.
LCD Screen & Readability
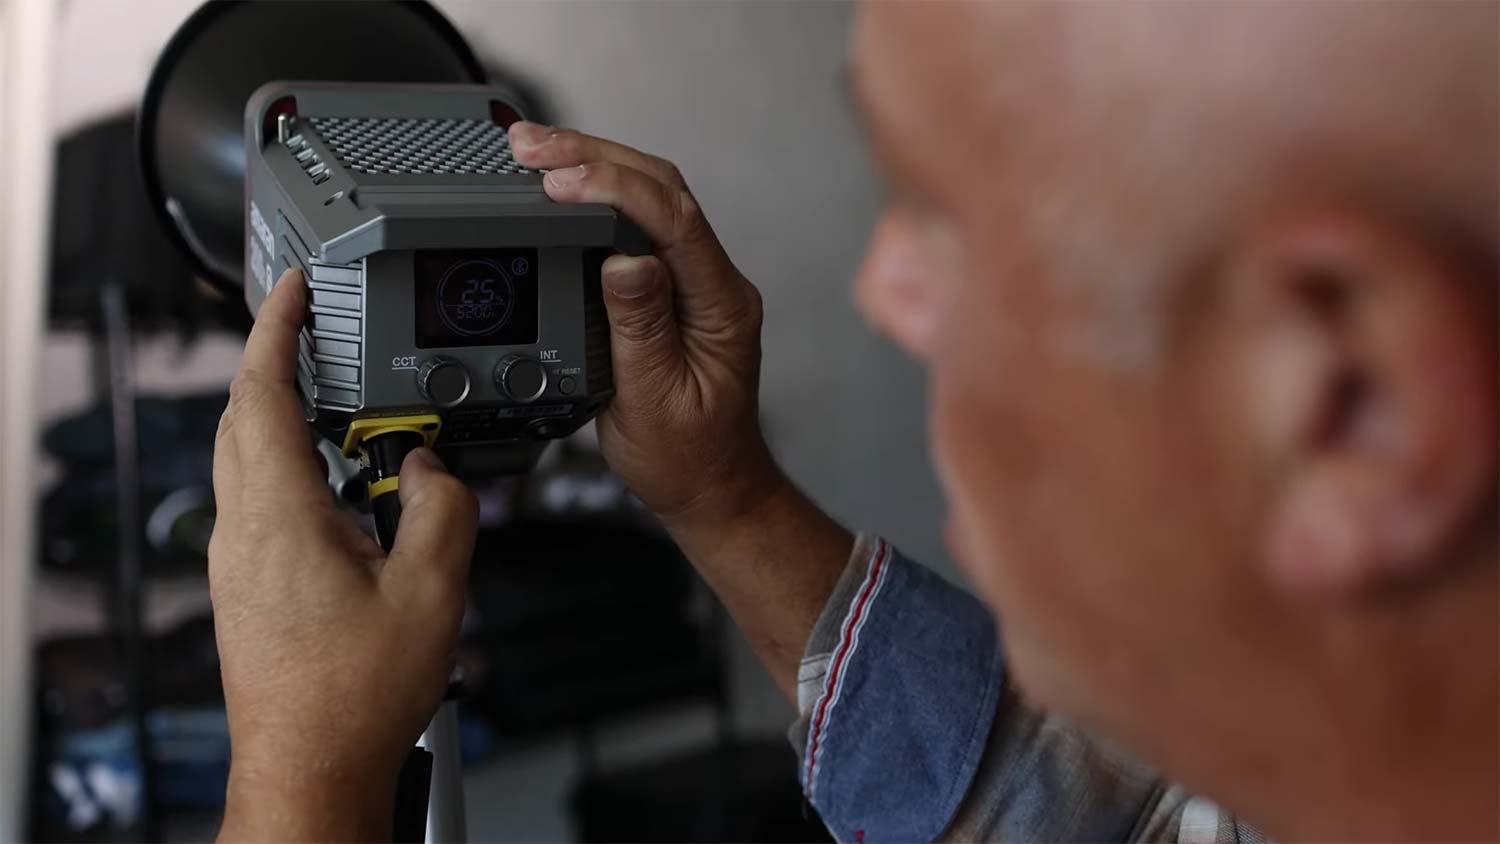
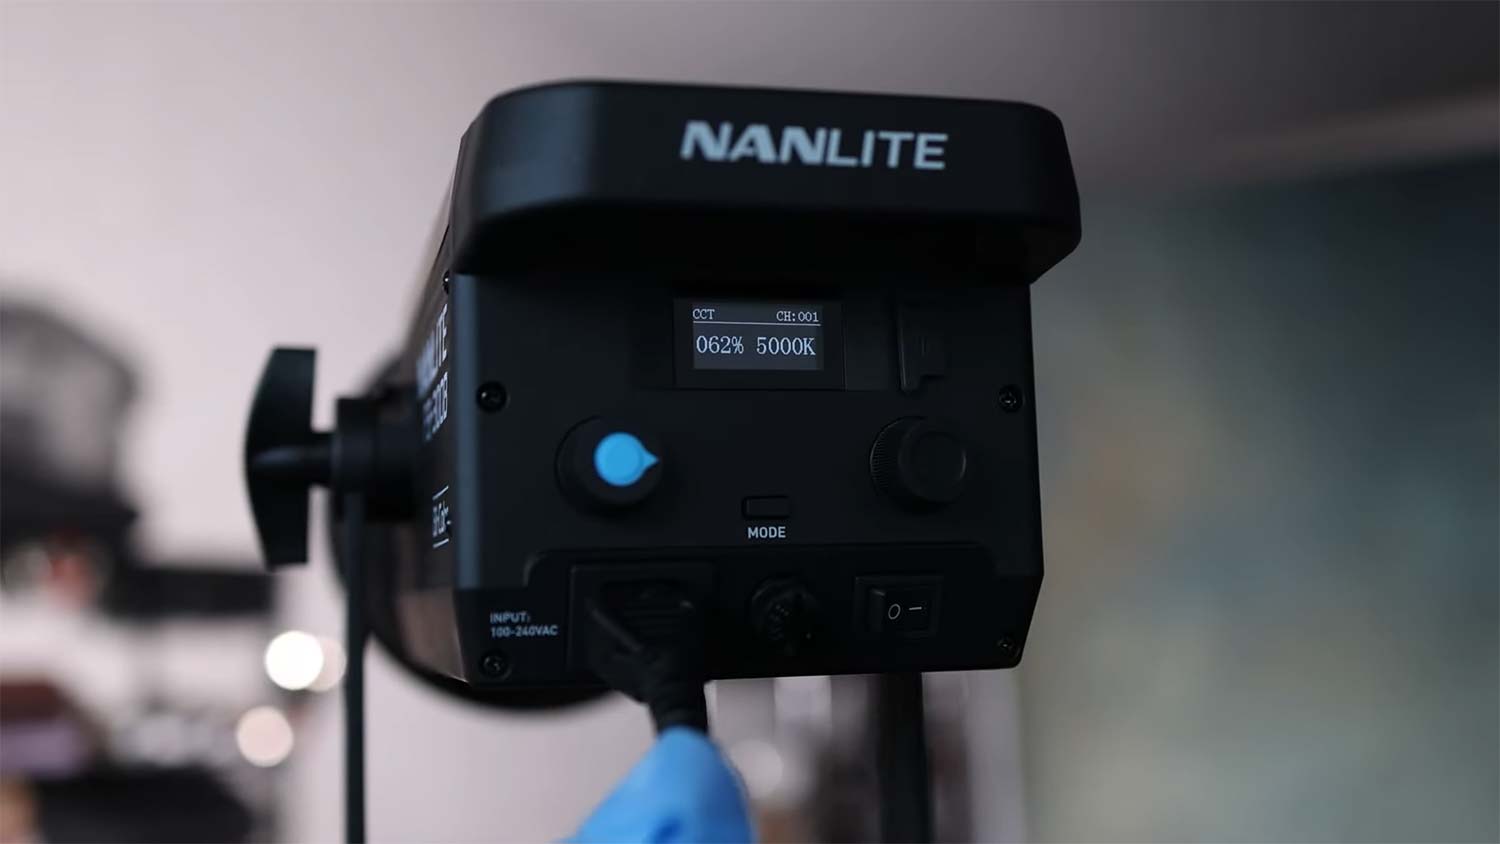
Something else I’m maybe not fully understanding is how the light works on the LCD screen of the Amaran, but if this is its performance, then it is garbage. If you try to see this screen and you are not at exactly the correct level, you cannot tell that the screen is on. If it’s tilted down at all, you can’t see it. You have to tilt it towards you to reveal the power setting, and I hope you can see that on camera.
Maybe I’m missing something; somebody enlighten me. But out of the gate, that screen should be much brighter regardless of how much money we pay. If you look at the Nanlite and we turn it on, it’s very easy to read, no matter the angle. So if we’re adjusting this, it is very visible. I don’t know what is going on with that.
So far, those two issues with the Amaran are standout items I noticed right out of the box. We have a price point difference of $110, and that’s a bit of a turn-off, especially for what we’re getting here.
Extra Fuses
Something else I noticed about the Nanlite unit is that it comes with extra fuses, which are easily accessible in case of a power surge without destroying your light.
Now again, to be fair, I assume there is a way to replace that in the Amaran 200x S without having to send the unit back for service. However, if there is, it’s not apparent. It’s not in the box, and it’s not obvious right out of the gate. So again, these are the types of things you should consider when buying a unit like this.
Disclaimer: The FS-300B uses AC power and comes with a fuse as a spare part, while the Amaran 200X is DC-powered, so no fuse is needed.
Mobile App Controls
Both lights come with mobile apps for controlling the light, both have Bluetooth, and both have the ability to receive firmware updates. I think this is very important when looking for a light like this, especially in today’s day and age. You want to be able to control the lights via an app, so you don’t have to move each part to make adjustments. If you want to change the color temperature, you can easily do that from their apps, and both lights offer this functionality.
Light Test
So we are right at 100 inches away from the backdrop. Now let’s turn the Amaran on. At ISO 200, we’re getting 4.02, and now on the Nanlite unit at the same distance we’re at 2.88. The Amaran puts out about four-tenths of a stop difference in light, offering slightly higher power and lux, which makes sense since it’s in the spec sheet.
Is the price difference between Nanlite FS-300B and Amaran 200x S worth it?
When looking at the Amaran, I’m not sure, as a photographer, that that extra four-tenths of power is worth the extra $110, especially considering the build quality. So I’ve got to be honest with you on this.
After looking at everything and comparing all the features side by side, you might feel like this isn’t a fair comparison. I know Amaran has bigger lights, but they’re actually more expensive. So, side by side, I can’t say that I would ever choose this Amaran. My only hope right now, if I’m being honest, is that they’ll take it back because this Nanlite is being added to the studio setup. In fact, we’re going to get on a photoshoot right now, so let’s see what it can do.
Photoshoot with the Nanlite FS-300B
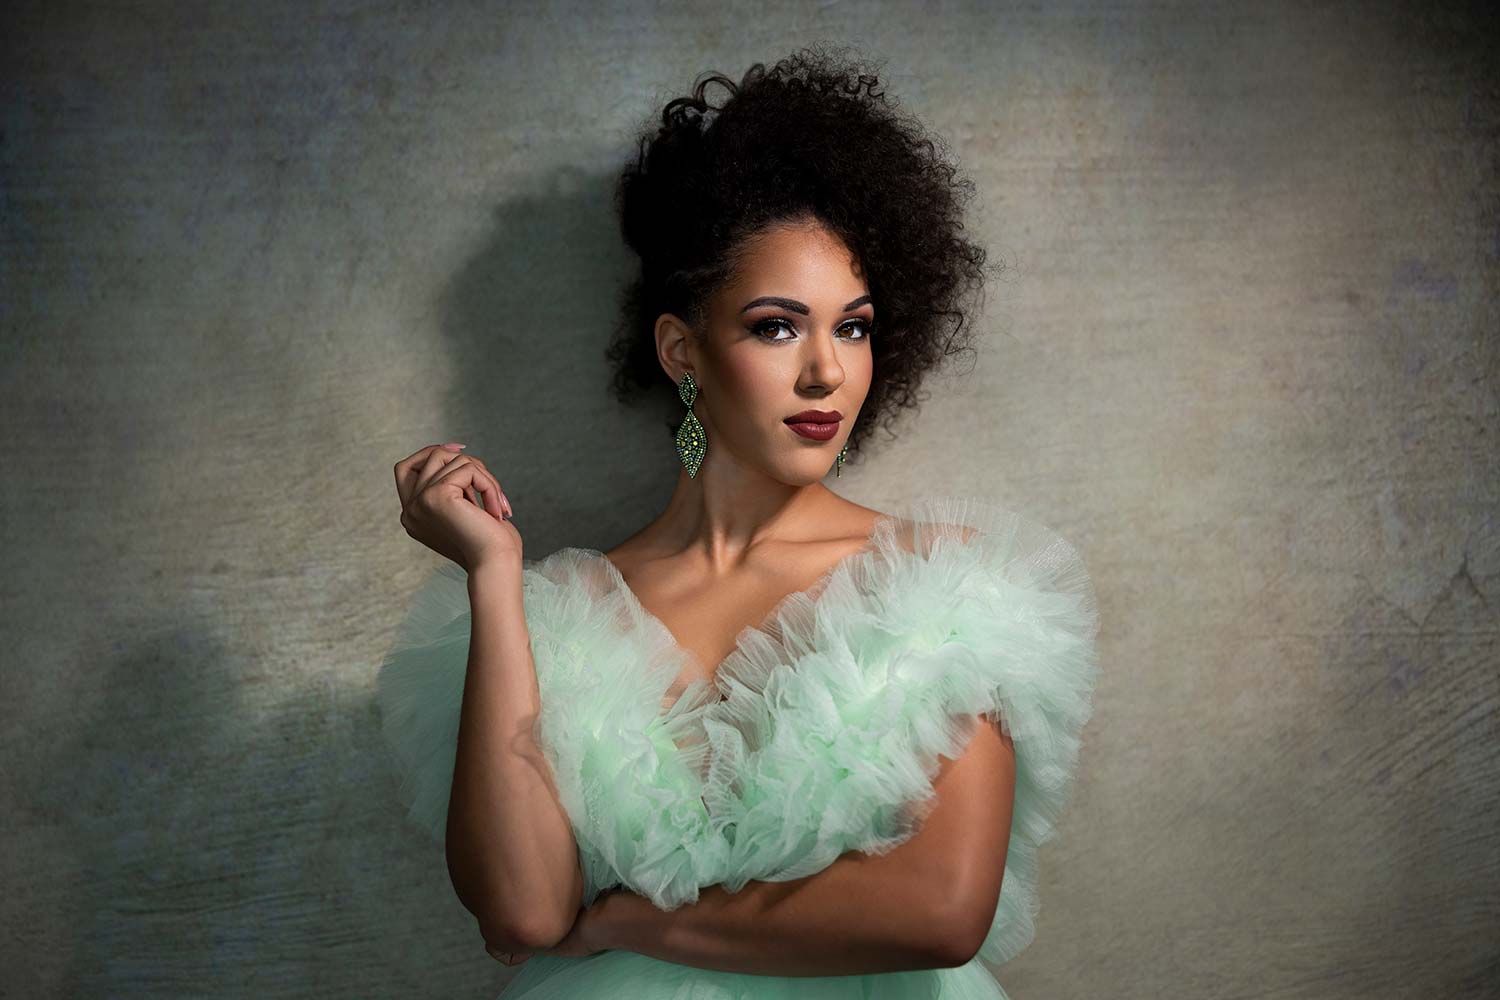
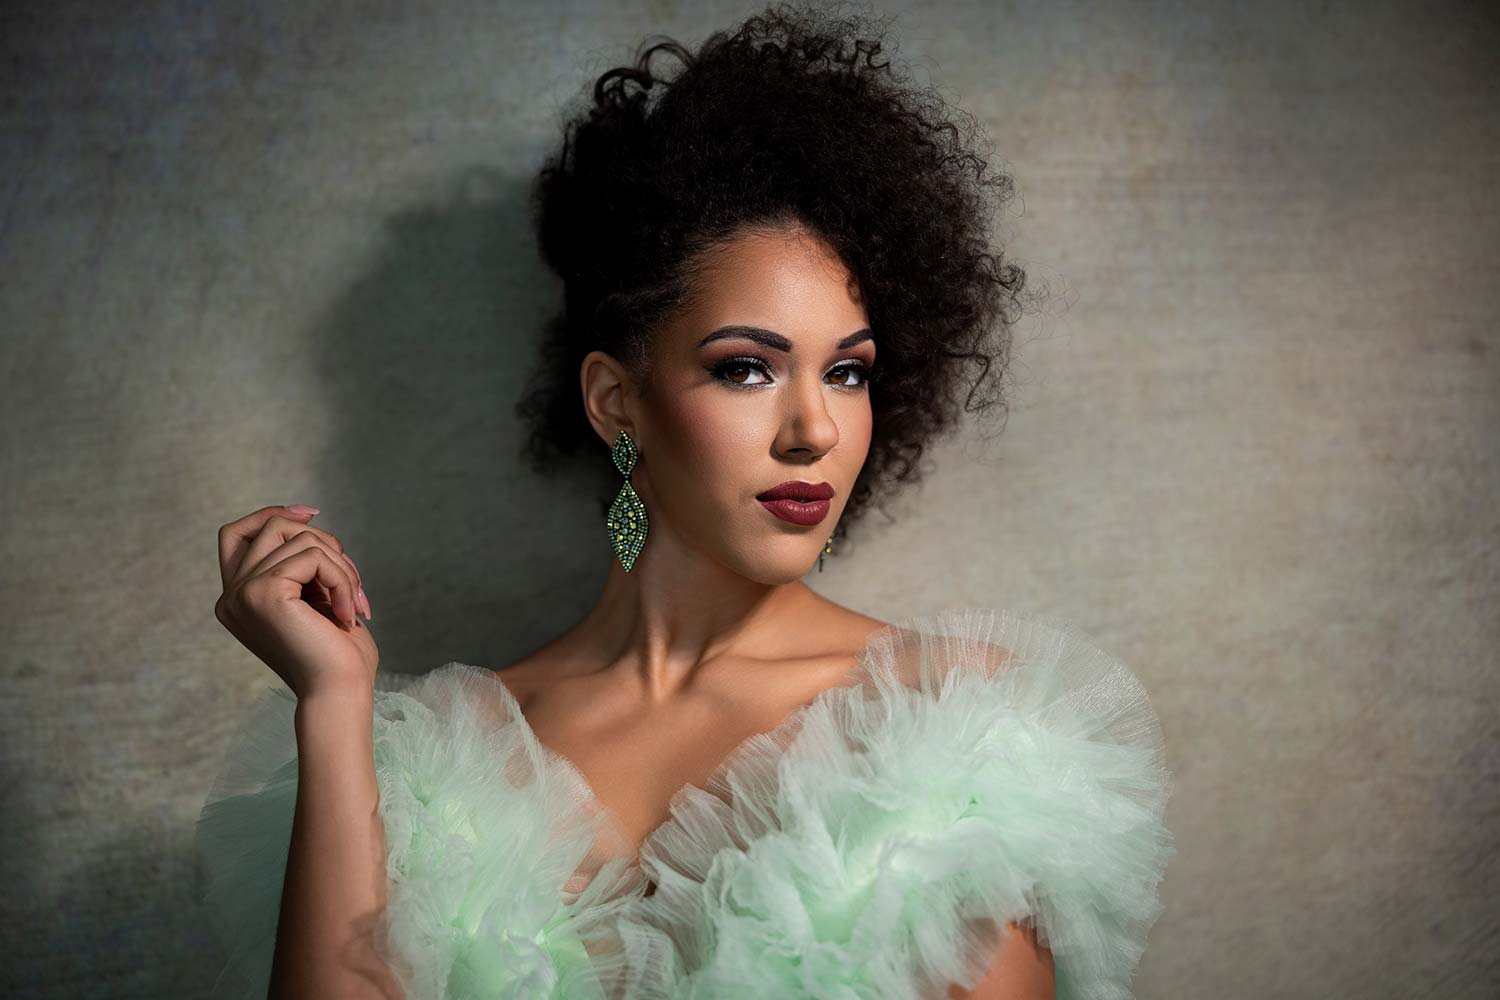
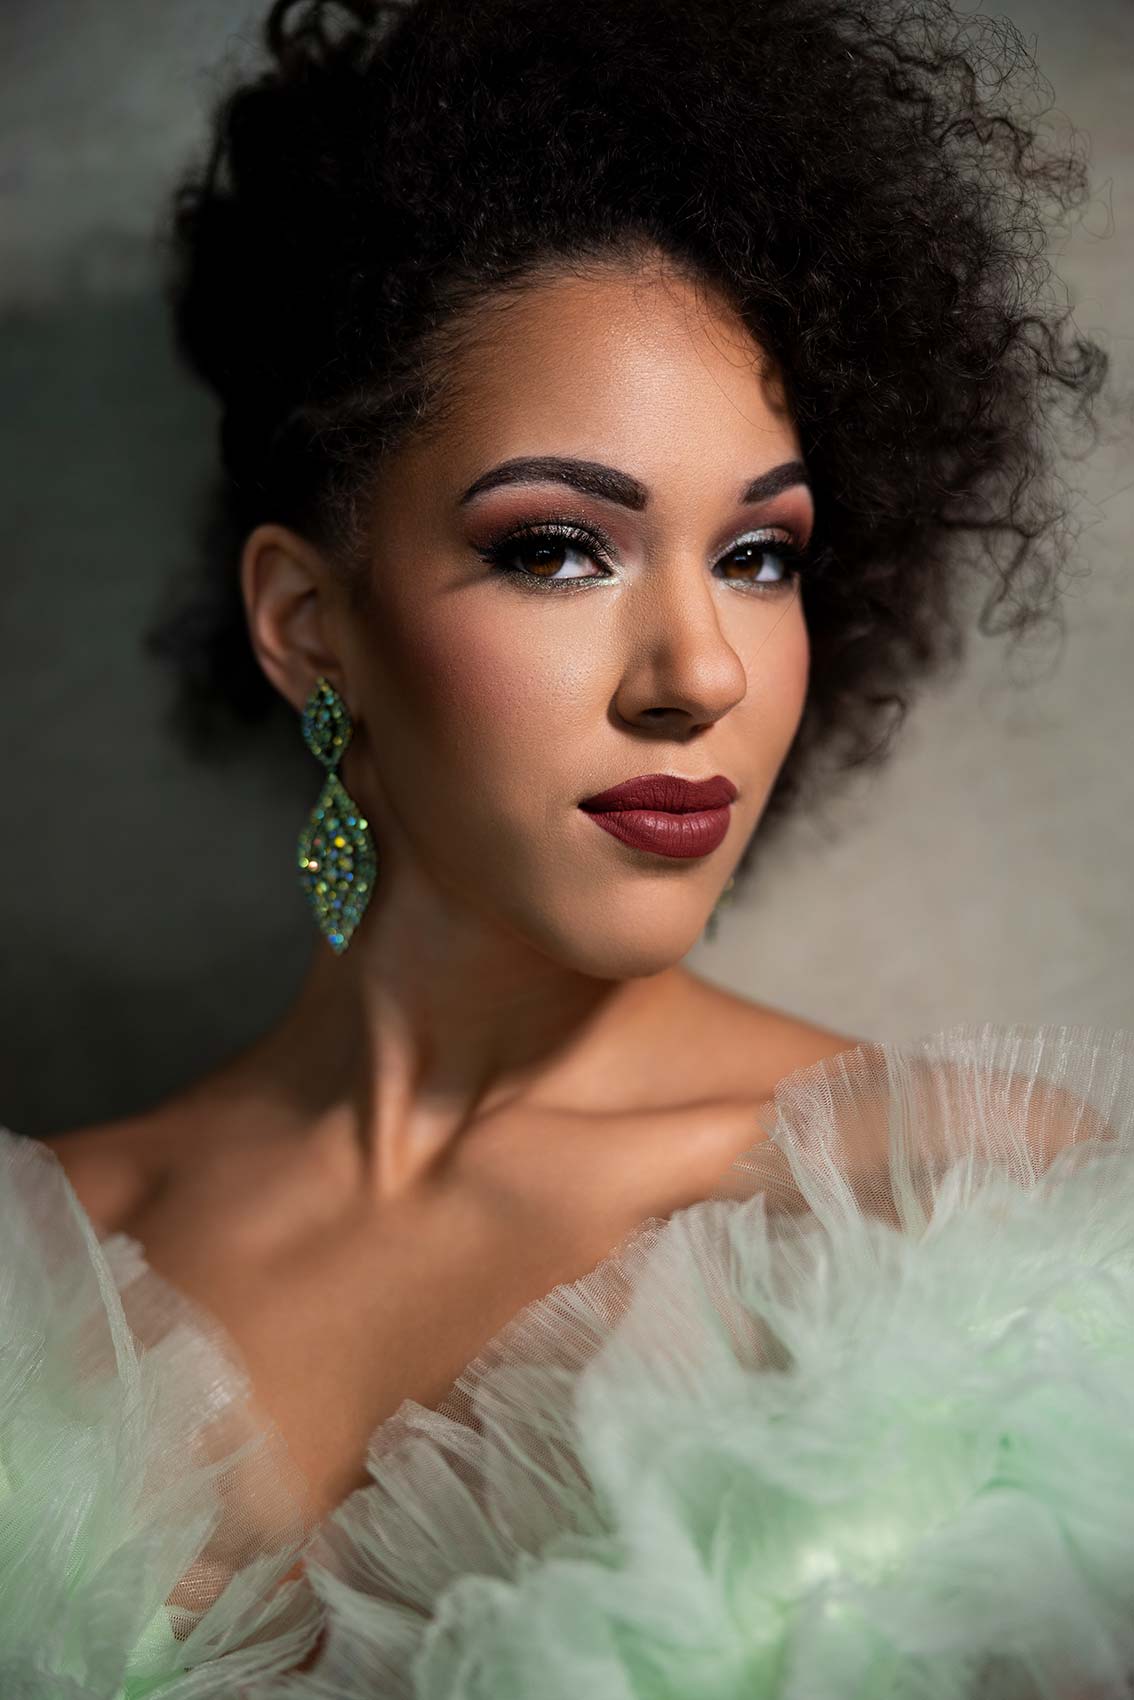
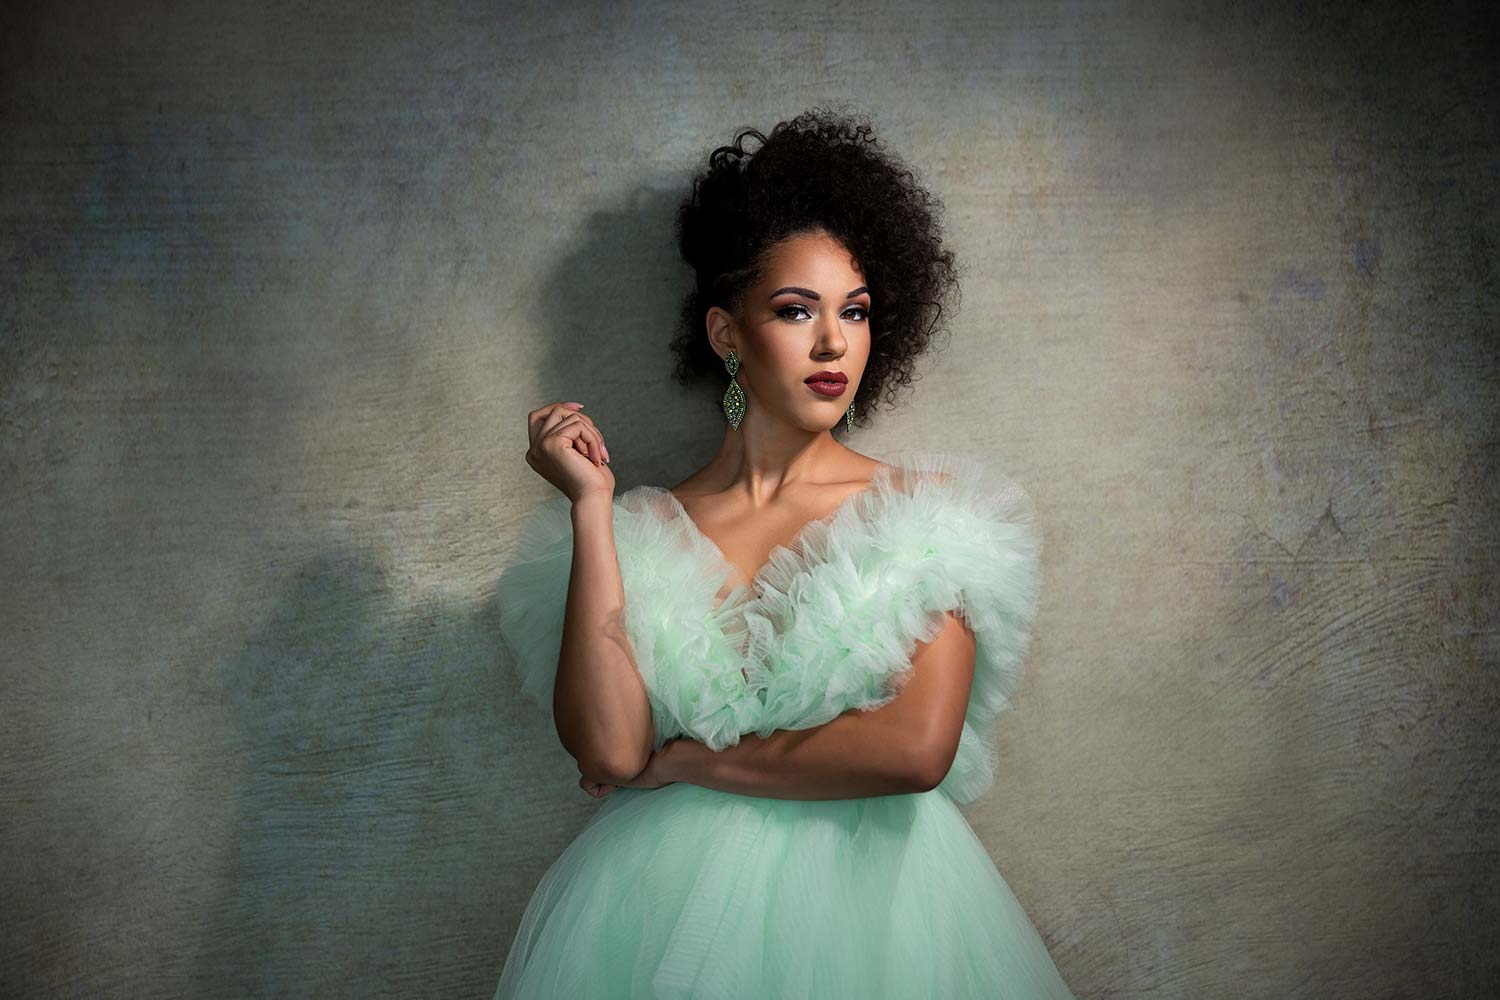
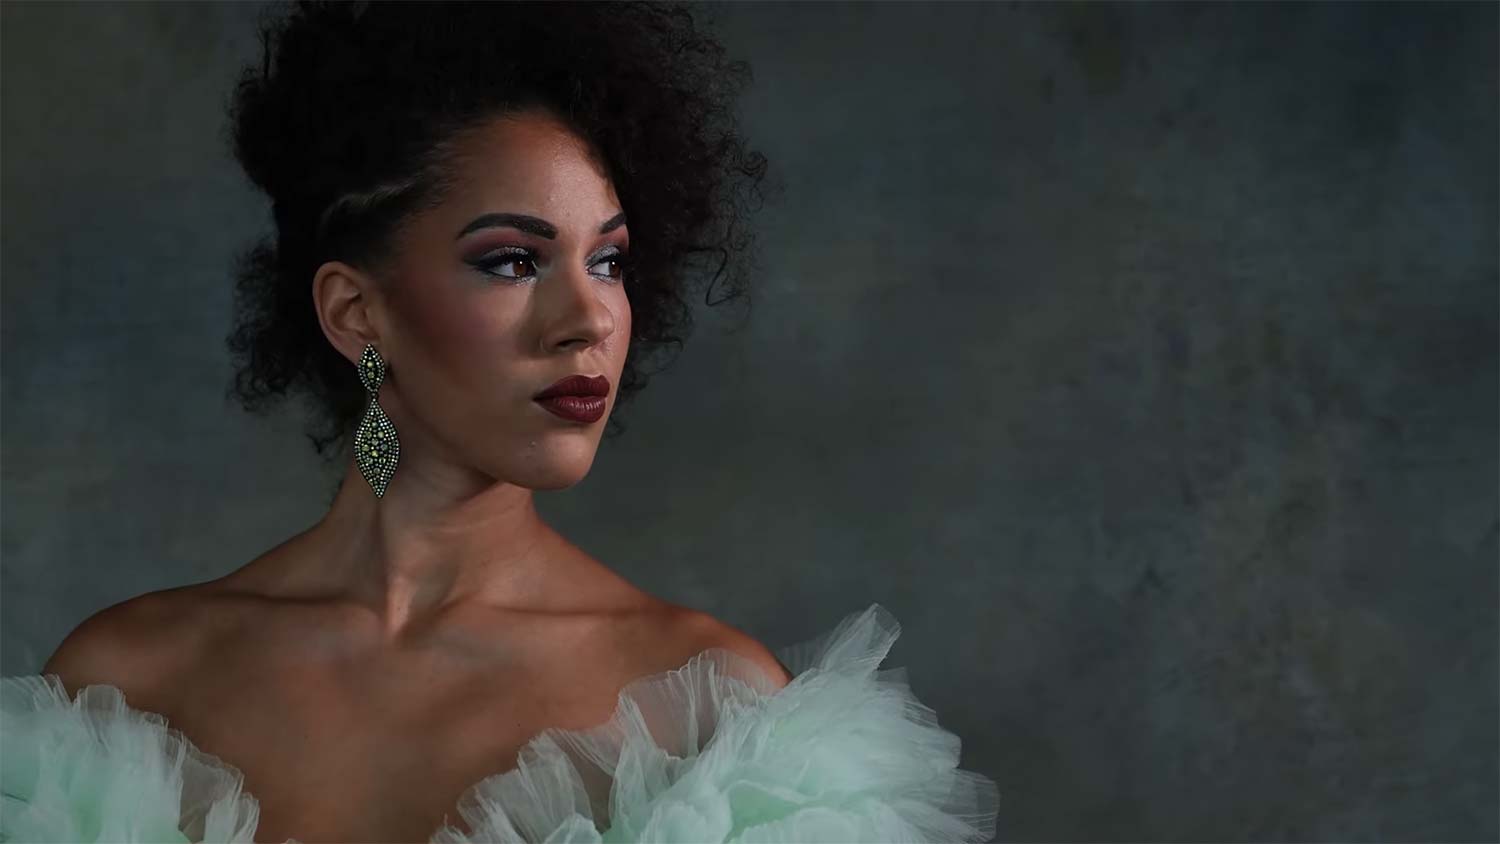
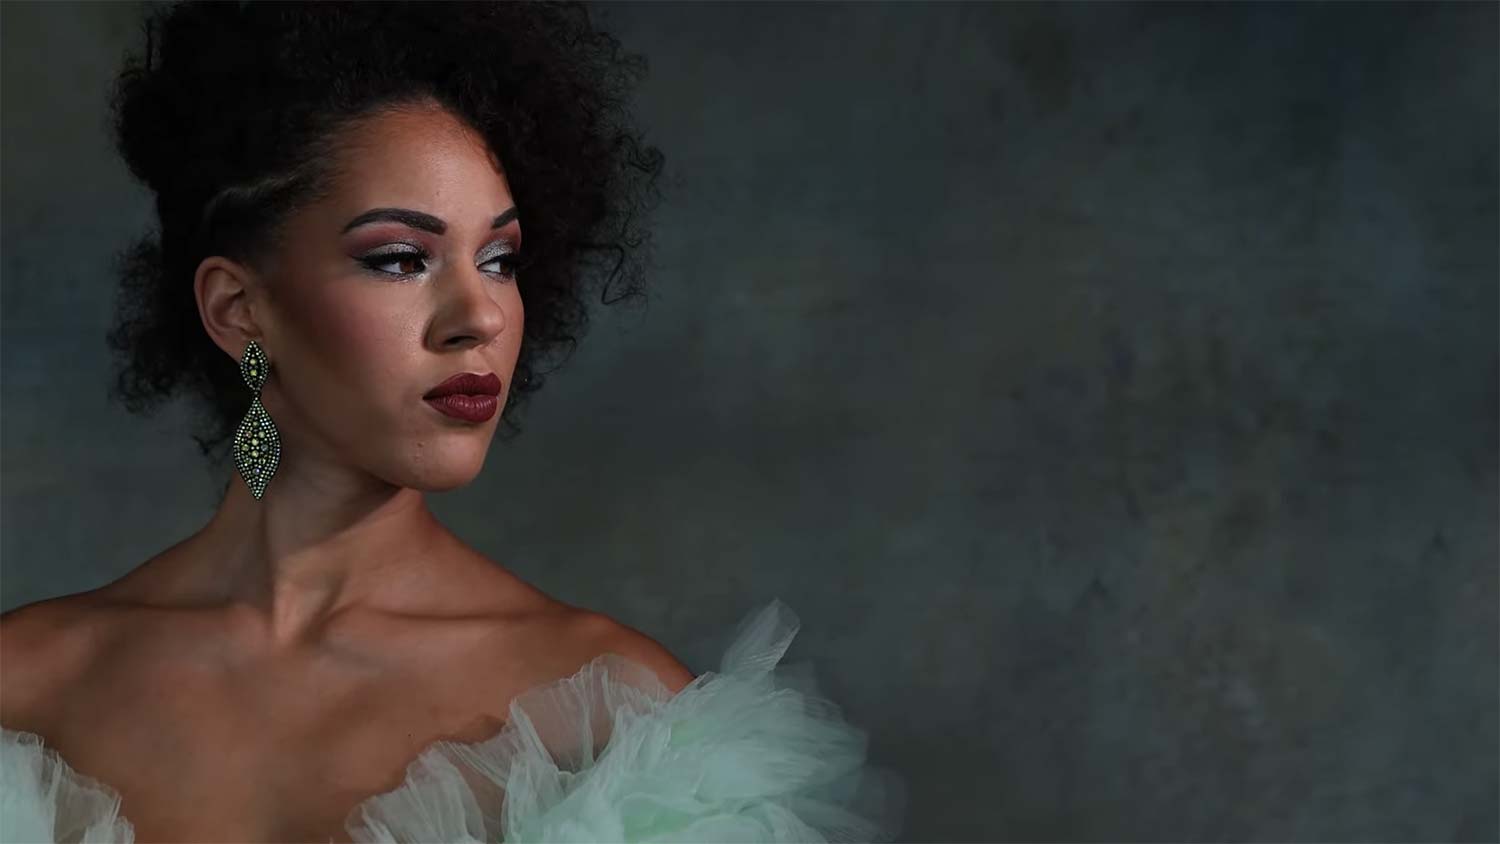
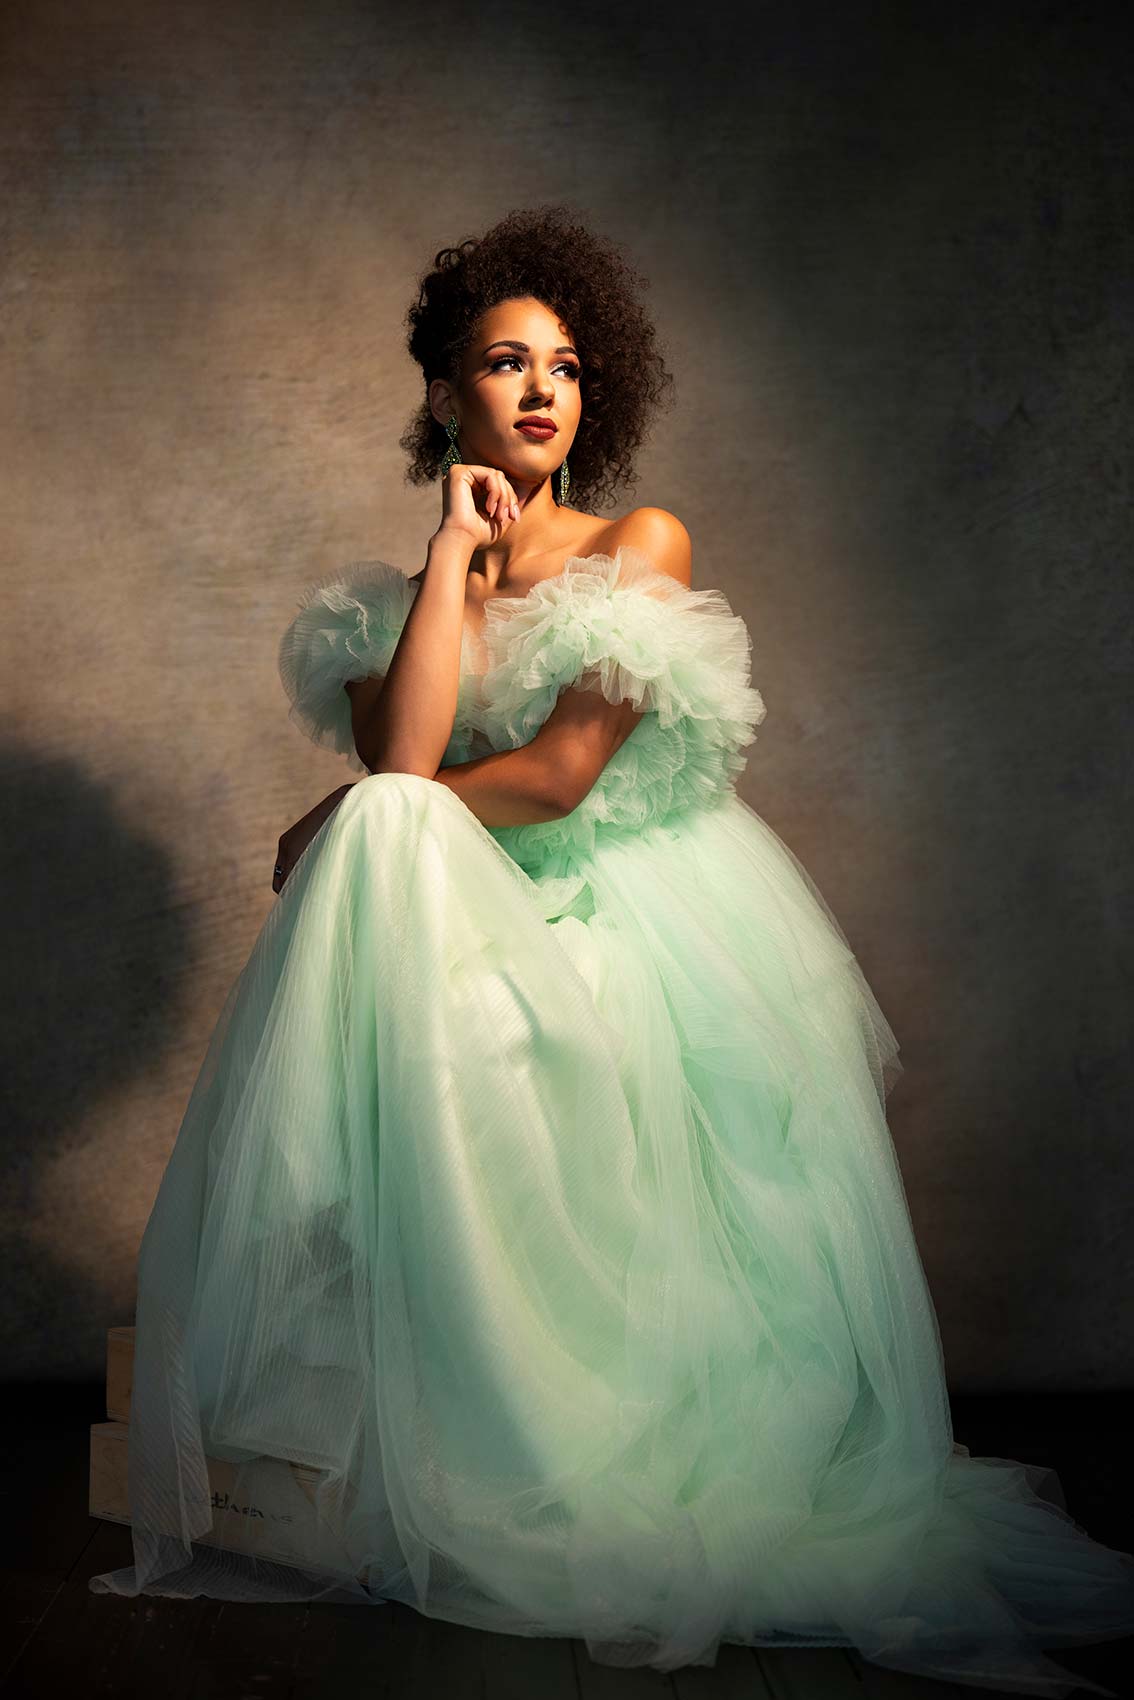
Lets check out what the Nanlite unit is capable of straight out of the box. While they’re working on hair and makeup, I want to highlight that it’s one thing to measure the light against the backdrop and get an f-stop reading, but it’s another when you have a real subject there.
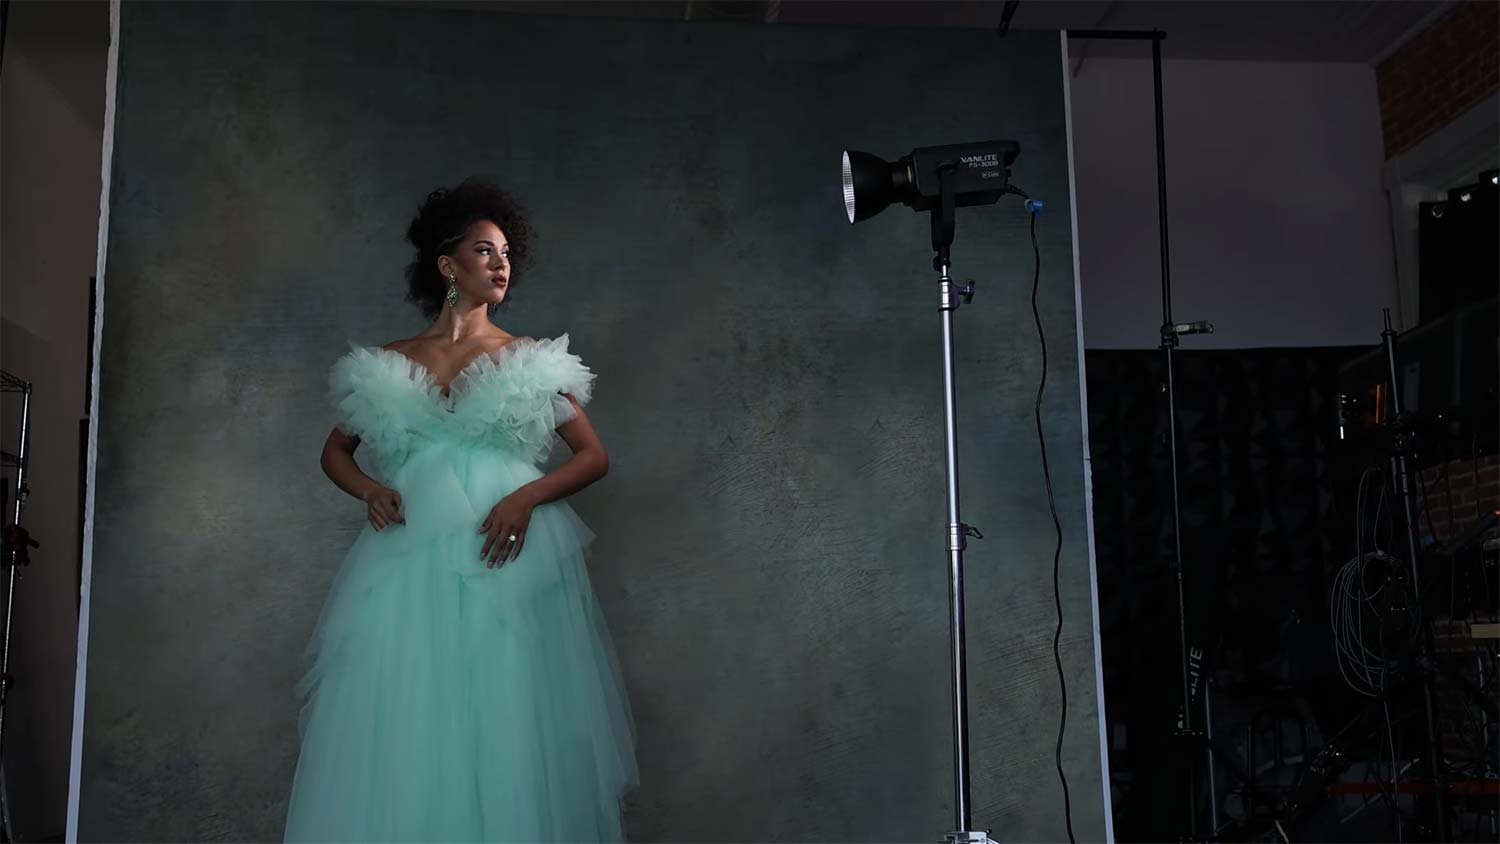
This light now is closer and we’re at about 10% power. Prior, it was about 20% power, getting a lot of shine. The light’s up there, I don’t want to keep pulling it up and down. This is where having a mobile app is perfect. I’ve got the light down to about 10% power. I really like the way that’s looking on her, looking there. So I’m going to have her working towards the light. It’s a very hard specular light source. We’re going to work with some hard light and then I’ll probably put a light modifier on it ’cause I do like that these have bone mounts on them. And then we’re going to go with the color temperature, push this to about 5,500, work with it from there.
Now I’ve been able to control all of that through the app. If I want to dim it or just turn it off for a second, we can do all sorts of different things with this light source. So let’s start shooting.
Working with a hard light source, I just want to keep experimenting. Both companies offer light modifiers and light-shaping tools, but this is what came out of the box. If I want my set to be suitable for filming a YouTube video or a headshot, we’ll soften this with an octabox or something similar, but I’m enjoying working with a harder light source here. So let’s drop this down. Now, I want to fire this from the side and pull her off that background a little
Now we can give her some level of short light. Here, it’s going to be split, so I need to come in just a little or even cheat it and feather it out. I have to watch that shadow on her nose, especially with this light source. It’s really cool to see. I’m not sure if you can catch it on camera, but you have to work with your subject. If you stay square on, you can see the shadow forming on her nose, and that is not flattering. I could try to achieve a Rembrandt look by coming up higher, but what I really want to do is feather this until I eliminate that shadow on her nose, and that’s where I’ll focus my adjustments. Let’s see what that looks like.
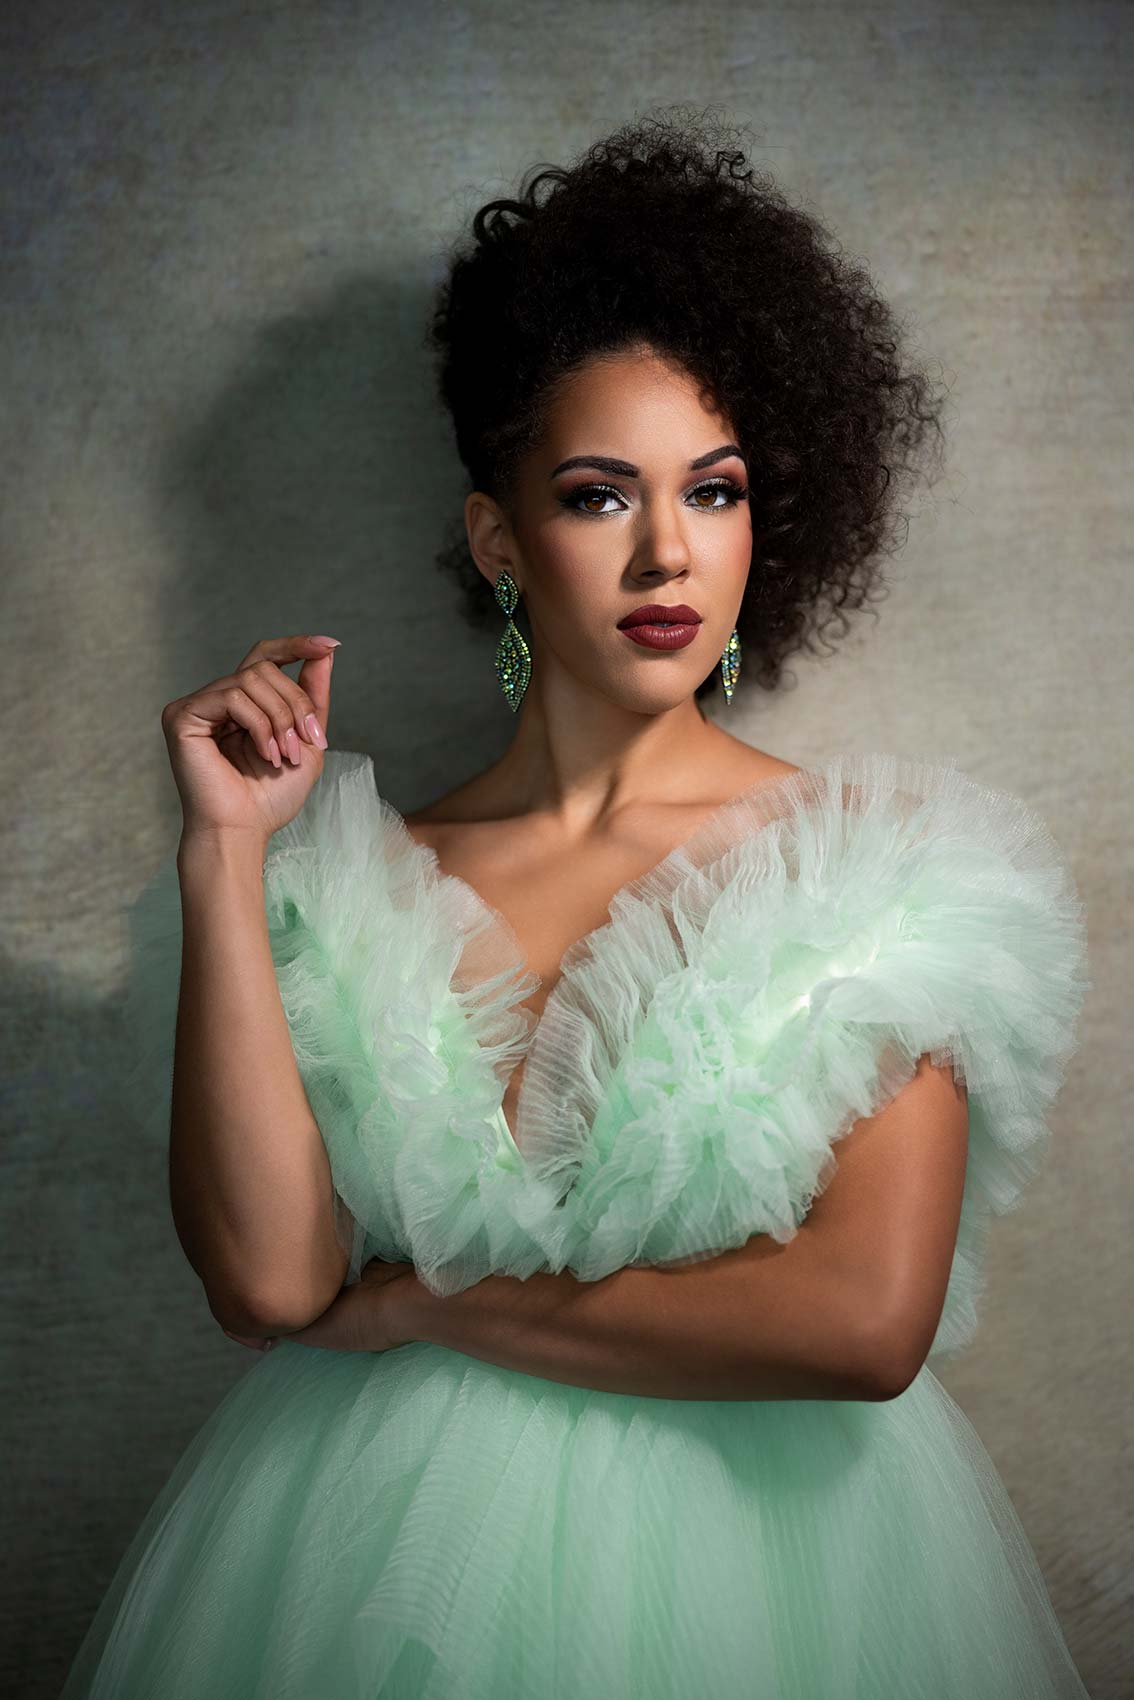
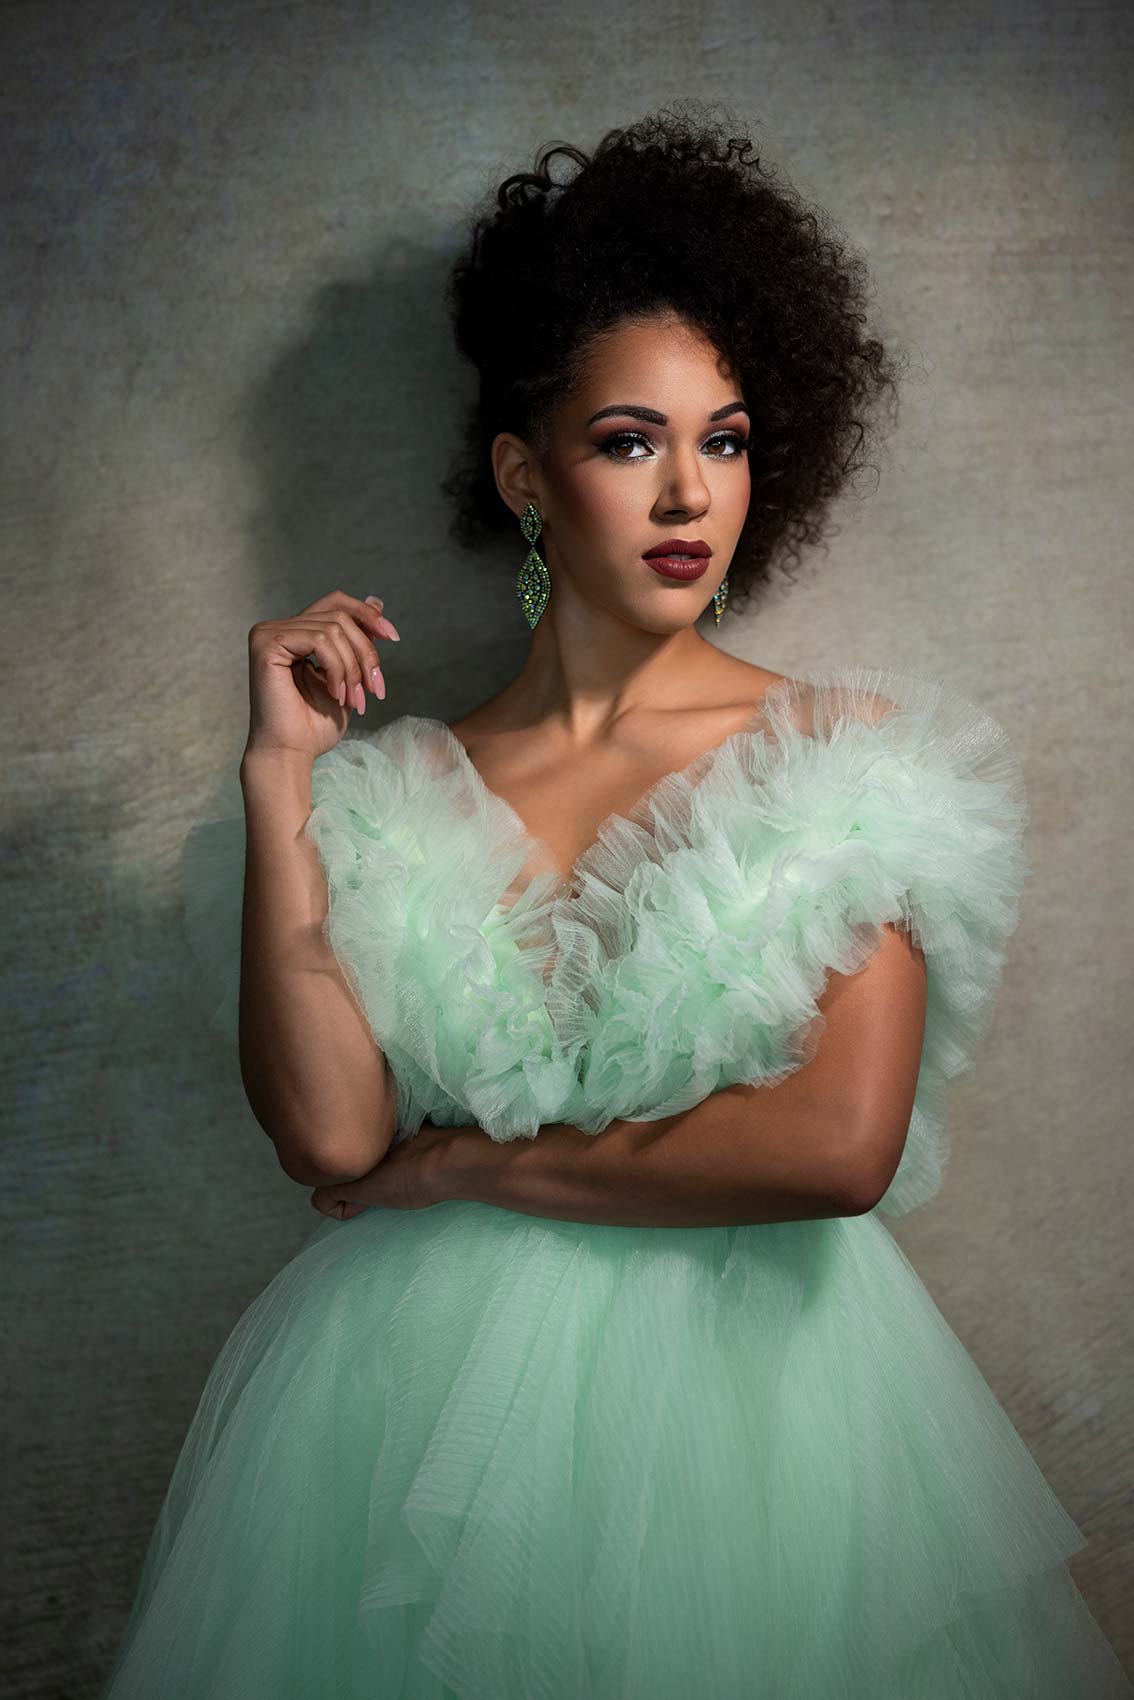
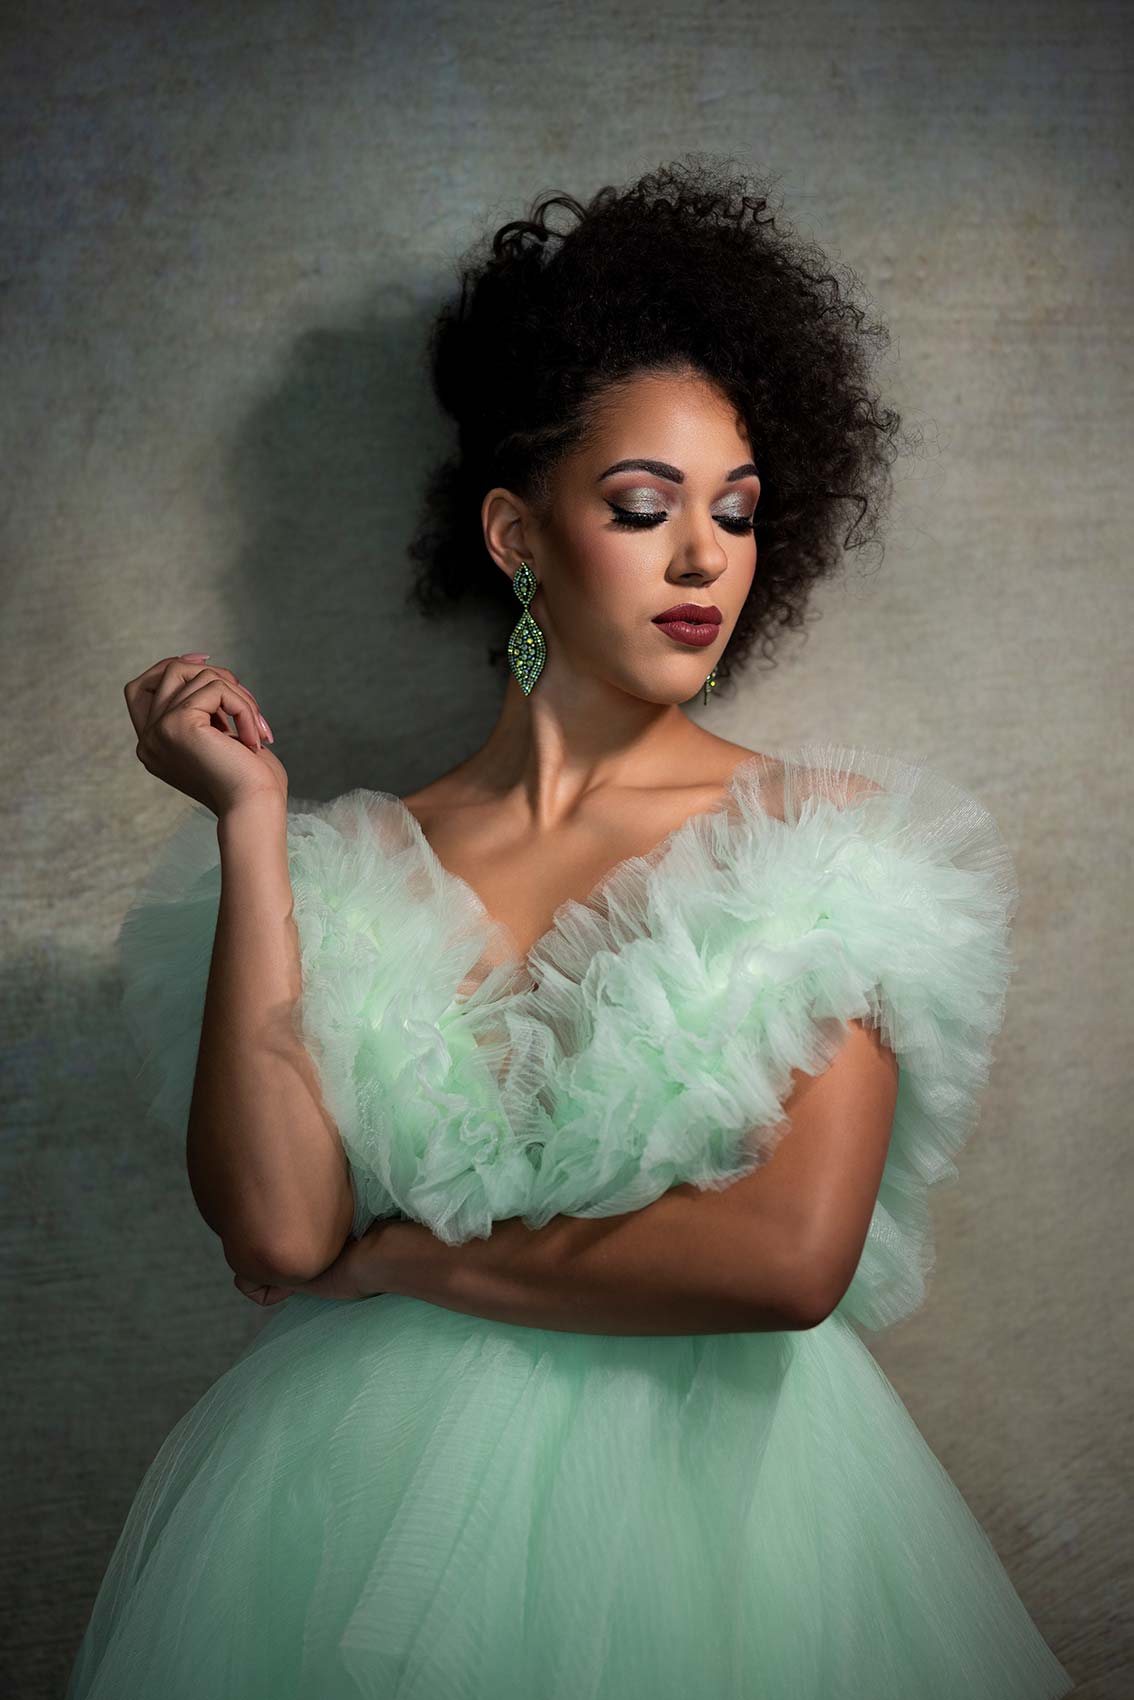
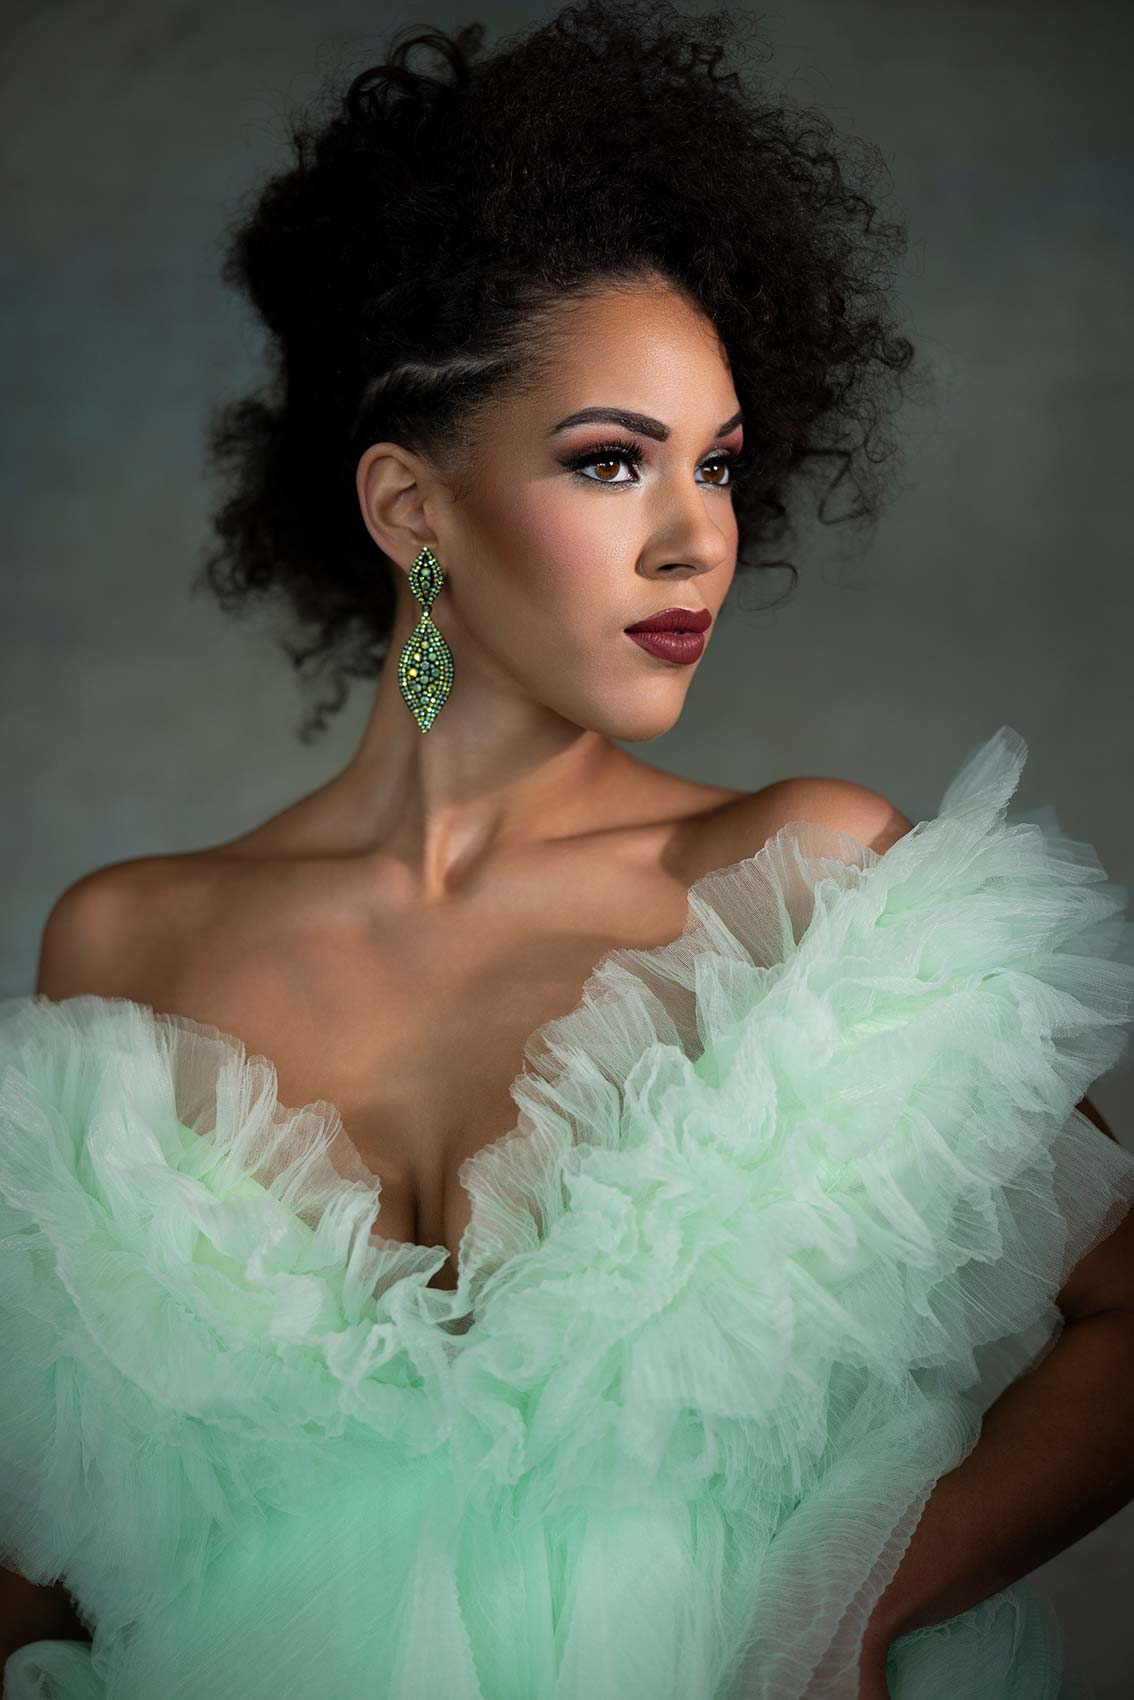
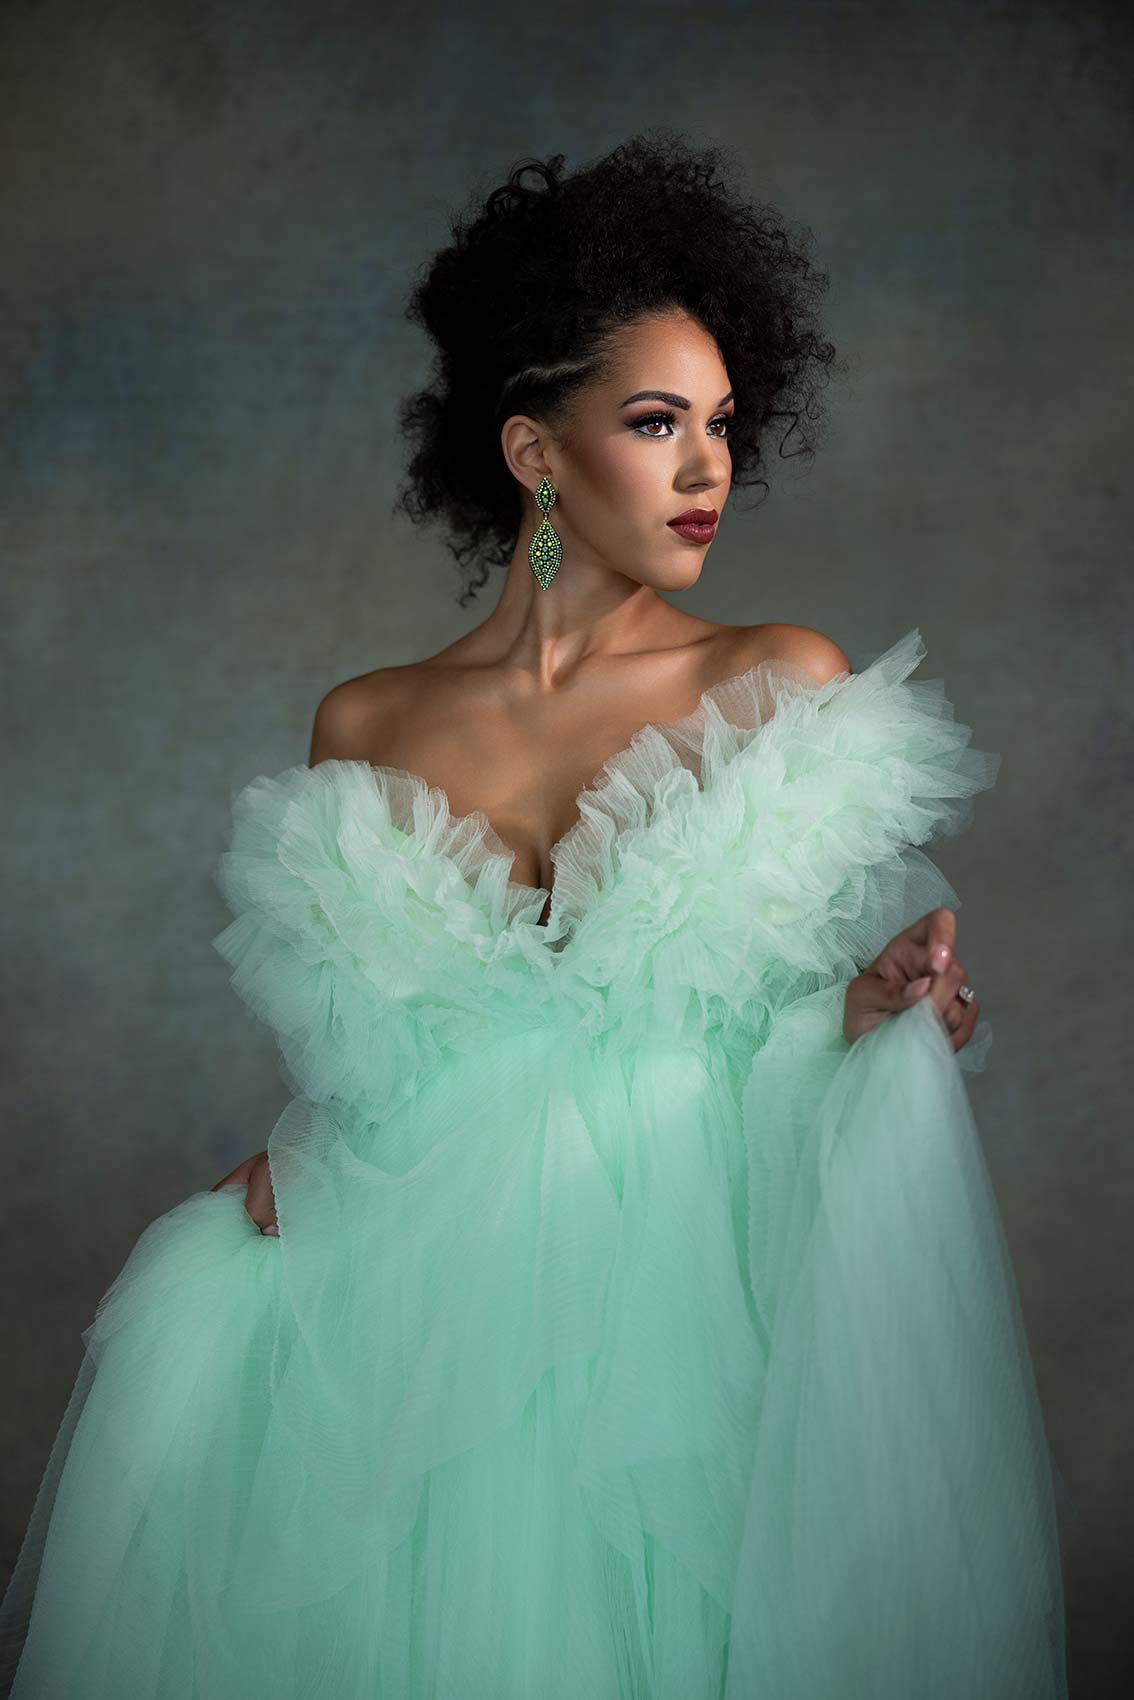
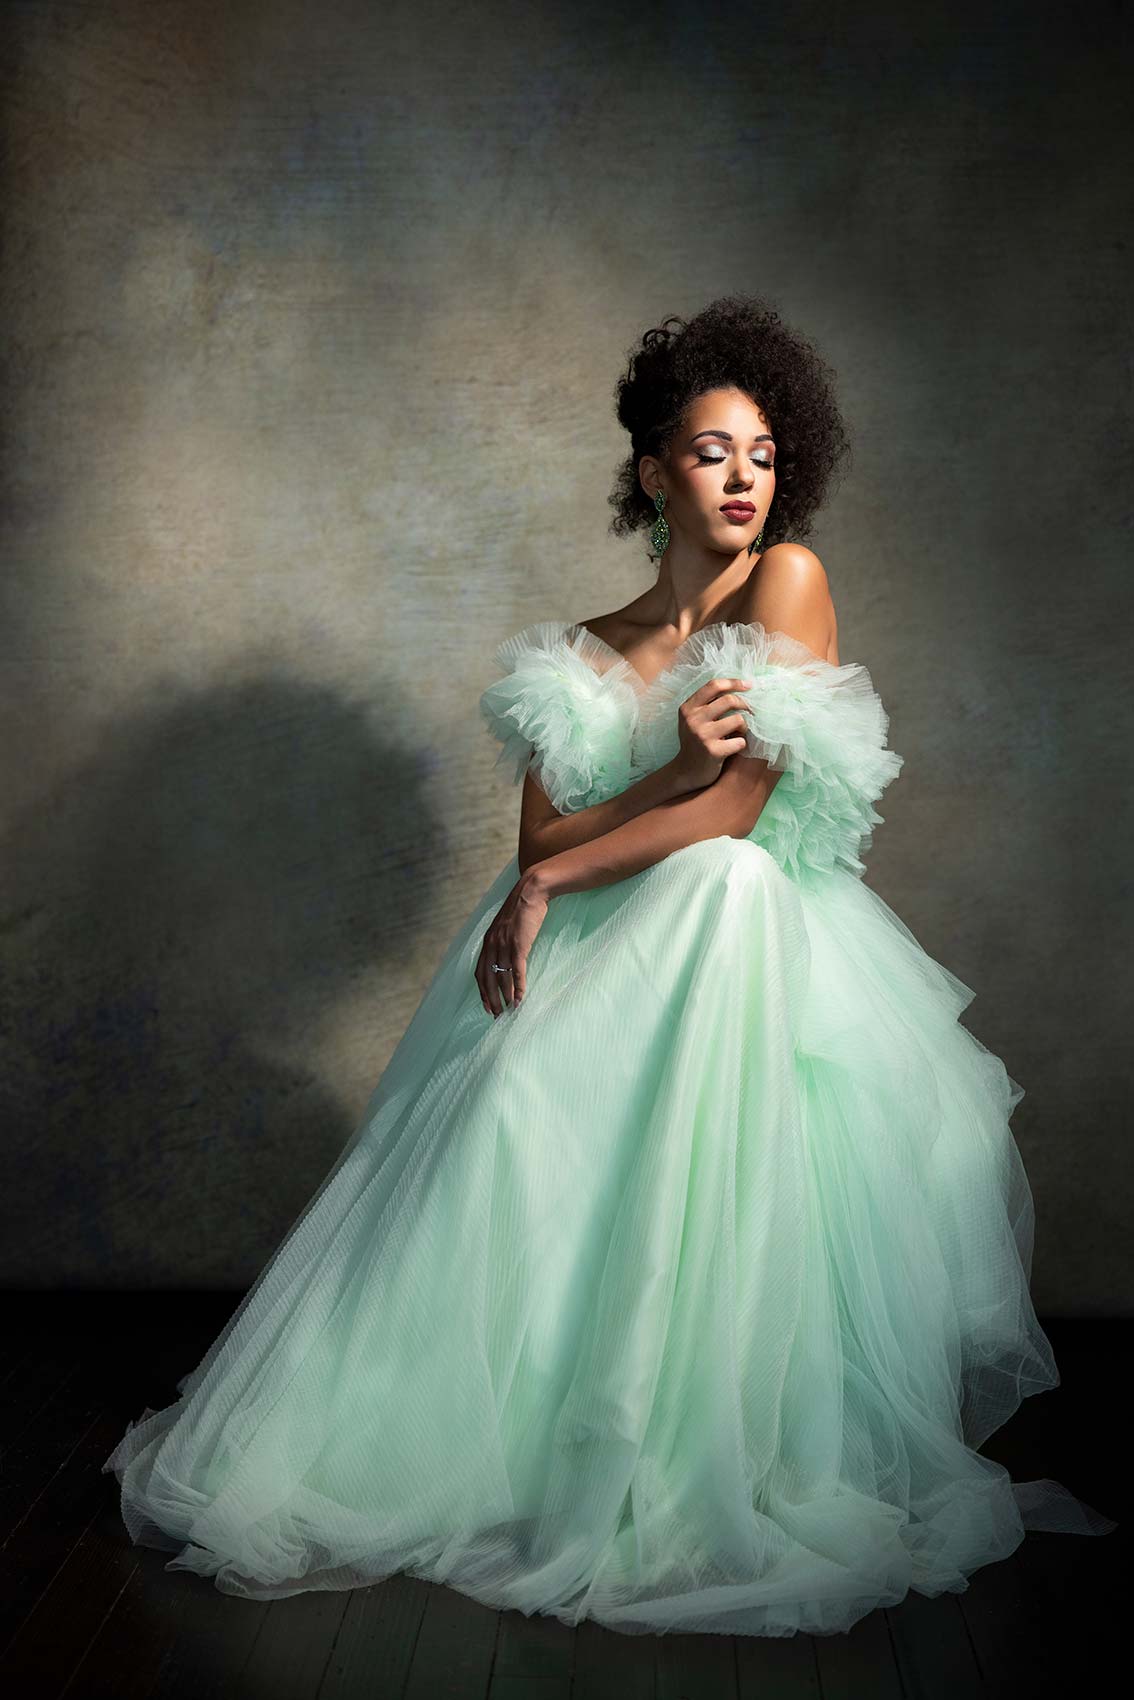
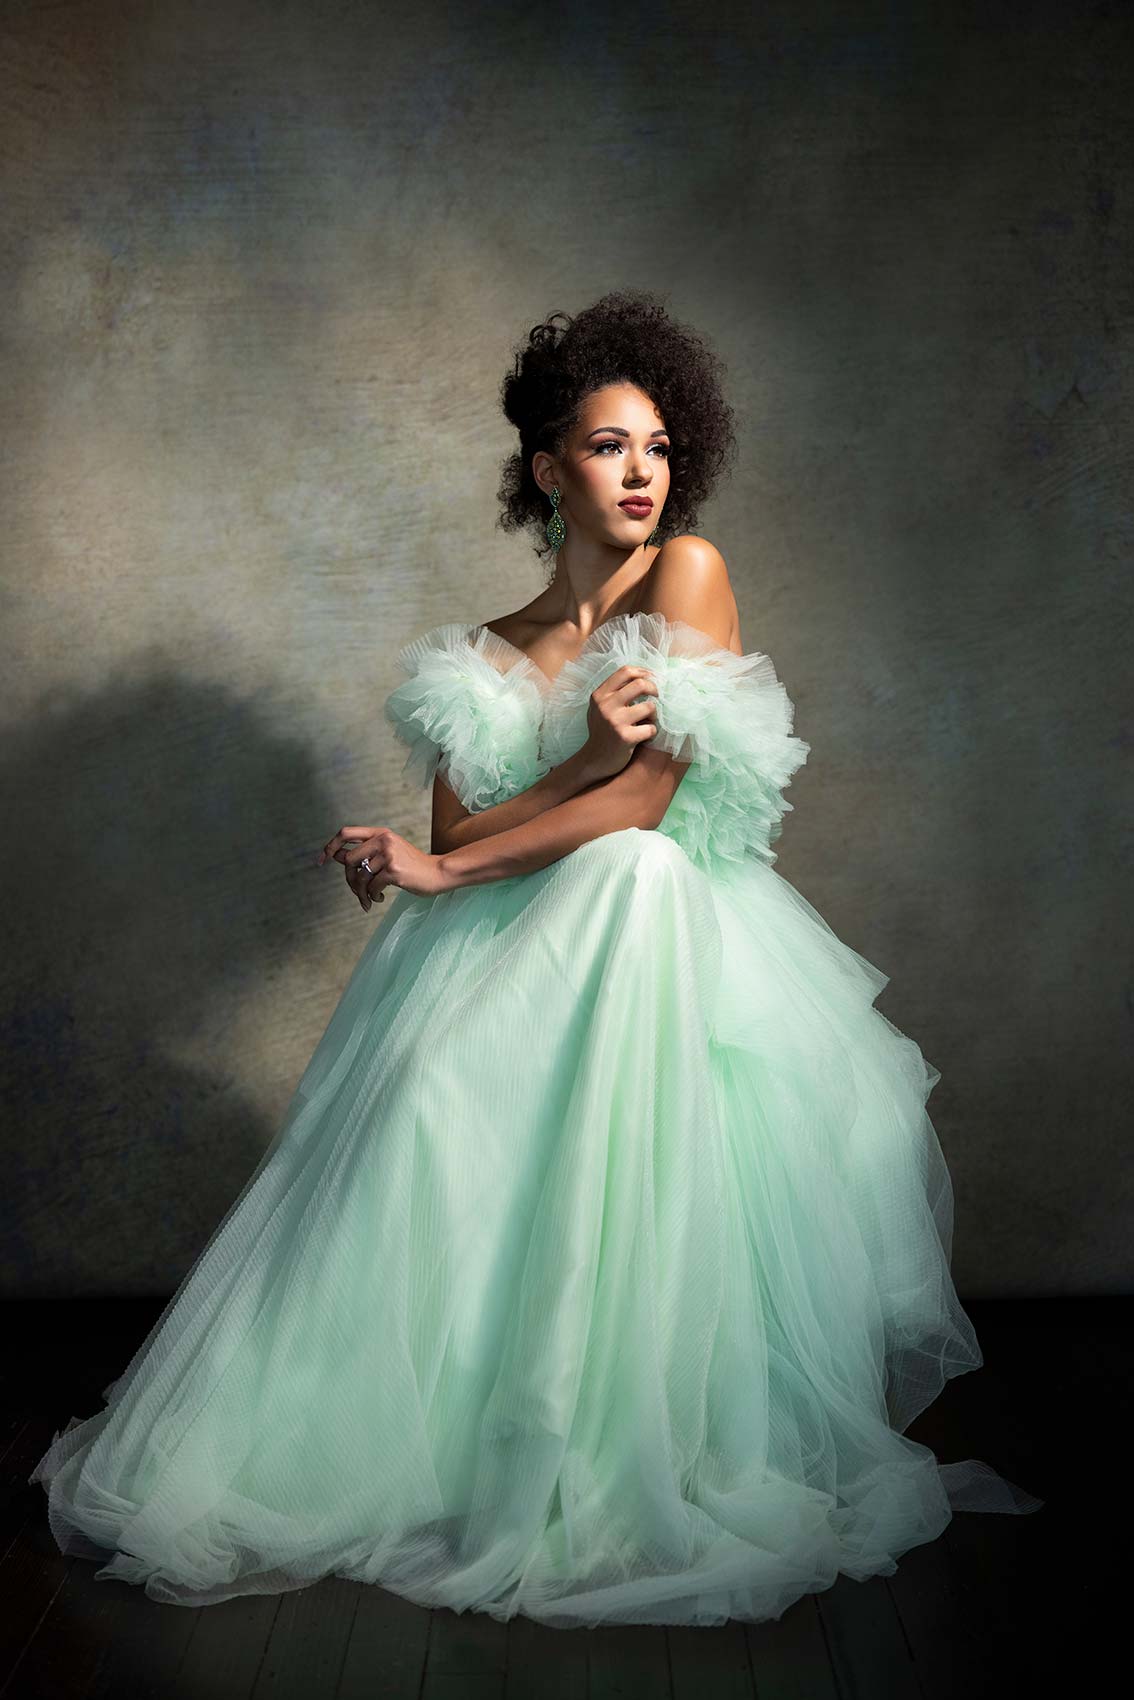
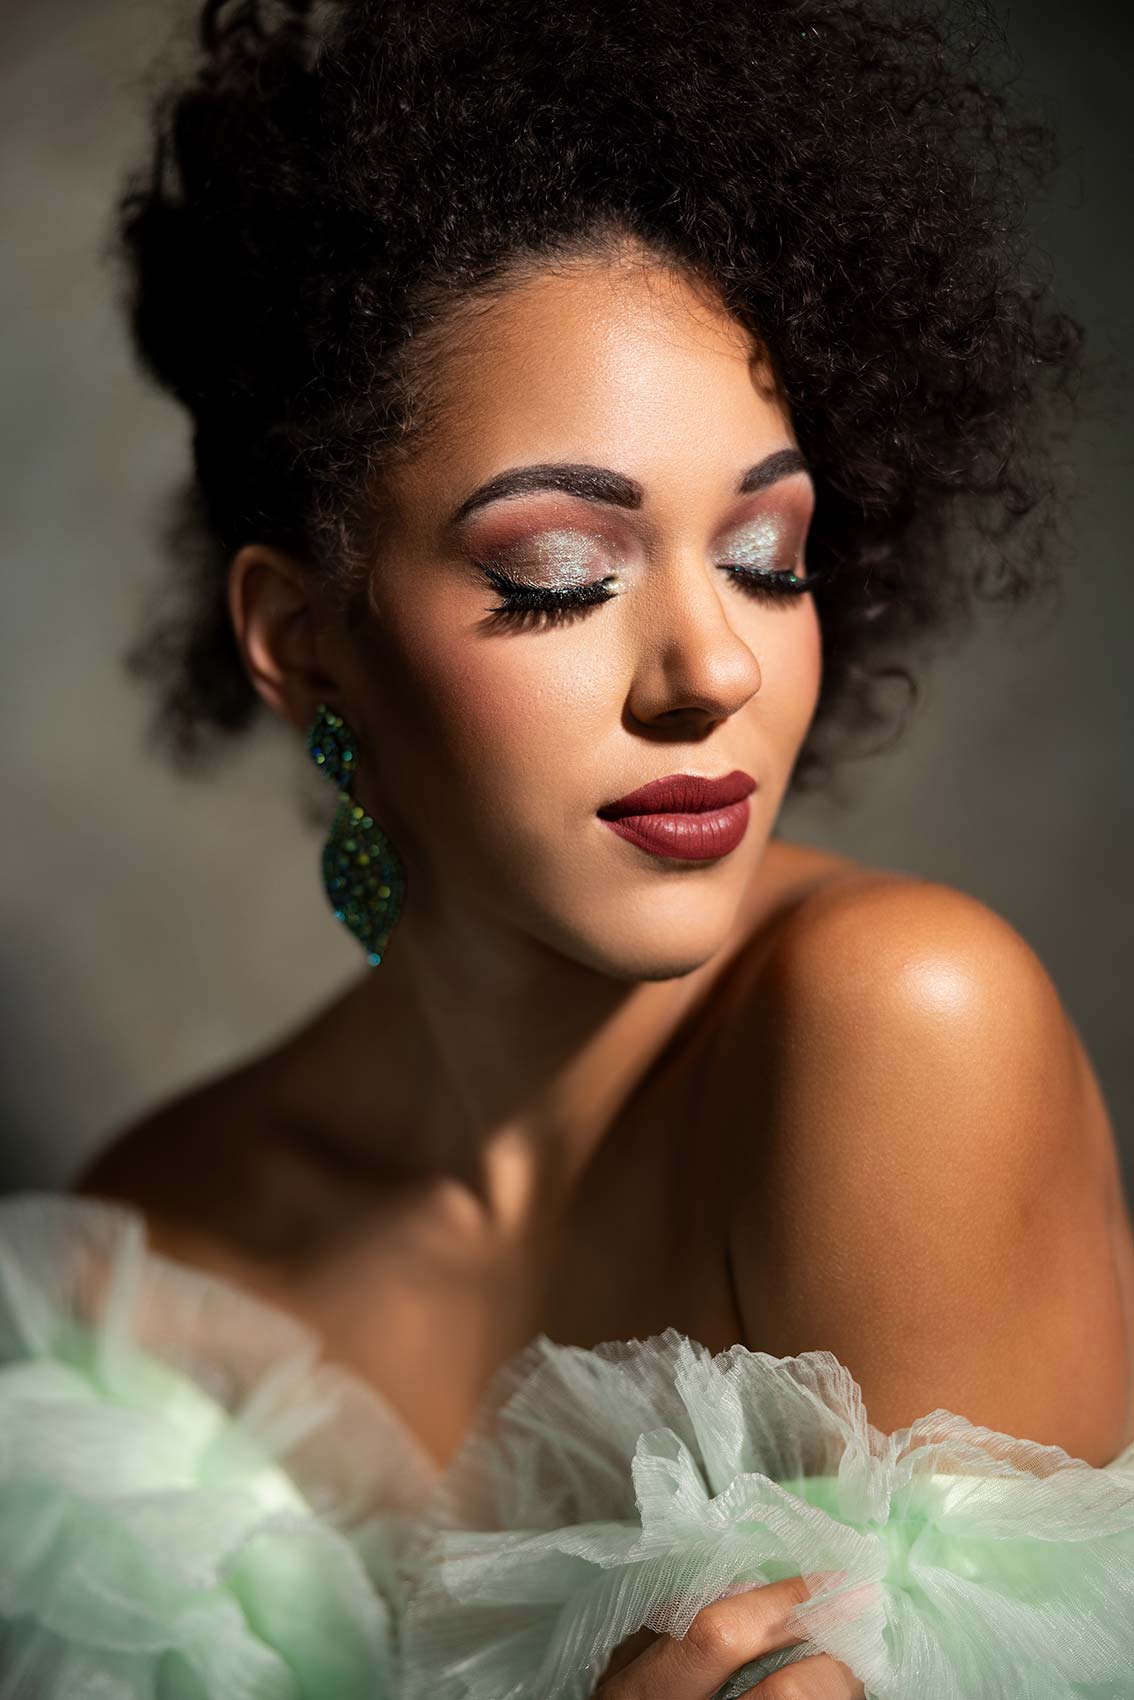
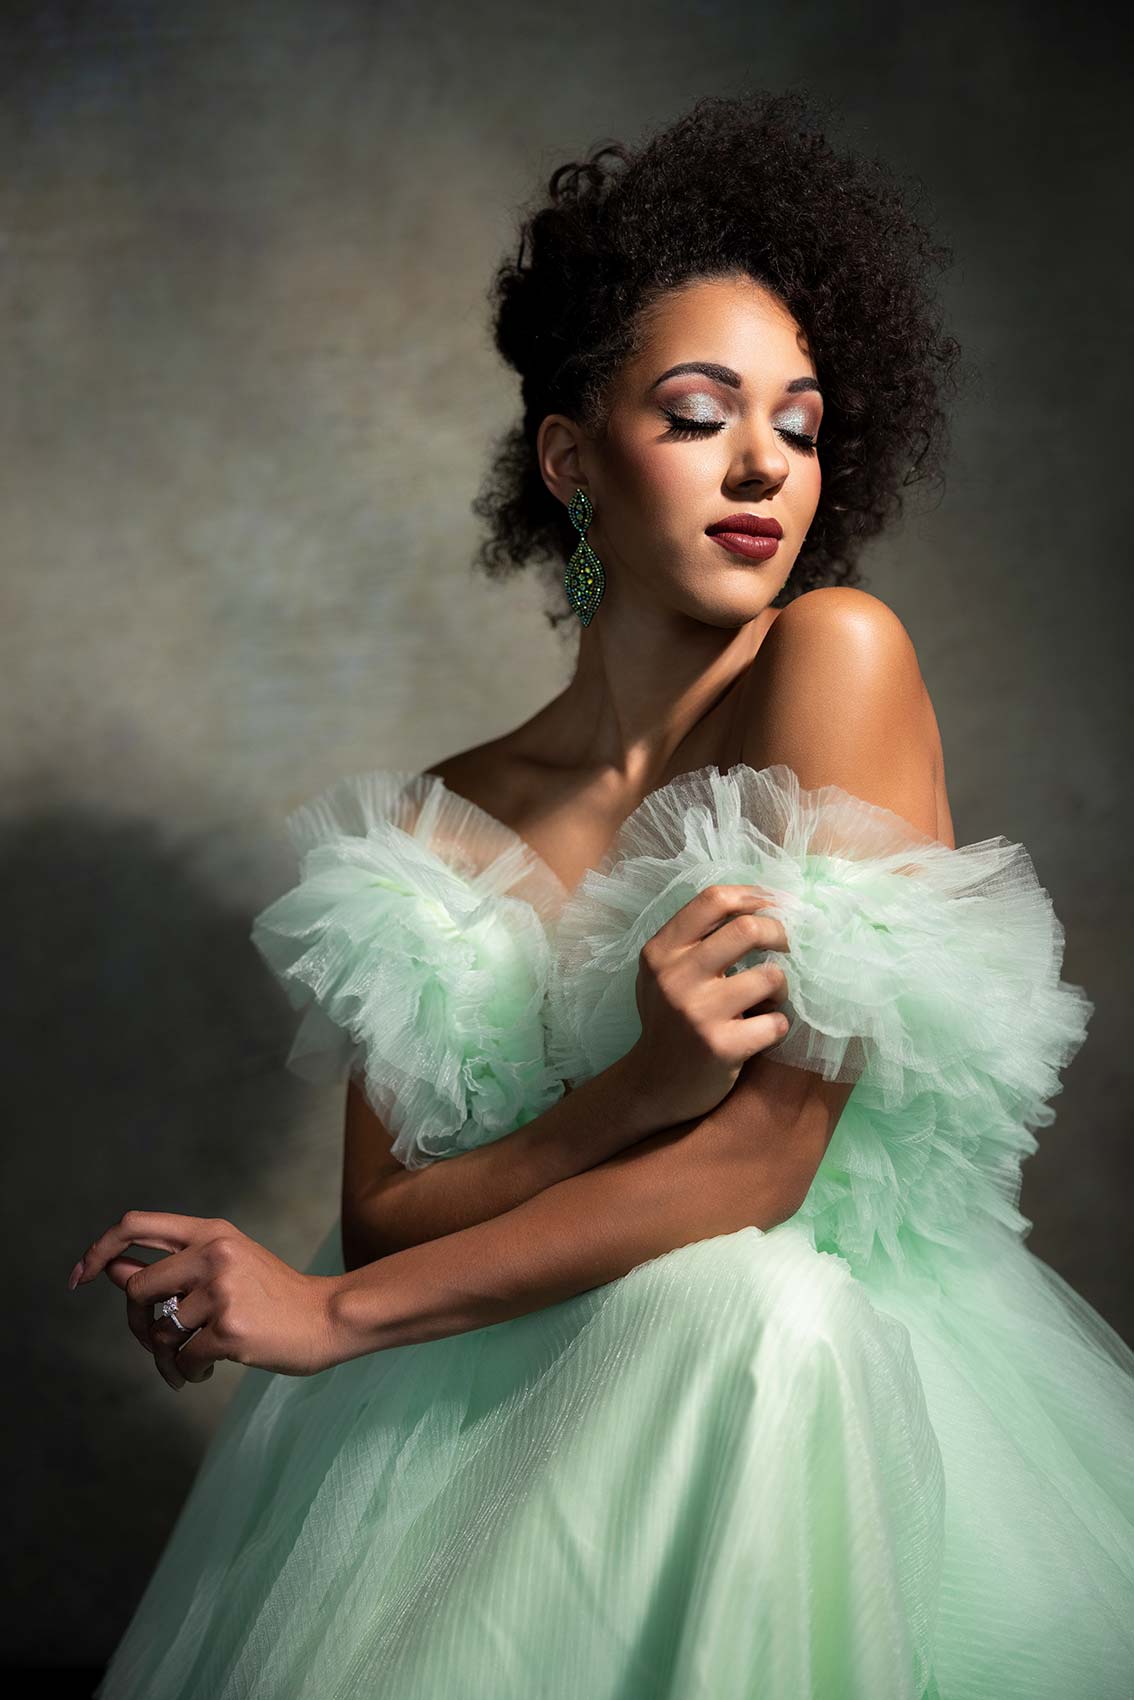
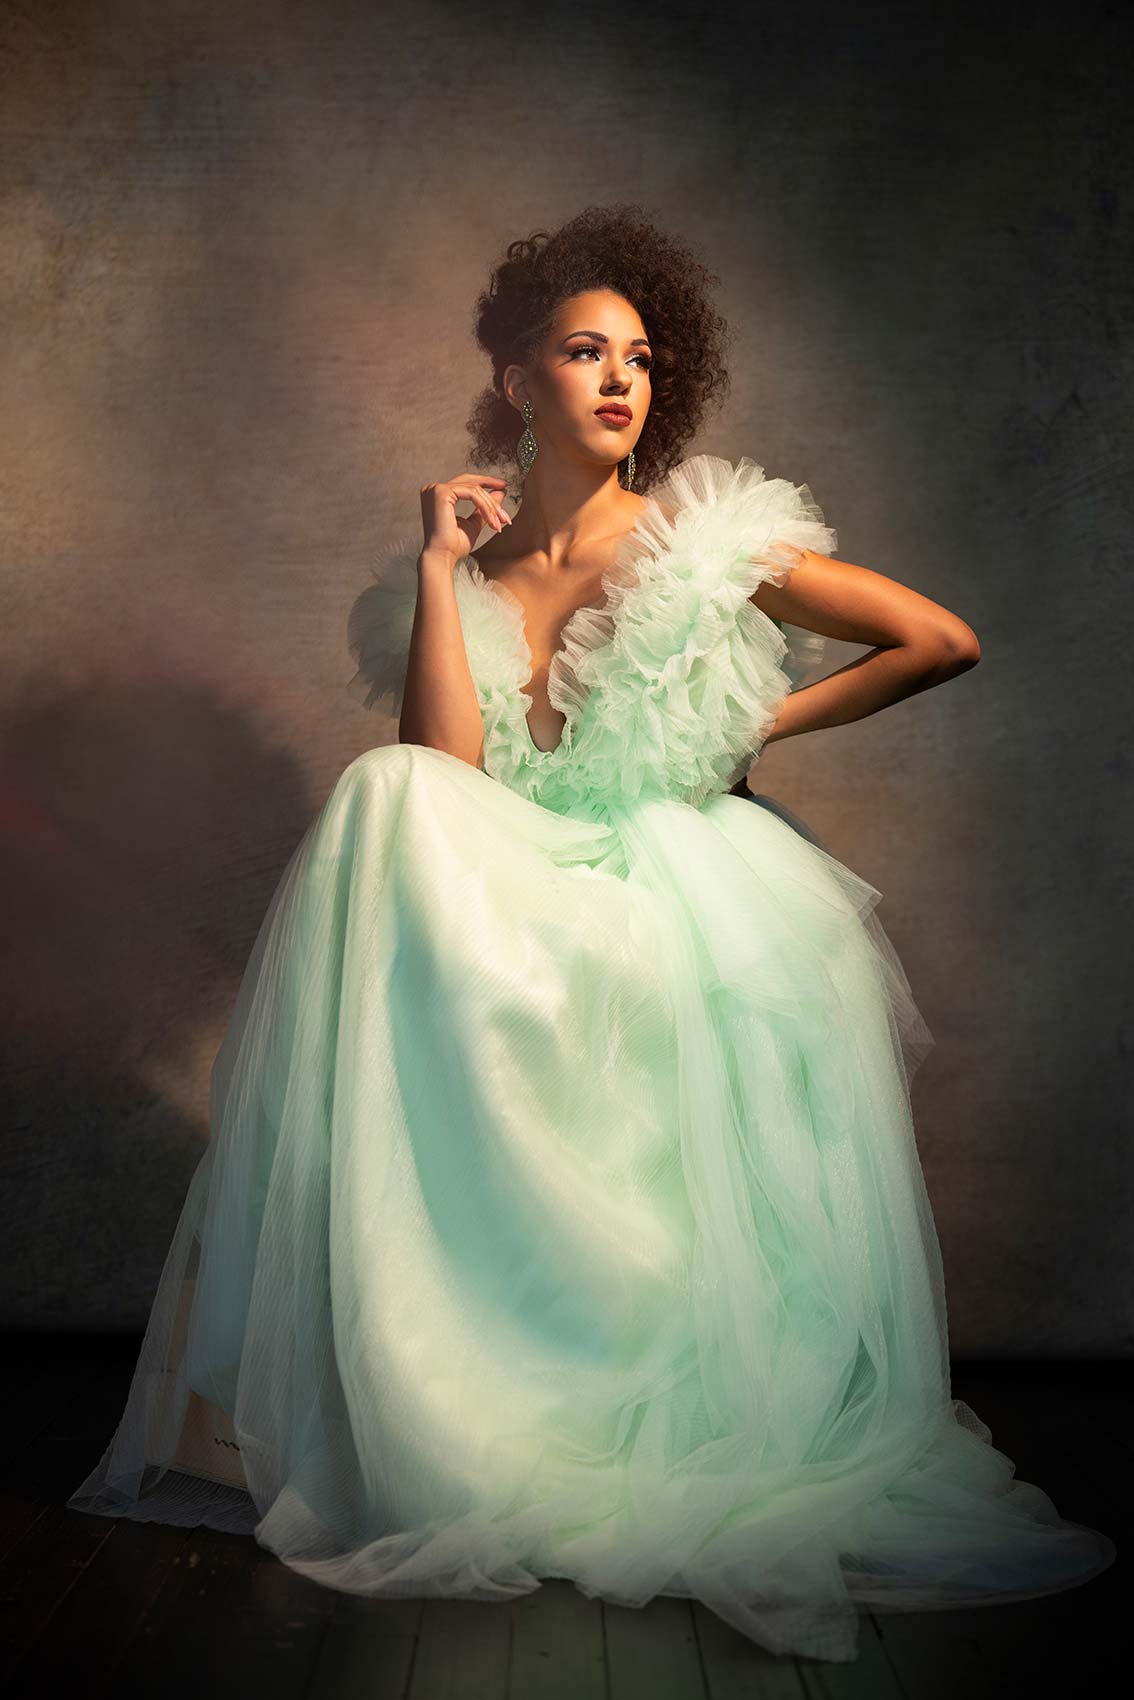
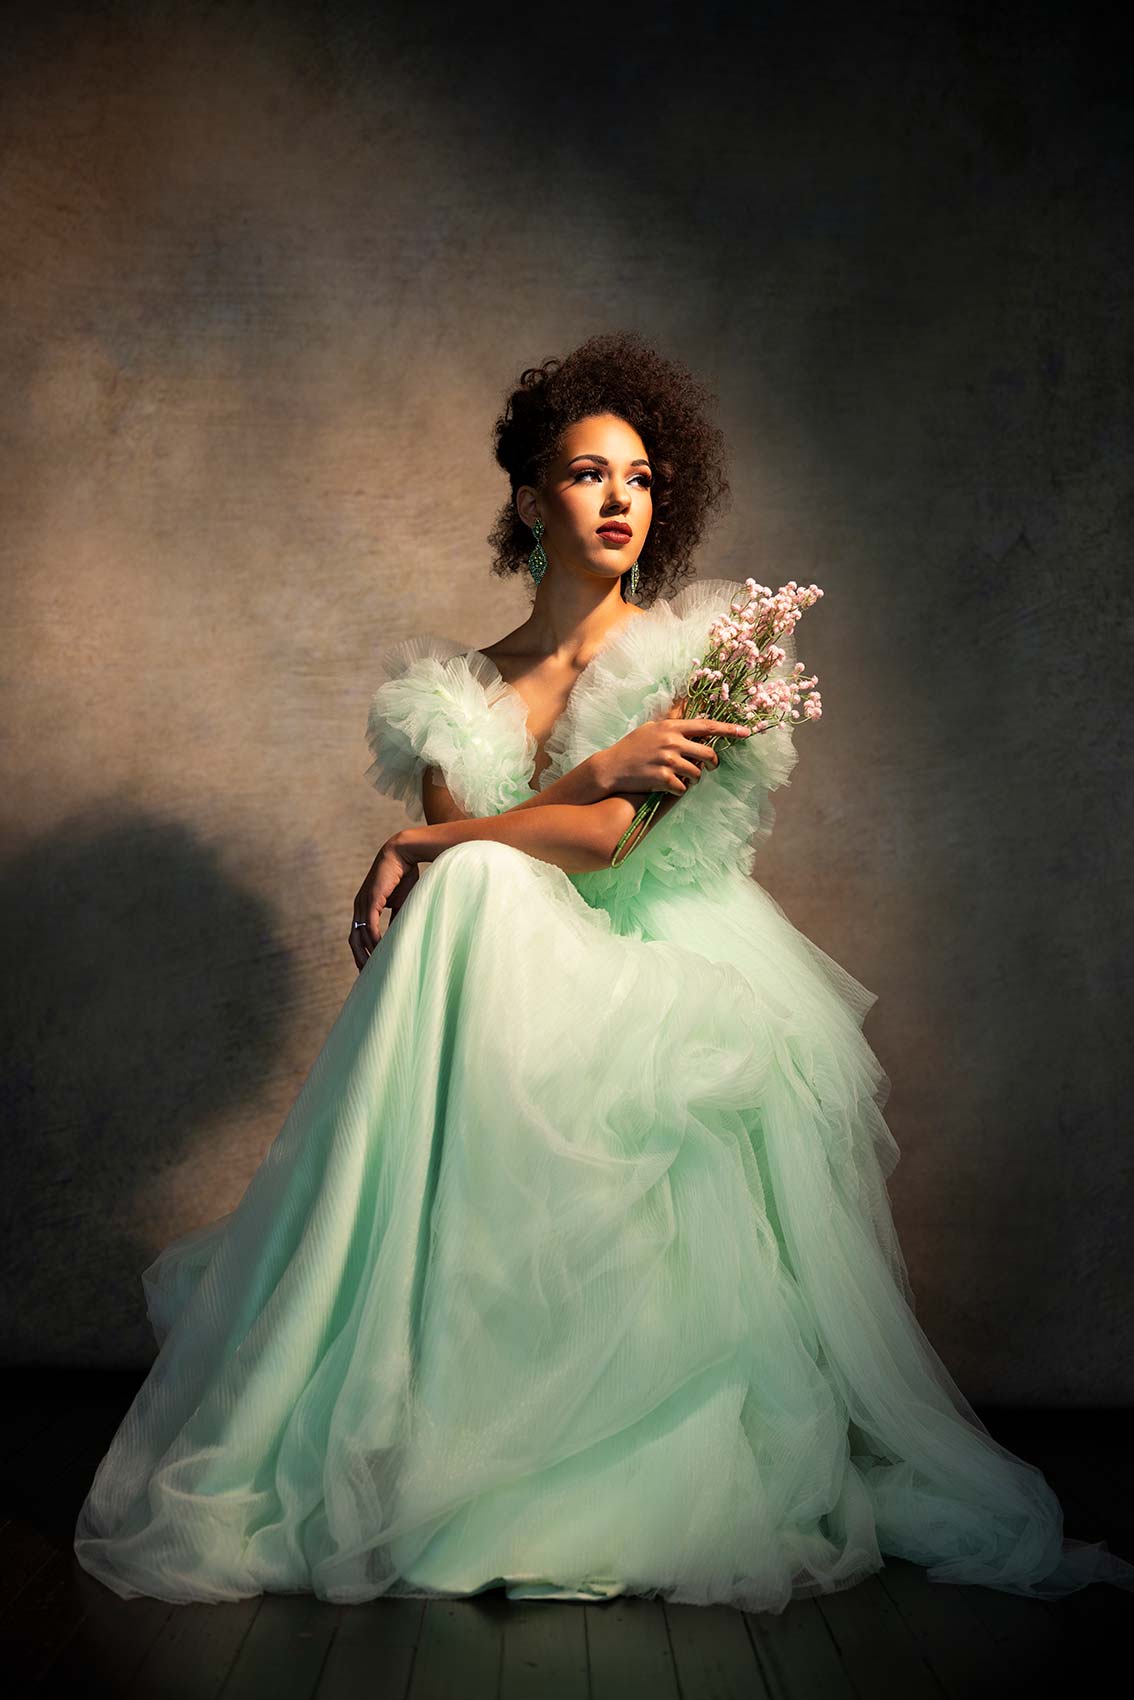
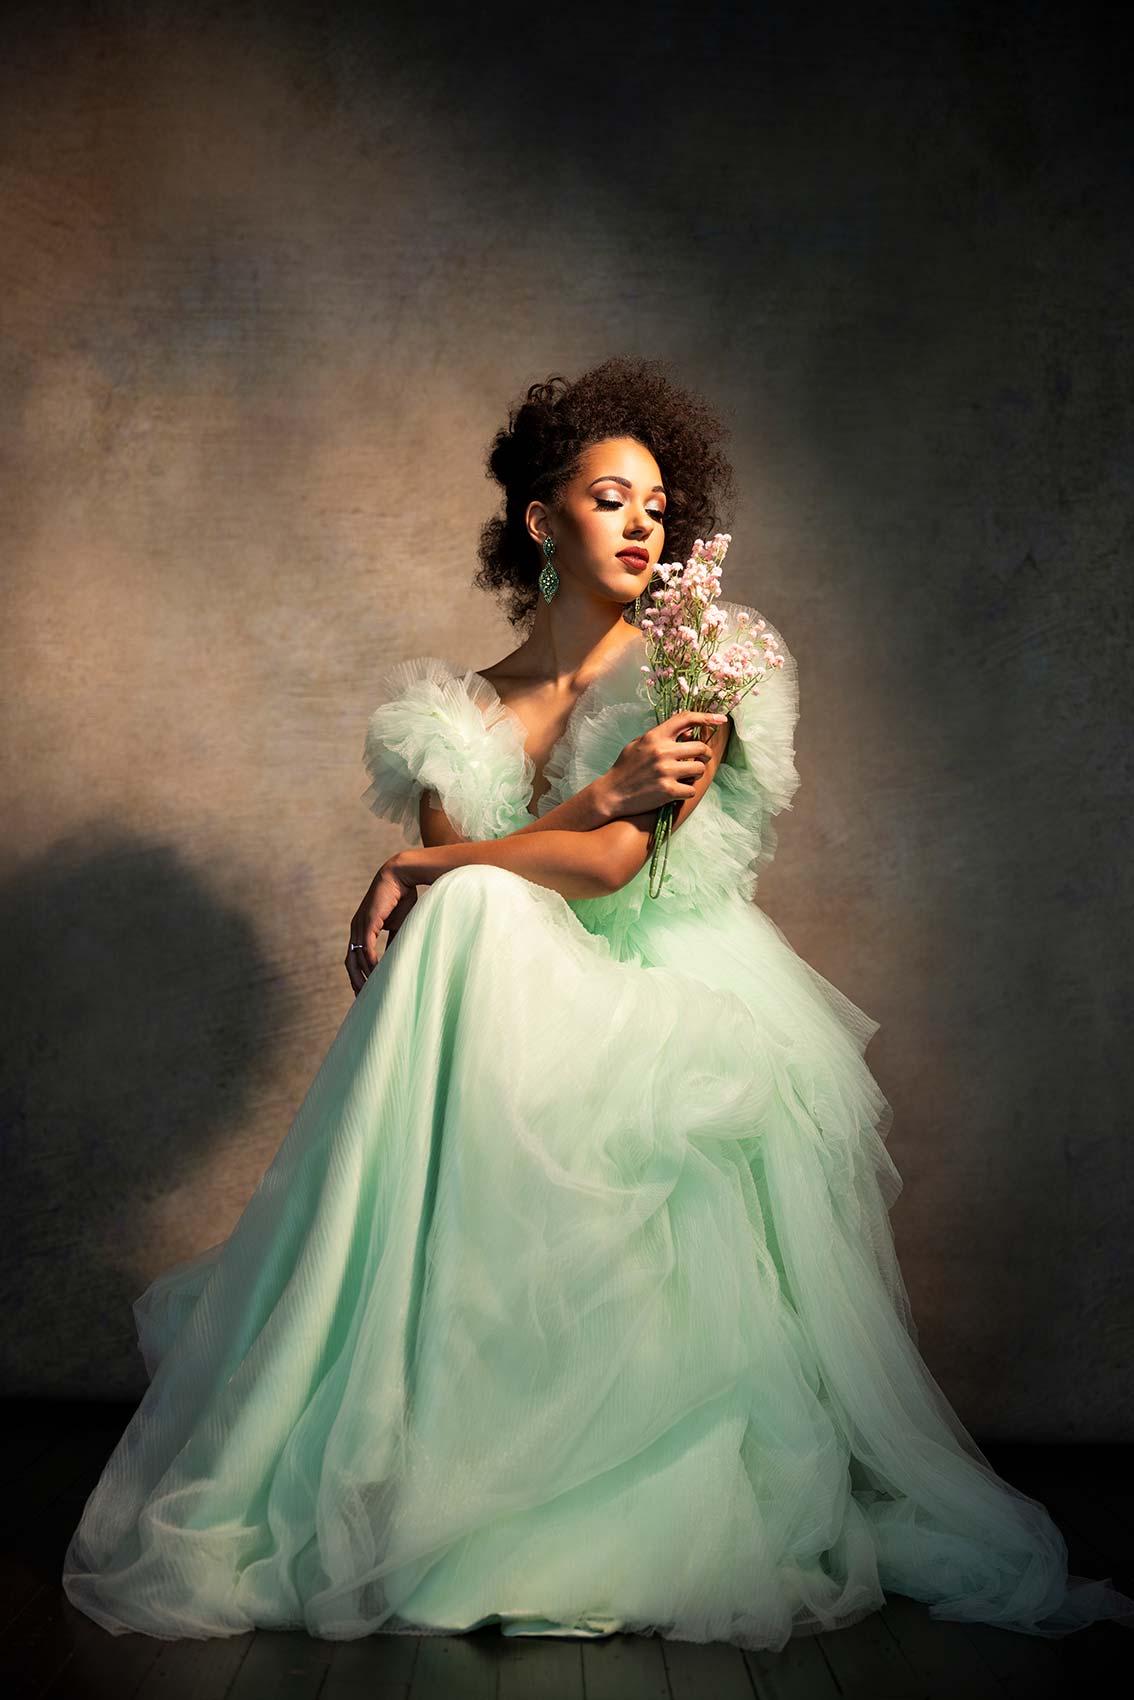
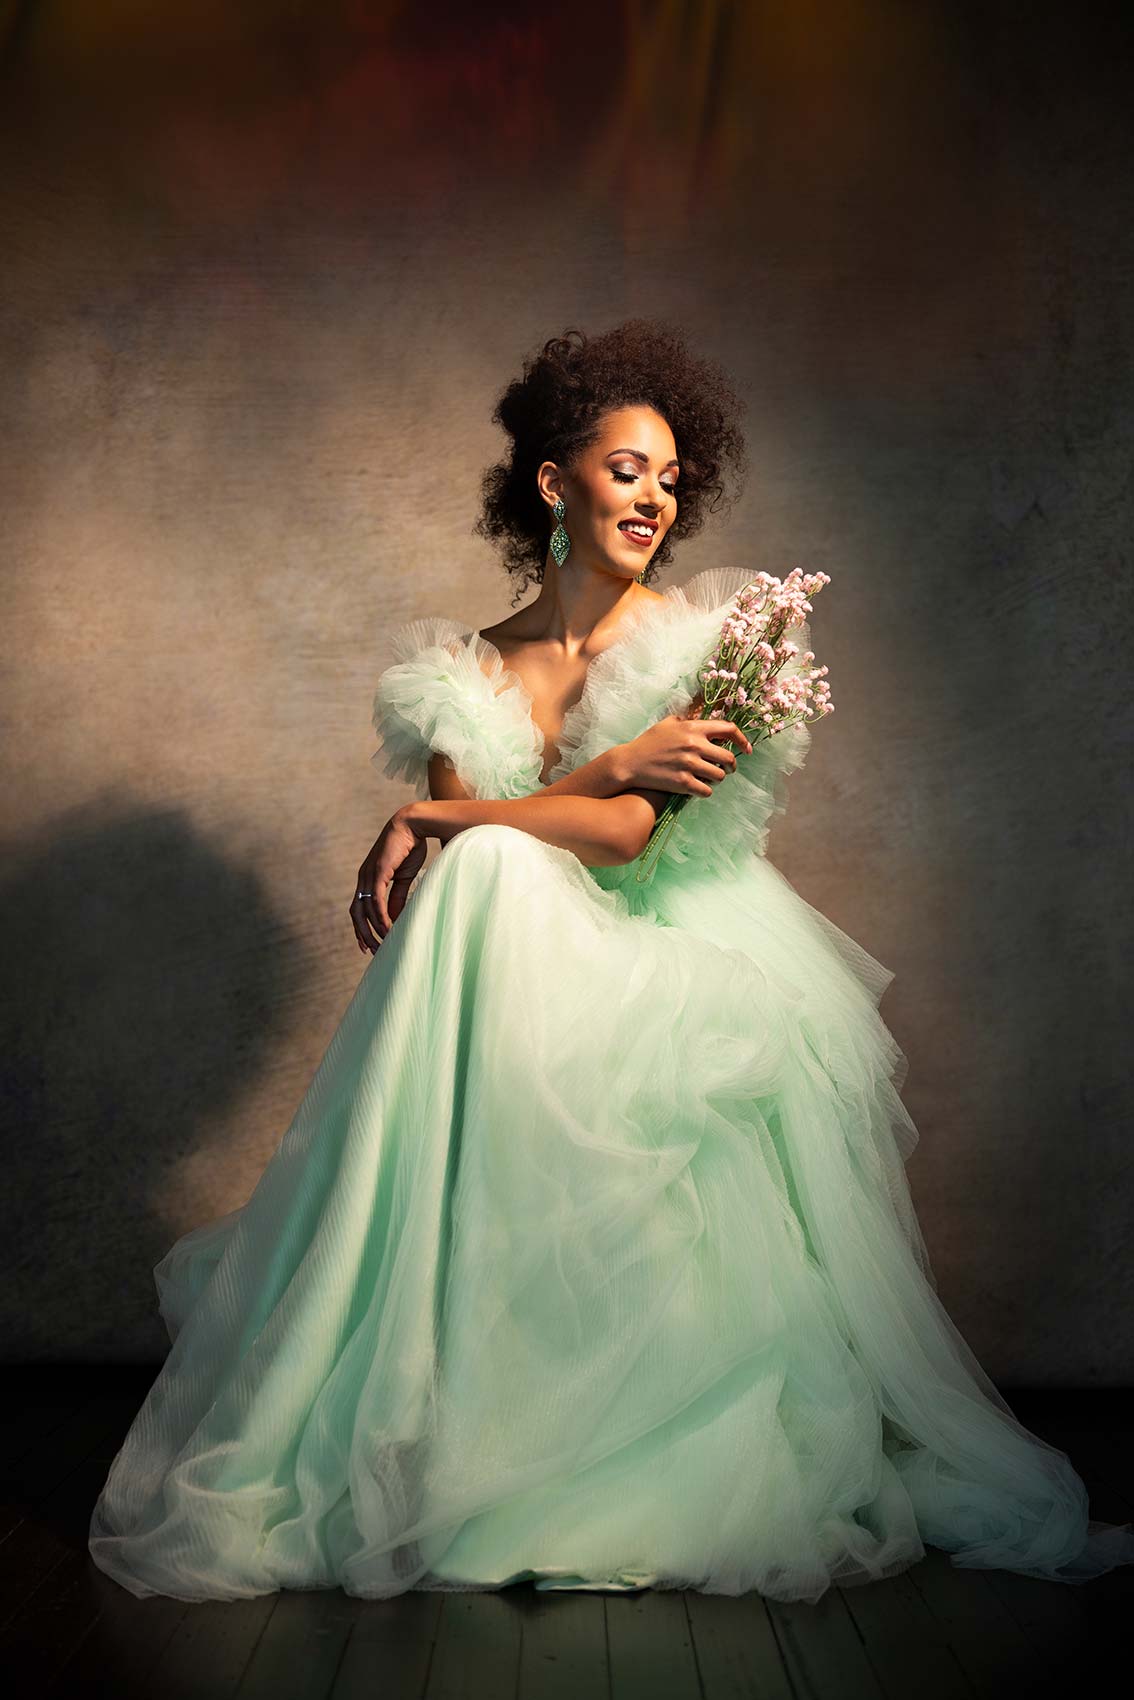
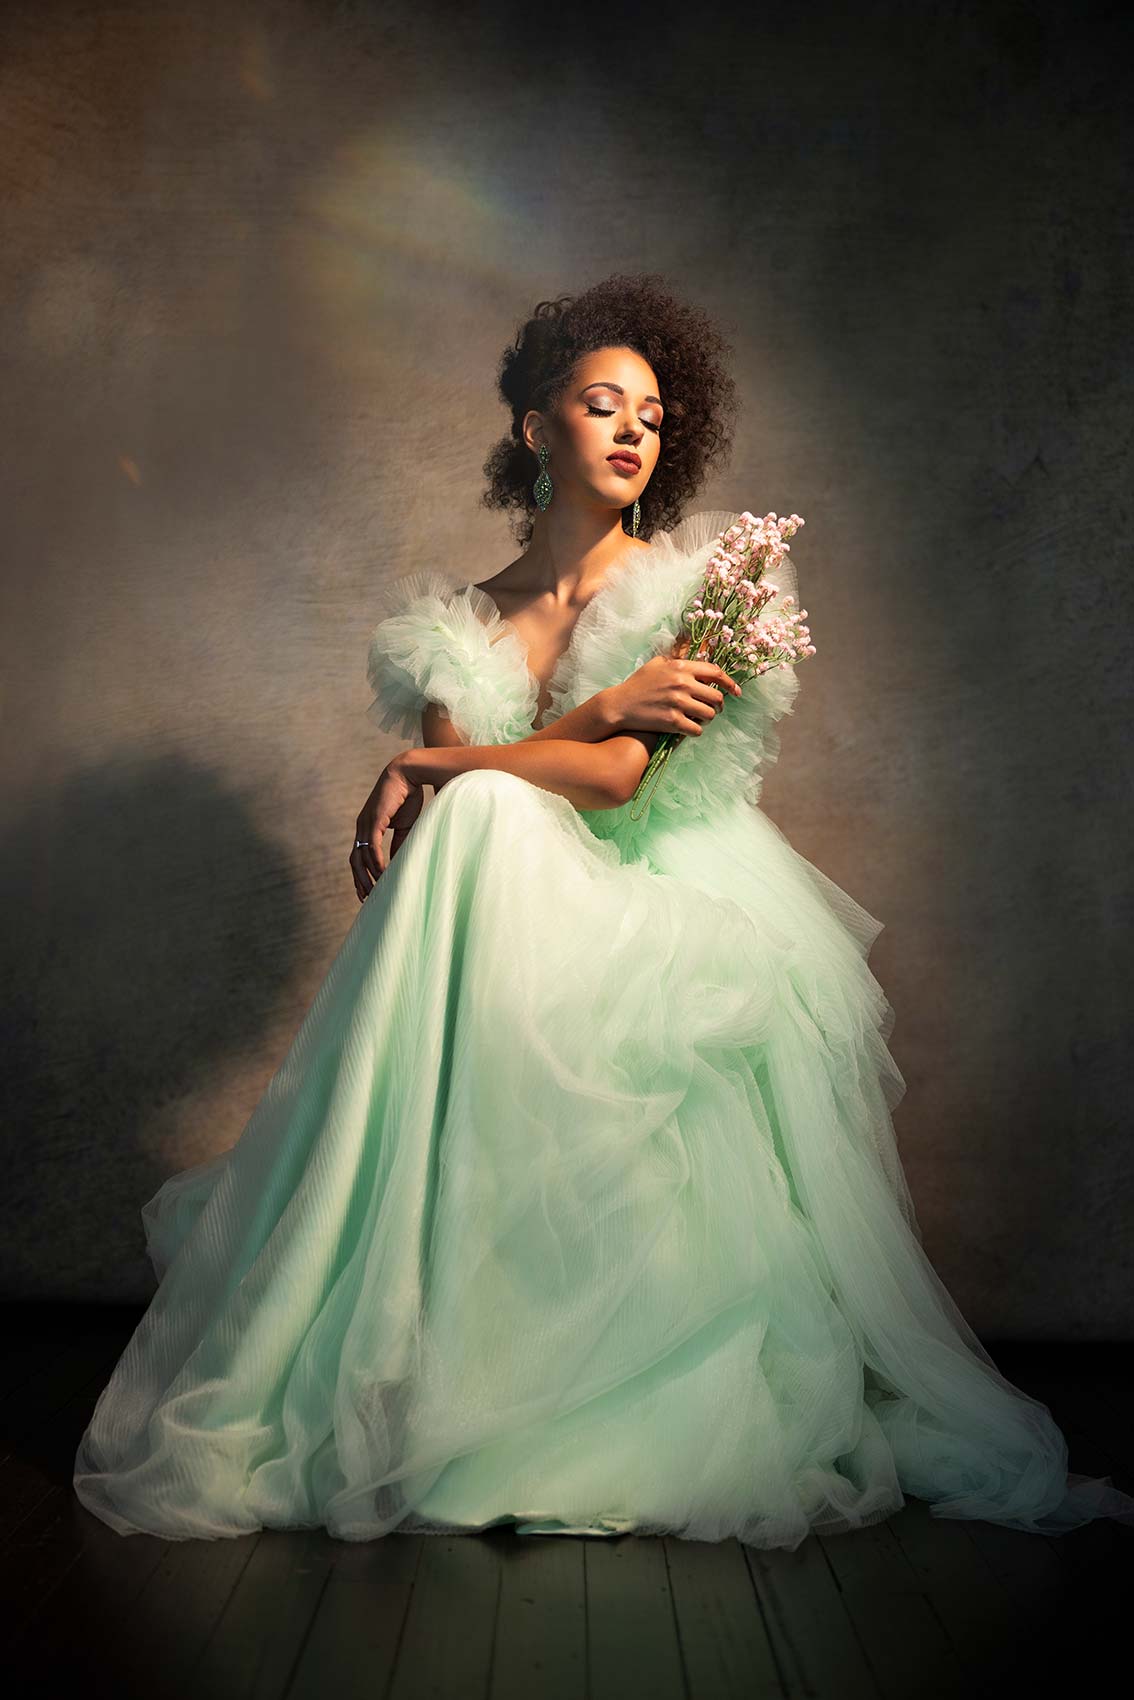
And what I can do here is get close to her, and I like the way it’s shaping her shoulder lines. Now I’m creating a beautiful shadow on the ball of her shoulder. Even with this hard light source, it’s creating stunning light. And guys, for a direct light source this hard, we are getting some beautiful light, very ethereal on her.
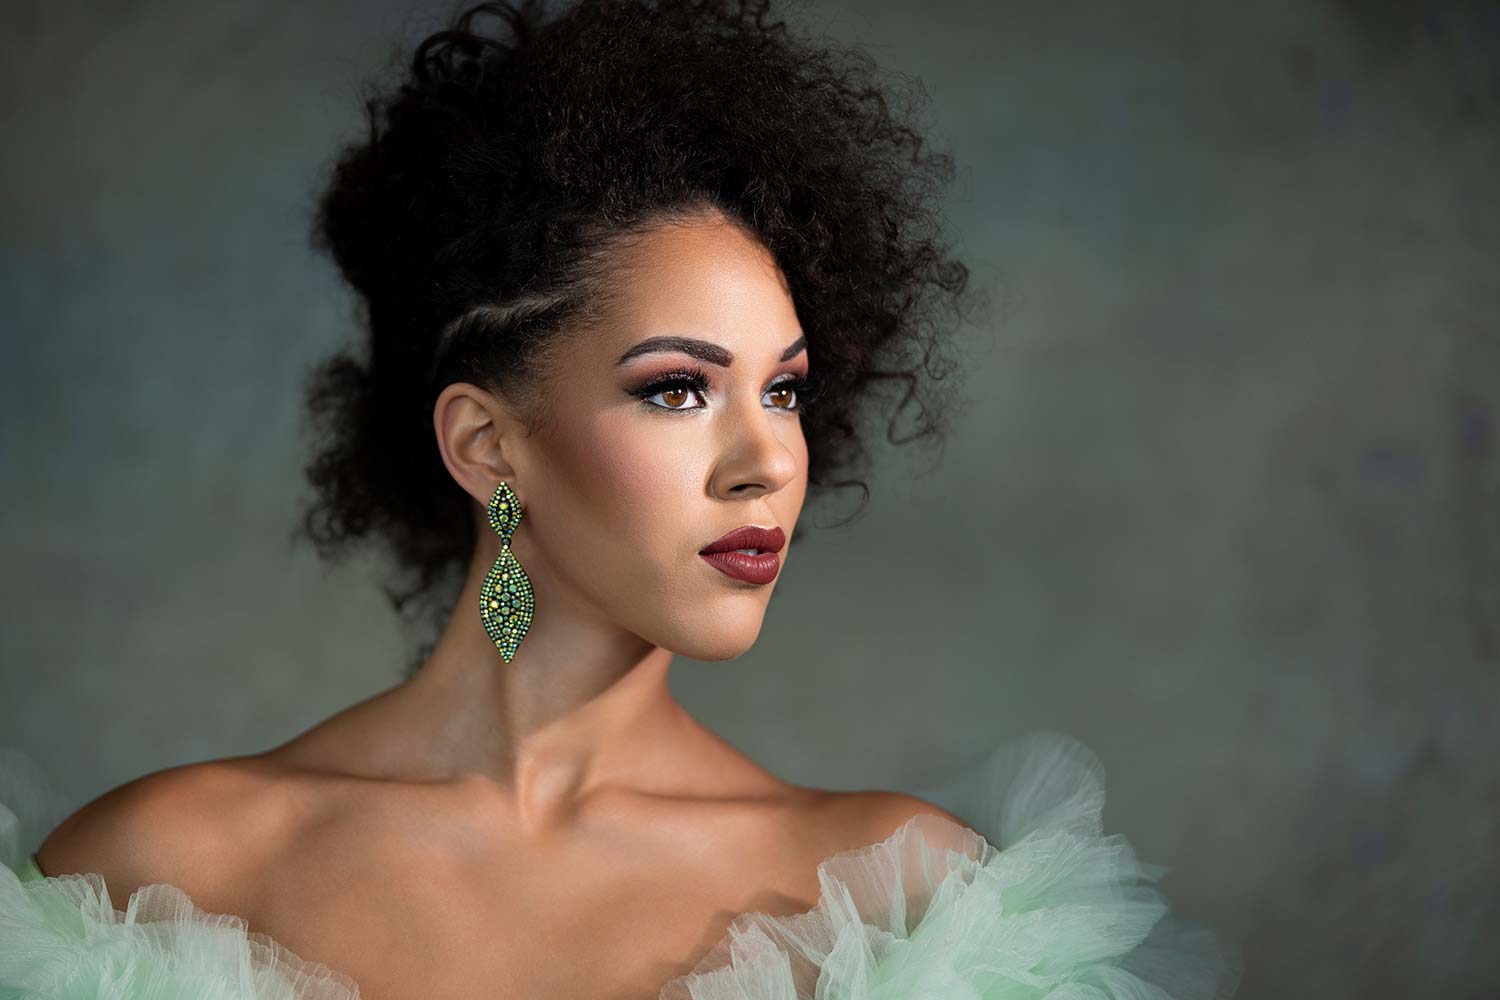
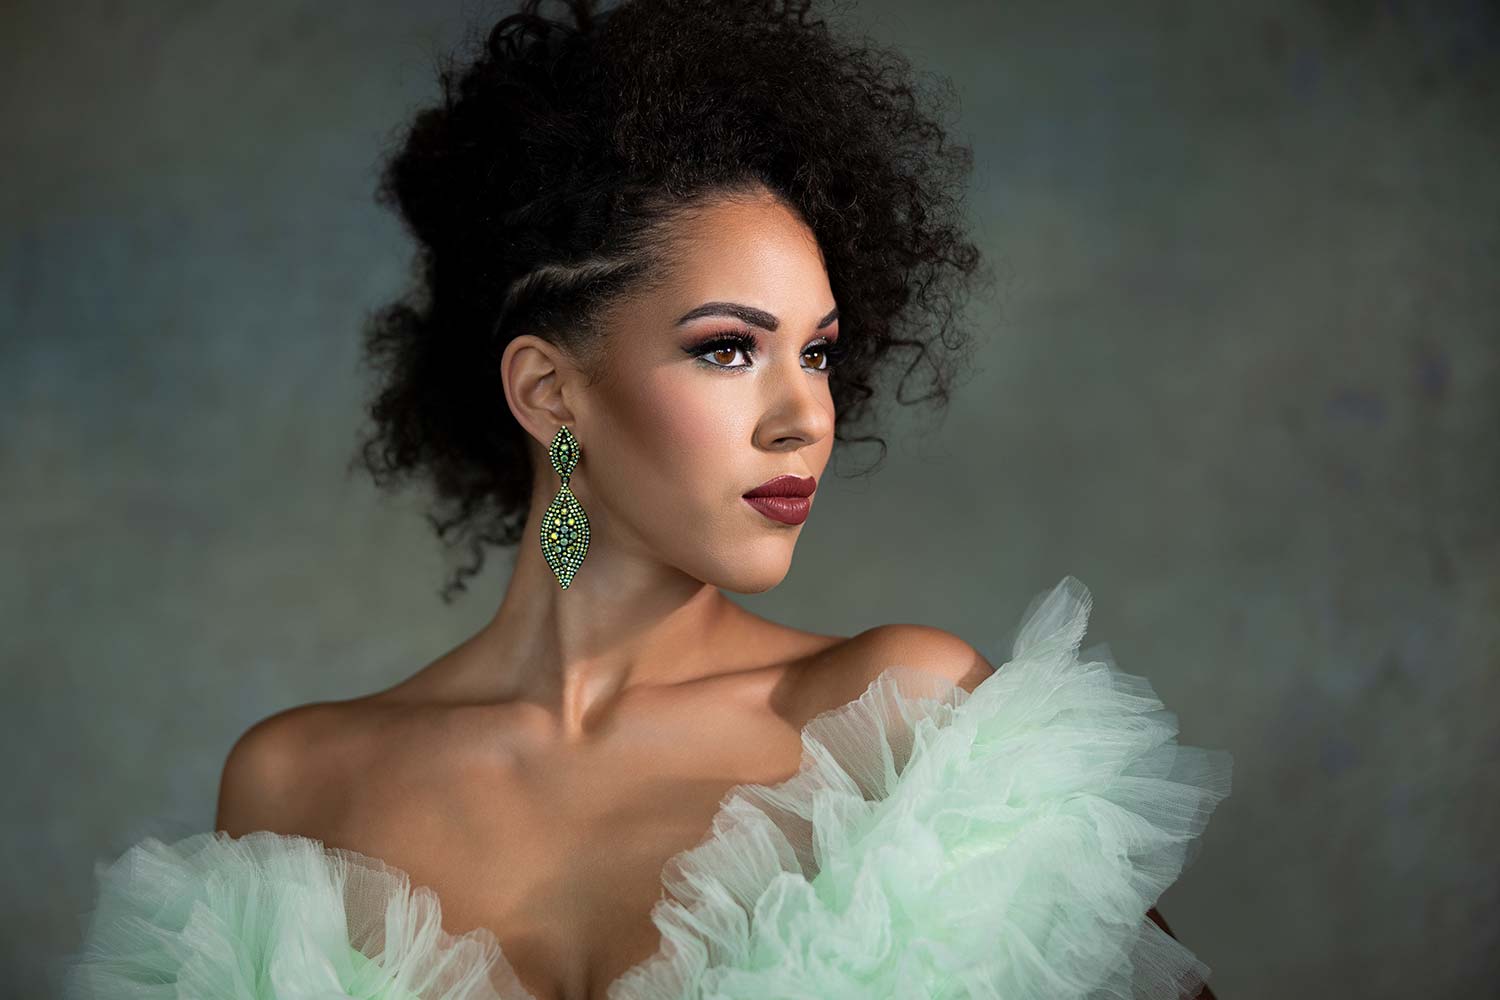
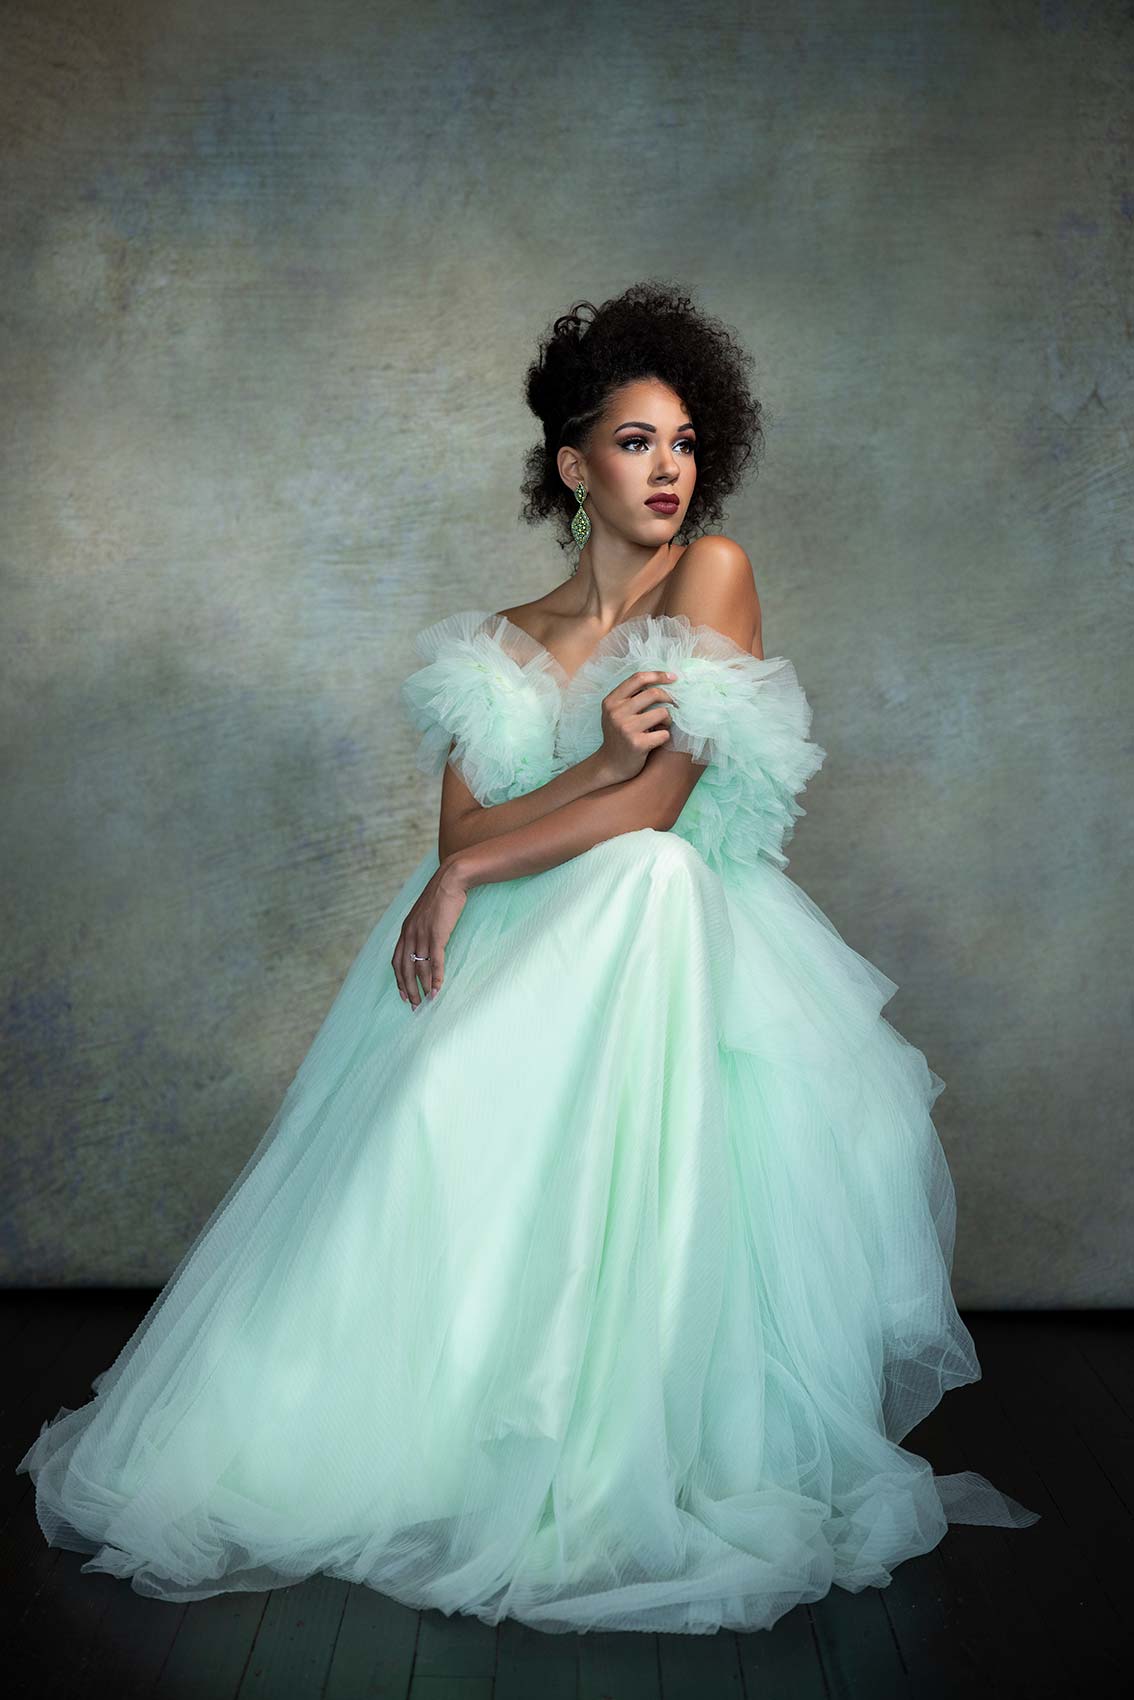
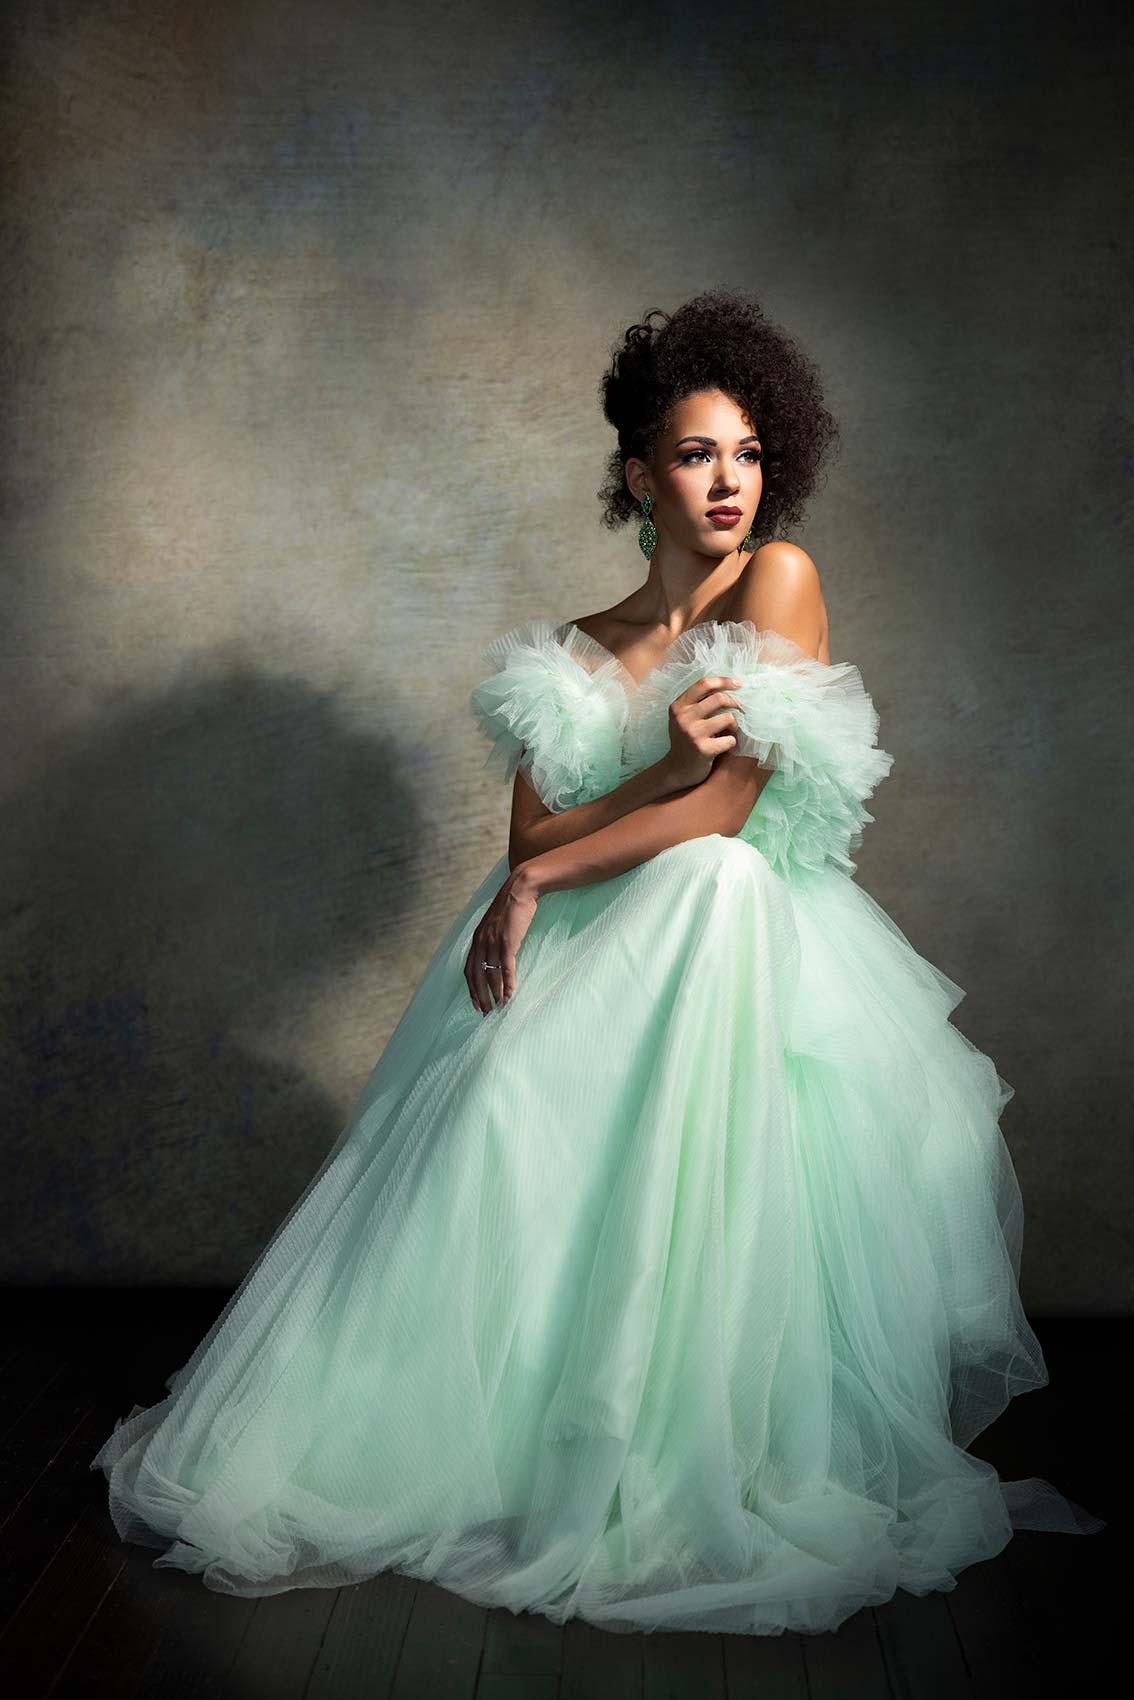
All right, so there are a couple of things to think about here. If we look over at Alonna at 10% power, the lighting is beautiful, but it’s not dramatic enough for me. This is where you need to understand why you would need that much power in a light. Let me take this shot for you. It will be balanced to the ambient light, but now, without her moving and without me changing any of my focal lengths or settings, I just want to increase the power. You’ll see the change happening to her as I go from 10% to more along the lines of 60%. What that’s giving us now is a much brighter, harsher light source with deeper shadows. When the camera exposes for the brightness, we’re now going to have a more dramatic image. Okay, let me take that shot now. Just look at the difference between these two; it is absolutely stunning!
We got beautiful shots. Let’s start messing around with color temperature. Now I’m going to take it from 5,500 down to 3,800. The camera’s set to Kelvin 5,500 and what this is doing now is making it look a little bit like a sunset. Again, for the portrait photographer, this is a really cool thing to be able to do. So now, if we shoot this, we’re getting this warm light on her, which is very painterly and very easy to achieve now with a lighting setup like this.
Is the Nanlite FS-300B good for continuous lighting in a studio?
Guys, that was an incredible little photoshoot there! If you’re a photographer and you’re looking at this, yeah, there are a whole bunch of other specs. I’m hardly trying to present this as an exhaustive technical spec review. There are a ton of videos out there. I’m a real big believer in seeing a product in use in the field, so there’s no disputing it. I can’t imagine anybody would argue with me on this. The build quality between the two units is not even remotely comparable. As a photographer, you can see how having a constant light like the Nanlite unit, with the power we have and the flexibility of changing color temperature through the app, as well as the ability to just use a reflector, let alone another light source. There is nothing like the Nanlite FS-300B on the market. Highly recommended. It’s in my kit.



This Post Has One Comment
Wow. Great photos and information in this article. I just purchased the Nanlite 150B.
After seeing the work. I am happy