5 Tips for Efficient Editing in Lightroom Classic V10 with Dustin Lucas
There’s no question that Lightroom Classic v10 has created issues for users who’ve upgraded already, and researching answers online seems to come to a dead end. Beyond system requirements and hardware upgrades, there are some things you can do under the hood to make sure your Lightroom is running as fast as possible, and of course Efficient Editing workflow can speed this up. That said, I have seen quite a performance in machines with higher channel RAM and using SSDs to store catalogs and Raw files.
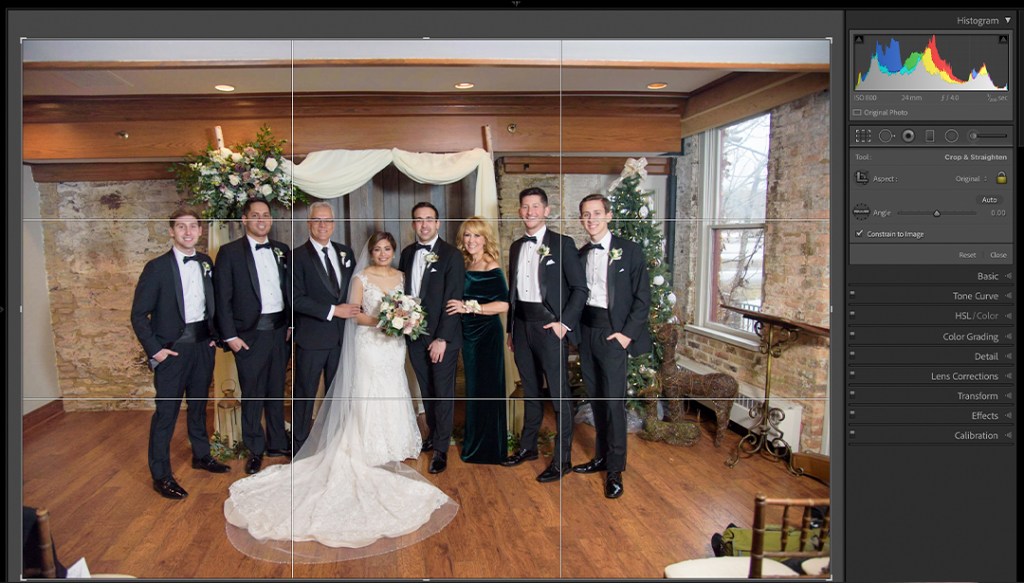
Tip 1 is setting up your preferences and catalog settings properly. It all starts with the right settings before you import your images. Tip 2 is building smart previews at import and using them through your editing workflow. These two tips alone will speeds things up tremendously. Tip 3 is for cropping and straightening quickly using hotkeys. Tip 4 is utilizing the target adjustment tools. Tip 5 is a dodge and burn technique by inverting and duplicating radial filters. Let’s jump in.
Tip 1: Set Up Preferences & Catalog Settings
Whether you build a new catalog per event or work in a single catalog where all your work lives, setting up preferences is key. To get into preferences quickly, hold Command and strike the comma key. In the General tab you will want to uncheck “Show splash screen during startup.” Next we need to move into the Performance tab to adjust the default settings. I always turn off the Graphics Processor options as I have never gotten good performance from it. I have reported older machines scrolling in Library to be much slower without NOTE: with? this turned on, but unless you have a 4GB GPU or higher I suggest turning it off completely.
Next is Raw Cache. I used to set this to 100GB but it fills up my hard drive quickly so I moved it back down to 10GB. I have not noticed a difference since so I kept it at 10. Use Smart Previews instead of originals is definitely checked and we will cover that further with Tip 2.