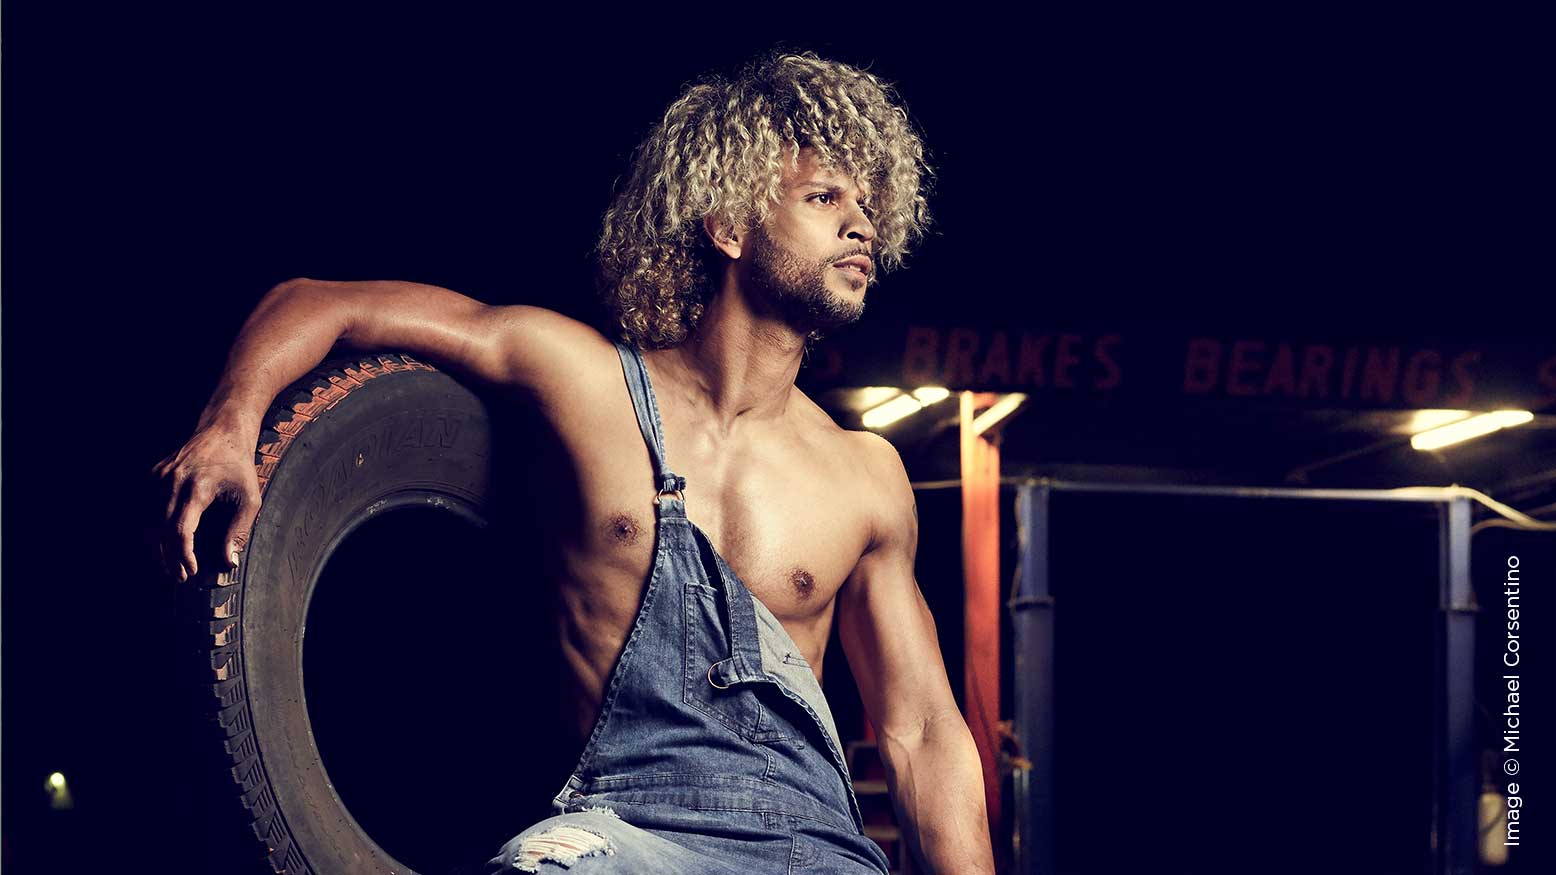
5 Must-Have Modifiers with Michael Corsentino
When it comes to crafting killer quality of light, it’s all about modifiers. These light-shaping tools come in a variety of shapes, sizes and interior finishes. When attached to the front of strobes, modifiers help control the quality, shape, direction, spread, and amount of contrast, as well as how quickly the light falls off. While some have more versatility than others, there is no one-size-fits-all modifier. Each has its own unique characteristics, and each produces a different set of results.
That said, one modifier, even one of those more single-purpose in nature, can itself be modified in myriad ways, allowing you produce a wide range of lighting effects using just one tool. Interior and exterior diffusion fabric can be added or removed, honeycomb or egg crate grids can be applied, silver or white interior fabrics can in many cases be swapped, and the light’s direction and distance relative to the subject for allow endless variations using a single modifier.
As your resident lighting nerd, I’m often asked for purchasing advice by those in the market for modifiers. There are so many different modifiers out there to choose from that it can be dizzying for novice or even more experienced photographers. Which modifiers do you really need, and why?
Below are the five modifiers I couldn’t live without, the five I keep coming back to over and over again—in short, they are my five must-have modifiers. These are the modifiers I use on a daily basis and always recommend when asked. I’ve chosen this group based on their differences, their versatility, and the variety of disparate looks they’re able to help me create. Don’t feel like you need all five at once. Take your time, pick one or two up, and get to know each one inside and out before moving on to the next. This way, you’ll be getting the most out of each tool.
Beauty Dish
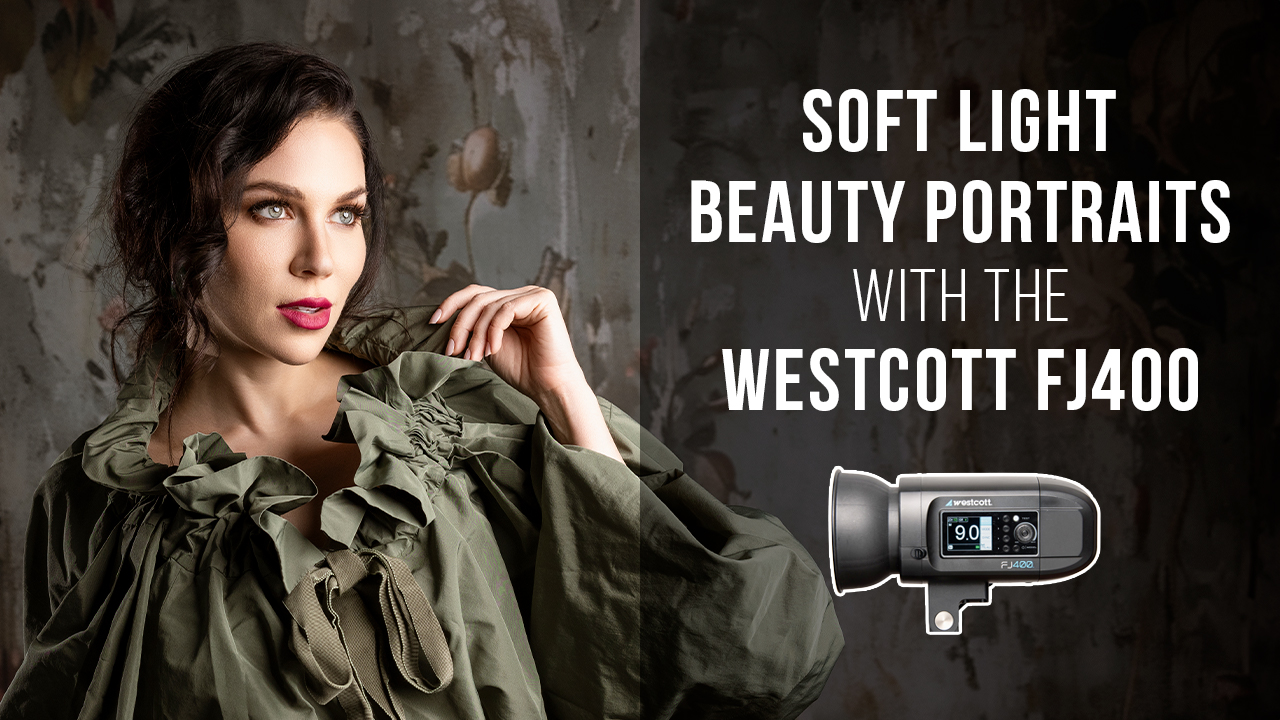
Despite its name, this modifier is well suited for a variety of applications, from fashion, to portrait, to editorial and of course beauty work! The beauty dish is a best-of-both-worlds modifier, providing a perfect balance between medium-soft light, sparkly contrast, and gradual fall off. These qualities are achieved via the diffusor found at the center of the reflector and the shape and depth of the modifier. The center diffusor covers the strobe, reducing its hot spot and bouncing light out into the rest of the modifier interior. Beauty dishes are available from most manufactures in a variety of sizes, shapes and interior finishes. My must-have beauty dish is the Mola 22” Demi with the white interior. This wonderful, multi-purpose tool sports a unique, undulating design, which produces light like no other beauty dish I’ve used. Use it alone or in combination with reflectors or additional fill/accent lights for Clamshell light or Rembrandt light, for 3/4-length, full-figure, portrait and fashion work—you name it!
Large Octabank
The bigger the light, the softer the light. This is why, when you’re after soft light, it’s hard to beat a jumbo octabank. For best results, you’ll want to do two things: 1) place your light and jumbo octabank as close to your subject as possible without them being in the picture, and 2) place your subject just behind the back edge, off the modifier. This is known as feathering the light—your subject is illuminated by the light, leaving the back edge of the modifier rather than the harsher light at the center of the octabank. My favorite octabank for this application is the Elinchrom 75” Octa, pictured here. It’s also unique and especially well suited for creating soft light due to the indirect orientation of the strobe when attached. This means that the strobe points into the octabank rather than out toward the surface of the octabank and the subject. This heightens the softness of the light and reduces the occurrence of a hot spot. Here, again, a removable diffusion panel allows options via control over the degree of softness or hardness. As mentioned above, distance also plays a key role. I’ve used this exceptional modifier for both single subjects and groups, to great effect.
Convertible Umbrella
If I had to recommend only one modifier, the convertible umbrella would be the one. Truly a jack of all trades, this inexpensive and often unfairly maligned tool does it all. Use it as a shoot-through umbrella for medium-soft looks, a bounce back for more diffused results, bare for a contrasty, hard light, or with front-facing diffusion fabric to create a super soft, ad hoc octabank. The most useful models come with tons of options, including different interior finishes, window cutouts, and front diffusion fabric. I’ve used convertible umbrellas for just about everything under the sun. They can be used in front of, from the side or even above your subjects, with exceptional results. The one gripe people have about umbrellas is the lack of control they provide with respect to light spill and spread, so you need to know that going in. That said, for the money and versatility, pick up one or more convertible umbrellas, and the world will be your oyster. I favor a fully loaded, medium-sized convertible umbrella between 40” and 50” for best all-around use.
Stripbox
Another unique, must-have lighting tool, the stripbox confines light into a narrow column of illumination, allowing for more precise control over where a strobe’s light begins and ends. Stripboxes can be used vertically or horizontally for a wide variety of effects. Combined with egg crate grids of varying degrees, stripboxes provide even more control over light shape and spread. Look for stripboxes with interior and exterior diffusion fabric panels for the most versatility. My go-to stripboxes are the silver interior Elinchrom Rotalux 14” x 35” and 20” x 51” models.
Small Deep Octa
The Elinchrom 27.5 Deep Octa is my top pick for on-the-go location work. It’s super portable, small enough to travel with, lightweight, and part of Elinchrom’s Rotalux series, which means setup and takedown are about as fast as it gets via a spring-loaded internal frame. This is the perfect modifier for flexible, fast-moving location work. I’ve used this small deep octa for fashion on the streets of New York, seniors portraits in Florida, and just about everything in between. Lightweight enough to operate via a light-duty, boom, or paint pole, this silver interior modifier can create a variety of looks, from soft to crispy hard. Two layers of interior and exterior diffusion fabric provide endless variations, from soft to specular. Despite its small size and a deep shape that increases the speed of light fall off, with the right distance, this modifier can be used for anything from tight portraits to full-length framing. It’s a winner in every respect.
Well there you have it! Those are my five must-have modifiers. Are there other worthwhile modifiers from other brands? Of course there are. These are just the brands and tools I use, so I can attest to their build quality and results. Get what works for your budget and needs. Light is light, so use the brand and tools that fit your needs, and forget the rest. Until next time, have fun, swing for the fences, and remember to tag me on social so I can see what you’re up to!

