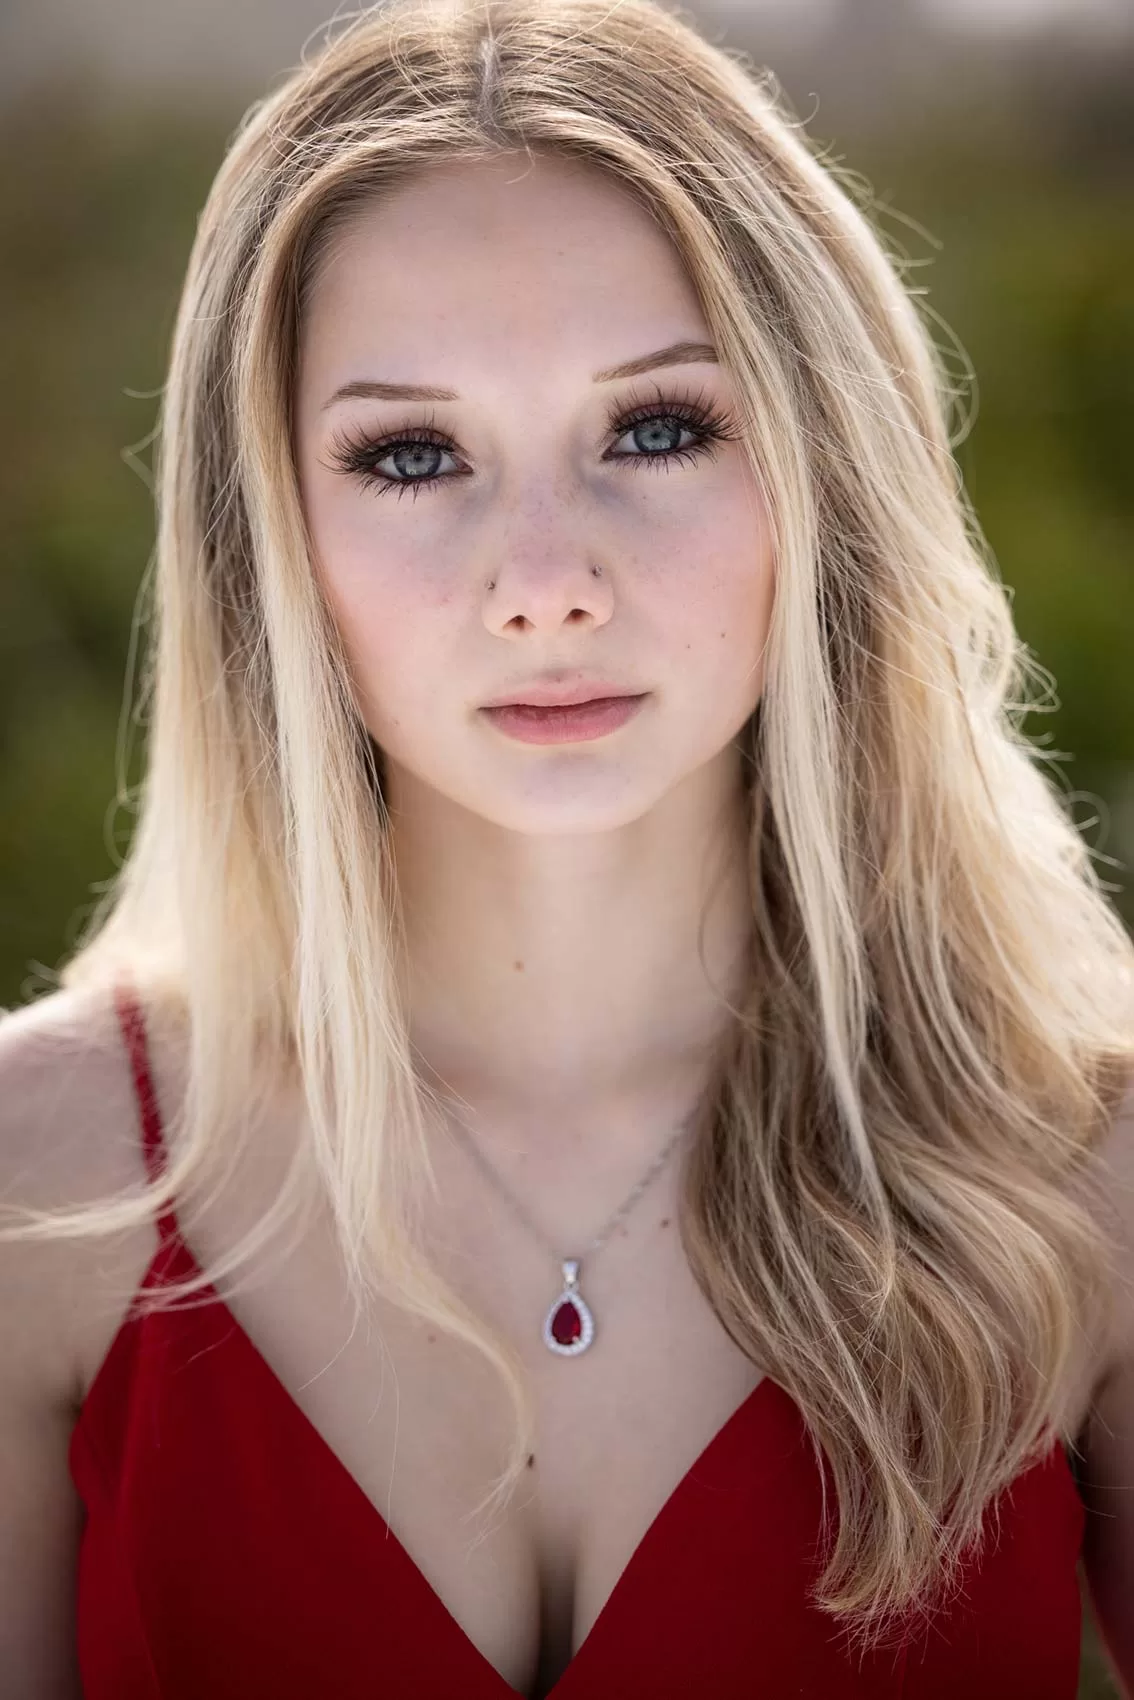
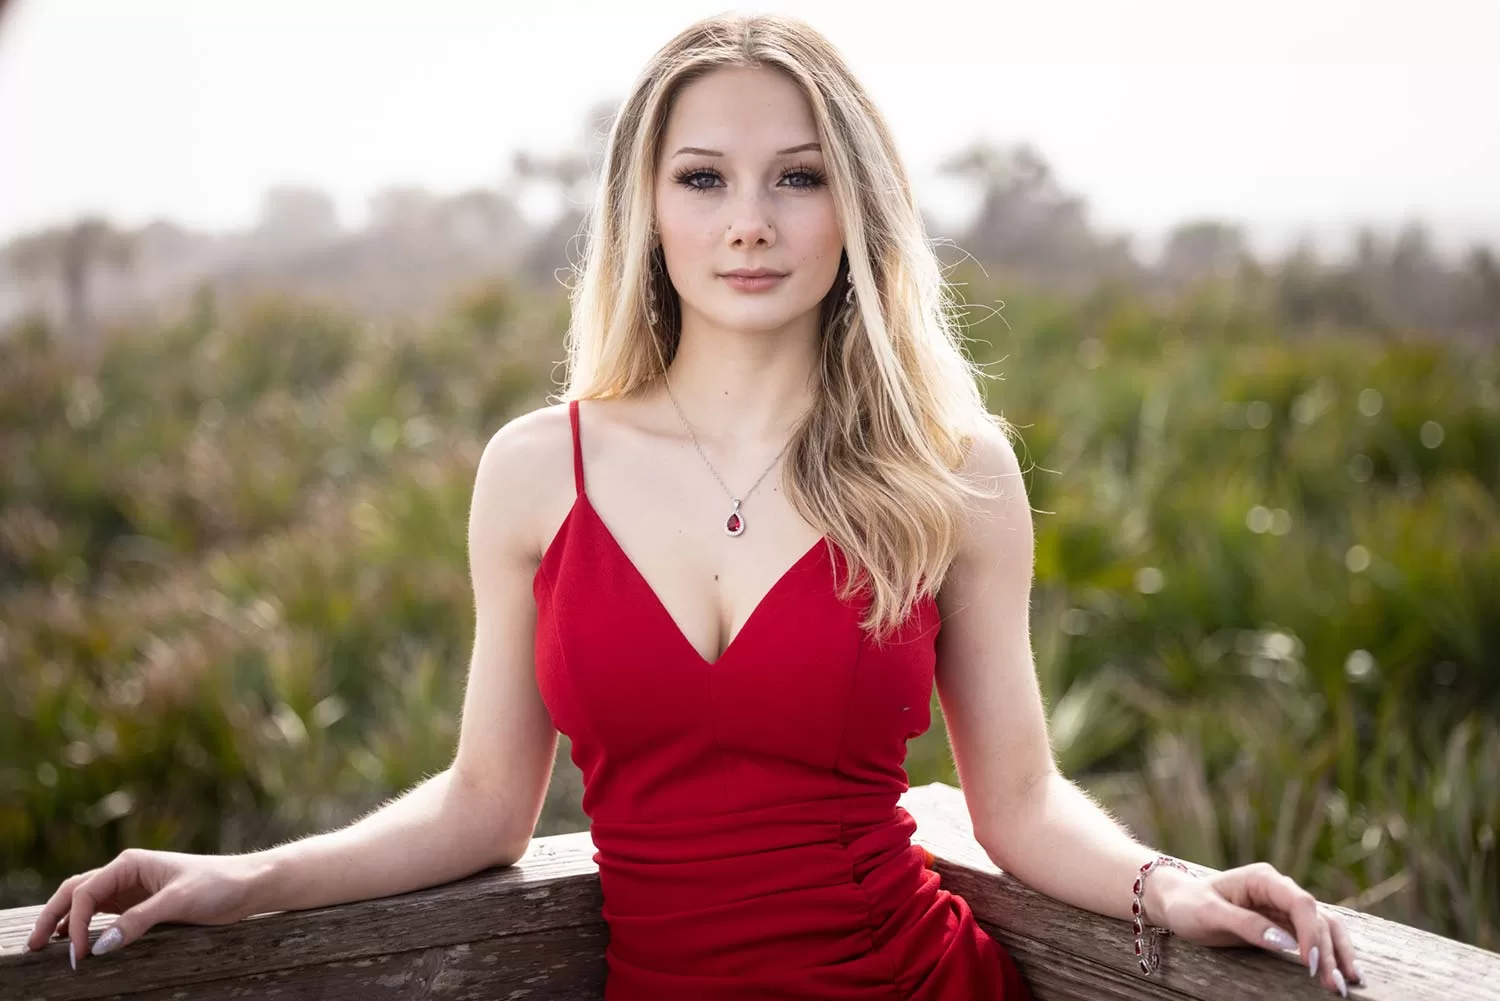
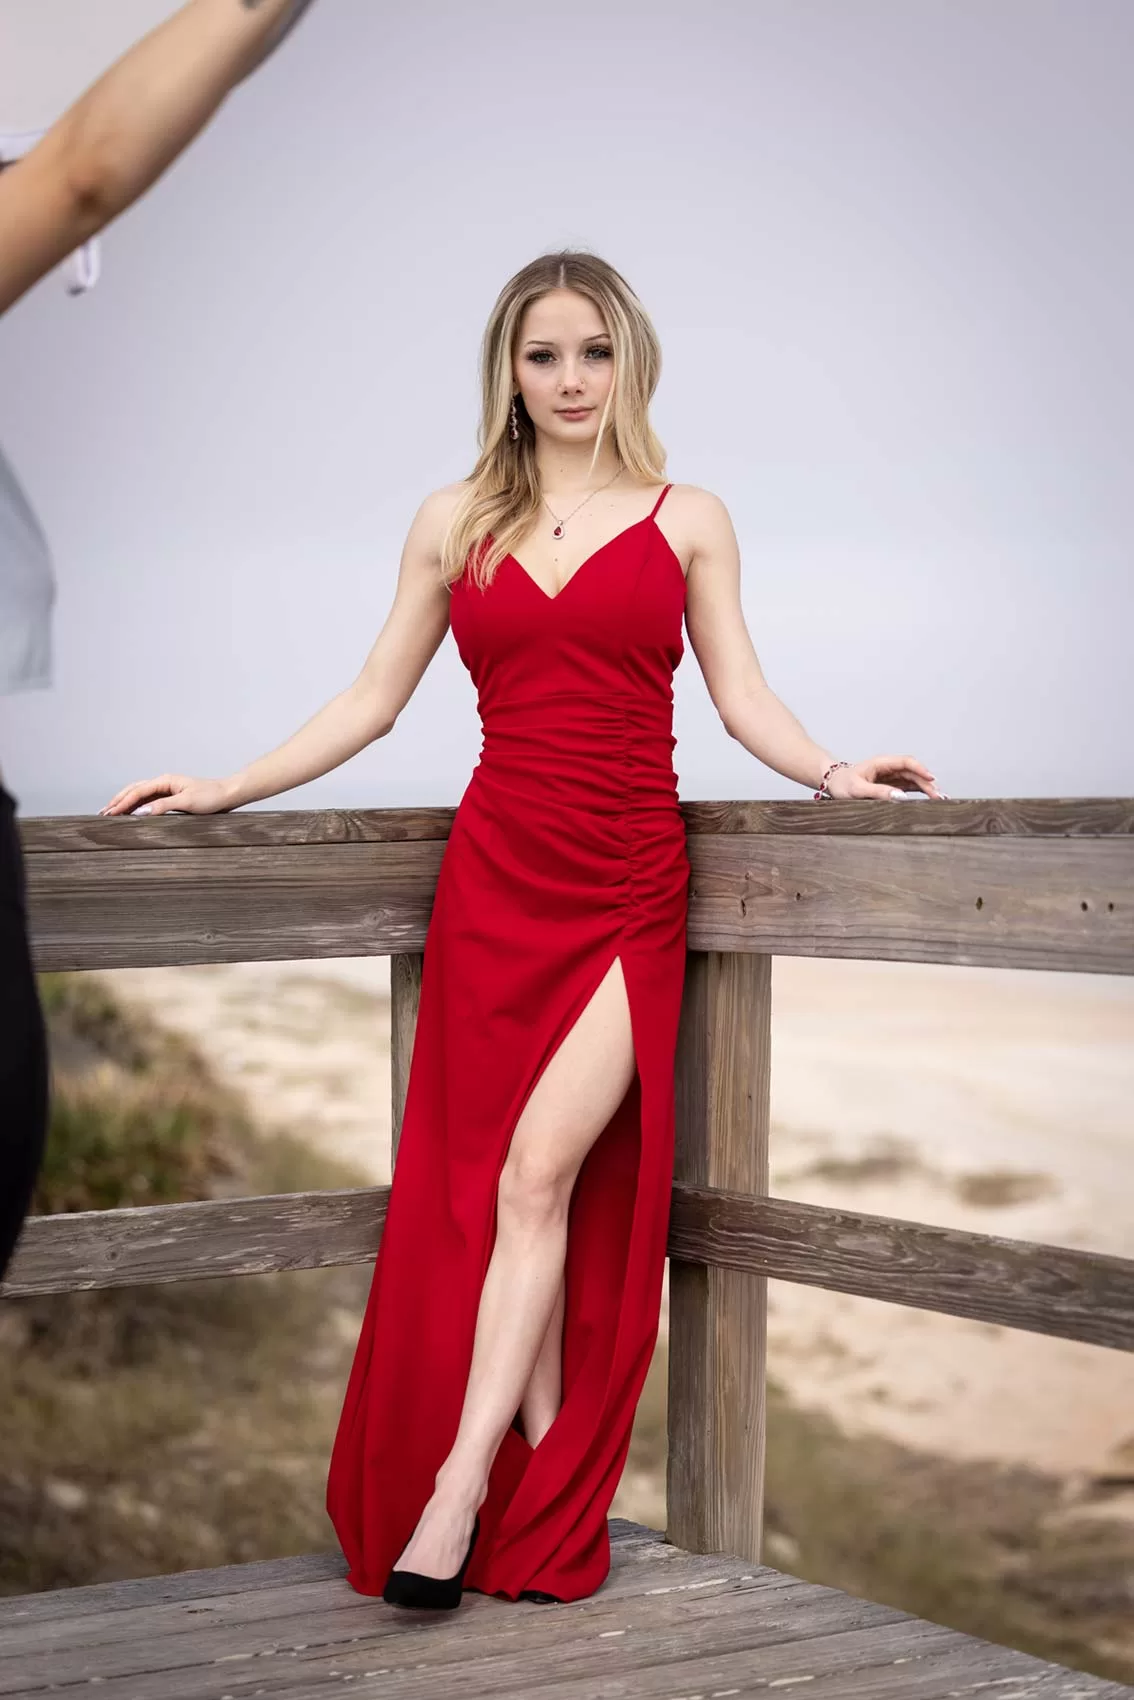
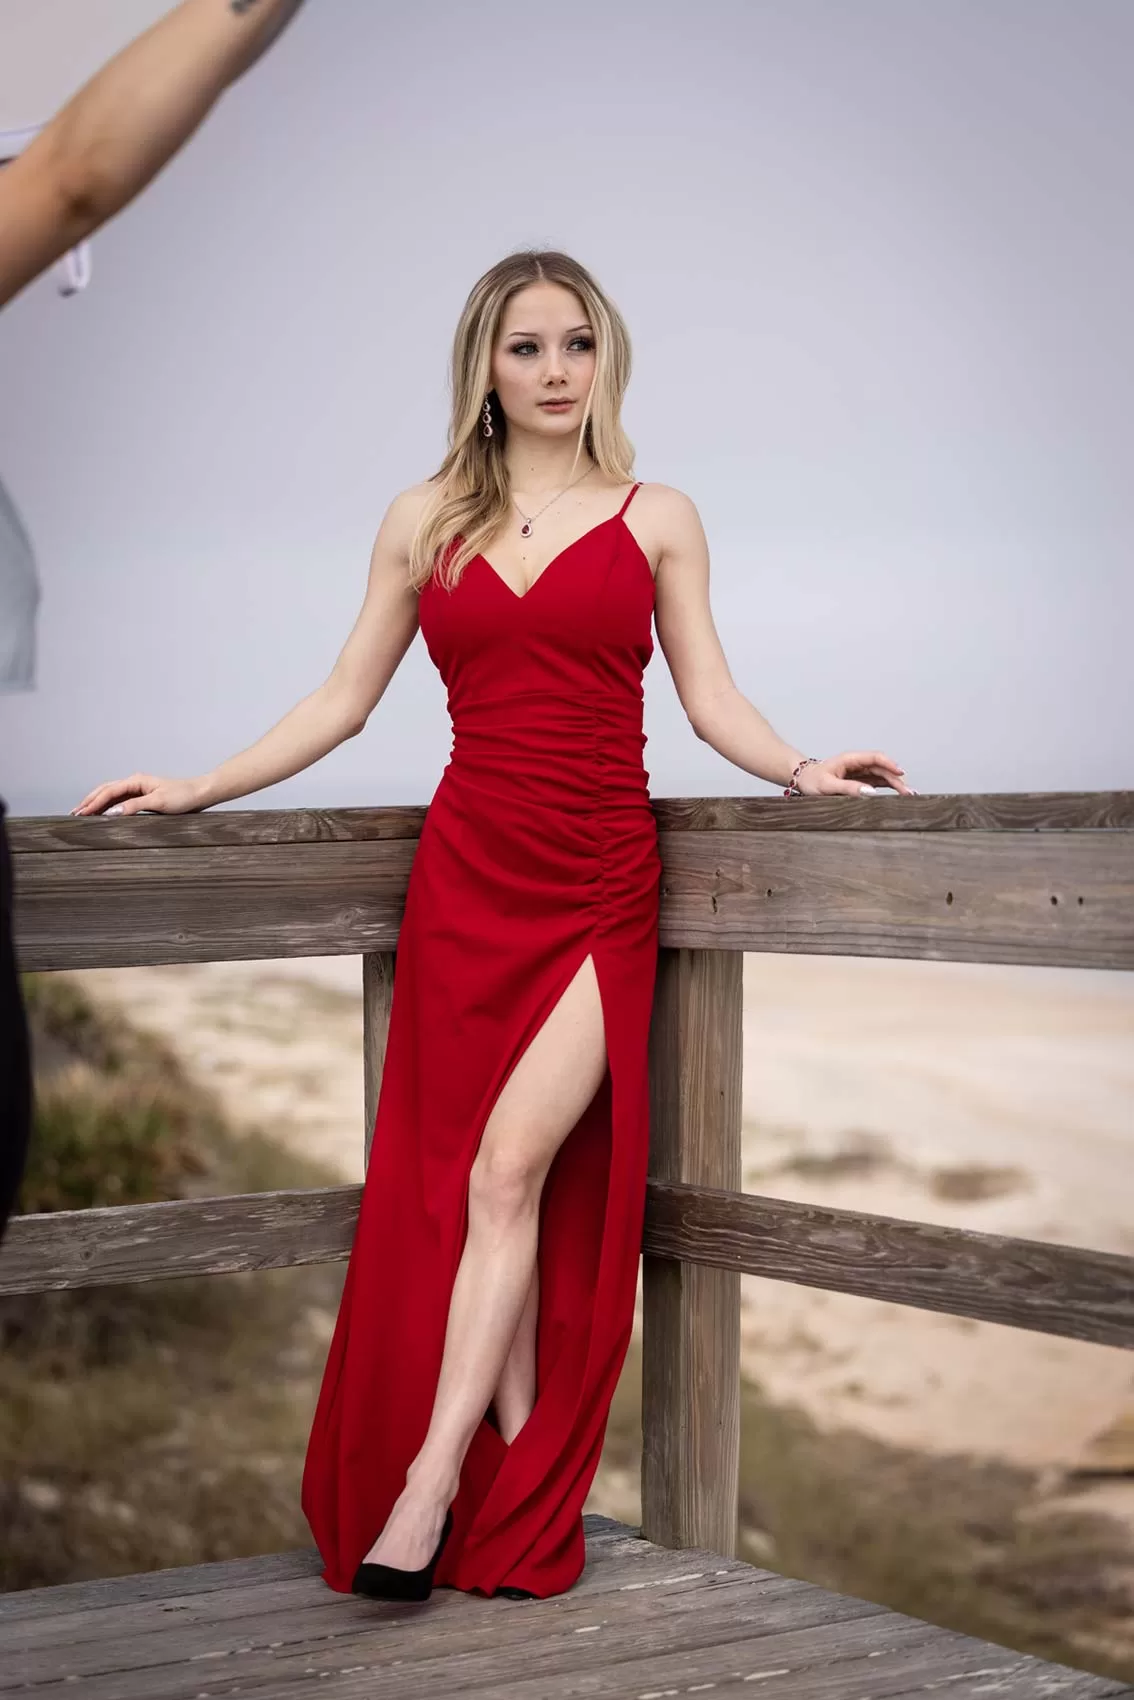
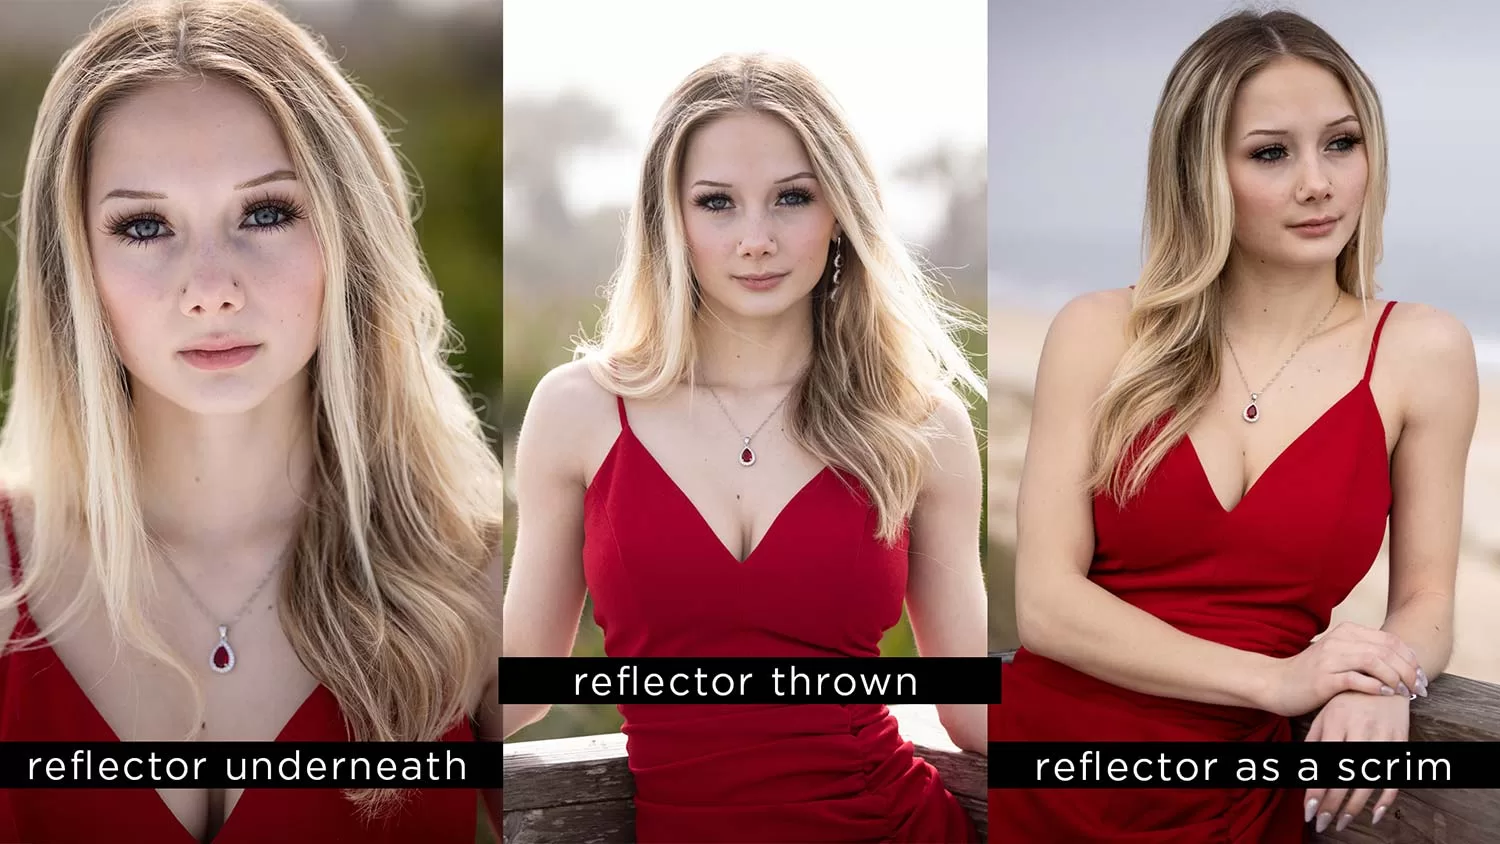
Got a reflector laying around that you don’t know how to use? In this video, I’ll show you 3 different ways you can use a 5-in-1 reflector to get different looks for your natural light portraits. A reflector is one of the easiest light shaping tools to get started with, because what you see is what you get.
Equipment Used:
Camera: Canon EOS R5
Lens: Canon RF 70-200mm F2.8 Lens
Light: Westcott Reflector
Team:
Photographer: Sal Cincotta
Model: Anna May
#1: At the Waist
#2: Throw the Light
For the second look, my assistant held the reflector overhead and threw the light from the camera left, with the silver side facing outward. You can see a huge difference in Anna’s eyes in the images with the reflector vs without. By this point the sun had started to come out more, so the reflector was able to bounce a lot more natural sunlight back on to Anna’s face, filling in the shadows.
Pro Tip: The brighter the sunlight, the harsher the light will be thrown on to your subject. Have your assistant stand further back on really sunny days to avoid hotspots. In the summer, I’ve even had to switch to a white reflector because silver was throwing light that was way too harsh.
Reflector Overhead
#3: As a Scrim
Inside most 5-in-1 reflectors, you’ll find a scrim. I’ve run into many, many photographers who don’t know what this is for or how to use it. A scrim is a panel that you hold over your subject’s head to block the sunlight and create open shade.
Ever been in bright sunlight where your subject can’t help but squint? Once you place a scrim over them to block the sunlight, it softens the light about one stop, and the squinting problem is solved. This allows you to shoot in direct sunlight and get a nice, even light.


