3 Ways To Make Creative Editing Easier in Lightroom Classic with Dustin Lucas
Now that wedding season has finally started to level off for most of us, we gotta get back into the studio and fix all those broken aspects of our post-production workflow. Whether it’s spending less time transferring files to multiple places, waiting on Lightroom to load previews, culling, editing or retouching, you should always strive to be more efficient. From an entrepreneur perspective, I don’t need to tell you where your time is better spent because you don’t make money sitting at your computer editing longer than you need to, or editing at all for that matter. This is why I want to show you three ways to make creative editing easier.
Lightroom Classic offers many ways to save time, but more importantly it offers amazing creative tools. The first one is custom profiles. You can take a Lightroom preset or a Photoshop action with adjustment layers and build a custom profile. This is a one-click solution to overlay your creative toning without changing your sliders! Next comes masking, and with the new masking tool it couldn’t be easier to bang out some badass edits in 30 seconds or less. Lastly, once you have your masks in place you can create a preset or simply sync your masks to multiple images in a sequence to dial your images in instantly. This is a game-changer!
1. Get Creative With Custom Profiles
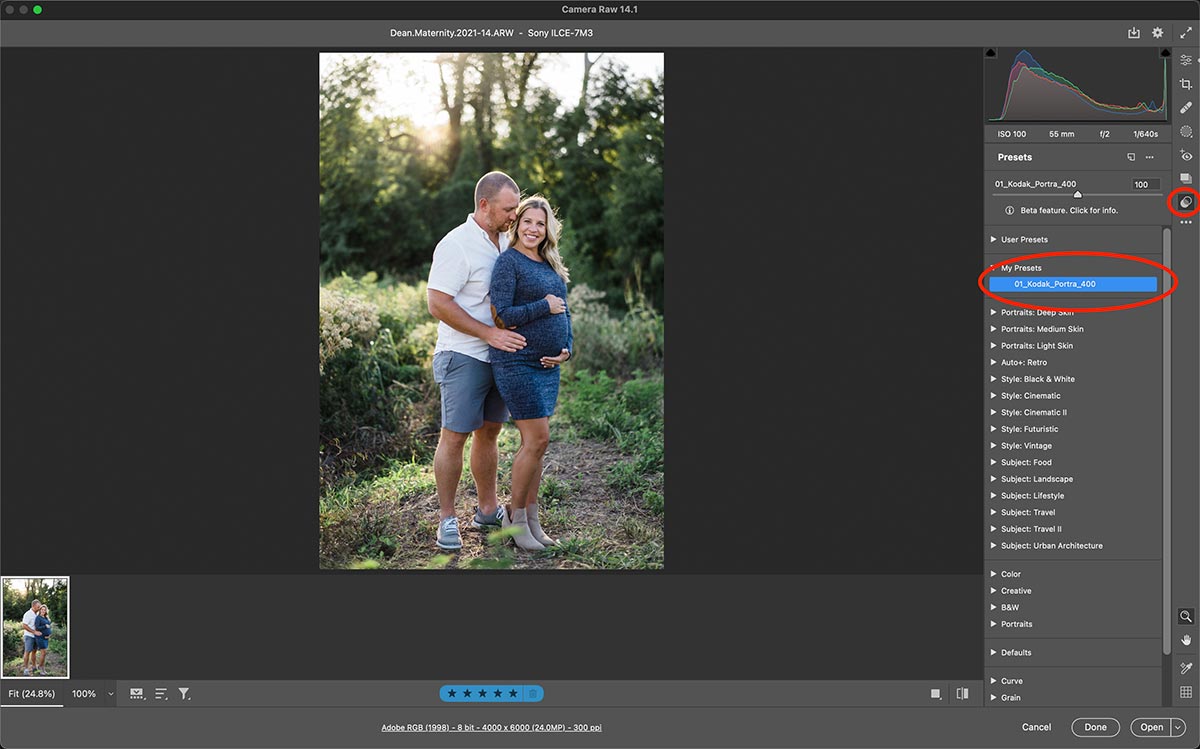
Custom profiles are not a new feature but certainly a massively underutilized tool. These are simply overlays to apply toning and creative effects that don’t affect your Develop sliders. If you use Adobe Color, Camera Standard or other Lightroom profiles, you can change this in the basic panel of the Develop module. (fig. 1) They are best applied after you color correct images to a proof level, then you can select creative images for your IPS to show off your skills. You can buy third-party ones and what makes this powerful is you can convert Lightroom presets and/or Photoshop actions into custom profiles.


