
3 Wardrobe Hacks to Take Maternity from Mundane to Magnificent with Casey Dittmer
Want more information on this article? Get access to video content and additional supporting images. Launch the June issue of the magazine by logging in or signing up for a free account by clicking here. Shutter Magazine is the industry’s leading professional photography magazine.
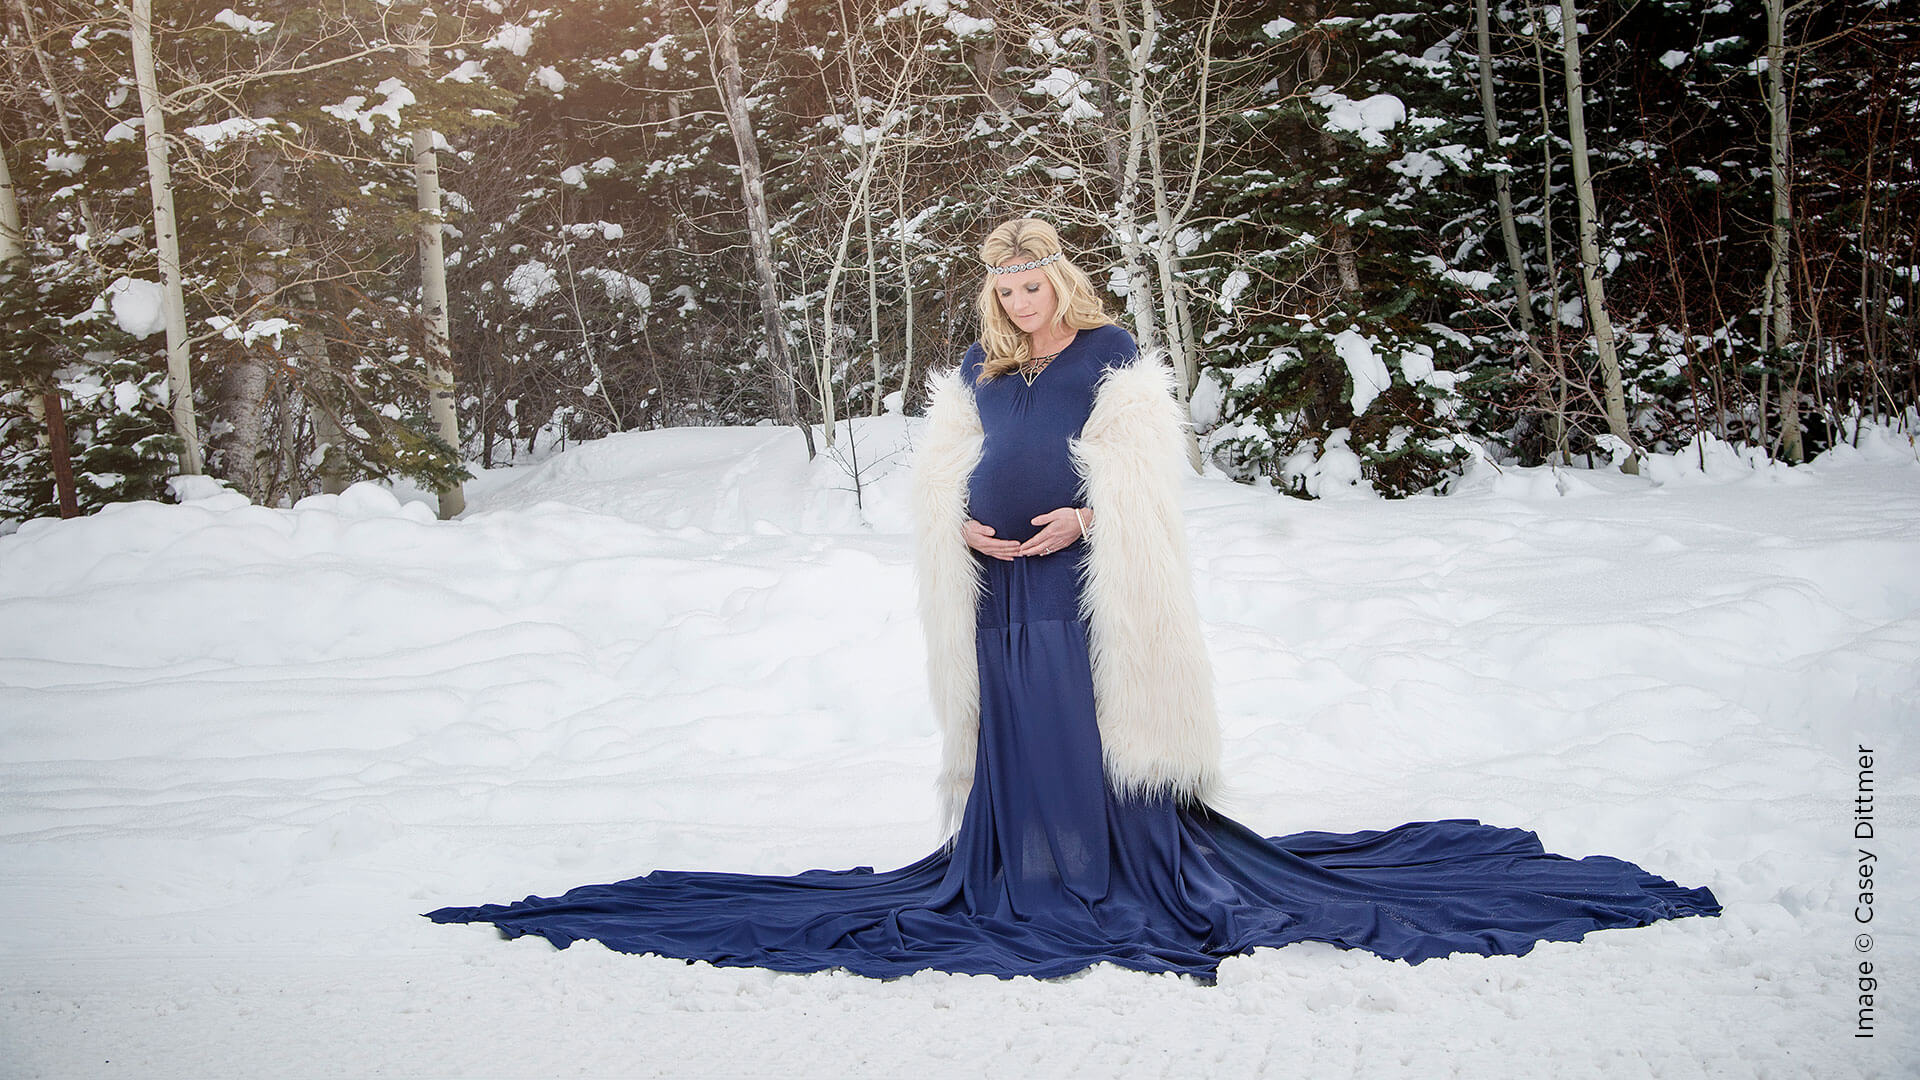
Maternity portraiture is quickly becoming a steady niche in the industry. But as the popularity grows, so does the market oversaturation and the increase in competition for clients. Create a dynamic look and style so you stand out in the sea of maternity shooters.
This month, I show you options for getting started in creating a stylized maternity look. You can always purchase gowns and accessories from vendors that offer popular looks; you can enlist the talents of a seamstress to sew a custom look for you; or you can follow these three hacks to quickly get you that stylized look without breaking the bank. These simple methods can get you on the road to building your own custom wardrobe.
The Swim Suit Hack
When we began offering our Goddess sessions, I couldn’t afford to have a gown made, so I made due with what I had. I knew that creating a structure for the top of the gown would be the most difficult. I wanted to find a way to cheat the system and have it premade. Here is what I came up with.
- Go to a department store and find bikini tops that inspire you. Expecting mommas usually run a bit bigger in the chest, so I always buy a large. I’d rather it be a bit big and clip it in the back rather than too small. In the beginning, I kept it simple with solid colors, but don’t be afraid to play with textures and lines to create an interesting focus for the dress. (Bonus Tip: Pay attention to seasons. Go when tops are on clearance, and get a whole bunch. That way, you have several options ready for when you get inspired to create a new gown. You can also use bras and cami tops to achieve the same look.)
- Head to the fabric store with your new tops. You are looking for flowy fabrics such as chiffon, organza and soft tulle. Don’t worry about making a scene. Unroll it a bit and give it a whoosh. Make sure it flows and falls the way you want. Find a color that complements the top. If you don’t match colors exactly, that’s okay. You will never see the difference when photographed. Walk the aisles and see what inspires you. Buy three pieces of fabric, each 3 yards long. This gives you an adequate train to toss.
- You’ll need a needle and thread. You want a thread color that will hide in the bikini top and fabric, so don’t use white on black. Take the fabric on the short end and attach it to the top. Use a basic whipstitch or the tried-and-true in-out/in-out method. Gather it slightly as you go to create a pleated look. I start at the middle of the front and attach one piece along each side of the bikini. Use the third to close up the back. Don’t forget to leave a little slack in the back near the closure so when the top is undone, you have extra room to get it off and on. It’s okay if it drapes a little in the back. You won’t see it.
Just Make It Work
Don’t get intimidated by a project because you feel it needs to be high-quality construction. Just make it work. Does it fit? Yep. Does it cover them adequately? Yep. Will it survive a few whooshes? Yep. All right, you are good to go. As you continue to build your wardrobe and try different techniques, your construction quality and confidence will improve. Here are some ways to hack the creation process.
- Go get yourself a damn glue gun. If you don’t have one, you are missing out. In a hurry and need to attach a whooshing train? Glue that sucker on. Need to add rhinestones to make a gown unique and higher end? Glue it. Glue guns are my go-to. It is way easier to make complicated accessories and quick fixes with a glue gun.
For our Midnight Maternity look at ShutterFest, we made a gorgeous gown for under $100. We bought a $7 mesh dress from Amazon and hot-glued cheap rhinestones, forming coverage across the chest and creating an ombré down the front. We grabbed a black tulle skirt we had at the studio and placed it around the model’s calves. It wasn’t attached, just held by the elastic waistband, creating an instant mermaid dress. We finished the look by creating a feathered collar in our hotel room using cardboard, a strip of tulle, ribbon and feathers (don’t forget your best friend the glue gun). Our look was complete couture, all without a single stitch. You can do this.
- Safety pins—don’t leave home without them. Even when we buy a beautiful gown from a vendor, we still want to customize it so other photographers won’t have the exact same look. Use the pins to add a tossing train, glam up the neckline or to temporarily adhere details to the bodice. That way, you can use a dress multiple times and still create new looks. In the interest of shooting to sell, take some pictures without the modifications and then quickly change it up. It adds instant variety to your session, and makes it harder for them to choose which ones to order…so they may as well buy them all. (Bonus: If a seam happens to pop, don’t panic. Grab a few pins and keep shooting.)
- Don’t forget: No one will see the imperfections. Raw fabric edges, glue drips, straight sew lines… for the most part, no one cares. You can’t see it in photographs. Don’t be sloppy, but also understand that the overall look is what is most important. We hear so many times, “You made this?” Your client will be so giddy about the level of service and thought it took for you to make them a custom look, she won’t care about the rough edges here and there.
Be a Rebel, Break the Rules
Think outside the box to create the very best looks and styles. Watch clearance sections and fashion trends, and always ask yourself: Can I get a bump in there? There are no rules. If someone says there are, break them. These dynamic maternity sessions should serve two main purposes: shock and awe your viewers, leaving a lasting impression; and give your client the supermodel experience, making her feel amazing about herself. Own it, and she will too.
- Stretch it, stretch it real good. Don’t be afraid to make everyday nonmaternity clothes work for you. Long-sleeve knit shirts, minidresses, lingerie—all of these things can easily be adapted to create a custom maternity look. Stretchy is best, but pay attention to items that don’t seem suitable. Find the bones, or base, of your look, and build it from there.
- Try to get the best bang for your buck on items you create. You want them to be adaptable to clients of different sizes. Use stretchy fabrics. Create interchangeable pieces. Mix and match. Reuse pieces in different combinations to keep your costs lower. We have several minidresses, tulle skirts and bra tops that can be used for both pregnant and nonpregnant clients. This way, our wardrobe makes us more money.
- Never underestimate the power of a piece of fabric. No sewing, gluing or cutting necessary. Tuck that baby up under a bra and whoosh. Let the wind hug the fabric around her body. Let it soar. Capture it flowing around her in a pool of water. The movement and grace that a single piece of fabric can add is simplistic and beautiful. Don’t overthink it.
Keeping it simple, at least in the beginning, is a good way to start. Any style or gown is enhanced by poses, lighting and location. Don’t be afraid to try new things. Get crafty. And, when in doubt, just tip, dip and—whoosh!
Want more information on this article? Get access to video content and additional supporting images. Launch the June issue of the magazine by logging in or signing up for a free account by clicking here. Shutter Magazine is the industry’s leading professional photography magazine.


