3 Steps To Optimize Your Retouching Workflow with Dustin Lucas
When it comes to post-production, you really need to develop a roadmap or workflow for how to get the results you want without wasting time. Many successful photographers have a secret: They outsource so they can focus on generating more revenue for their business. Even in those cases you might want to do a same day, down and dirty edit to get a few sneak peeks online for immediate social engagement from your client.
Knowing how to edit isn’t a deal breaker, but for me it’s cathartic, why I do what I do. Everyone has their own reasons, but my point is there may come a time you need to turn an image fast for a client and no one is there to help you. In this article you will learn the three steps to make your retouching workflow better combining Lightroom Classic and Photoshop.
Starting out with the basics, step one is building a base level edit in Lightroom. We are going to apply a profile for accurate colors, adjust white balance, brightness and tonal density. Step two is using the Edit In Photoshop feature so we can export to Photoshop, apply basic beauty editing and save our un-flattened edit back in Lightroom. In step three it’s all about attention to details to dodge and burn and apply custom profiles for creative toning. We got this!
1. Build a Base Edit in Lightroom
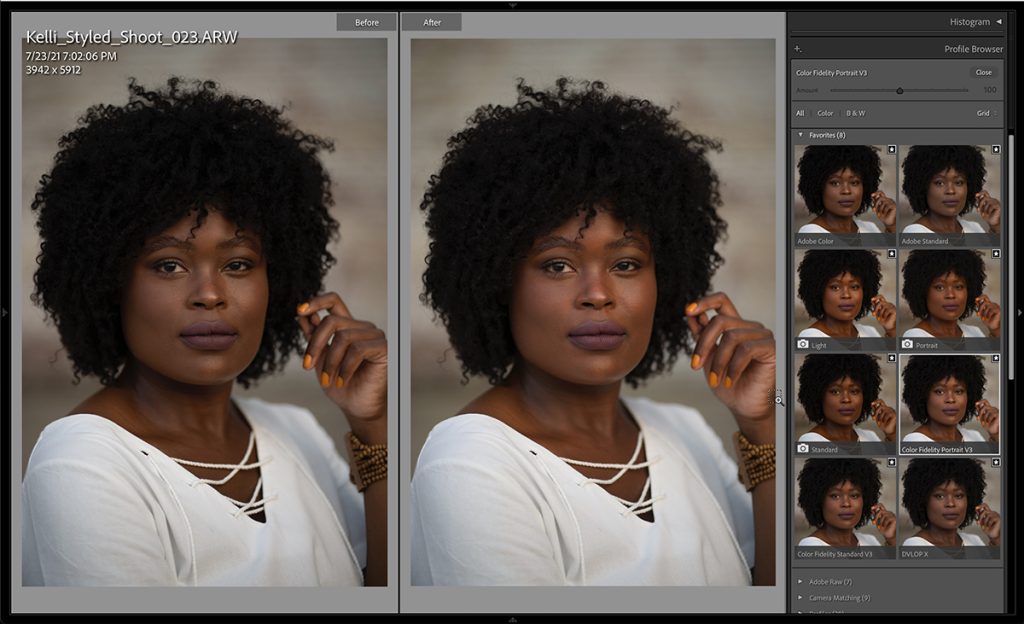
Editing all starts with good bones like lighting, posing, composition, color, exposure compensation, etc. After you import images into Lightroom and you have your sights on an image, it’s time to dive into Develop mode. From top to bottom we will work our way through a simple edit. I will want to adjust profile, white balance, exposure, highlights, shadows, whites, blacks, HSL and lens correction. Starting with profile, I have already purchased the Color Fidelity pack because my Sony a7iii colors just don’t look right with the Adobe profiles like Adobe Color, Adobe Standard. The camera matching profiles are worse so I did some research and found these. This brightens the skin, adds some warmth and magenta tones as well as helps with the clipped black point.