Portrait photography is both fun and exciting. A lot of photographers find studio portraits to be difficult, mostly because they are intimated by using studio strobes. However, as you will see below, it’s not that complicated if you stick to process.
Now, finding your process will take some time, especially if you are more of a natural light photographer. It’s ok if you are. There is nothing wrong with that. However, I will urge you to learn how to master lighting of all kinds, not just natural or available light.
For this shoot, we were celebrating my fiancés “coming out” party, so to speak. She has lost 80lbs and counting, getting ready for our wedding in October. So we figured why not celebrate and show off her new body?
Set the scene.
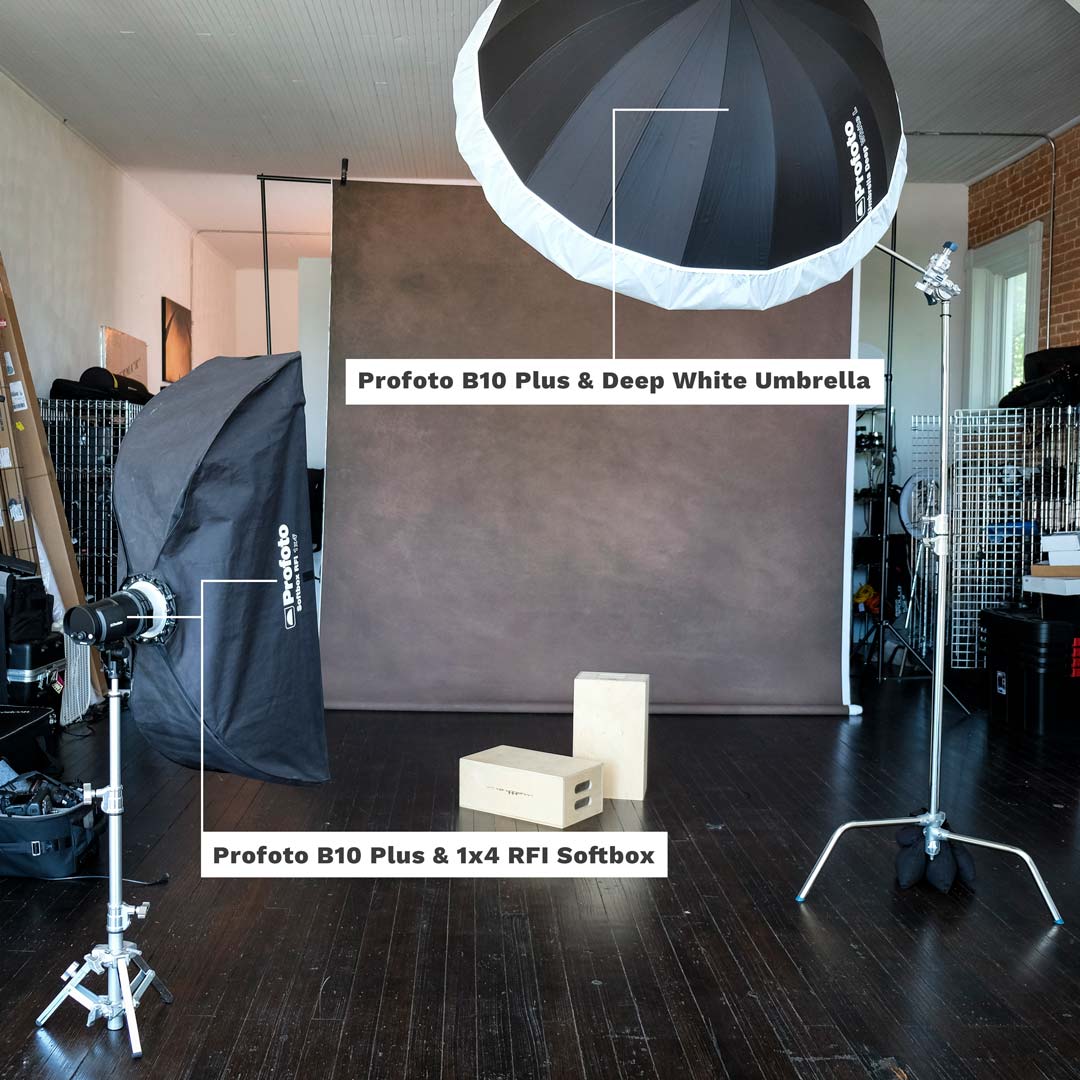
For the main light overhead, we used the Profoto B10 Plus and a Profoto Deep White Umbrella (Large 51”) with a diffusion sock. For the fill light camera left, we used a Profoto B10 Plus and a Profoto RFI 1×4 Softbox. We added this 1×4 softbox to ensure we were filling for the large overhead soft light coming down. You have to fill those shadows if you want smooth looking skin. While this isn’t a true beauty portrait, we definitely want to showcase our subject’s face.
If you are just getting started with studio lighting, I would highly encourage you to invest in at least two lights. This will allow you to control shadows much better than just a single light source. Then, as you grow, you can add more lights to your setup.
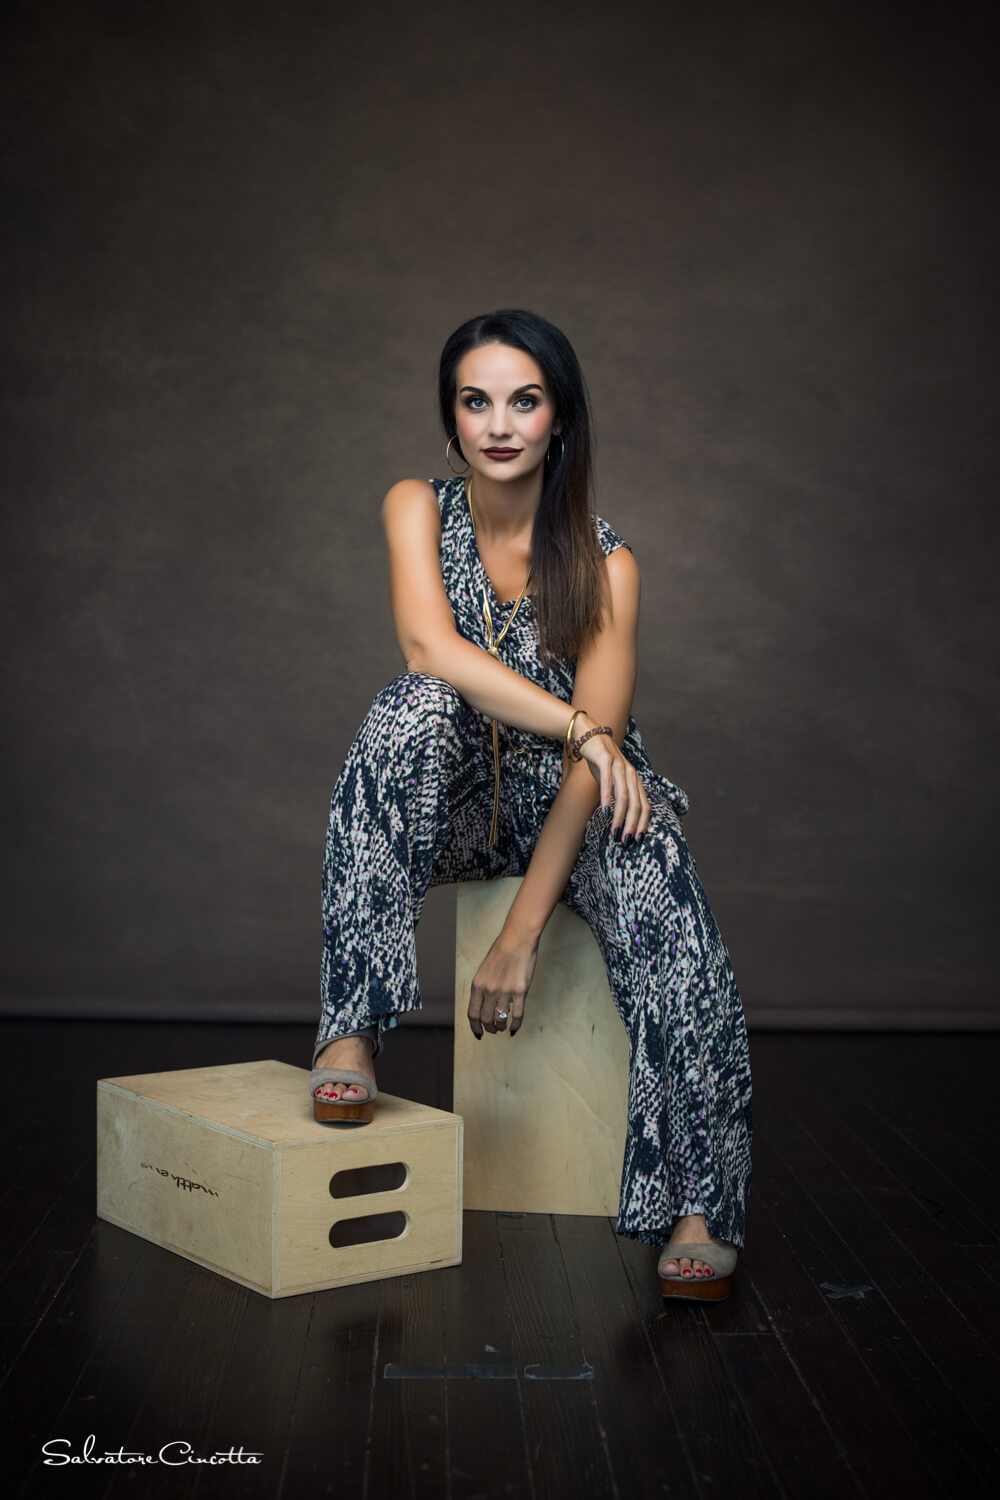
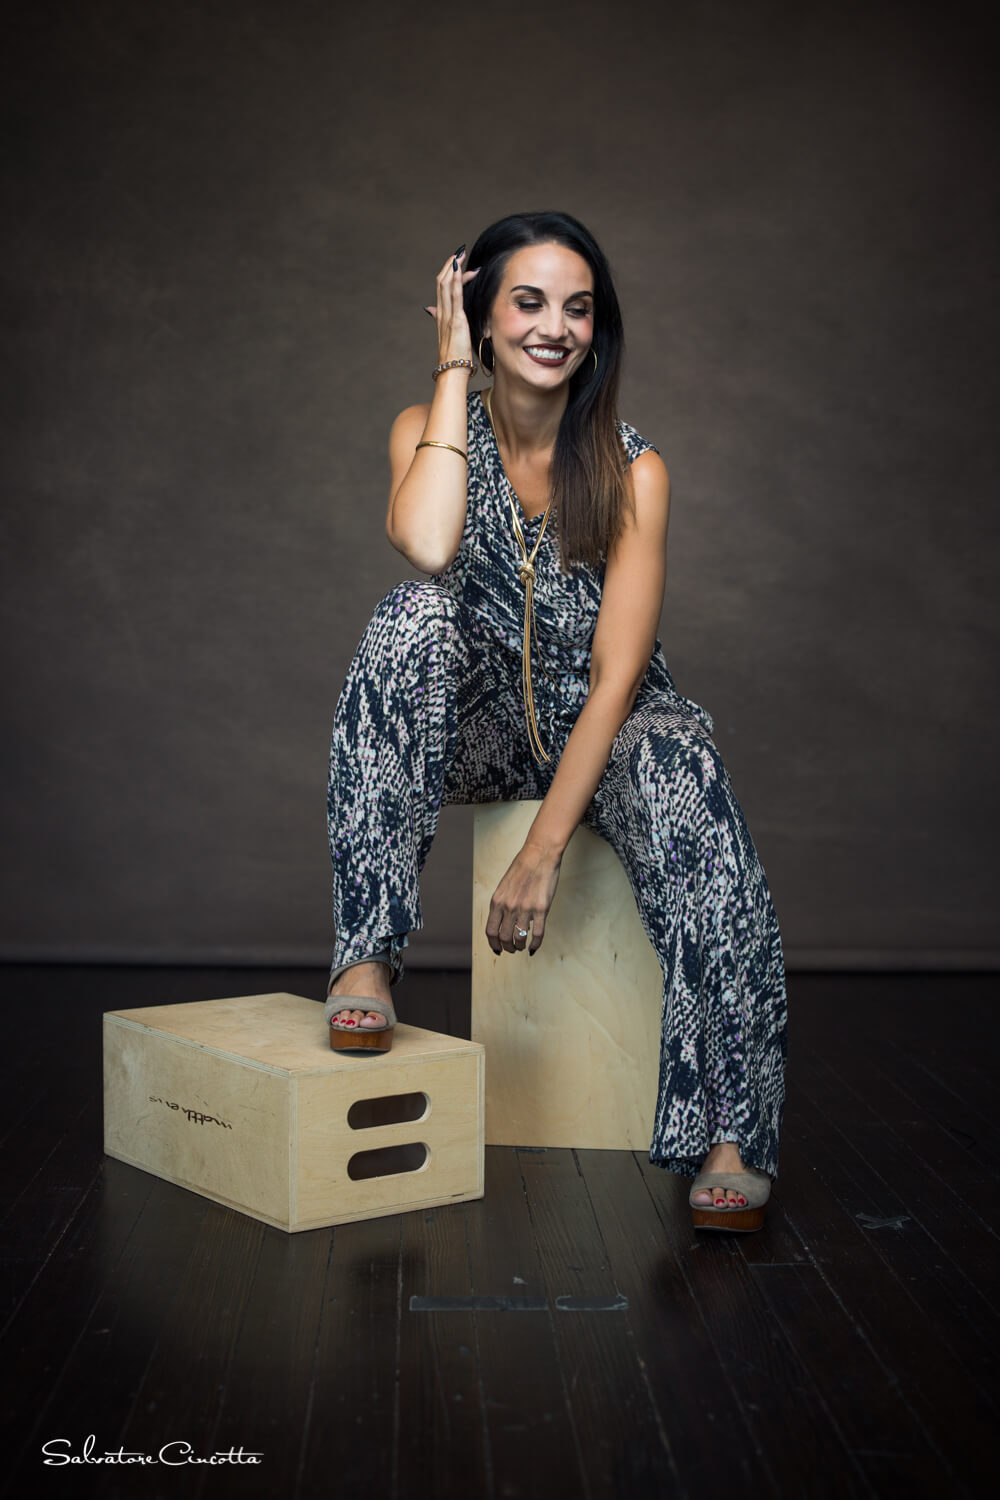
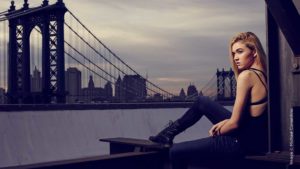
For the first and second shot, we were just getting Alissa warmed up. We had her sit on some apple crates and focused on getting the lighting dialed in.
I shot this scene with the Canon EOS R and Canon RF 50mm f/1.2L USM Lens.
Scene 2
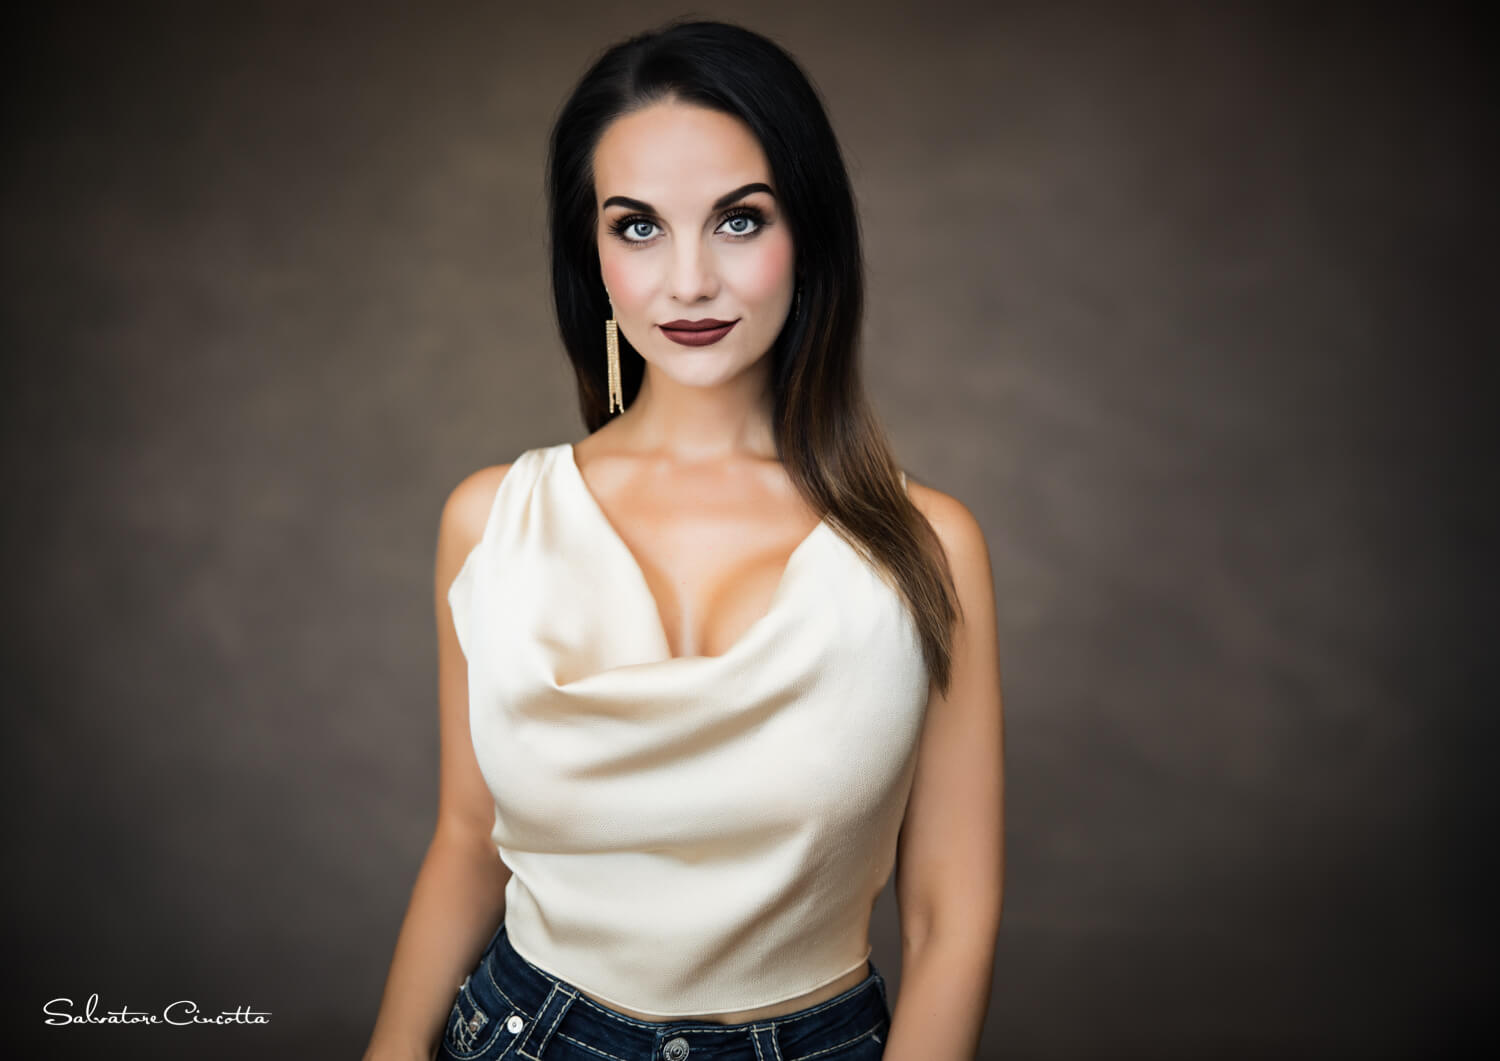
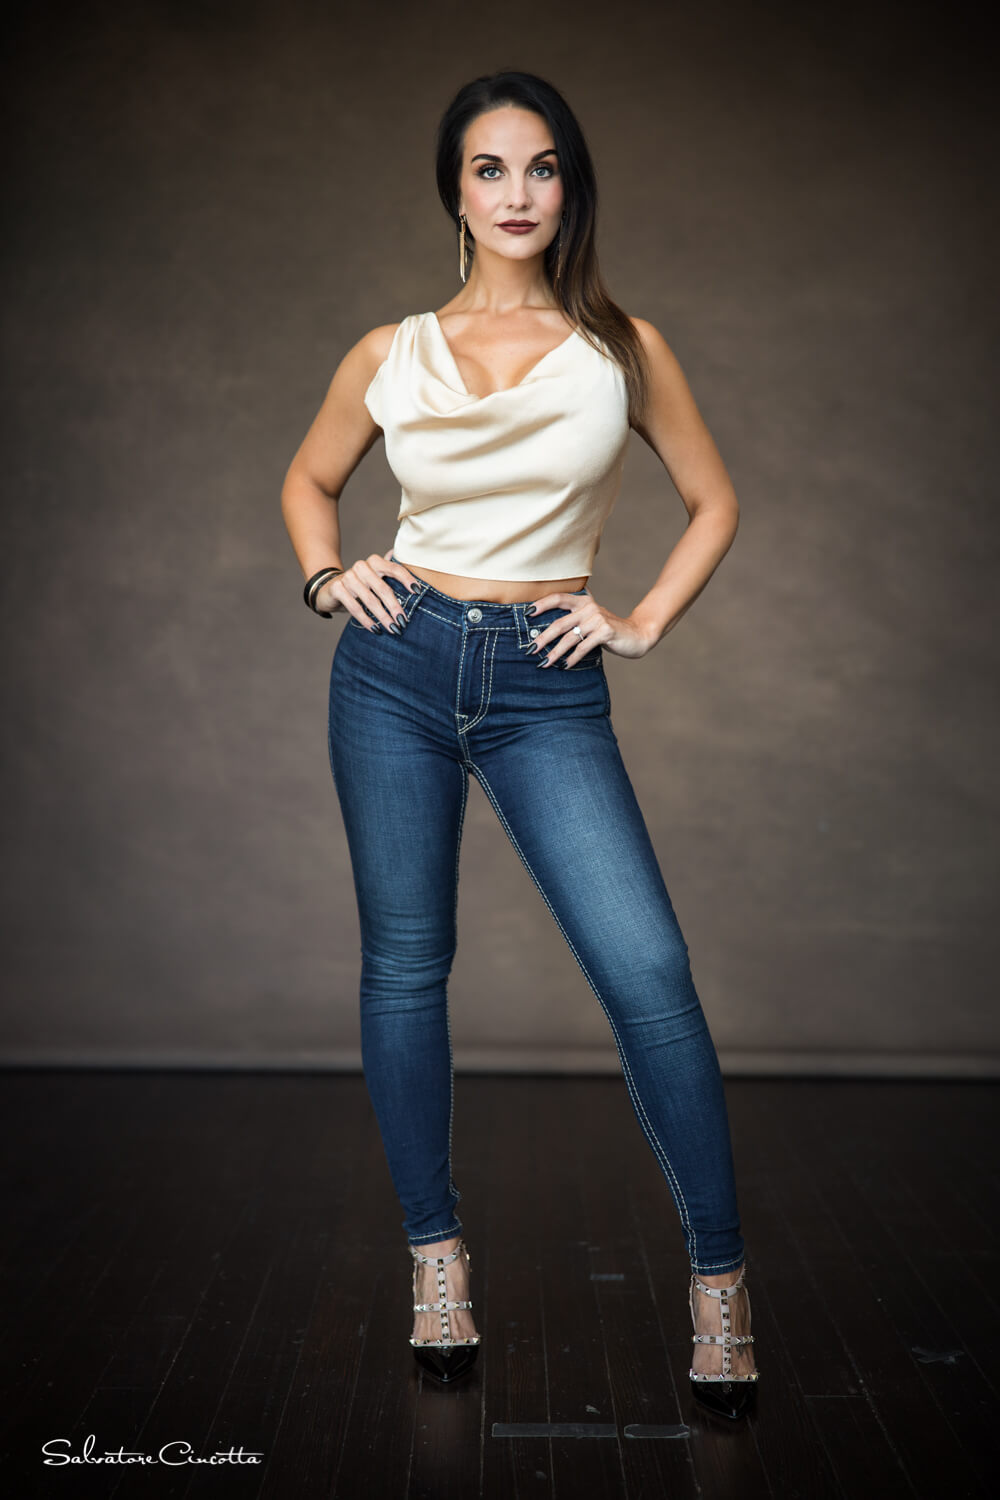
For the next series of shots, we had Alissa change into a new outfit and had her stand up so we could get some mid-shot portraits and full-body shots. We used the same exact lighting setup as the previous outfit for these images as well.
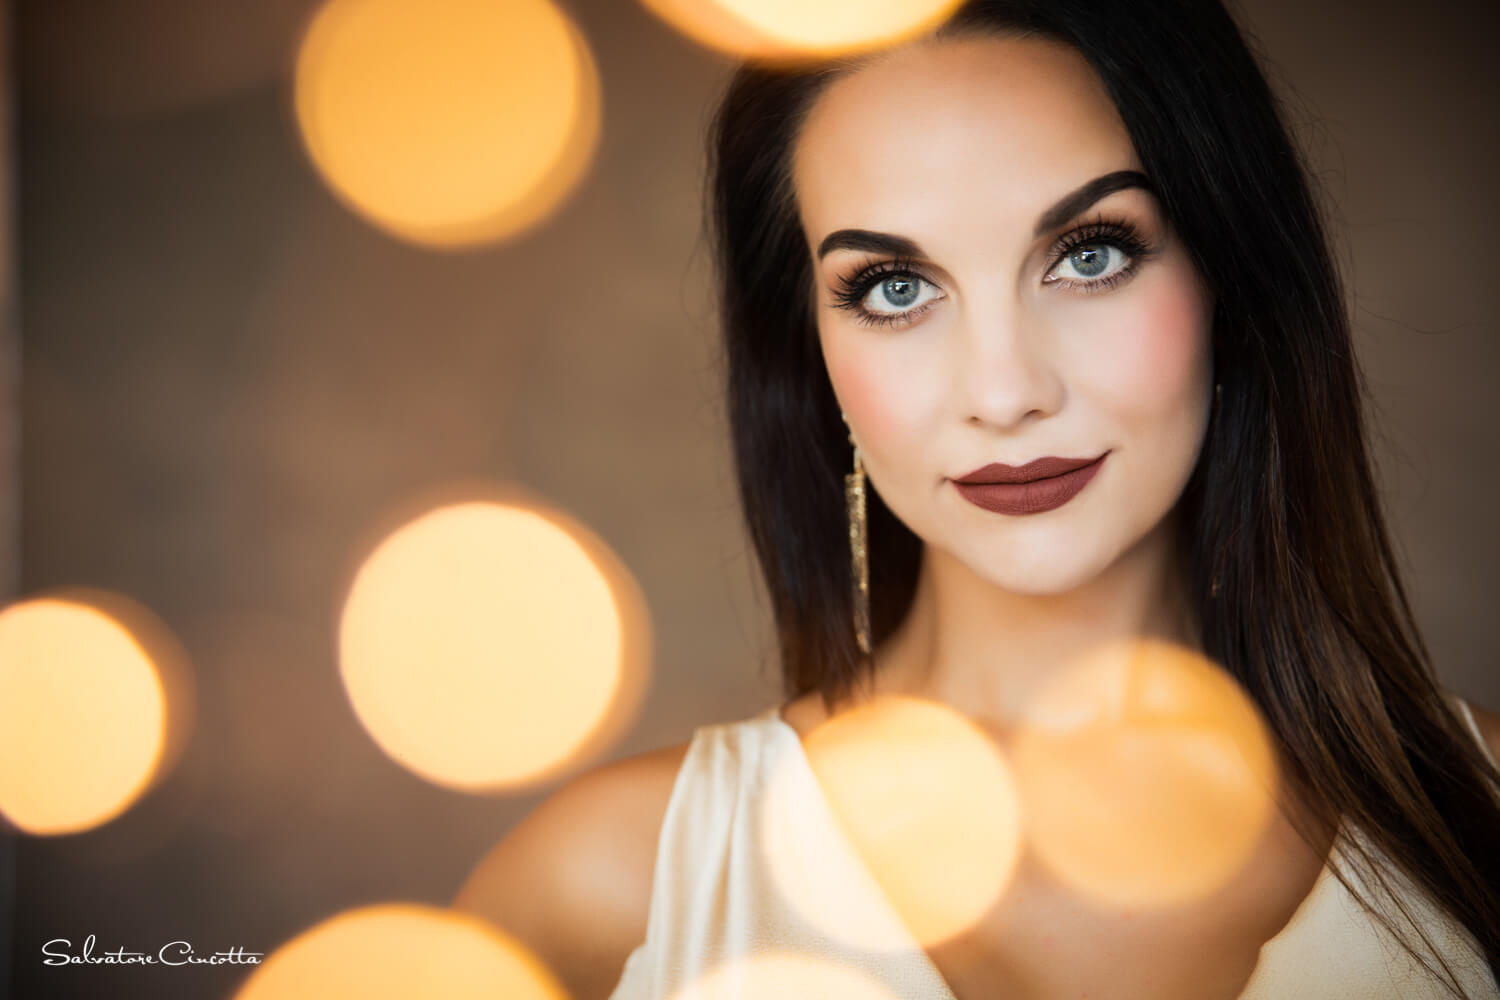
For the tighter portrait, we added some fairy lights to give the image a little extra pop— it’s always fun to experiment with shooting through items in the foreground. Sometimes that extra blur or element in the foreground adds to the image, and sometimes, well, it just sucks. I think the fairy lights were a perfect addition to an otherwise average portrait.
Settings: 1/40 @ f2.8, ISO 200 | shot at 70mm
For this setup, I did, however, change my lens. I swapped the 50mm for the Canon RF 28-70mm f/2L USM Lens. This lens from Canon is a beast. It’s large and heavy and I’m more than ok with it. Why? Because at f/2, the flexibility of a zoom lens that’s this fast far outweighs the inconvenience of the weight. See what I did there with the “weighs” thing? No? Nevermind.
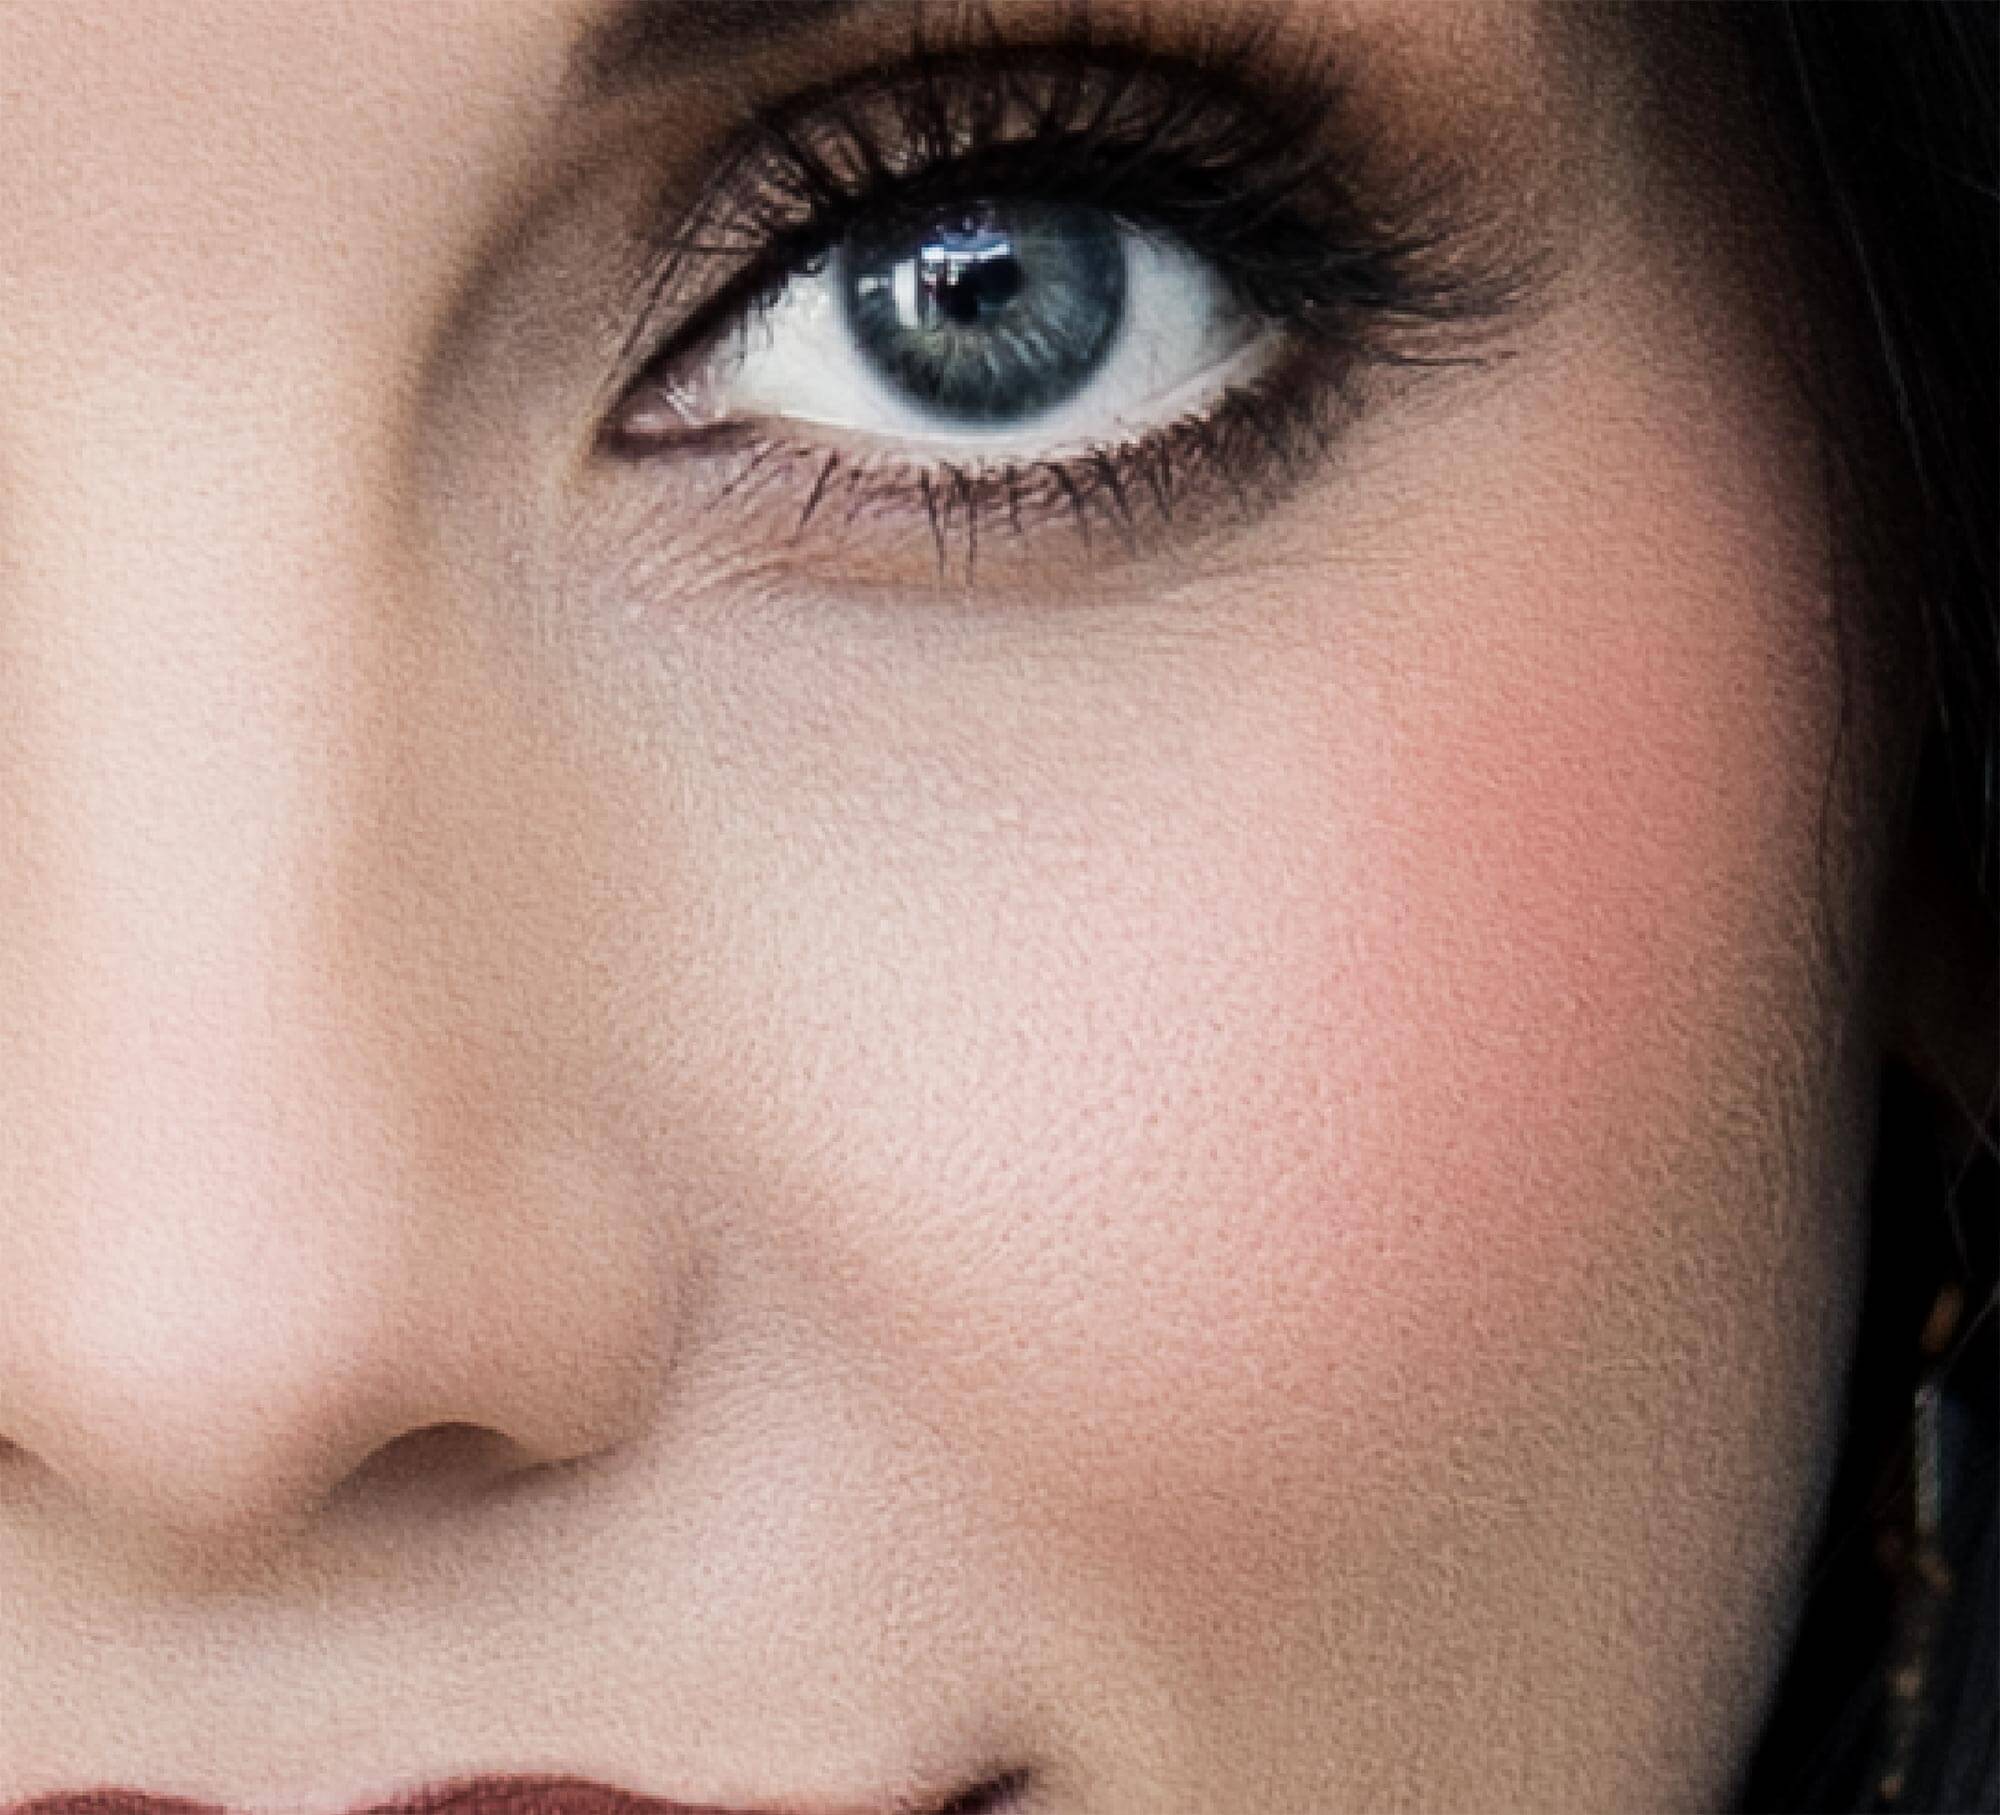
So, you can quickly see when looking over these images the versatility and range this lens gives you. I can go from a full-body to a headshot, to a mid shot, and back again without having to move or swap lenses. Very powerful. And of course, the lens is tack sharp.
Settings: 1/200 @ f2.0, ISO 200 | shot at 62mm
This is not a fashion shoot for some commercial jewelry. This gives me a natural softening to the image and the details without having to spend a ton of time in Photoshop. It just changes the overall look at feel. Love or hate it, it is what it is and why I do it. Like everything else, season to taste and find your own style. That is what your clients will respond to.
Hope you enjoyed the final images and the behind the scenes. Get out there and create!





This Post Has 2 Comments
Appreciate the level of detail and logical flow. This was by far the most helpful intro to studio lighting and answered all of my beginner questions. Though now I have a new question: What brand of light-stand was used for the 1×4 softbox fill light?
Hi! Glad you enjoyed! That was the Avenger Baby Stand: https://www.amazon.com/Avenger-A0010-Photographic-Light-Silver/dp/B002B559RQ